We love to finish things on a ‘sweeter’ note! Join Michelin-star Chef Lisa Goodwin-Allen in creating a decadent dessert that focuses on a simple glazed peach made from using honey.
Lisa pairs the dish with sheep’s milk ice cream, which is salted using Maldon Sea Salt flakes for elevation and brightness! If you prefer a flavoured ice cream, we recommend making our homemade blackcurrant ice cream recipe, that requires no churning!
Peaches:
Cut the peaches in half and remove the stone.
Place the peaches into a medium pan, add the madeira wine, honey, sugar, and squeeze over the lime juice.
Bake in the oven at 180°C for about 8 minutes until the peaches are just turning soft and the skin is coming off.
Remove the peaches from the oven and allow them to cool slightly. Peel away the skin from each peach.
Reduce the remaining liquid and then pour back over the peaches to glaze.
Raspberry soup:
Place all ingredients into a small pan and put the lid on top, cook over a medium heat for about 5 minutes until the raspberries have broken down and released their juices.
Pour though a fine sieve and leave to cool in the fridge.
Serve cold.
Maldon Salted sheep’s milk ice cream:
Place the milk and milk powder into a medium pan.
Mix in a small bowl the glucose powder, sugar, ice cream stabilizer and Maldon Salt.
Warm the milk on a medium heat whisking until all the milk powder has dissolved.
Whisk in the remaining dry ingredients, bring to the boil and boil for about 2 minutes whisking continuously.
Pour though a fine sieve and leave to completely cool.
Churn in an ice cream machine.
Honeycomb tuile:
Place all the ingredients into a small bowl and whisk together until all incorporated.
Spread into the moulds and bake at 170c for 6 minutes until golden.
Remove from the mould and cool.
To serve:
In a cold bowl put 2 good spoon full of raspberry soup
Place half of glazed peach in the centre.
Put a Rocher of ice cream on to the peach finish with the honey tuile.
Garnish with flowers and herbs.
These hand pies are the perfect accompaniment for your celebratory picnic this year!
We fill our pies with a gorgeous coronation chicken, using a delicious combination of shredded chicken, mayonnaise, yogurt and a mix of turmeric and curry powder to give that infamous golden colour we all know and love. We sprinkle a handful of sultanas to give a gentle sweetness to the pies as you take that first bite.
Along with the pies, we also show you how to make a delectable chutney to dip your pies into. It’s made from the use of chopped mangos and pineapple; stirred together with flavourful spice of cayenne and turmeric to give a hidden warmth to the recipe.
Start by making the chutney. Chop the mango and pineapple flesh into small pieces. Pour the vinegar and granulated sugar into a pan and heat until dissolved, then increase the heat and simmer for 10 minutes. In a separate pan toast the cumin and coriander seeds.
Tip the toasted seeds into a pestle and mortar and gently crush but leave some whole for texture. Tip this, plus the chopped fruit and the remaining ingredients into the vinegar pan. Simmer for 1 hour until thick and syrupy – then leave to sit for 10 minutes until cooled and thickened. You can serve this with the hand pies but can store any leftover in a sterilized jar in the fridge for up to 2 weeks.
Next start the pastry for the pies. Put the flours and butter in food processor, and then pulse a few times until it resembles fine breadcrumbs. Add 60ml cold water and 1 beaten egg and process until it comes together. Bring together until it forms a smooth dough and then press into a flat disc shape, wrap in cling film and chill in the fridge for 30 minutes.
Meanwhile, make the filling by mixing the yoghurt, mayonnaise, curry powder and turmeric to a smooth sauce. Mix in the shredded chicken, sultanas and chopped coriander and season well with Maldon Salt and cracked black pepper.
Once the pastry has chilled, remove 8 pieces. Roll into discs, add the filling, enclose to a half moon shape and then crimp the edges.
Brush with beaten egg and sprinkle with nigella seeds. Bake for 25 – 30 minutes.
Serve with the chutney.
How do you keep your pies from getting soggy?
Our best tip to avoid your pies from getting soggy bottoms is to create a barrier between the filling and the dough. You can do this by sprinkling breadcrumbs on the bottom of the crust before you fill them in and bake in the oven. As a result, this will stop the juices from the filling from seeping into the dough and turning the crust soggy.
Can you make this recipe vegan?
If you are wanting a plant-based alternative for this recipe, we recommend using chickpeas, mashed to the desired consistency to replicate the shredded chicken. For the sauce, you can swap out the dairy with a vegan mayonnaise instead, which are sold in most supermarkets.
This can be made vegetarian or even vegan very easily. Simply substitute the kefir for water or nut milk and leave out the chorizo! These are so satisfying to eat and they keep so well so it is worth making ten of them.
The original filling, Olia’s dad’s favourite, has just the split peas and caramelised onion, but I do love to add the saltiness and spice of chorizo. Olia’s husband is vegetarian though, so she often split the peas and onions in two, and add chorizo to one and leave the other meatless.
To make the dough mix the kefir with yeast, sugar, Maldon Salt and add 350g of the flour, all in one go. Mix this using a spoon. The dough will look quite wet – that’s what you want. Cover it and leave somewhere warm for an hour to rise.
Meanwhile cook the split peas according to instructions. The packet might advise to soak the peas, but I don’t normally bother, the ones I use cook quickly enough. Cook them until they are soft, drain and let them cool.
Heat the oil in a frying pan and add the onions and a generous pinch of Maldon Salt. The salt will make the onions extract liquid and there will less chance for them to burn if you forget about them for a moment. Cook over a medium-low heat for about 15-20 minutes or until they look nice and brown. If the pan becomes dry during cooking, add little spaces of water and deglaze the pan.
Take the onions out and add to the bowl of peas.
Don’t rinse out the pan, add another small drizzle of oil and cook the chorizo for 3 minutes or until just cooked. Scrape the chorizo and the flavoursome oil into the peas and onions.
When the dough doubles in size, flour the surface really well and pour the dough out onto the surface. Then keep sprinkling the top of the dough with flour and using a dough scraper or floured hands keep on folding it in on itself. It should remain very soft, but should become less sticky.
Divide the dough into 10 pieces, they should each weigh about 70g. Knead a little flour into each piece, so they become less sticky. Then one by one, flatten each piece out into a circle (about 12cm diameter) and add 2 tbsp of the filling in the middle. Bring two edges up and pinch them together, then flip it over onto a floured surface, seam-side down and flatten the bun gently with the palm of your hand. Keep them on a floured tray or board until ready to fry.
Have a plate lined with kitchen paper – to absorb the oil – at the ready.
Take a large frying pan and fill with oil. It should be a good 2-3 fingers deep. When the oil is hot and shimmering, carefully lay in the bun, put as many as the pan would fit to make turning comfortable for you. Cook them over a medium heat, lowering the heat if you feel the buns are starting to colour too quickly. Cook for about 2 minutes or until the underside is golden and gently flip (be careful not to splash yourself or people around you) and cook on the other side until golden brown.
Then lift out and drain on the kitchen paper. These are good as they are with some fresh salad on the side or alongside a simple chicken or vegetable broth.
We recently caught up with the talented Imogen Davis, co-founder of Native restaurant, situated in London’s Mayfair. As previously noted in our article; In Conversation with Imogen Davis, Native is a zero-waste eatery with a strong focus on ingredients being foraged and sourced locally.
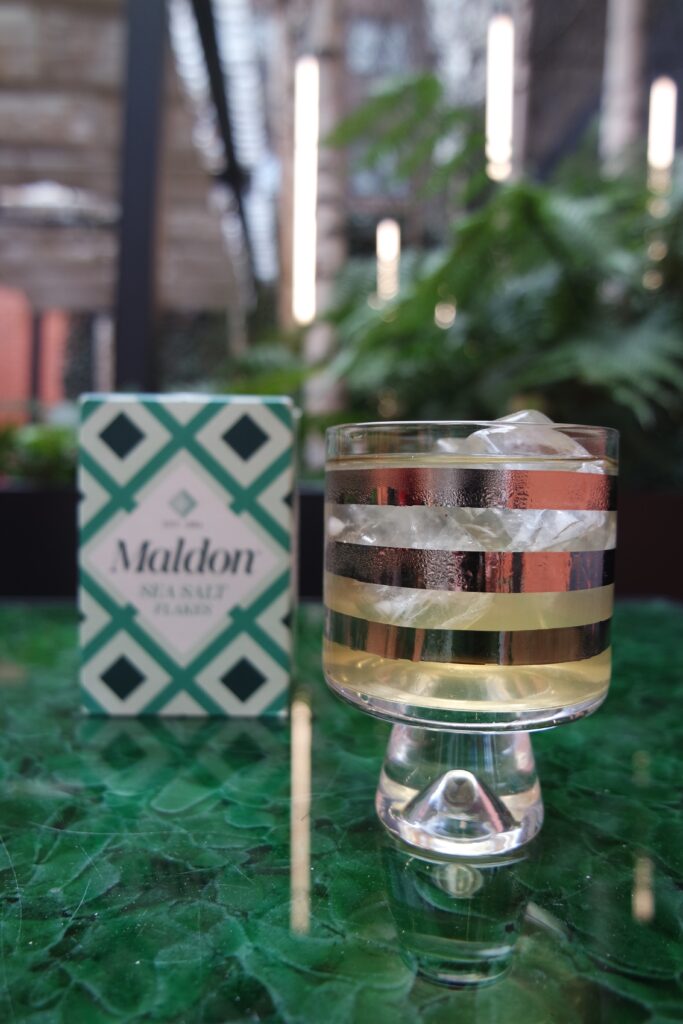
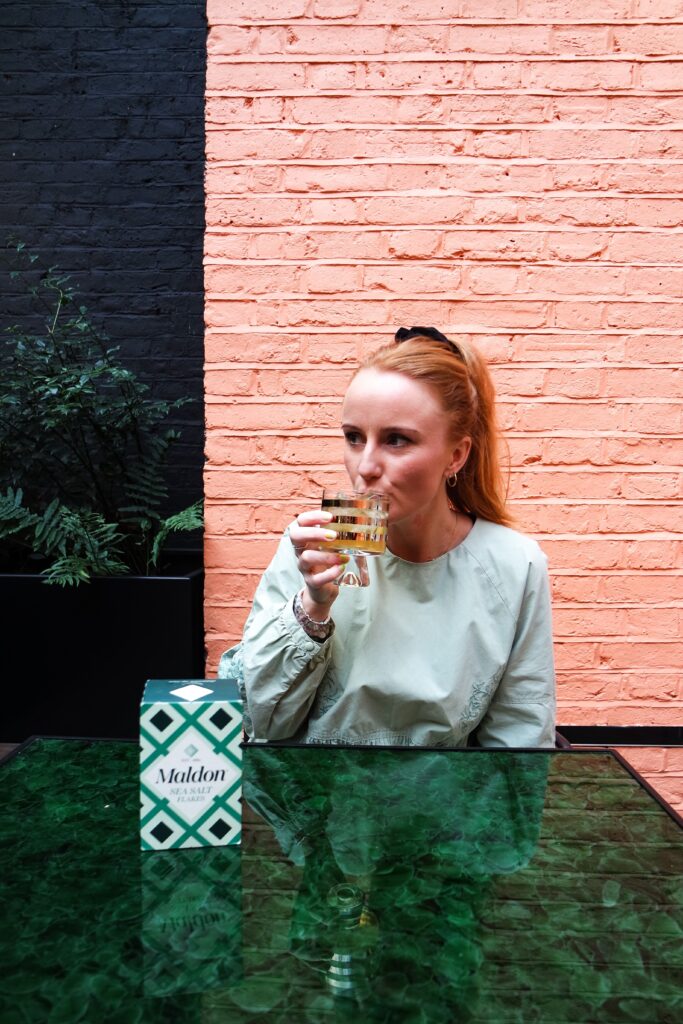
Within this article, Imogen gets creative in making a deliciously good punch made with mushrooms! (Yes, really mushrooms!). Being a non-alcoholic beverage, this drink is perfect for Dry January – to be enjoyed over ice to infuse the wintery, warming notes of the forest and freshly ground coffee. Additionally, we also managed to sit down and share a few details with the creator herself, where we get to know her tips for making a low/no alcohol tipple to understanding her own personal inspirations.
Mushroom Milk Punch
Imogen’s clarified milk punch with mushroom coffee takes a little advance preparation, but is 100% worth the effort for a showstopper of a silky smooth, slightly earthy non-alcoholic beverage – enhanced by a sprinkle of our Maldon Salt. The reason you add a pinch of Maldon to this drink is to enhance the sweetness and counteract the bitter notes of the ground and mushroom coffee.
Ingredients:
10g coarsely ground coffee
10g mushroom powder (Imogen used nootropics adaptogenic coffee)
200ml water
10g sugar
Pinch of Maldon Salt
100ml organic whole milk
10ml lemon juice
Method:
Brew the coffee, sugar and mushroom powder with 200ml boiling water, leave to infuse for a minimum 12 hours and then filter. As the mushroom powder is very fine, leave plenty of time to drip through.
Bring the milk to a slow boil in a saucepan over low-medium heat.
Once boiling, add the lemon juice and remove from heat, slowly stirring as the curds separate from the whey. Leave for 30 minutes until cool.
Strain the curdled milk through a fine cheesecloth into a large jug and watch the clear liquid slowly separate from the solid curds – have patience!
Once it has fully filtered and you have a clear liquid, stir the mushroom coffee cold brew into the whey, remove the curds from your filter and set aside to enjoy as a snack or to make a salted lassi.
Now reuse the cheesecloth to filter the mushroom-whey mix. You should see a very clear, golden liquid. Filter until you have the desired finish – it took Imogen three trips of drips.
Now to reap your rewards! Add a pinch of Maldon Salt (subbing in Smoked Salt will give a more wintery, rich notes) and 150ml of the punch mix you have made to a highball glass. Stir over ice.
Notes:
You can batch prepare this and keep in the fridge for 1 month.
If you want to add an alcohol element to the drink, just restrain together for a super silky, clear drink!
Tips, Tricks and More with Imogen Davis
Once the making this delectable punch was done, we were able to sit down and have a chat with Imogen, getting to know her tips on creating a low/no alcohol tipple, the benefits of Dry January and what motivates her being the co-founder of a restaurant with a zero-waste ethos and foraging fanatic!
What are your tips for creating no/low alcohol cocktail creations?
Just like all of our drinks, we look at classics and try and give them a native twist, I try not to define a drink by specifying that it contains alcohol or not, but create something that is inspired by the seasons, or a special ingredient we’d like to spotlight.
What are the benefits of Dry January?
January is a great time to reset and refocus for the year ahead. I tend to steer clear of demanding a whole dry month upon myself, but it’s definitely welcomed after an indulgent festive period – especially with the no/lo options that are now out there!
Name 3 things in your kitchen that you can’t live without.
A multi-tool! It’s so versatile- it’s a knife, I can take it foraging as well as the kitchen and even use it to fix broken things.
Kilner jars – kilners are perfect for organising everything from spices to my daily kombucha, as well as ensuring my freezer is prepared for all eventualities! It makes the mission of having no single use plastic a joy.
Maldon salt, of course!
What inspires/motivate you?
Bringing joy to people through food and drink – it really is as simple as that! (the process of getting there is often less-so!)
Still Wanting More?
If you are interested in creating more low/no alcoholic beverages during the month of Dry January, we have many delicious recipes to choose from! Our delicious Paloma mocktail using Feragaia is perfect to replicate a warming, wintery spice in the dark evenings.
Make sure you have your Maldon Salt ready for these recipes! If you are running out, please feel free to browse on our Where to Buy Page to find your nearest store in which stocks our beloved Maldon Salt.
Lastly, we LOVE seeing your creations – please tag us on Instagram using the #maldonsalt so we can share your cocktail masterpieces on our socials.
Heat milk and butter in a pan until butter is melted. Allow to cool slightly until milk is lukewarm. Put the flour into a large mixing bowl with a pinch of Maldon Salt and mix through then add the yeast, sugar and orange zest and mix again.
Make a well in the middle and add the milk, then mix in with the dough hook. Gradually pour in the beaten egg and continue to knead until you have a smooth dough.
Place into lightly greased bowl and cover with clingfilm to prove for 1 hour (doubled in size).
Make the filling by mixing all the ingredients together to form a paste. Set aside.
After your dough has proved, roll out the dough into a large rectangle (30x 40cm) then spread with the filling. Fold the long side in by a third, and then the other side on top of that, like folding a letter. Roll lightly to press the layers together.
Cut into 16 strips long strips. Take each strip and slightly pull and stretch it so it is longer. Then pinch one end between your thumb and middle finger, then wrap it around once, then back around on top in the other direction and then twisting underneath to seal – you are creating a wrapped knot.
Place onto a lined baking tray and cover loosely with cling film and then allow to prove for 30 mins, until they are puffed up. Heat the oven to 175C.
Brush the buns with some egg wash and sprinkle with flaked almonds and sugar crystals then bake for 18-20 mins until golden. Remove from the oven and allow to cool slightly before serving still warm.
Ever heard of beet curing? Usually we would cure fish with salt to help preserve the flavours and succulence, however we have used beetroot in the curing process to give the salmon a magnificent maroon colour to the meat. This also gives the salmon tones of sweetness and earthiness which can be enjoyed by family and friends during the festive period.
We’ve used Le Cresuet’s Stoneware Baking Dish (32cm) to place all the ingredients in together as the length and depth of the baking dish allows the beetroot to cure the entire salmon effectively, preserving the succulent, earthy flavour for the fish.
In a food processor blitz together the beetroot, orange zest, lemon zest and juniper berries. Pulse until it resembles a smooth paste. Tip into a large bowl and then mix with the dill, Maldon Salt, horseradish sauce, and golden caster sugar.
Place the salmon, flesh side up, in a baking dish which comfortably fits it, and then spoon and press the beetroot cure on to the fish. Press and pack it in firmly and make sure it is covered all over. Then tightly wrap the tray in cling film and place in the fridge for 2 – 3 days.
Once a couple of days have passed and it’s time to serve the salmon, remove it from the fridge and wash the cure off. Then place on a board and use a sharp knife to thinly slice. Serve the salmon with the fennel salad, lemon wedges, slices of soda bread and caper berries.
What’s better than the decadent, light and airy dessert of a soufflé? Get baking with this easy-to-follow recipe, where we use pistachio cream to give a glorious, nutty tone to the dish. We use Le Cresuet’s Mini Ramekins to hold the soufflé in place whilst it gently bakes in the oven. However, don’t stop there with these little sweet treats!
We also show you how to create a coulis sauce, which is a smooth enhanced by the tang of cranberries to give a balance to the sweetened pudding. Serving this in Le Cresuet’s Small Stoneware Jug will make pouring of the cranberry coulis much easier whilst serving to your guests.
Start by making the base of the soufflés (the panade). Add the milk to a saucepan and whisk in the cornflour and a pinch of Maldon Salt until dissolved. Stir in the 50g of sugar and pistachio cream and place onto the heat. Allow the mixture to come to the boil and then continue stirring until the mixture thickens (3- 5 minutes). Then remove from the heat and cool. Once cool place in the fridge to cool completely.
Preheat the oven to 180C and place a baking tray in the oven to heat up (this will help the soufflés rise).
Prepare the ramekins by greasing with butter and the dusting out with icing sugar. Set aside.
Place the egg whites in a bowl and whisk until foaming. Then slowly add the 150g of sugar, a tablespoon at a time. Keep whisking until all sugar is added and the meringue has reached medium soft peaks.
Measure out 300g of the chilled panade mixture and add the final 20g of pistachio cream. Then carefully fold in the meringue egg whites being mindful not to knock the air out of the mixture. Spoon the mixture into the ramekins and smooth off the top with a palette knife. Then use a cutlery knife to “top hat” around the top rim. Place into the oven on the baking sheet for 8 – 10 minutes (do not open the door).
Remove from the oven, dust with icing sugar and serve immediately with pistachio ice cream and cranberry coulis.
Aubergine lends itself brilliantly here as it is such a meaty vegetable that works perfectly with Asian flavours. Sandwiched between fluffy homemade bao buns and topped with pickled smashed cucumber, salty peanuts, and lots of coriander – these are so good, and you really won’t miss the meat.
Start by making your bao buns – in a large bowl, mix together the flour, caster sugar and Maldon Salt. In a small bowl or jug mix together 1 tbsp of warm water with the yeast and a pinch of sugar and then make a well in the flour and add the yeast mixture along with the milk, oil, rice vinegar and water. Mix to make a dough.
In a kitchen aid, knead the dough with the dough hook for 5 minutes until smooth and springy. Place in an oiled bowl and cover with clingfilm, leaving it to prove until doubled in size.
Place the dough back into the kitchen aid and add the baking powder, kneading again for 5 minutes. Make into 18 balls of dough, rolling them in your hands and then placing onto a lightly oiled tray.
Roll them out with a rolling pin into an oval shape (makes roughly 18) and then use some oil and a chopstick to fold them into little envelopes. Place each one onto some baking parchment and leave to prove again until they double in size.
Once risen. Heat a steamer with some water at the bottom. Steam the buns on their sheets of parchment until puffed up and fluffy.
Before you steam the buns, make the aubergine filling. Mix together the miso, rice vinegar, agave and mirin in a small bowl. Cut the aubergine into chunks and toss well in the miso glaze. Place into the preheated oven and roast until soft, charred and sticky.
To make the pickled cucumber, cut the cucumber in half and then skin side up, bash the cucumber with the back of your knife so it breaks up on the board. Then roughly chop it into small pieces. Place in a bowl along with the garlic, rice vinegar, soy sauce, chilli oil, sugar, and sesame oil. Toss well so it is all coated and leave to infuse.
Serve the bao buns filled with the sticky aubergine, some of the smashed cucumbers, sliced radishes, chopped salted and roasted peanuts, sesame seed shichimi and coriander.
Cauliflower is a wonderfully versatile vegetable, which often gets overlooked in my opinion. It has a delicate earthiness to it which marries really well with fragrant spices. These koftas are packed full of flavour, and when piled up in a soft flatbread with the creamy herbed yoghurt, pickled red cabbage salad, zesty pomegranate and mint it’s a pretty exciting mouthful.
Start by making your koftas – preheat the oven and then whack in the cauliflower florets drizzled with oil to roast. Once they are roasted, allow them to cool slightly before adding them to the food processor along with chickpeas, halloumi, parsley, coriander, cumin, paprika and cinnamon and a generous pinch of Maldon Salt. Season them well. Blitz until they form a rough paste.
Shape the kofta mix into small balls and place onto a tray or plate in the fridge to firm up until you are ready to fry them.
To pickle the red cabbage – finely shred the cabbage and place in a large bowl. In small pan add the water, Maldon Salt, sugar, spices, vinegar and lime juice. Gently heat the pickle brine until the sugar and salt have dissolved. Pour this over the cabbage and then set aside. You can do this a day ahead and leave covered in the fridge.
Mix up the herbed yoghurt – yoghurt, mint, dill and Maldon salt. Set aside.
Make the flatbreads – mix the self-raising flour, baking powder, yoghurt, 1 tsp salt and the nigella seeds to make a rough dough. Gently knead it to make it smooth. Break off small pieces and roll them on a lightly floured surface with a rolling pin. Heat a frying pan or griddle pan and fry off the flatbreads on each side until slightly charred in spots and cooked through. Brush them with oil and then wrap them in foil and keep warm in the oven while you make the rest.
Heat 2cm high of vegetable oil in a high sided sauté pan. When the oil is hot, fry off the koftas until they are golden brown on all sides. Remove from the hot onto a try lined with kitchen roll to soak up any excess oil.
Serve up! Take a warm flatbread and spread with the herbed yoghurt. Pile on some pickled red cabbage and then the koftas on top. Finish with some mint leaves, pomegranate seeds and a drizzle of pomegranate molasses.
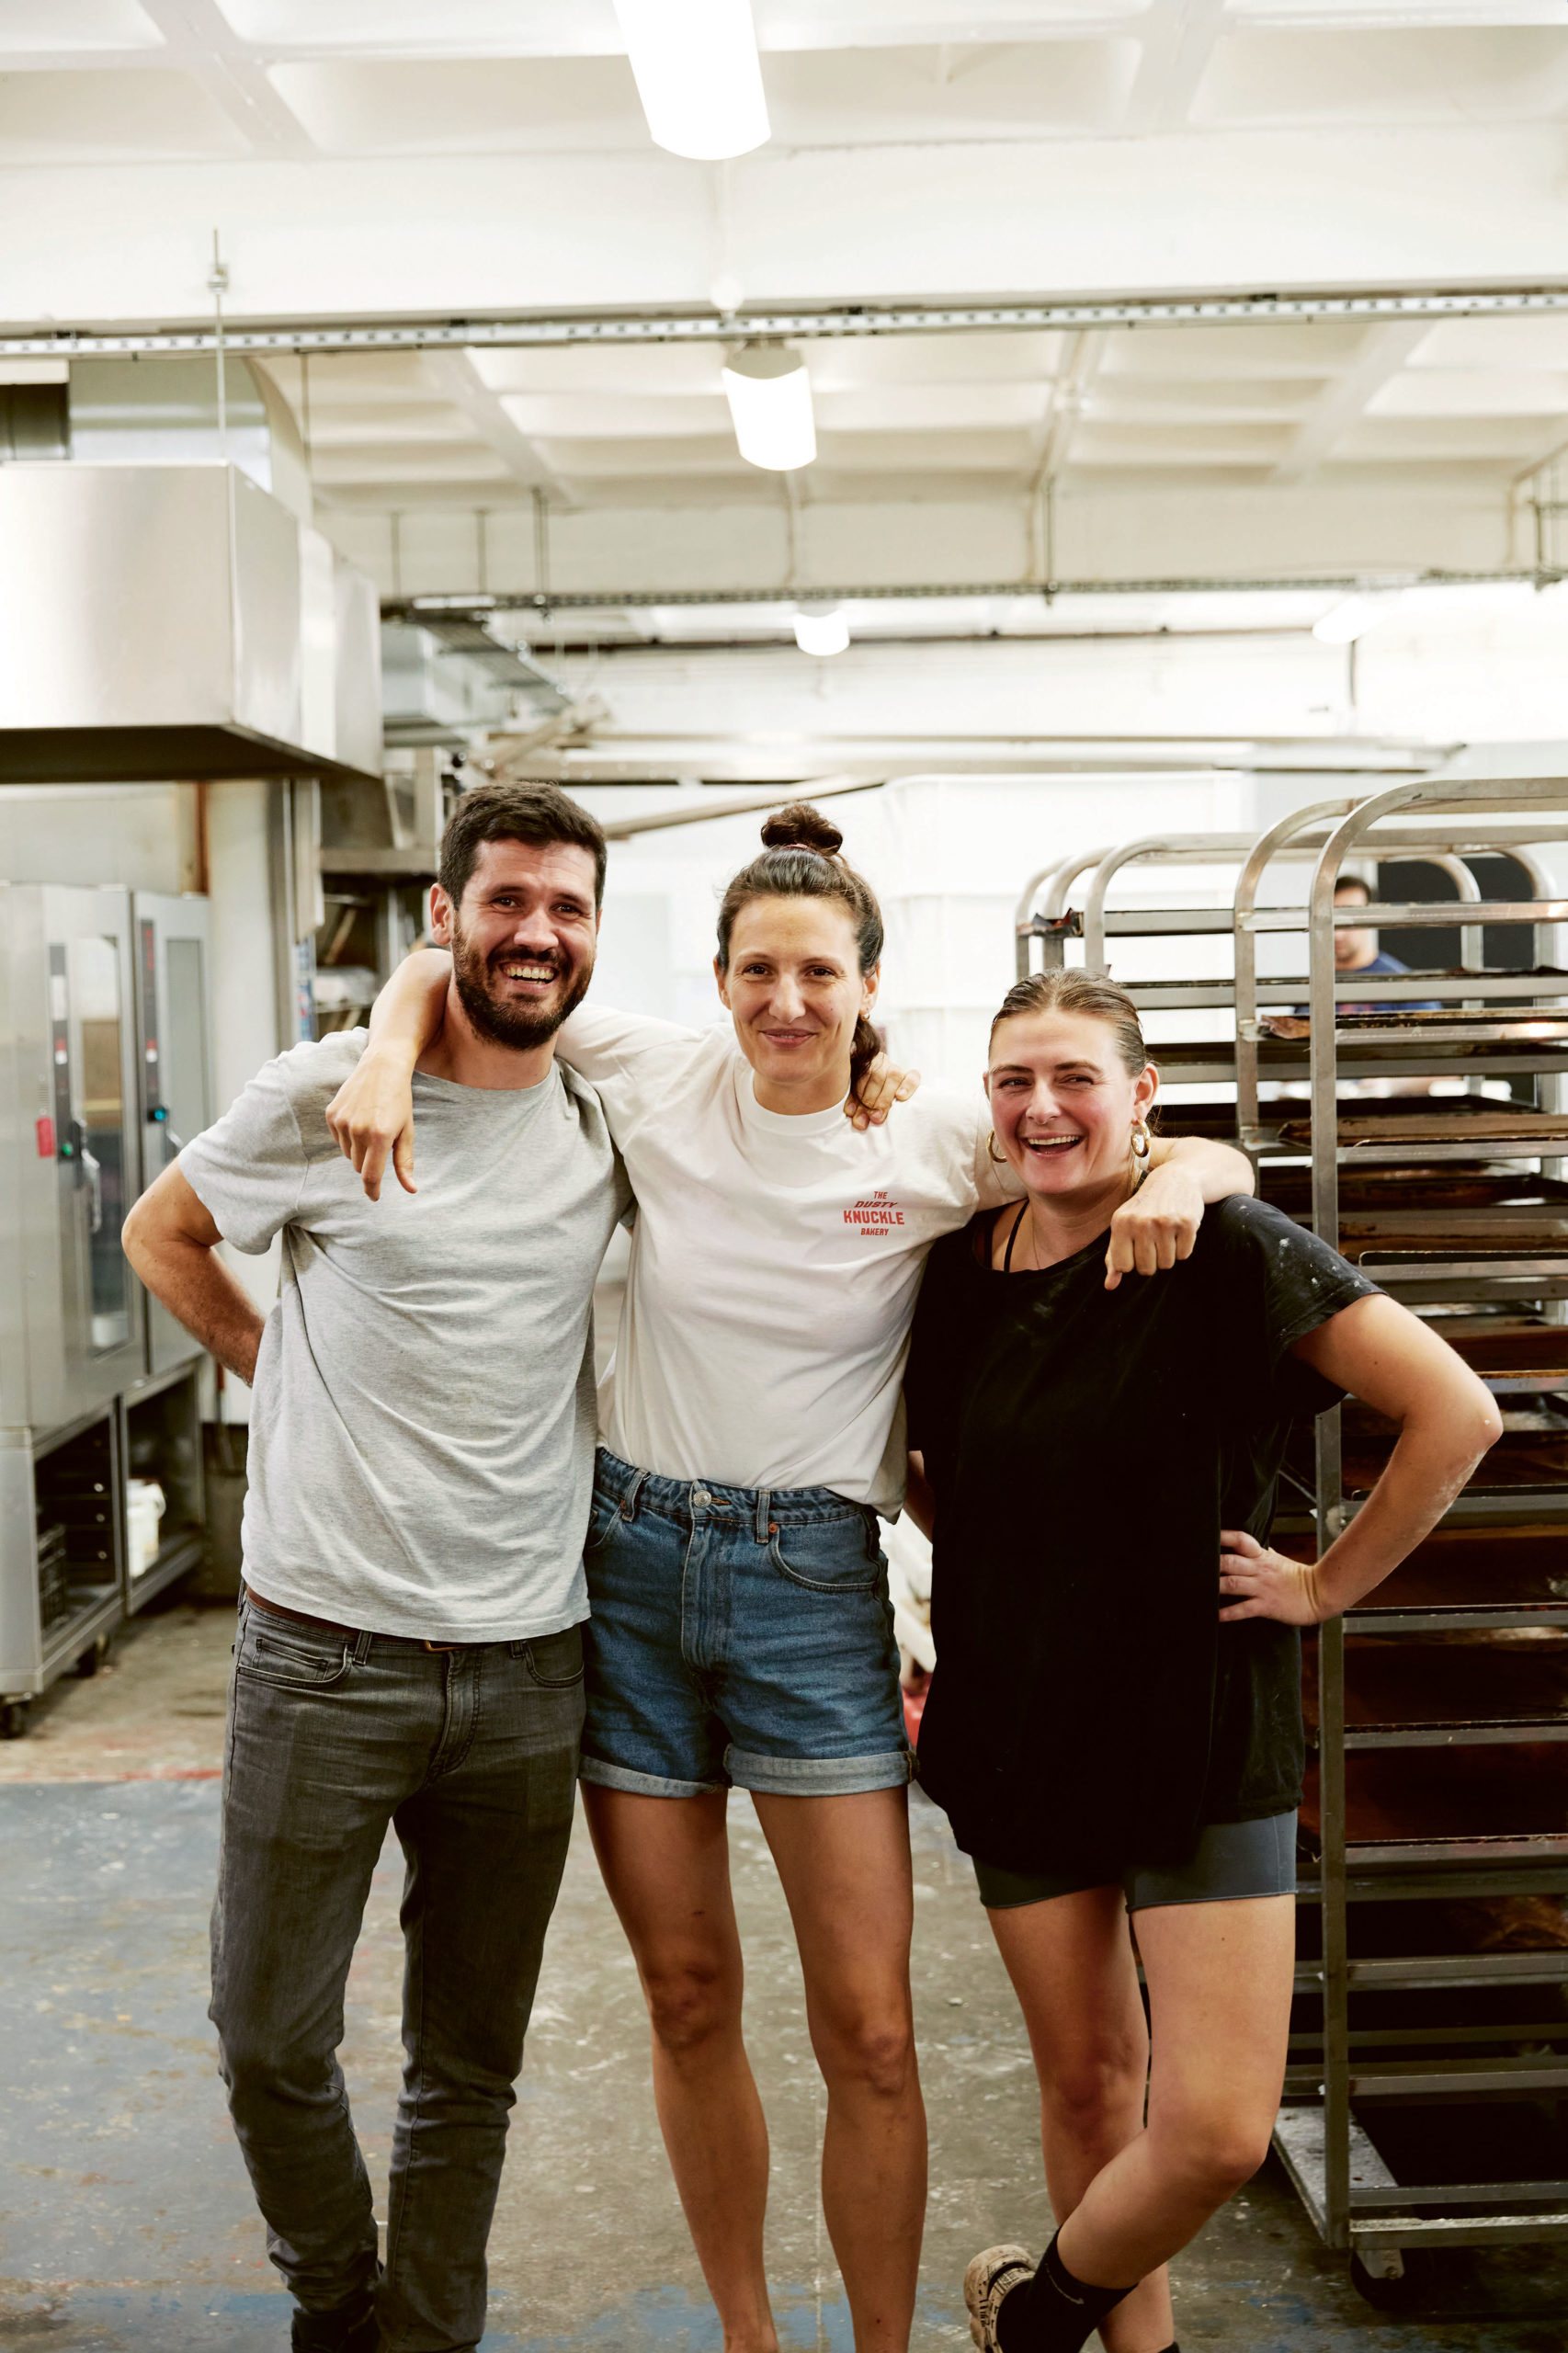
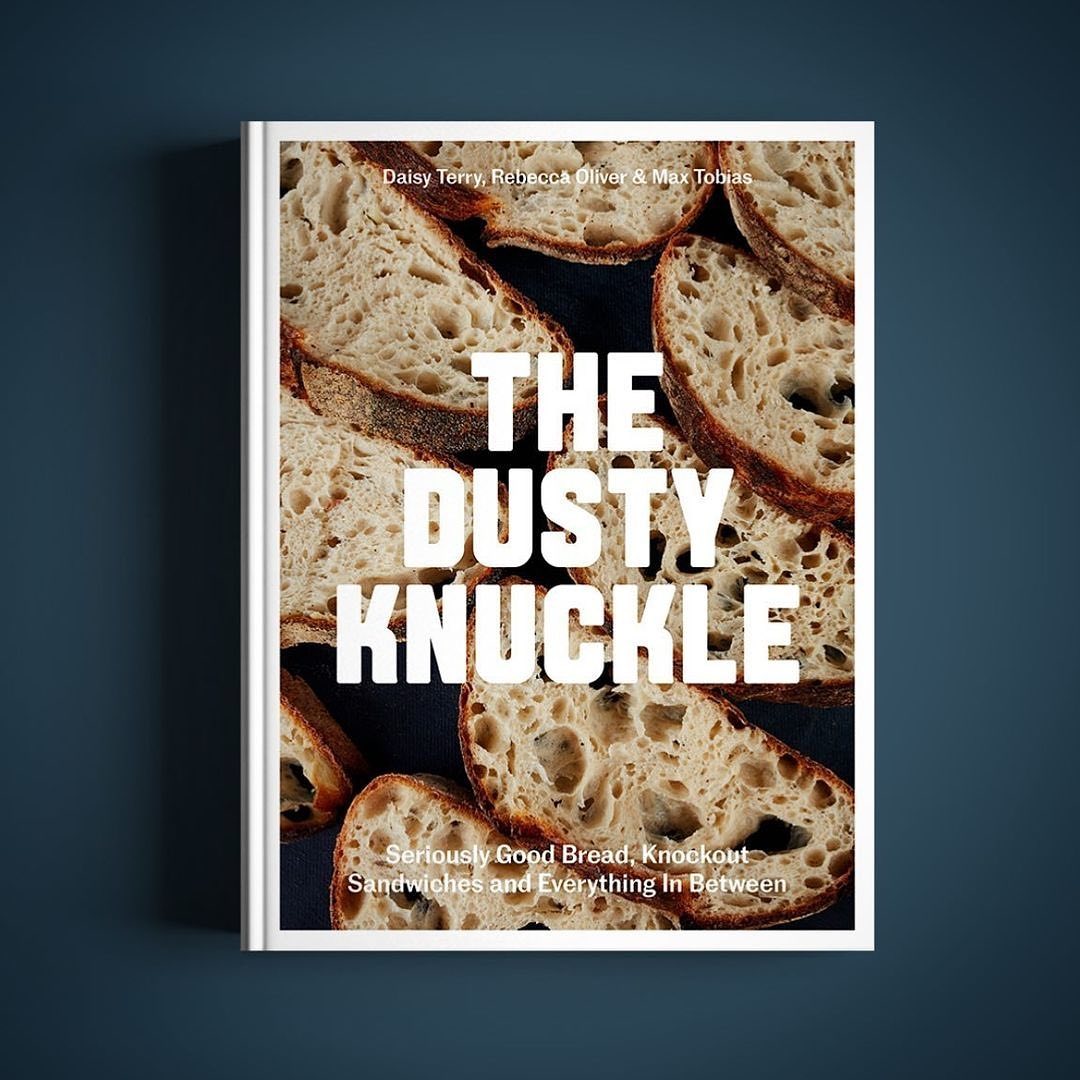
The Dusty Knuckle is East London’s favourite bakery and café with being experts in creating seriously good bread, knockout sandwiches and everything in between! Having two locations based in Dalston and Harringay, The Dusty Knuckle offer an abundance of baked goods, where you can wine & dine and even attend their baking classes during the weekend, learning how to make their ‘knock-out’ breads.
Sharing their baking secrets is at the heart of the bakery, where managers Max Tobias, Rebecca Oliver and Daisy Terry have shared it all with the release of their latest cook book, ‘The Dusty Knuckle’, whereby Maldon Salt is credited for being the bakery’s salt of choice!
Here we delve into one of the recipe’s in which The Dusty Knuckle have used Maldon Salt to enhance their dish…the infamous Focaccia!
For the poolish, add the water and yeast to a bowl, mix until your yeast is dissolved, then throw in the flour. Mix quickly with your hands; this will be wet and sloppy and you are only looking to mix it enough so that there are no wet bits and no dry clumps. Scrape your bowl down, cover it with a clean cloth or lid and leave somewhere warm to ferment. How long this takes depends on the heat of your home, your yeast, your flour, your hands. You are basically looking for it to have grown to almost triple in size and for the surface to be covered in little bubbles, roughly 2 hours. Use it before it begins to deflate and drop down the edges of the bowl.
Add the first water addition for the dough, and the yeast. It will separate and feel slimy; don’t worry, this is normal. Add your flours and mix thoroughly until everything is combined. If you are doing this by hand, it will take around 4 minutes, and if using a mixer with a dough hook, around 2 minutes on slow speed. Scrape your bowl down, cover and leave for an hour. This rest period (called autolysis) allows the flour to further absorb the water, which is important in this recipe as it uses nearly the same amount of water as flour. It should rise nicely and it may get a bit of a crusty top: don’t worry about this, it’ll all get mixed in.
Add the second water addition and Maldon Salt, and mix in with your hands (again, it will break up, but don’t worry, it’ll soon come back together). Once your dough is looking a bit more coherent, you will need to work it a bit. The easiest way to do this is to grab one side, stretching it upwards as far as it will allow you, then fold it back on itself, turn the bowl slightly and repeat, working your way around and around (keep the dough in the bowl; you will thank yourself when cleaning up later). The dough will start off shaggy and will tear easily, but will soon become elastic and silky. This will probably take you about 10 minutes, but don’t scrimp on the time here: you are building strength in the dough, which is the key to that chewy delicious bread. You can use a mixer – we do – for this, mixing for 2 minutes on slow speed, then 4 minutes on fast.
Check your dough for elasticity: does it stretch without tearing? If it’s still a bit weak and tears easily when you lift it, give it a couple more minutes.
Once mixed and silky and lovely and smooth and soft, take the dough out of the bowl, pour 2 generous glugs of olive oil into the bowl and replace the dough in the bowl. Cover and leave to rest for 1 hour, then fold and leave for another hour, before folding again and leaving for another hour (3 hours in total from mixing the final dough). To fold the dough, grab the edge of the dough with oily fingers and stretch it as high as it will let you, then fold it back over itself. Do this 4 times (north, south, east, west) to complete one fold.
After 3 hours your dough should be feeling pillowy, soft and silky, and bubbly. Turn it out onto a well-oiled standard-sized baking tray and fold it neatly into a square shape (don’t worry if this is much smaller than the tray as it will sprawl out and fill the tray) and leave somewhere nice and warm, and not too airy, for 1 hour. (If following the morning bake schedule, then this is when you would put it in the fridge – it can be in the fridge at this stage for up to 12 hours.)
Fold each side in to create a square and leave it for another hour, then do this one more time and leave for its final hour.
Give it a prod: if it feels like it will let you, gently slide oily hands right underneath and slowly stretch it out, pulling from the central underbelly. Be delicate here: it should feel like a wobbly, airy pillow (if it doesn’t leave it another hour). Ensure you do not tear the dough. It will relax and start to fill the tray. Heat your oven to its hottest setting.
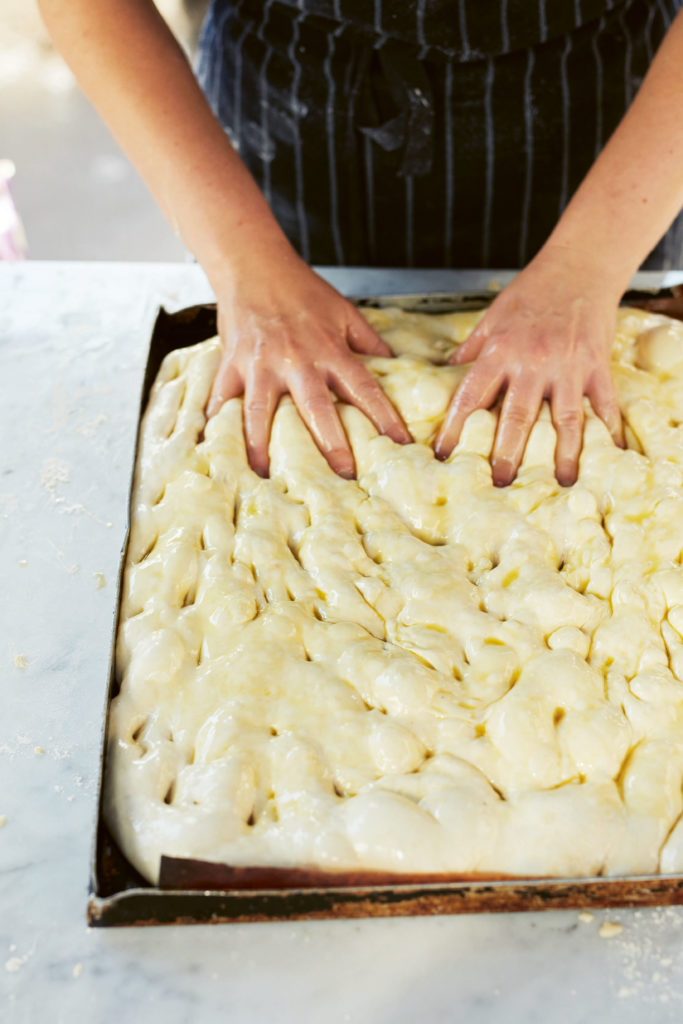
Whisk together 200ml (7fl oz/scant 1 cup) olive oil and 100ml (3 ½ fl oz/scant ½ cup) water until cloudy and immediately pour all over the top of the dough – be super-generous here. Dimple the top of the dough with your fingertips – sharp hard dimples are better than little soft ones so don’t worry if you go right through to the tray or even make a little hole; this will move the bubbles around inside and help get that chewy, open structure we are all looking for. Because it is so oily and bubbly, and nice to touch, it is tempting to over-dimple which can knock the air out, so just prod it enough so the surface is evenly dimpled. Sprinkle with Maldon Salt and bake for 15 minutes or until deep and golden brown. Be super-careful taking this out of the oven as the oil is hot and there will be excess on the tray.
Remove from the tray straight away and leave to cool on a wire rack.