These roast potatoes will be the star of the festive season! They might even steal the spotlight on the big day. Thanks to Maldon Garlic Sea Salt, these epic roast potatoes have a double layer of seasoning. Use the Maldon Garlic Sea Salt when parboiling the potatoes and then again after roasting to layer the flavour. Resulting in the crispiest roast potatoes with fluffy insides. If that’s not delicious enough, they’re served with a sticky garlicky glaze, made with honey and balsamic vinegar, plus a sprinkle of Maldon Garlic Sea Salt of course.
Here is how to make garlic roast potatoes
Preheat the oven to 200°C/180°C fan/gas mark 6 .
Peel and slice the potatoes in half.
Put the potatoes in a pan of cold salted water, season the water with a generous pinch of Maldon Garlic Sea Salt. Bring to the boil then simmer gently for around 6 – 8 minutes until they are about half cooked.
Drain and shake them hard in a colander so that you rough up the edges – this gives you super crunchy potatoes. Leave them to steam cool in the colander.
Add the oil to a deep roasting tray. You can also use duck or goose fat depending on what you prefer. The tray should be big enough so the potatoes are in a single layer. Pop the tray in the hot oven for 5 minutes or until the oil is smoking hot.
Remove the tray and carefully spoon the potatoes into the tray and baste with the hot oil, season well with Maldon Garlic Sea Salt.
Roast for 45 – 55 minutes, turning halfway through, until they are crunchy on the outside and fluffy inside.
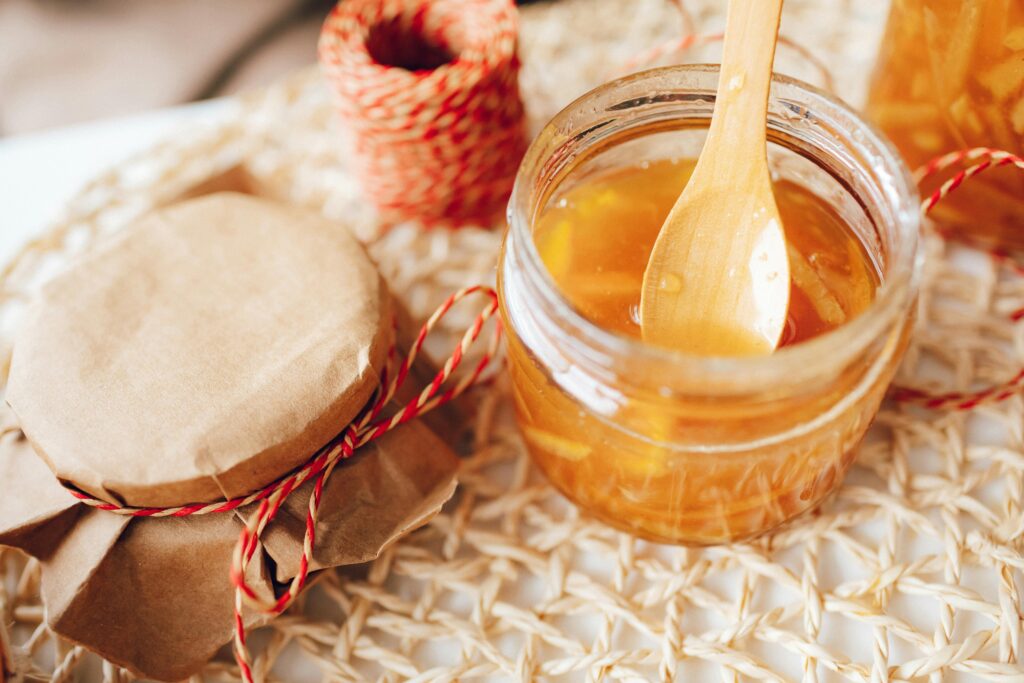
Meanwhile, make the glaze. In a small pan heat the honey on a medium heat, when it starts to bubble, stir in the balsamic vinegar and a generous pinch of Maldon Garlic Sea Salt. Simmer for a few minutes until it starts to thicken.
Plate up the roast potatoes and pour over the glaze. Enjoy!
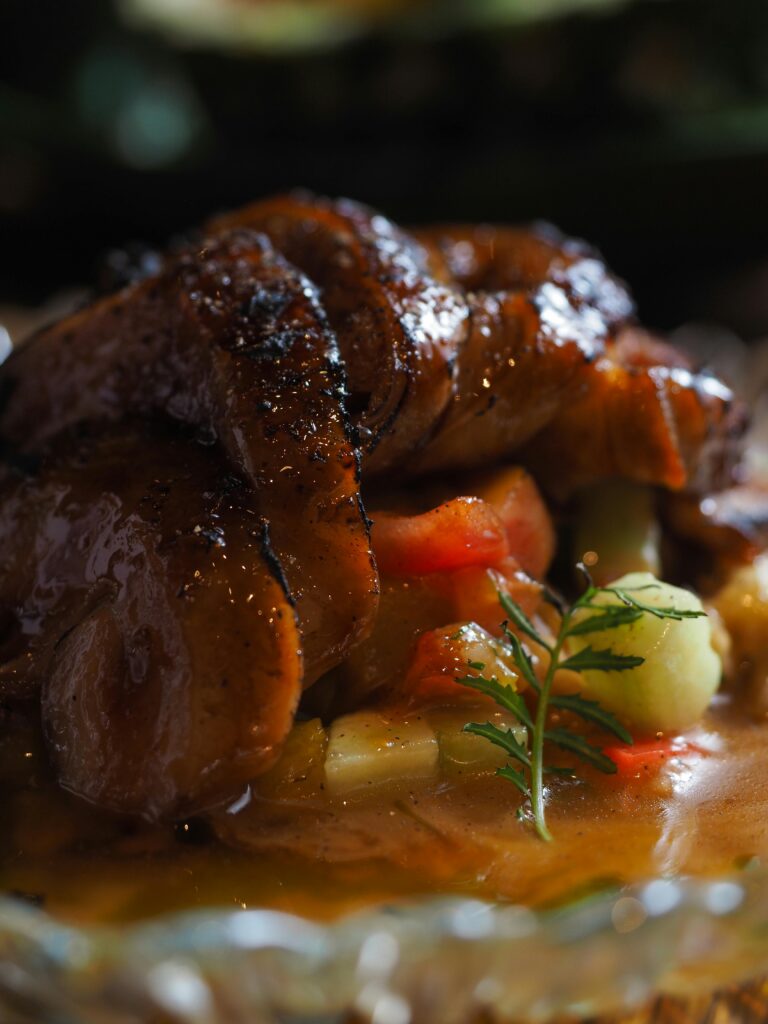
Celebrate the holidays in style with a Christmas Spiced Orange Roast Duck recipe that is sure to become the star of your Christmas dinner. This elegance dish features succulent duck roasted to golden brown perfection, infused with festive flavours and aromatic spices. The tender meat is beautifully complimented by a rich orange glaze, offering a citrusy brightness that balances the deep, savoury notes of the duck. With crispy skin seasoned with Maldon Sea Salt flakes and a warming blend of Christmas spices, this roast duck promises a memorable dining experience, perfect for special occasions!
The combination of orange and spices elevates the natural richness of the dusk, creating a dish that’s both indulgent and full of holiday spirit. You can make the glaze with freshly squeezed oranges (we used clementines), caramelized shallots, and a hit of cinnamon to enhance the duck’s succulent meat, while the crispy skin adds an irresistible crunch. Try adding a pinch of star anise to bring a sophisticated flavour to the dish! Whether you’re hosting a family gathering or a festive dinner party, this spiced roast duck recipe is a showstopping centrepiece that captures the warmth and comfort of Christmas in every bite.
How to Roast Duck Perfectly
Roasting duck perfectly involves ensuring the skin is crispy while keeping the meat tender and succulent. Start by patting the skin dry and rubbing Maldon Smoked Sea Salt into it. Place the duck breast side down initially to allow the fat to render out, ensuring a crispy skin as it roasts evenly. Always keep an eye on it and baste regularly to maintain moisture.
Making the Christmas Spiced Orange Roast Duck
Prepare the Ingredients:
Preheat your oven to 180°C. Pat dry the skin of the duck and rub 1 tsp of Maldon Smoked Sea Salt into it. Peel and halve the banana shallots and set aside. Halve the clementines and prepare your potatoes for roasting.
Roast the Duck:
Place the duck breast side down in a roasting tin with the shallots and roast for 1 hour. While the duck is roasting, boil the potatoes until tender and set aside to steam and fluff.
Turn and Season the Duck:
After 1 hour, drain off the fat (reserving for the potatoes). Carefully turn the duck breast side up, surround it with 3 halved clementines, a cinnamon stick, and bay leaves. Continue roasting for another hour, basting occasionally.
Crispy the Potatoes:
In a separate roasting tin, roast the potatoes in the reserved duck fat, seasoning with Maldon Smoked Sea Salt. Ensure they are crispy and golden brown.
Create the Glaze:
In the final stages of cooking the duck, reduce the juice of the remaining 3 clementines in a small pan. Add honey and Seville orange marmalade and simmer until it forms a sticky glaze. Brush this over the duck and roast for the final 10 minutes.
How to Make Christmas Spiced Orange Roast Duck
Preheat oven to 180C. Pat the skin of the duck dry and rub 1tsp of the Maldon Sea Salt into the skin. Place the bird breast side down in a roasting tin with the shallots and roast for 1 hour.
While this is roasting, peel and halve any large potatoes. Place them in a pan of water and boil them for 8 minutes, or until a knife can be inserted. Then tip the potatoes into a colander in the sink and allow them to steam. Shake the colander a little to fluff up the potatoes and then set aside.
After 1 hour, drain off all the fat reserving it to cook your potatoes in! Then carefully lift and turn the duck in the tray. Surround it with 3 clementines, halved, the cinnamon and bay and return to the oven for a further one hour (keep watching and basting).
Meanwhile, roast the potatoes in the duck fat adding a good pinch of Maldon Sea Salt.
Before the end of the cooking, add the juice of the 3 remaining clementines to a small pan and simmer until reduced by half, then add the honey and marmalade. Brush the duck with the sticky glaze and return to the oven for the final 10 minutes.
Serve the duck with the roast potatoes, braised red cabbage and sprouts.
Can You Freeze Cooked Duck?
Yes, you can freeze cooked duck. Once fully cooled, wrap the duck tightly in foil or plastic wrap and then place it in a freezer-safe bag. It can be stored in the freezer for up to 3 months. Thaw in the refrigerator before reheating.
Marmalade Glaze for Duck
A marmalade glaze adds a sweet and tangy dimension to roast duck. Reduce the clementine juice until it thickens slightly, then stir in honey and Seville orange marmalade. Brush over the duck in the final stages of roasting for a glossy and flavourful finish.
What is an old fashioned
The Old Fashioned cocktail is a timeless classic that embodies the essence of simplicity and elegance in mixology. Traditionally served in a lowball or rocks glass, this whiskey cocktail is a staple in any bartender’s repertoire!
Classic Old Fashioned cocktail
The perfect Old Fashioned consists of stirring together two ounces of bourbon, whiskey or rye, a rich simple syrup, and Angostura bitters. A handful of ice cubes is added, before the drink is gently stirred to chill and dilute to perfections. The final touch is an orange twist, or orange peel, and a cocktail cherry (Maraschino cherries), which not only adds visual appeal, but also enhances the drink’s complex flavours, adding sweetness to the bitter cocktail.
The beauty of the Old Fashioned lies in it’s versatility and balance. While rye whiskey is the traditional choice, bourbon is also popular choices for those who prefer a slightly sweeter profile. Modern variations may also use simple syrup or even maple syrup in place of the more traditional sugar cube, offering a different dimension of sweetness. Whether enjoyed a pre-dinner aperitif or a nightcap, the Old Fashioned remains a quintessential whiskey cocktail that has stood the test of time.
What is the origin of the Old Fashion?
According to Nio Cocktails, the Old Fashioned was first created in the 1800s in America. It was then known simply as the ‘Whiskey Cocktail’ which included a spirit, sugar, water and bitters. It was a standard, quick and easy cocktail to make which was enjoyed by many, and often enjoyed in the morning as a hangover cure!
However, Difford’s Guide proclaims that although the cocktail was popularised in America, the origins of a cocktail that comprise of a spirit, sweetener and bitters are English, followed by the creation of the first aromatic bitters by London apothecary, Richard Stoughton in 1690.
Why is it called an Old Fashioned?
By the 1870-1880s, bartenders began adding their on ‘twists’ to the Whiskey Cocktail, such as adding more sweeteners, garnishes and even changing the spirit from rye whiskey to bourbon. Customers began to rebel against the innovated cocktail, preferring the traditional version instead. As a result, customers would order the ‘old-fashioned whiskey cocktail’ at the bar. Eventually the name was shortened to the title we know today, ‘Old Fashioned’.
Here’s how to make and serve an old fashioned
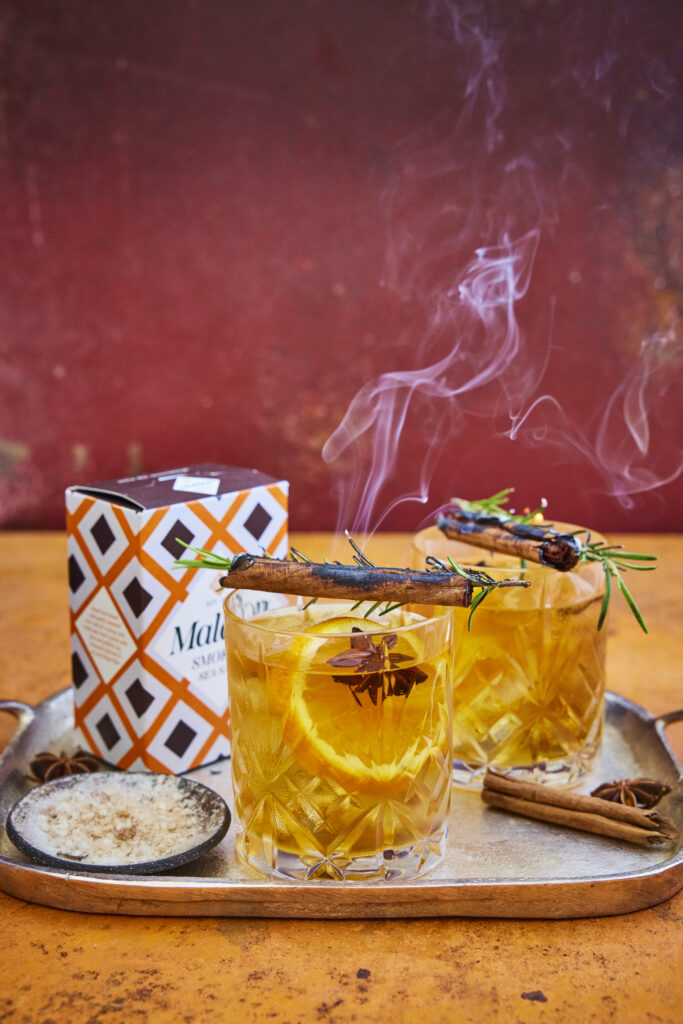
Start by soaking the rosemary and cinnamon stick in some high proof spirit for a few minutes – this will be the flaming part of the cocktail.
Take a tumbler and add the sugar, bitters and Maldon Smoked Sea Salt, stirring together. Then fill the glass with ice and add the whiskey or bourbon and stir again. Add a splash of soda water if you like and a slice of orange.
Then take the soaked rosemary and cinnamon stick and carefully balance on the rim of the drink. Use a lighter or matches to ignite them – they should flame and smoke. The smell of the smoked rosemary and cinnamon add Christmassy notes to your cocktail.
How to spice up and old fashioned
Although adding an orange twist to your classic Old Fashioned adds sweetness, it’s pretty simple! We’ve shared some of our favourite ways to elevate your Old Fashioned, with new and exciting twists to try!
Brown Butter Old Fashioned
If you’ve never tried a brown-butter Old Fashioned, then you’re missing out!
This recipe was shared by Liquor.com, where they highlight how the flavours of bourbon compliments the rich nuttiness of brown butter. Simply heat unsalted butter in a saucepan until it lightly browns and has a nutty aroma. Then, gently combine the browned butter with a bottle of bourbon. Pour the blend into a highball glass with ice, adding brown-sugar syrup and Angostura bitters before finishing with a maraschino cherry.
Honey Old Fashioned
If you have a sweet tooth, the The Glenlivet shared a delicious Honey Old Fashioned recipe. Rich, runny honey is incorporated with the bold flavours of the classic Old Fashioned mix, creating an smooth drink that’ll go down a treat with your guests.
Pumpkin Spice Old Fashioned
If are wanting something more ‘cosy’ in flavour, Liquor.com recommends the ever-so-popular pumpkin spice flavour with an Old Fashioned. You can achieve this by making a homemade syrup, adding pumpkin puree, pumpkin pie spice, brown sugar, and vanilla extract. Combine the pumpkin pie liquid mix with your bourbon and orange bitters and you will taste the delightful automanual flavours.
Old Fashioned vs. Manhattan
The Old Fashioned and The Manhattan are two of the most popular whiskey cocktails. Although the two cocktails have many similarities, the have different flavours.
What is a Manhattan?
This is a classic cocktail, comprising of whiskey (usually rye), sweet vermouth, and bitters. It’s served in a stemmed glass, and garnished with a cherry.
What is the difference between an Old Fashioned and a Manhattan?
The main difference between the Old Fashioned and Manhattan is the sweeteners used in each. The Old Fashioned traditionally uses sugar, either as a cube or in simple syrup form. In contrast, the Manhattan uses sweet vermouth, which is a type of fortified wine. The vermouth adds a earthier, spicier notes in comparison to the Old Fashioned, which is sweet yet bitter. As a result, many would say the flavour profile of the Manhattan is more in-depth and complex, whereas the Old Fashioned is more simple.
Pisco Sour origin
The Pisco Sour is a classic South American cocktails, known for it’s refreshing balance of citrus, sweetness, and the distinctive aroma of pisco. Pisco is a spirit made from fermented grape juice. Originating in the early 20th century, it’s believed that the cocktail was popularized by American bartender Victor Morris, created within his very own bar, Morris Bar, in Lima, Peru.
The Pisco Sour combines pisco – whether Peruvian or Chilean – with fresh lime juice, simple syrup, and egg white. The egg white creates a frothy, smooth texture at the top of the cocktail. This beverage is typically garnished with a dash of Angostura bitters, adding a subtle spice to it’s otherwise tart and tangy profile.
What is Pisco?
Pisco, the main ingredient of the Pisco Sour, is distilled from aromatic grape varieties, with Peruvian pisco traditionally being unaged and produced in a pure form, like Pisco Acholado or Mosto Verde, and Chilean pisco often aged in wood.
The variety of pisco used can significantly influencer the cocktail’s flavour, with brands like Macchu Pisco and Campo de Encanto offering diverse expressions. The Pisco Sour is a classic that’s intertwined with South American culture, rivalling other sour/bitter cocktails such as the Whiskey Sour.
Here’s how to make a clementine Pisco Sour
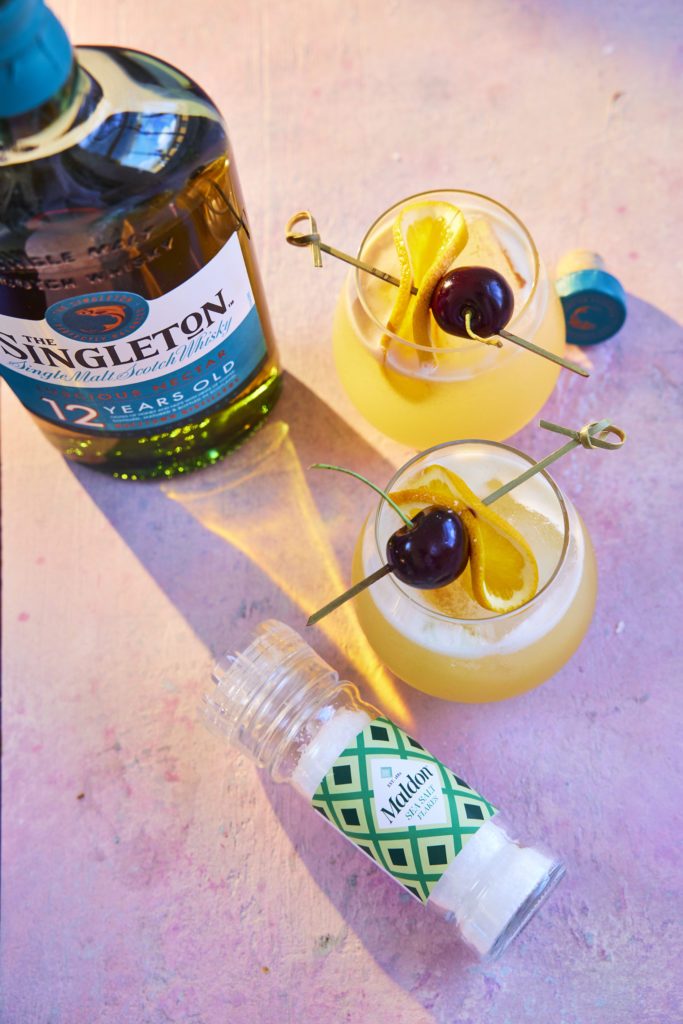
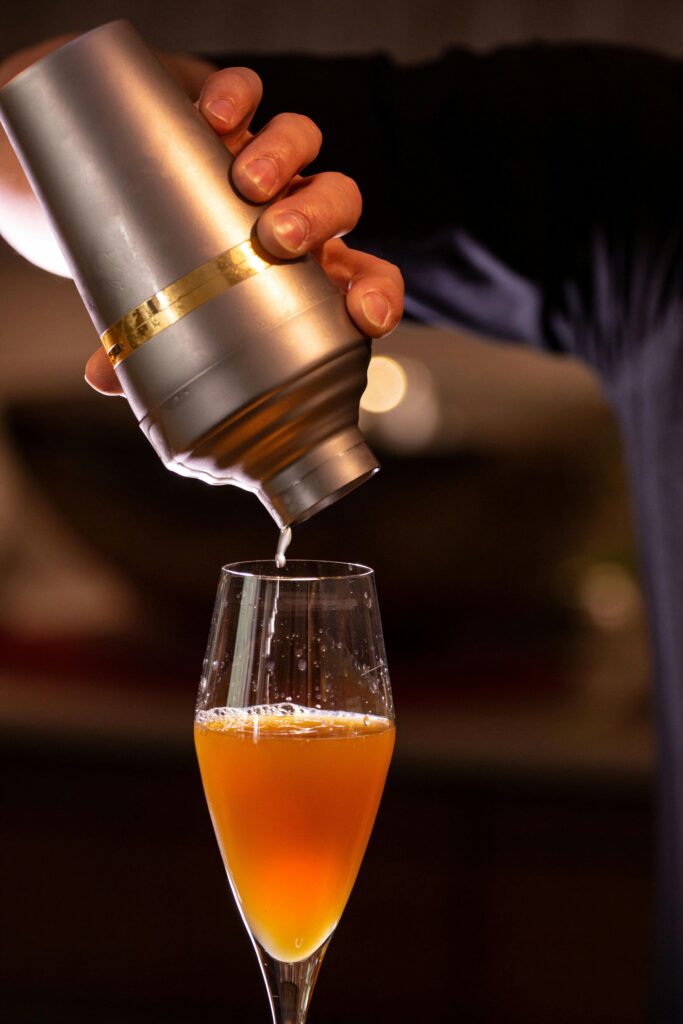
Place the sugar syrup in a cocktail shaker along with the lemon juice, pisco, Maldon Sea Salt, egg white and clementine juice. Add some ice to the cocktail shaker, close firmly and shake well for 30 seconds.
Strain this into your martini or nick & nora glass.
Garnish with a wheel of clementine, a sprig of rosemary and some pomegranate seeds, if you like.
Can you freeze a Pisco Sour?
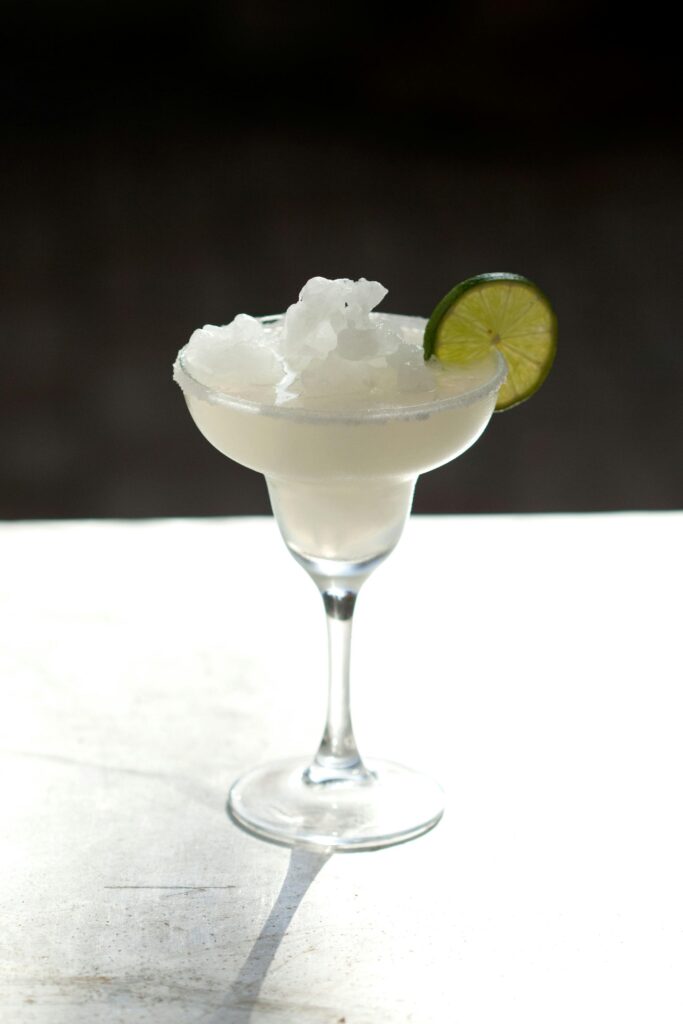
Today we see many variations of the Pisco Sour, such as the Frozen Pisco Sour, which is equally delicious!
An excellent recipe, created by A Beautiful Mess, demonstrates just how easy it is to transform a classic pisco sour to a frozen Pisco sour.
Serves: 1
Ingredients:
1 1/2 oz Pisco
2 tbsp sugar
Juice from one lime (roughly 3/4 oz.)
Zest from one lime
1 egg white
1 to 1 1/2 cups of ice
A pinch of Maldon Sea Salt, to elevate the sweetness
Method:
In a blender, combine the sugar, lime juice, lime zest and Maldon Sea Salt flakes. Blend until the sugar dissolves.
Add the pisco, egg white, and ice. Blend until combines and very frothy.
Pour into a glass and enjoy!
Tag us in your creations!
Make sure you have your Maldon Salt ready when making your pisco sours! If you are running out, please feel free to browse on our Where to Buy Page to find your nearest store in which stocks our beloved Maldon Salt.
Lastly, we LOVE seeing your creations – please tag us on Instagram using the #maldonsalt so we can share your own take on the recipes!
With a brush, begin ‘painting’ the wine glass on the side with sugar syrup. Sprinkle Maldon Sea Salt over the sugar syrup.
Fill wine glass with cubed ice.
Build drink in order of ingredients.
Briefly stir to mix ingredients.
Sip slowly and enjoy!
Rim the small rocks glass with a lime wedge and dip it in the Maldon Chilli Sea Salt.
Add the ingredients to the cocktail shaker in the order listed.
Add cubed ice to shaker and the rock glass.
Strain cocktail into glass.
Sip slowly and enjoy!
In a cocktail shaker combine all ingredients and stir the mixture thoroughly to ensure all ingredients are well-blended.
Transfer the mix into a soda stream bottle, filling it only one-third full to avoid excessive pressure build-up
Ensure the liquid is very cold before carbonating (refrigerate for several hours or use an ice bath).
Use the soda stream to carbonate the mixture, as per your machine’s instructions.
Pour 125 ml of the carbonated Pyramid Paloma mix into a coupe glass.
Float a fresh basil leaf on top of the drink.
Sprinkle Maldon Garlic Sea Salt onto the basil leaf for a salty and aromatic garnish.
To prepare the verdita: In a blender, mix fresh pineapple juice, ginger juice, simple syrup, and Bittermens Xocolatl Mole, and blend until smooth.
Add mint leaves and coriander, then blend.
Strain to remove any pulp.
Take a rocks glass and run a lime wedge along the rim.
Dip the rim into Maldon Chilli Sea Salt and coat it evenly.
In a cocktail shaker, add 50 ml of gin, 50 ml verdita, 25 ml fresh lime juice and a dash of chili bitters (optional).
Add ice cubes and shake vigorously.
Strain the mixture into the prepared rocks glass filled with cubed ice.
In this cookbook, Romy shares over 70 recipes which are inspired by her beloved family, with flavours that define her childhood. From iconic dishes like Butter Chicken, which is a staple in every Indian home, to the delicious simplicity of a Masala Omelette, Romy invites cooks to savour the authentic tastes of India without a fuss! The instructions for each dish are easy to follow along with readily available ingredients. Every dish is designed with the home cook in mind, ensuring that your journey into Indian cuisine is as delightful as it is delicious!
Today we’re sharing Romy’s delicious beetroot croquettes, also known as chaap!
How to make beetroot croquettes
These beetroot croquettes (or chaap), are succulent and flavourful. They have the perfect balance of colour, texture and taste. The distinctive earth flavour of the beetroot combines beautifully with the potato, carrots and spices. It can be enjoyed as an appetiser or as a side dish.
Place the potato in a saucepan (there is no need to peel it), cover with hot water and bring to a boil. Cook the potato until the flesh is soft, then remove from the heat and leave to cool.
When the potato is cool enough to handle, remove the skin. Grate (shred) the potato into a bowl. Grate the beetroot (wear rubber gloves to prevent staining your hands) into a separate bowl, then grate the carrots into a third bowl and set aside.
Place all the whole spices in a frying pan (skillet) over a low heat and toast them until they start to release their aromas. Remove from the heat and leave the spices to cool before grinding them to a powder with a pestle and mortar.
Heat the mustard oil in a pan over a medium heat. Once the oil is hot, add the peanuts and cook for1 minute. Add the ginger and chillies, cook for 1minute, then add the grated beetroot and carrot and mix. Cover the pan with a lid and cook for 5 minutes. Add the potatoes, all the toasted spices and the Maldon Sea Salt, mix well, then cook for a further few minutes. Remove from the heat and leave the mixture to cool before rolling it into 10 equal-sized cylindrical shapes.
Whisk together the cornflour and plain flour with30 ml (1 Fl oz/2 tablespoons) water in a bowl. Place the breadcrumbs in a shallow dish. Heat the frying oil in a deep pan to 170°C/340°F. Drop in a tiny bit of batter; if it floats, the oil is hot enough. Dip one of the cylinders into the batter, then roll it in the breadcrumbs to coat it on all sides. Deep fry until golden and crispy. Repeat with all of the cylinders, then serve with your favourite chutney.
Where to buy Romy Gill’s India: Recipes from Home
You can find where to purchase Romy’s NEW cookbook here and start being creative with food and flavours in the comfort of your kitchen.
Make sure you have your Maldon Salt ready for these recipes! If you are running out, please feel free to browse on our Where to Buy Page to find your nearest store in which stocks our beloved Maldon Salt.
Lastly, we LOVE seeing your creations – please tag us on Instagram using the #maldonsalt so we can share your own take on Romy’s recipes!
In this cookbook, Romy shares over 70 recipes which are inspired by her beloved family, with flavours that define her childhood. From iconic dishes like Butter Chicken, which is a staple in every Indian home, to the delicious simplicity of a Masala Omelette, Romy invites cooks to savour the authentic tastes of India without a fuss! The instructions for each dish are easy to follow along with readily available ingredients. Every dish is designed with the home cook in mind, ensuring that your journey into Indian cuisine is as delightful as it is delicious!
Today we’re sharing Romy’s delicious Masala Crab, also known as Kekada Masala.
How to make masala crab
Simi, Romy’s childhood friend, and her share a bond rooted in the industrial New Town in Burnpur. Their common passions, particularly our love for culinary adventures, has bonded us forever. Countless college escapades involved outings to watch movies, then occasionally getting caught. The consequences were often chores piled up at home, but the shared laughter and memories made it worthwhile. It was during one of these movie escapades that she stumbled upon a scene portraying the joy of savouring crabs. Intrigued and captivated, the desire to taste the delicacy lingered in Romy’s mind. The opportunity finally presented itself when she had crab in England and then with Simi’s roots from Kerela she crafted the recipe infusing it with the flavours that complement the crab meat. This dish became the most loved starter in her restaurant. The creamy coconut milk, the pungent mustard seeds, the moreish curry leaves and the sourness of the tamarind elevates the dish.
Heat the oil in a pan over a high heat. Once the oil is hot, add the mustard seeds and curry leaves. As soon as the mustard seeds start to pop, add the garlic and cook for30 seconds, then add the onion and cook for 3–4 minutes.
Reduce the heat to medium then add the coconut and cook for 1 minute. Add the chilli powder, turmeric, ground coriander, Maldon Sea Salt, tamarind, sugar and coconut milk and cook, stirring, for a further 2 minutes.
Add the crab meat, mix well and cook for 3 minutes, then serve immediately. Romy enjoys it on crispy toasted sourdough bread, but you can also serve it with rice or any Indian flatbreads of your choice.
Where to buy Romy Gill’s India: Recipes From Home
You can find where to purchase Romy’s NEW cookbook here and start being creative with food and flavours in the comfort of your kitchen.
Make sure you have your Maldon Salt ready for these recipes! If you are running out, please feel free to browse on our Where to Buy Page to find your nearest store in which stocks our beloved Maldon Salt.
Lastly, we LOVE seeing your creations – please tag us on Instagram using the #maldonsalt so we can share your own take on Romy’s recipes!