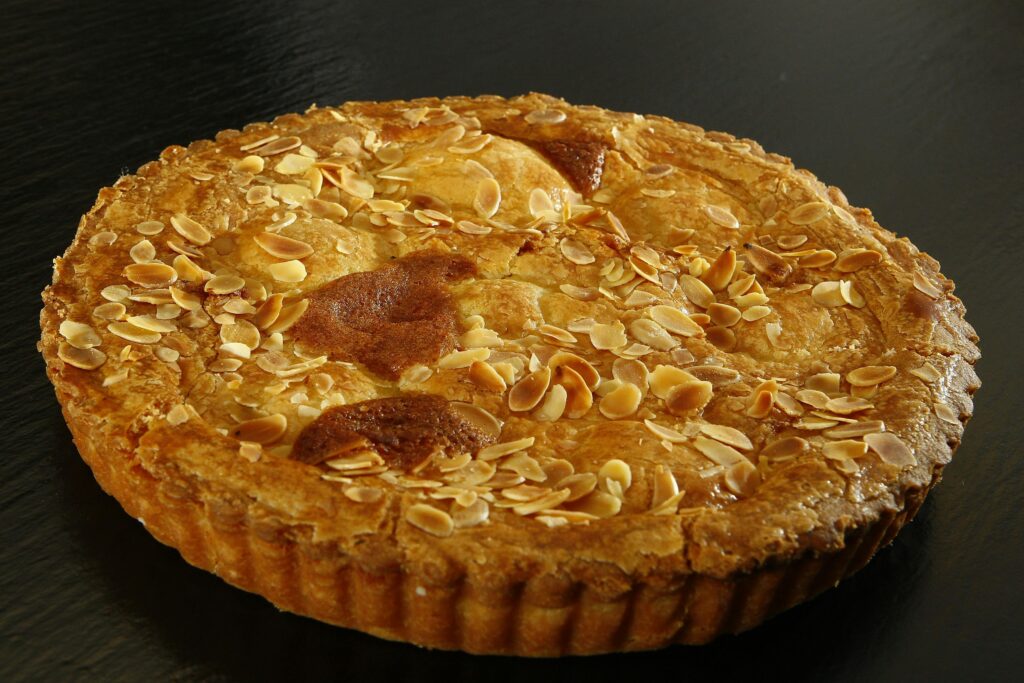
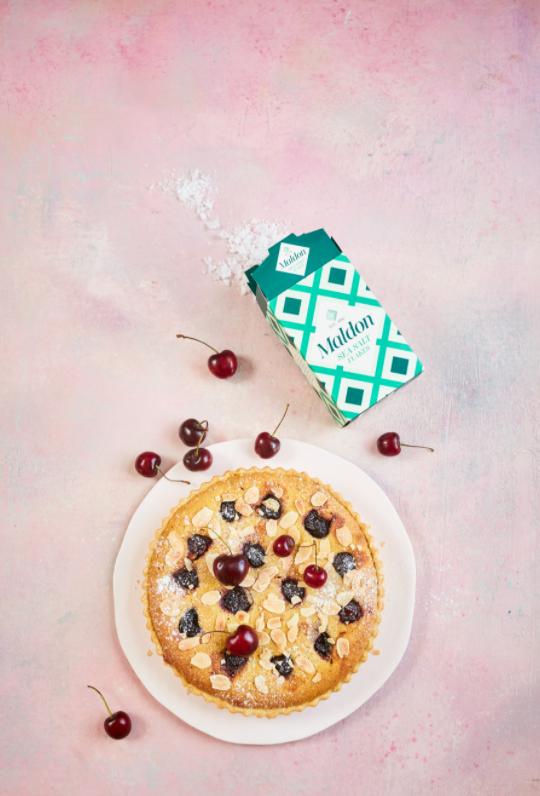
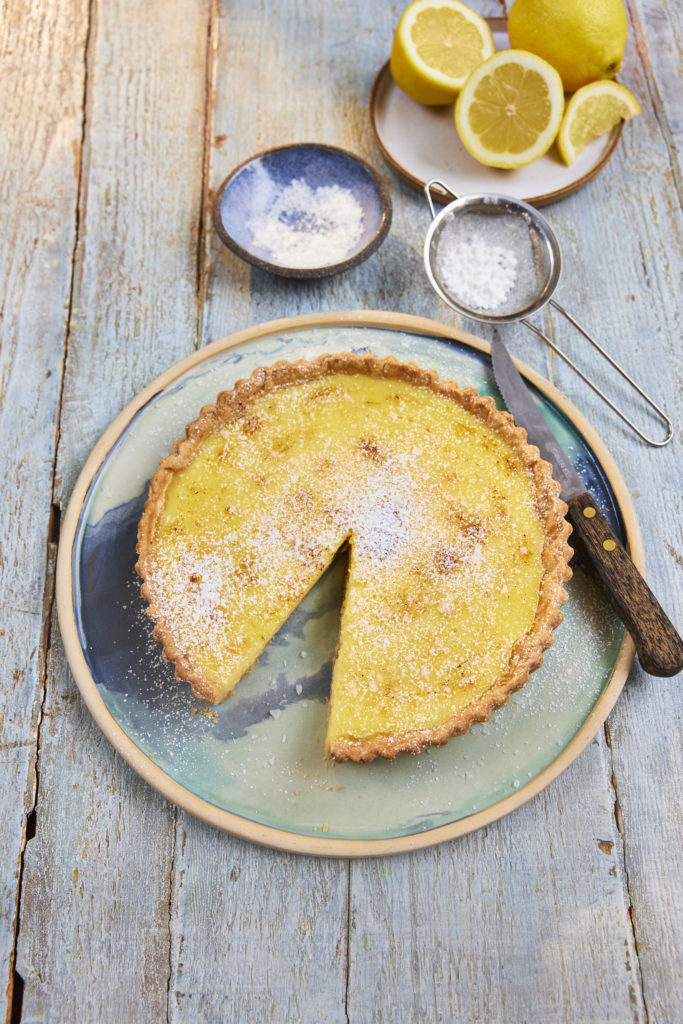
Indulge in the rich, comforting flavours of a spiced apple frangipane tart, where the warm, nutty essence of almond meal meets the crisp sweetness of Granny Smith apples. This elegant apple tart is elevated with the subtle smokiness of Maldon Smoked Sea Salt, adding a sophisticated twist to the classic dessert. Each bite of this tart reveals layers of flavour, from the buttery crust to the spiced apples on top, dusted with a delicate sprinkle of powdered sugar.
What is frangipane?
Frangipane is usually made as a filling for tarts, comprising of finely ground almonds, butter, sugar and eggs. You can also add a drop of almond extract in the mixture if you like a more intense almond flavour. Once you have made the frangipane, you can then spread it evenly across a blind-baked tart shell, creating a delicious, creamy mixture once baked.
Frangipane vs marzipan
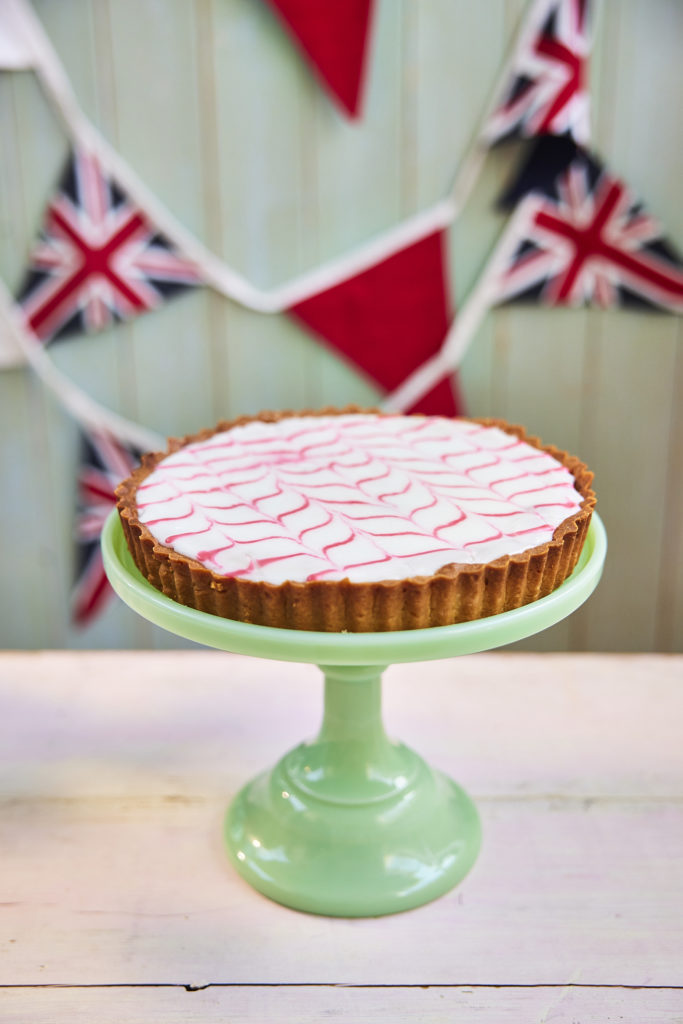
Although both frangipane and marzipan’s main ingredient is almond meal, marzipan does not include butter, whereas frangipane does! Because of this, the main difference between frangipane and marzipan is the texture. Frangipane is very rich and used as a cream-based filling for tarts. In contrast, marzipan is more of a thick paste, used for decorating cakes and cupcakes. Our delicious orange and pistachio Battenberg cake uses marzipan to protect the soft, fluffy interior of the cake.
As a result, you can’t substitute one from the other, as they consist of different components and have different purposes in baking. However, if you’re running out of time, bakers tend to use almond paste instead of marzipan for a quicker solution when decorating.
Frangipane tart recipe
To make a classic frangipane tart, start by preparing the frangipane filling. Cream together room-temperature butter and sugar until light and fluffy, then add an egg yolks and a touch of almond extract for extra flavour (optional). Gradually fold in the finely ground almonds or almond meal to create a smooth mixture. Pour the frangipane filling into a blind-baked tart shell, ensuring it spreads evenly across the base.
If you are wanting to add fruit to your tart, we recommend lemons, apples or cherries. If opting for apples, you need to make sure your chosen apples (preferably Granny Smiths), are thinly sliced. Arrange the apples slices in a decorative pattern on top of the frangipane . Bake the tart is a preheated oven at 350°F (180°C) for about 30-45 minutes, or until the filling is set and the apples are golden. Once cooled, dust the tart with powdered sugar for a final touch. You can serve warm or at room temperature to enjoy the perfect balance of sweet almond filling and tart apples.
How to make a spiced apple frangipane tart
Start by making the pastry. In a food processor add the plain flour and icing sugar. Then add the cold, cubed butter and pulse until it resembles fine breadcrumbs. Next add the egg yolk and cold water. Pulse again until the pastry starts to come together. If it looks a little dry, add a splash more water.
Bring the pastry together with your hands and tip out of the food processor. Knead very gently and then wrap in clingfilm in a flat disc shape and put into the fridge to chill for 30 mins.
After 30 mins, remove the pastry from the fridge and the roll it out on a lightly floured work surface. Roll a large circle around 2cm in thickness and the use your rolling pin to lift the pastry and drape over a 23cm fluted tart tin. Gently press in the corners and up the sides, leaving some overhang at the top. Use a fork to lightly prick the base of the tart. Then place this back into the fridge for another 30 mins.
Preheat the oven to 180c.
After 30 minutes, remove the chilled pastry case from the fridge. Scrunch up some baking paper and then line the pastry with this and some baking beans. Place into the preheated oven to blind bake. Bake it for 15 minutes, then remove the beans and paper and return to the oven for an additional 5 minutes until the pastry feels chalky and lightly golden in colour. Remove from the oven and allow to cool slightly
While the pastry is blind baking, make the frangipane. Using an electric hand whisk, place the softened butter, sugar and pinch of Maldon Smoked Sea Salt in a large bowl and whisk together for 2 – 3 minutes until pale and fluffy. Then add the eggs, yolks, and vanilla and whisk again. Finally add the cinnamon, nutmeg, ground almonds and flour and whisk until combined.
When the pastry case has cooled slightly, take a small, serrated knife and carefully trim off the excess pastry so you have a nice smooth line around the top. Dust off any pastry remains.
Spoon the frangipane filling into the pastry case and smooth out with a palette knife. Then arrange the apple slices on the top and lightly press into the filling.
Place the tart back into the oven for around 40 – 45 minutes until the apples are golden and the frangipane is puffed up and golden brown too.
Remove from the oven and allow to cool before dusting with icing sugar and serving.
Can you freeze frangipane?
Once you have made your frangipane, you can store in the fridge for up to 5 days, or frozen for up to 1 month in the freezer. Make sure you thaw the frangipane overnight in a fridge before using it in your bakes. When you are storing leftover frangipane, make sure it’s covered with clingfilm to prevent freezer burn.
Pisco Sour origin
The Pisco Sour is a classic South American cocktails, known for it’s refreshing balance of citrus, sweetness, and the distinctive aroma of pisco. Pisco is a spirit made from fermented grape juice. Originating in the early 20th century, it’s believed that the cocktail was popularized by American bartender Victor Morris, created within his very own bar, Morris Bar, in Lima, Peru.
The Pisco Sour combines pisco – whether Peruvian or Chilean – with fresh lime juice, simple syrup, and egg white. The egg white creates a frothy, smooth texture at the top of the cocktail. This beverage is typically garnished with a dash of Angostura bitters, adding a subtle spice to it’s otherwise tart and tangy profile.
What is Pisco?
Pisco, the main ingredient of the Pisco Sour, is distilled from aromatic grape varieties, with Peruvian pisco traditionally being unaged and produced in a pure form, like Pisco Acholado or Mosto Verde, and Chilean pisco often aged in wood.
The variety of pisco used can significantly influencer the cocktail’s flavour, with brands like Macchu Pisco and Campo de Encanto offering diverse expressions. The Pisco Sour is a classic that’s intertwined with South American culture, rivalling other sour/bitter cocktails such as the Whiskey Sour.
Here’s how to make a clementine Pisco Sour
Place the sugar syrup in a cocktail shaker along with the lemon juice, pisco, Maldon Sea Salt, egg white and clementine juice. Add some ice to the cocktail shaker, close firmly and shake well for 30 seconds.
Strain this into your martini or nick & nora glass.
Garnish with a wheel of clementine, a sprig of rosemary and some pomegranate seeds, if you like.
Can you freeze a Pisco Sour?
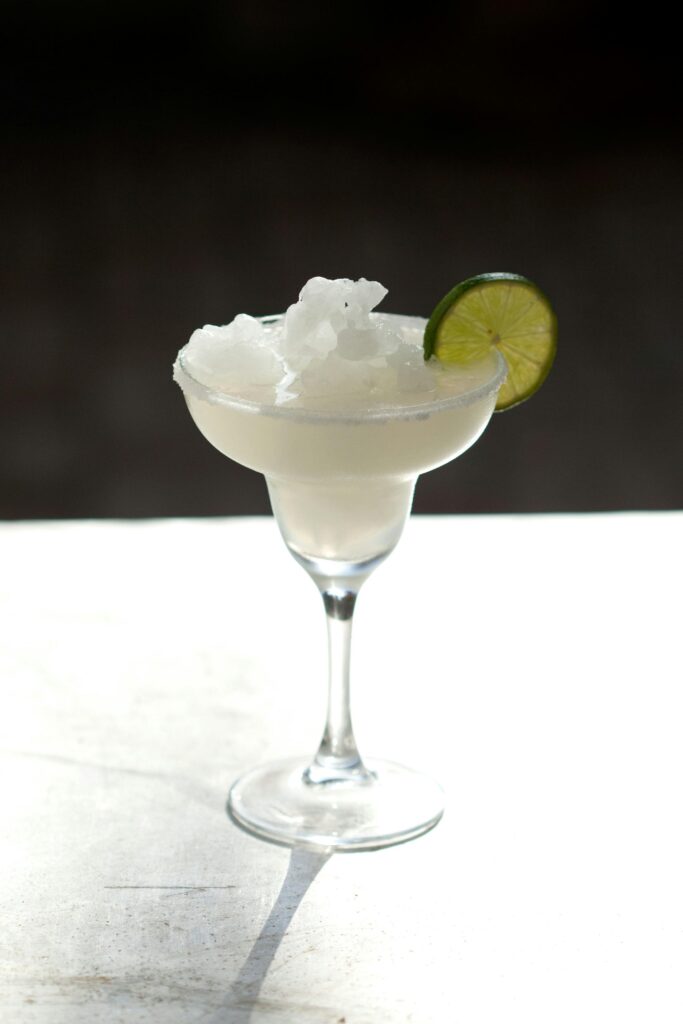
Today we see many variations of the Pisco Sour, such as the Frozen Pisco Sour, which is equally delicious!
An excellent recipe, created by A Beautiful Mess, demonstrates just how easy it is to transform a classic pisco sour to a frozen Pisco sour.
Serves: 1
Ingredients:
1 1/2 oz Pisco
2 tbsp sugar
Juice from one lime (roughly 3/4 oz.)
Zest from one lime
1 egg white
1 to 1 1/2 cups of ice
A pinch of Maldon Sea Salt, to elevate the sweetness
Method:
In a blender, combine the sugar, lime juice, lime zest and Maldon Sea Salt flakes. Blend until the sugar dissolves.
Add the pisco, egg white, and ice. Blend until combines and very frothy.
Pour into a glass and enjoy!
Tag us in your creations!
Make sure you have your Maldon Salt ready when making your pisco sours! If you are running out, please feel free to browse on our Where to Buy Page to find your nearest store in which stocks our beloved Maldon Salt.
Lastly, we LOVE seeing your creations – please tag us on Instagram using the #maldonsalt so we can share your own take on the recipes!
Half fill a pan with water and add the vanilla pod, cinnamon stick, star anise, caster sugar and orange peel. Bring up to the boil and allow the sugar to dissolve before lowering the heat and adding the pears. Simmer gently for 15 minutes until the pear is tender. Remove from the heat and leave the pears to cool in the poaching liquid.
To make the salted caramel sauce start by melting the sugar in a pan. Gently melt in the pan and swirl around but avoid vigorous stirring until the sugar has completely dissolved and it has gone a deep golden-brown colour. Then immediately take off the heat and add the butter and half of the cream – it will bubble a lot – whisk this in before adding the remaining cream and a generous pinch of Maldon Sea Salt, whisking to a smooth caramel sauce.
Serve the pears with some crème fraiche, the salted caramel sauce and some toasted almonds.
With a brush, begin ‘painting’ the wine glass on the side with sugar syrup. Sprinkle Maldon Sea Salt over the sugar syrup.
Fill wine glass with cubed ice.
Build drink in order of ingredients.
Briefly stir to mix ingredients.
Sip slowly and enjoy!
Rim the small rocks glass with a lime wedge and dip it in the Maldon Chilli Sea Salt.
Add the ingredients to the cocktail shaker in the order listed.
Add cubed ice to shaker and the rock glass.
Strain cocktail into glass.
Sip slowly and enjoy!
In a cocktail shaker combine all ingredients and stir the mixture thoroughly to ensure all ingredients are well-blended.
Transfer the mix into a soda stream bottle, filling it only one-third full to avoid excessive pressure build-up
Ensure the liquid is very cold before carbonating (refrigerate for several hours or use an ice bath).
Use the soda stream to carbonate the mixture, as per your machine’s instructions.
Pour 125 ml of the carbonated Pyramid Paloma mix into a coupe glass.
Float a fresh basil leaf on top of the drink.
Sprinkle Maldon Garlic Sea Salt onto the basil leaf for a salty and aromatic garnish.
To prepare the verdita: In a blender, mix fresh pineapple juice, ginger juice, simple syrup, and Bittermens Xocolatl Mole, and blend until smooth.
Add mint leaves and coriander, then blend.
Strain to remove any pulp.
Take a rocks glass and run a lime wedge along the rim.
Dip the rim into Maldon Chilli Sea Salt and coat it evenly.
In a cocktail shaker, add 50 ml of gin, 50 ml verdita, 25 ml fresh lime juice and a dash of chili bitters (optional).
Add ice cubes and shake vigorously.
Strain the mixture into the prepared rocks glass filled with cubed ice.
Preheat the oven 160C.
Peel the pears and slice them, add them to add with 1/2 tsp turmeric and 1 tsp lemon juice, mix and keep aside.
In another bowl add the blueberries, rest of the lemon juice and 2 tsp of caster sugar, mix and keep aside.
Rub the butter all over the tin, place the baking sheet into the bottom of the tin.
In a bowl add the butter, sugar and vanilla extract, cream them until smooth. Add eggs and whisk again until it creamy. Add ricotta and half teaspoon of Maldon Sea Salt and combine it well. Sieve flour, baking powder and fennel powder into the batter, mix it well with the hand blender.
Once the mixture come together, add the blueberries and mix it until the batter is all combined.
Pour the mixture into the tin, then layer the top of the batter with pears coated in turmeric into a round circle covering the batter. Sprinkle with demerara sugar, put in the oven and cook for 55minutes in the oven on 170C. Switch the oven and leave the cake to rest for 10 minutes in the oven. Remove after 10 minutes, sprinkle rest of the Maldon Sea Salt over the baked cake while it is still warm.
In this cookbook, Romy shares over 70 recipes which are inspired by her beloved family, with flavours that define her childhood. From iconic dishes like Butter Chicken, which is a staple in every Indian home, to the delicious simplicity of a Masala Omelette, Romy invites cooks to savour the authentic tastes of India without a fuss! The instructions for each dish are easy to follow along with readily available ingredients. Every dish is designed with the home cook in mind, ensuring that your journey into Indian cuisine is as delightful as it is delicious!
Today we’re sharing Romy’s delicious beetroot croquettes, also known as chaap!
How to make beetroot croquettes
These beetroot croquettes (or chaap), are succulent and flavourful. They have the perfect balance of colour, texture and taste. The distinctive earth flavour of the beetroot combines beautifully with the potato, carrots and spices. It can be enjoyed as an appetiser or as a side dish.
Place the potato in a saucepan (there is no need to peel it), cover with hot water and bring to a boil. Cook the potato until the flesh is soft, then remove from the heat and leave to cool.
When the potato is cool enough to handle, remove the skin. Grate (shred) the potato into a bowl. Grate the beetroot (wear rubber gloves to prevent staining your hands) into a separate bowl, then grate the carrots into a third bowl and set aside.
Place all the whole spices in a frying pan (skillet) over a low heat and toast them until they start to release their aromas. Remove from the heat and leave the spices to cool before grinding them to a powder with a pestle and mortar.
Heat the mustard oil in a pan over a medium heat. Once the oil is hot, add the peanuts and cook for1 minute. Add the ginger and chillies, cook for 1minute, then add the grated beetroot and carrot and mix. Cover the pan with a lid and cook for 5 minutes. Add the potatoes, all the toasted spices and the Maldon Sea Salt, mix well, then cook for a further few minutes. Remove from the heat and leave the mixture to cool before rolling it into 10 equal-sized cylindrical shapes.
Whisk together the cornflour and plain flour with30 ml (1 Fl oz/2 tablespoons) water in a bowl. Place the breadcrumbs in a shallow dish. Heat the frying oil in a deep pan to 170°C/340°F. Drop in a tiny bit of batter; if it floats, the oil is hot enough. Dip one of the cylinders into the batter, then roll it in the breadcrumbs to coat it on all sides. Deep fry until golden and crispy. Repeat with all of the cylinders, then serve with your favourite chutney.
Where to buy Romy Gill’s India: Recipes from Home
You can find where to purchase Romy’s NEW cookbook here and start being creative with food and flavours in the comfort of your kitchen.
Make sure you have your Maldon Salt ready for these recipes! If you are running out, please feel free to browse on our Where to Buy Page to find your nearest store in which stocks our beloved Maldon Salt.
Lastly, we LOVE seeing your creations – please tag us on Instagram using the #maldonsalt so we can share your own take on Romy’s recipes!
In a blender or food processor, combine the chopped strawberries, sugar, fresh lime juice, rum, Maldon Chilli Sea Salt and water.
Blend the mixture until smooth and well combined.
Pour the strawberry mixture into a shallow, freezer-safe dish or container.
Place the dish in the freezer and let it freeze for about 2 hours, or until the mixture starts to firm up.
Using a fork, scrape the frozen mixture towards the centre to create flaky ice crystals, keep scraping until you have a mound of shaved strawberry granita.
Prepare the glasses to serve. Take a quarter of a lime and gently coat the edge of the glass with the juice. Place a generous amount of Maldon Chilli Sea Salt onto a plate along with the sugar and carefully dip the edge of the glass in it until you have an evenly coated rim.