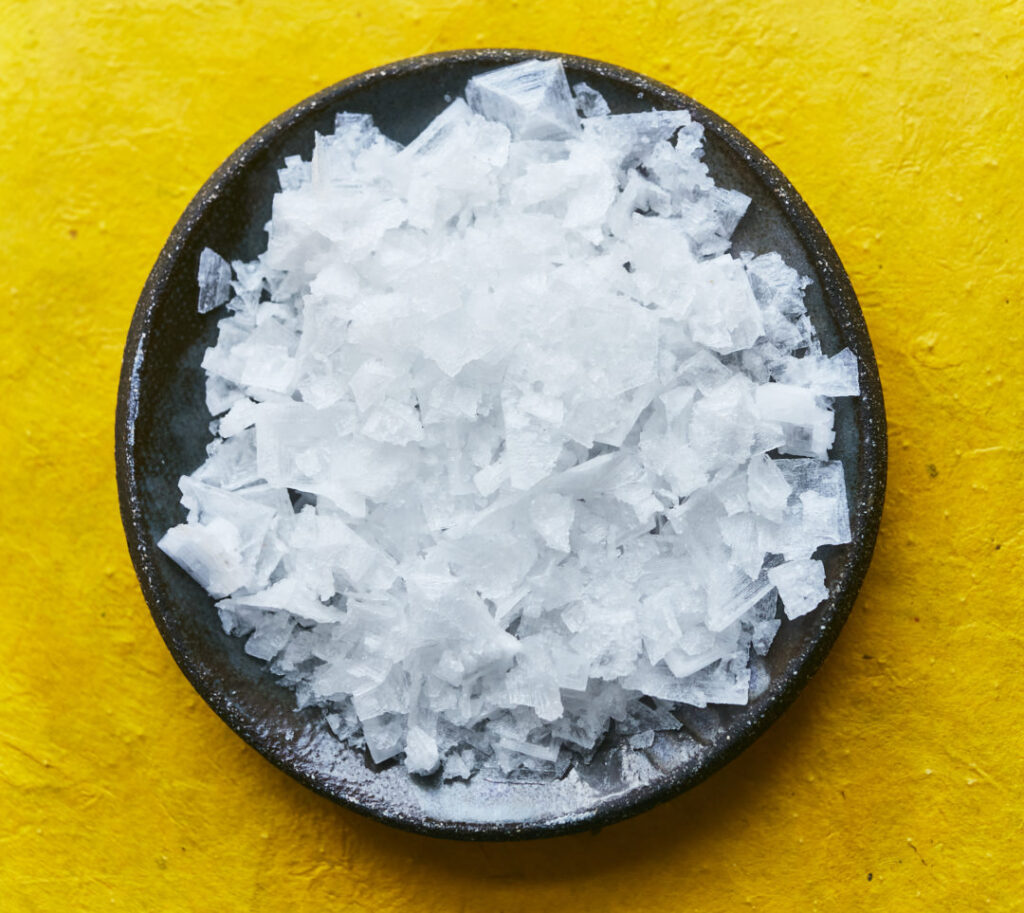
I put Maldon Salt in all sweet dishes I make – it has a way of adding balance so nothing is ever overly sweet, as well as bringing out other flavours and making them shine. Here, it is paired with ras el hanout, which translates to ‘spice of the house’. I know it seems a little strange to use these spices in a cookie, but trust me on this one – the overall flavour is of warming, subtle spice. If you want to make a big batch of ras el hanout, multiply the quantities by 10 and just use 20g for the recipe.
Pre heat the oven to 180c fan.
Place all the ingredients for the ras el hanout in a spice grinder and blend to a fine powder. Set aside. Place the rose petals for the decoration into the spice ginger, blend roughly and toss with the remaining ingredients. Set aside.
Beat the butter and sugar until pale and fluffy. Add and beat to combine. In a separate bowl, combine the flour, baking powder, Maldon Salt and cranberries with the ras el hanout and stir to combine. Beat into the butter mixture until fully incorporated. Transfer the mixture to a sheet of cling film – the mix should be a rough ball. Refrigerate until firmed up – about 45mins – 1 hour.
Line two baking trays with baking parchment and divide the mixture into 50g balls – you should get about 15 cookies out of the mixture. Spread the balls out evenly over the two trays, making sure they have enough space to spread as they cook. Press lightly and bake for 12 mins. As soon as you remove the cookies from the oven, sprinkle them with the rose mix to garnish and leave to cool.
We tasked chef and best selling author Olia Hercules with creating a simple dish which tastes extraordinary! here’s the recipe for her pilau pie…
This is a simplified version of the Azerbaijani Shakh Plov – a regal rice dish which sometimes also involves various nuts, saffron and even layers of meat or pumpkin. This is a simplified version, using the humblest of ingredients, but it still looks so impressive. It is a meal in itself, but you can serve it with some grilled chicken or slow-cooked lamb, or thick wedges of spiced roasted squash. It is a good recipe for using up those packets of dried fruit hanging out at the back of your cupboard. You can use humble raisins or sour cherries, cranberries, chopped apricots or a mixture! Originally, large sheets of Persian-style flatbread are used, but I tried it with supermarket tortilla wraps and it worked a treat. As a salad accompaniment make a soft herb salad – dissolve a pinch of Maldon salt in the juice of one lemon and add a slick of olive oil, then pick plenty of leaves of mint, coriander and basil and dress them.
First you need to parboil the rice. Have a large roasting tray or platter at the ready. Put the rice into a large saucepan and then on the hob, and cover it roughly with 2 litres of boiling water. Add the salt and turmeric and boil, uncovered, for 7 minutes.
2. Drain it well and spread out on a tray to cool down.
3. Put the dried fruit into a small bowl and cover with boiling water. Leave for a bit to plump up.
4. Meanwhile, heat 2 tbsp of ghee or butter in a large frying pan and add the onions. Add a good pinch of Maldon to help them release the juices. You want these to first soften and then caramelise a little. To speed up the process, I cover them with some crumpled up baking parchment, and if they start catching, I add small splashes of water and scrape with a spatula.
5. After about 5 minutes of cooking, add the spices and the drained dried fruit. Keep cooking, stirring from time to time and deglazing until the onions look golden. With the cartouche and the scraping technique 15 minutes cooking should be sufficient. Turn off the heat and let the onions cool a little.
6. Preheat the oven to 180C.
7. Now take a pot with a lid that you can put into an oven. I use a 20cm diameter cast iron pot. Put the tortilla wraps into a large bowl and then brush them very very generously with ghee or melted butter. They should be doused in butter as much as possible and become a little softer, more pliable.
8. Line the pot with the tortilla wraps in this manner. Put one of the tortilla wraps in, so one half of it covers a little bit of the bottom of the pan, and the rest goes up the side with a bit of an overhang. Do the same with the other two tortillas, so the bottom and sides of the pot are covered by the wraps. You are creating a kind of a shell for the rice to be encased in.
9. Now very gently mix the rice with the onions and, again very loosely, bit by bit, sprinkle the rice inside the tortilla-lined pot. With a back of a wooden spoon, make deep wholes in the rice, then trickle over the remaining ghee or melted butter.
10. Finally, fold the overhanging edges of the tortilla inwards, to encase all the rice inside the pot. Brush with a little butter on top to make sure the edges stick and don’t unfold.
11. Cover with a lid and put into the oven for 30 minutes. Then take the lid off and cook for a further 10-15 minutes or until the tortillas are looking crisp and golden.
12. Now get a large plate that you will serve the rice on and put it on top of the pot with the rice. Now very carefully, using oven gloves, holding the plate over, tip the pot upside down so the rice pie flips onto the plate.
13. You can serve it straight away, but it is also very good at room temperature. Take slices out, the rice will be aromatic and golden and the tortilla shell crispy and buttery.
Cut the swede into equal- sized chunks, drizzle with 2 tbsp of the oil, season and roast for 50 mins or until completely soft. Leave to cool slightly, then pulse in a food processor until broken down. Add flour, Parmesan and some seasoning, then pulse again to form a sticky dough.
Bring a large pan of salted water to the boil in which to cook your gnocchi later. Flour your hands and divide the dough in three. On a floured surface, roll each portion into a sausage about 1cm in diameter. Using the back of a table knife, cut into pieces 2.5cm in length – this gives a tapered edge to the pieces of gnocchi.
Working in batches, cook the gnocchi in the water for 30 secs or until they rise to the surface. Remove with a slotted spoon and drain on a tray lined with kitchen paper.
Heat the remaining oil in a large frying pan over a medium heat. Fry the gnocchi in batches for 2 mins on each side until browned.
Melt the butter in the pan, add the sage leaves and fry until crisp. Divide the gnocchi between bowls then spoon over the crisped sage and buttery sauce. Serve with pepper, Maldon Salt and grated Parmesan.
How to create: 1. Preheat oven to 180°C, 350°F, Gas Mark 4. 2. Remove the larger leaves from the cauliflower, and then immerse completely in a large saucepan (or stockpot) filled with boiling water. Cook for 10 minutes. Drain. 3. Mix together the oil, curry powder, chilli flakes and Maldon salt. 4. Rub the cauliflower all over with the mixture. 5. Bake for 20 minutes. 6. Scatter the cauliflower with the toasted almonds, pomegranate seeds, apricots and drizzle tahini. Add a pinch of Maldon salt to serve!
Preheat oven to 200°C.
2. Peel the sweet potatoes, cut up into 1 inch pieces, toss with the olive oil and spread evenly on a baking sheet.
3. Roast the sweet potatoes in the oven for 20 to 25 minutes. After 10 minutes, stir the sweet potatoes and return to the oven. Cook the sweet potatoes until tender and caramelised.
4. Whilst the sweet potatoes are roasting, cook the quinoa as per the package instructions. Add the stock cube to the water before bringing the quinoa to a boil. When done, set aside to cool slightly.
5. Wash and roughly chop the greens and the red onion, roughly chop the pecans and dice the feta.
6. Whisk together the dressing ingredients of olive oil white wine vinegar and dijon mustard.
7. Toss the roasted sweet potatoes with the warm quinoa and greens. Add the red onion, pecans and feta cheese. Drizzle over dressing and toss gently to combine. Finish with a pinch of Maldon salt and pepper.
This recipe is warm and hearty – perfect for a cold, damp winter’s day! With the bulk of the recipe being made with beetroot, this dish is packed full of essential nutrients including magnesium, potassium and vitamin C. If you are interested in more salad-based recipes, check out our Great British Spring Salad and Caprese Salad recipe.
Set the oven to 200°C / 400°F / Gas Mark 6
Wash the beetroot. Cut a large piece of foil and place all but two of the beetroots on the foil, drizzle with a little olive oil, 2 tablespoons of water, salt and pepper and wrap the beetroot up into a parcel and place on a baking tray.
Bake for 35 minutes in the centre of the oven. Open up the parcel and continue to bake for 25 minutes or until cooked through.
In the meantime prepare the remaining beetroot, wash, peel and slice very finely, if you have a mandolin this will do the job perfectly. If you’re using different coloured beetroot you’ll have to pickle them separately as the colours will bleed.
Mix the water, vinegar, sugar and Maldon Salt and stir until dissolved. Place the beets into a non reactive bowl and pour over the pickling solution. Leave to pickle for at least 25 minutes.
Brush the rye bread with a little olive oil and roughly chop the walnuts, bake in the oven until crisp and the nuts golden, approximately 5 minutes.
Wash and de-vein the kale, cut into approximately 4cm pieces. Have a pan of salted boiling water ready and blanch for 3 minutes, plunge into ice cold water. Drain and squeeze out any excess water, unfurl the leaves and place onto a piece of kitchen paper ready to sauté.
In a frying pan add a little olive oil and heat to high add the kale and season, sauce for a couple of minutes.
Pour the milk into a saucepan, heat to boiling point and reduce the heat to low, crumble the chèvre into the pan and whisk vigorously.
Spoon the chèvre cream onto the plate, cut the roasted beetroot into quarters or sixths, depending on the size. Arrange on top of the chèvre cream along with the kale and then the slices of pickled beetroot. Top with the rye crisps and roasted nuts, serve warm.
How to create:
Pack your vegetables (or vegetable stalks, leaves, scraps!) into jars. Then heat the above ingredients in a pan of water to dissolve the salt, and taste – you may want to add either more sweetness or salt, be guided by your own taste buds! Pour it over (both hot or room temp is fine, but pouring it hot will soften your vegetables a bit which works nicely for cauliflower) the vegetables. Then let it all cool down, close the lid and keep in the fridge.
The pickles can be eaten as they are or they make for such a good winter salad!
Using a small knife, prick the chilli peppers all over so they will absorb the liquid marinade.
Place the chillies in a 1 litre preserving jar, packing them down lightly.
Mix the remaining ingredients in a jug, then pour the liquid over the chillies.
Seal the jar and store it in a dark place for up to one month, by which time the chillies will have softened and become pickled in flavour!
Being a vegetarian during the winter season’s can be hard when you are constantly being surrounded by meat ‘heavy’ dishes. Here we’ve created the classic British wellington with a twist! You’ve heard of a mushroom wellington, but have you filled with the wholesome butternut squash as well? This wellington holds an abundance of delicious flavours whilst also bringing the vibrant, bold colour of the squash to really ‘wow’ your guests. All wrapped up in a buttery, flaky puff pastry this is a recipe that not only delivers in flavour, but is easy to create!
Wondering what you can add as a side to this dish? As a wellington is a quite a heavy dish in general, we recommend ‘lighter’ vegetables, including our delicious Honey Roasted Parsnips.
Now, there’s always room for pudding! Why not try our simple yet decadent Chocolate Cake, sprinkled with a pinch of Maldon Salt to enhance the sweetness of the dessert. Missing a pack? Head over to our Where to Buy page to find out where you can purchase our salt.
Preheat oven to 200°C (180°C fan) mark 6 and line a baking sheet with baking parchment. Peel the squash neck and slice evenly in half lengthways. Lay cut-side down on prepared sheet and brush with 1tbsp oil. Season and roast for 11⁄4-11⁄2hr, until tender. Set aside to cool.
Meanwhile, make mushroom layer. Heat remaining 2tbsp olive oil in a large frying pan over medium heat and cook shallots for 5min, until softened. Turn up heat to high and add mushrooms. Cook, stirring occasionally, for 12-15min, until any liquid released by mushrooms has evaporated and they are golden brown. Add garlic, thyme a pinch of Maldon Salt and miso and cook for a further 2min. Remove from the heat.
In a food processor or using a stick blender, blend cashews and stock until smooth. Stir this into mushroom mixture, check seasoning and set aside to cool.
To assemble, line baking sheet with fresh baking parchment. Lightly flour a work surface and roll out 1⁄3 of the pastry to a 30.5 x 15cm (12 x 6in) rectangle. Spread over mushroom mixture, leaving a 1cm (1⁄2in) border around the edge. Lay on roasted butternut halves, making sure they join up neatly in the middle.
Roll out remaining pastry as before until large enough to cover the assembled filling. Lay over the filling, trim edges and crimp to seal. Chill for 30min.
Reheat oven to 200°C (180°C fan) mark 6. Brush Wellington with soya milk and cook for 50min–1hr, until golden brown and crisp. Leave to rest for 10min before transferring to a board or plate. Serve in slices.
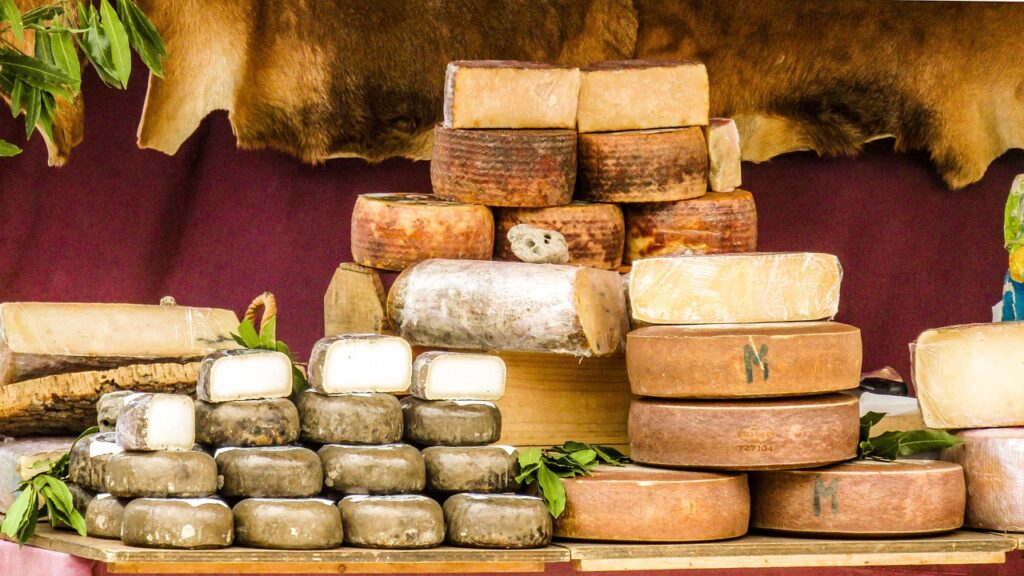
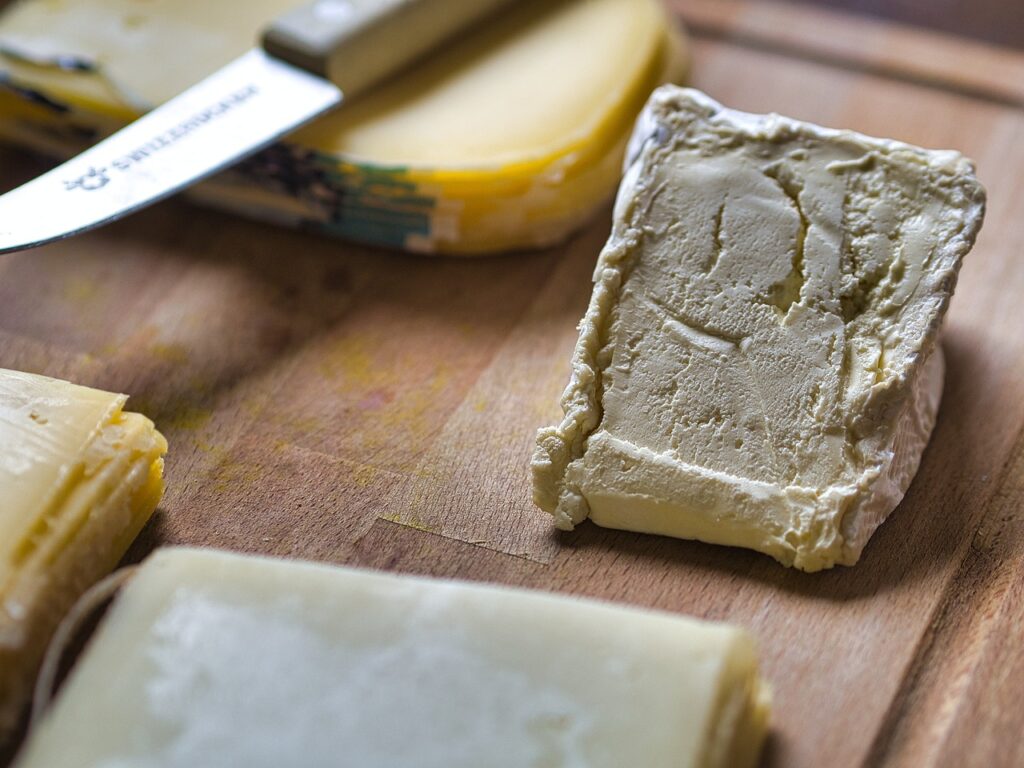
Celebrate the festive season with the ultimate Christmas cheese board, ideal for sharing with friends and family at this time of year. Treat your loved ones to a large cheese board brimming with artisan cheese, creamy delights, cold meats. Let the Christmas cheese selection take centre stage, and delight every cheese lover in your life with the perfect Christmas sharing platter!
What do you put on a Christmas cheese board?
Go all out for the perfect Christmas cheese board this year with an impressive range of creamy holiday cheeses, dried fruits and nuts, a selection of meats, pickles and chutneys.
Paxton & Whitfield, London cheesemongers since 1797, advice that a balance of cheese is required for the perfect grazing board. Three to four cheeses is usually enough when creating a cheese board. You should go for a selection of both soft, semi-soft, semi-firm and firm.
Soft Cheeses:
Brie, Camembert , feta, ricotta, Chevre and gorgonzola.
Semi-Soft Cheeses:
Fontina, muenster and Gouda.
Semi-firm Cheeses:
Manchego, Gruyere and Comte
Firm Cheeses:
Aged cheddar, white cheddar and Parmigiano-Reggiano.
As a rule of thumb, you should allow 80-100g of cheese per person for your cheese board.
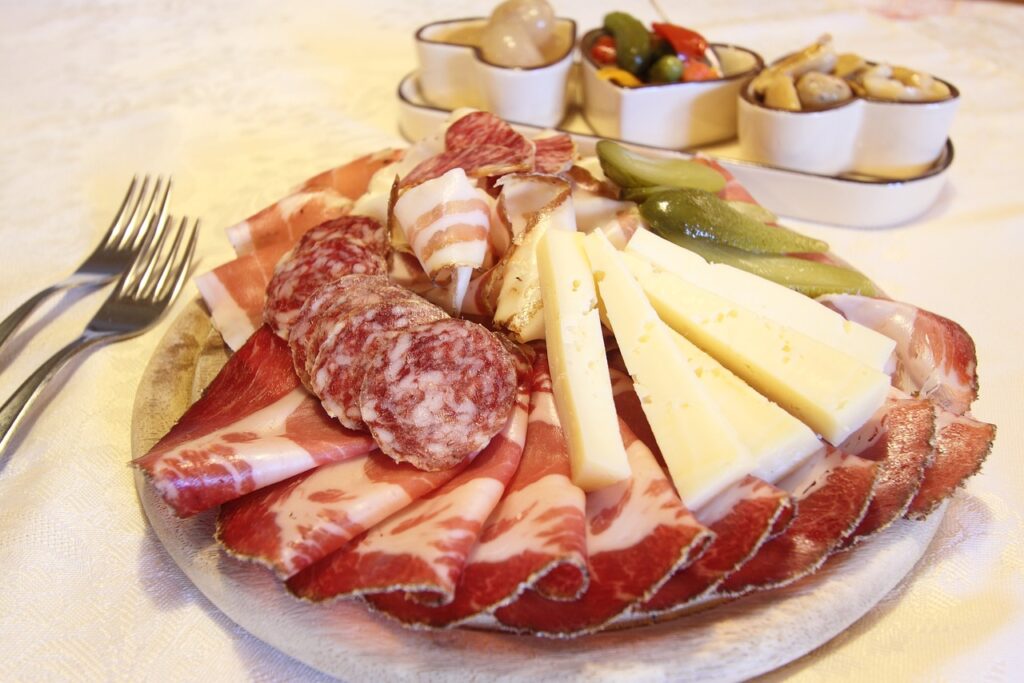
Once you have chosen your selection of cheeses, you can then look at which cold meats you would like to include for your festive board.
What meats and cheeses go together?
Cheddar cheese with chorizo
Swiss cheese and prosciutto
Chevre and pepperoni
Chorizo and Manchego
Parmesan and prosciutto
Gouda and Salami
Pepper Jack Cheese with capicola
What fruit and nuts go well on a cheeseboard?
When choosing the fruits for your festive cheeseboard, we recommend always using seasonal fruits to brighten up the board. You can use citruses like orange and clementines, apples and pomegranates. All bring a delightfully sweet flavour to the board to provide the perfect balance.
If you are wanting to include dried fruits to your board, try adding dried apricots, dried pineapple rings, dates and raisins. Dried fruits are all naturally very sweet to begin with, but the fruit flavour is elevated further due to the addition of refined sugar and oil coating the fruit.
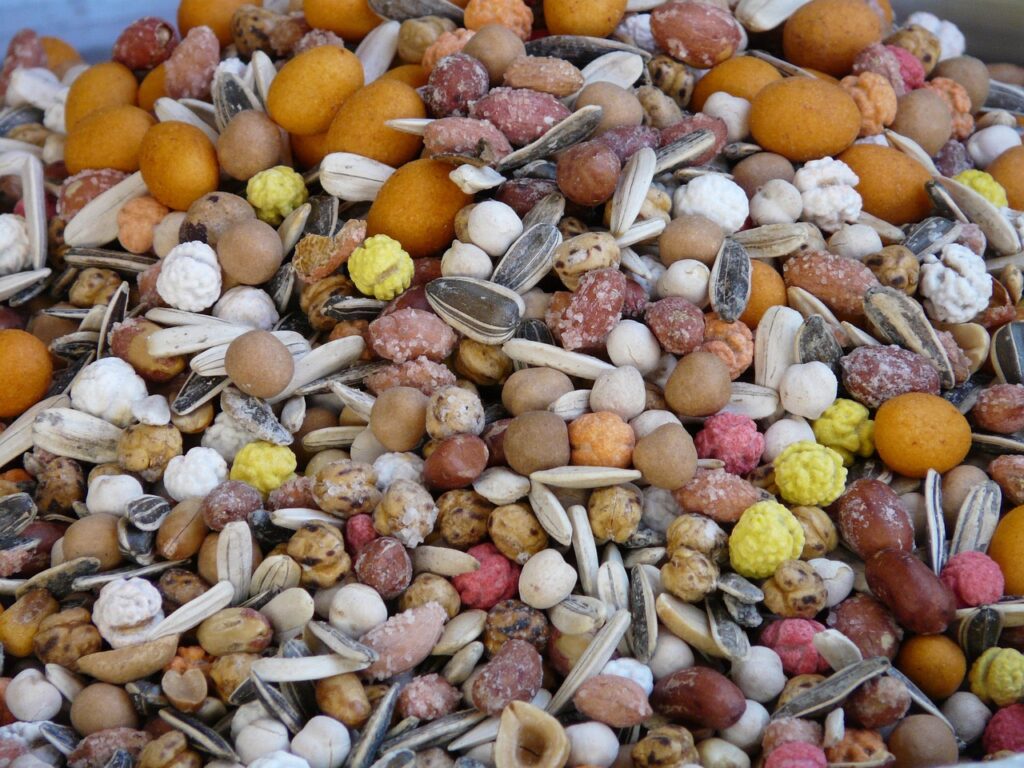
The final pairing of nuts goes hand in hand with the cheese. Recommended nuts for a cheeseboard include: walnuts, pecans, almonds, cashews and pistachios (ideally de-shelled to avoid making a mess with your guests!).
Best cheeseboard crackers
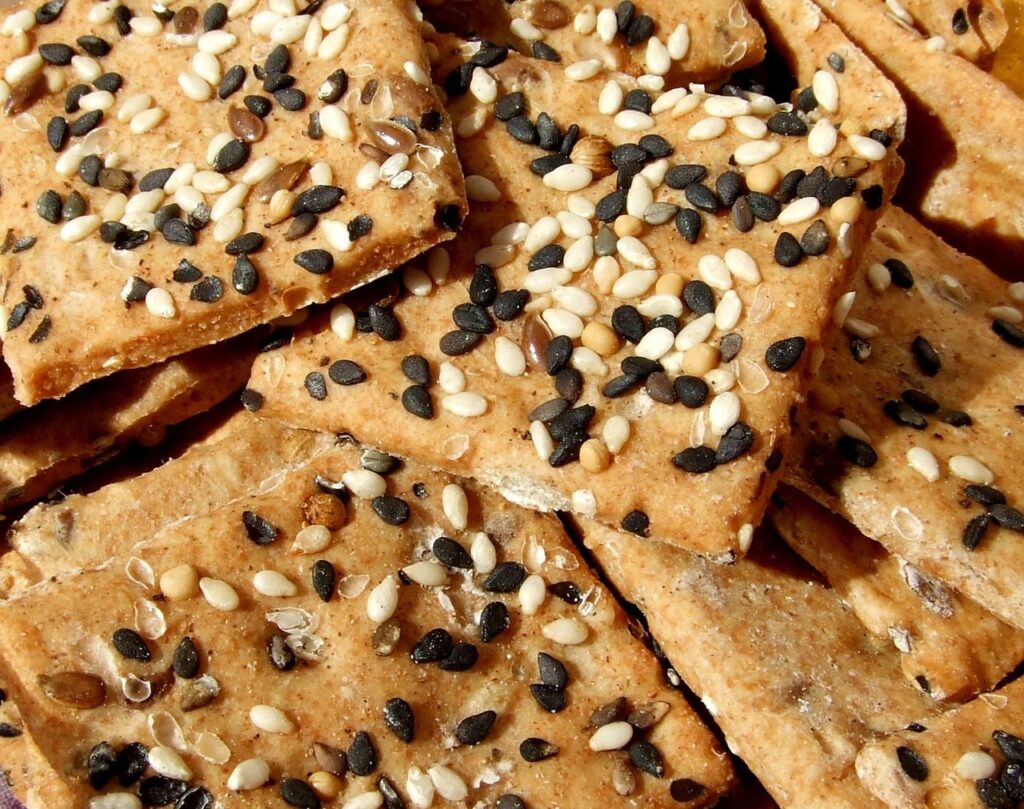
Morrisons offers a delicious Cracker Selection Box, where six varieties have been included to perfectly compliment your favourite, festive cheeses:
Beetroot & Seed Cracker – A the perfect partner for a soft cheese like Brie.
Cracked Pepper Water Cracker – Ideal for a crumbly Cheddar Cheese
Rosemary Cracker – Suited best for Stilton
Sea Salt & Chive Cracker – Perfect for a creamy, mature Cheddar
Stone Ground Wheat Cracker – Paired for Wensleydale and cranberries
Sweet Wheat Cracker – Iconic with a white Stilton
How to make a Christmas cheese board:
Get your wooden board ready. A standard size is between 8-20 inches in length. You could opt for a star shaped, tree shaped, or a simple, classic cheese board.
Place your selection of cheeses first on the board. Soft cheeses, like brief, can be served as it is. For hard cheeses, like cheddar and parmesan, we recommend cutting them into slices or cubes. This makes it easier for your guests to grab a piece without having to cut the hard cheese themselves – which can be time-consuming and messy! Provide a cheese knife or spreader with each cheese. Add a pinch of Maldon Salt over the cheeses to elevate the natural sweetness and nuttiness.
Add your sliced/rolled meats, separating them with your pots of chutneys and dips. You can provide a spoon or butter knife with these if you wish.
Next the crackers! Fan out your crackers or crostini along the edges of the cheeseboard to make them easy to grab for your guests.
With the remaining spaces on the board, you want to place the mixture of fruits, olives and nuts.
Once completed, let the cheeseboard rest for at least an hour to allow the cheeses and meats to adjust to room temperature.
Your Christmas cheese board is now ready to be relished – enjoy!
Why salt is important for cheese?
According to Cheese Science, salt is essential for major functions in cheese:
Regulates microbial growth. When salt is added to cheese, it can control the growth of microbes. This process can allow more salt-tolerant microbes to grow.
Altering texture. Salt draws out the moisture content of cheese, which is why you are left with different ratings of firmness from how much salt is added to the cheese: soft, semi-soft, semi-firm and firm.
Enhancing flavour. Salt not only gives a salty taste to cheese, but it can help enhance other flavours present, or to counteract the bitterness.