Sweetcorn is sweet and nutty and one of my favourite vegetables. You can’t go wrong with a buttery corn on the cob in the summer but here I’m combining them with courgette and feta, to make the most delicious and moreish fritters. Topped with a crispy egg and a fragrant zhoug butter they make a seriously nice brunch.
Start by making the fritters – grate the courgette and then squeeze out any excess liquid in a tea towel, pop these into a large bowl. Add the sweetcorn, crumbled feta, chopped coriander, 1 beaten egg, self-raising flour and cumin seeds. Mix well to form a batter and season well.
Heat some oil in a pan and spoon in the fritter mix to make patties. Fry them for 3 minutes on each side until golden. Remove and place on a plate in the oven to keep warm.
To make the zhoug butter place chopped coriander, parsley, garlic and green chilli into a food processor. Add some cumin, a good pinch of Maldon Salt, lemon juice and olive oil and blitz until it forms a paste. Next add the softened butter and plenty of seasoning and blitz again. Set aside.
In a small frying pan heat some oil and fry off the eggs, you want the oil to be nice and hot so the edges of the egg go nice and crispy. Once the egg is nearly cooked, add some of the zhoug butter to the pan and baste the egg in it.
Plate up – serve 2 or 3 fritters piled up on a plate with a crispy fried egg and drizzle over the zhoug butter from the frying pan. Sprinkle over some coriander leaves and serve.
Buttery chilli roasted nuts dressed broccoli…I mean, it sounds as good as it tastes! The crunchy almonds and well-cooked broccoli are a perfect match. It’s great to put down on the table as part of a meal, or equally served as a main. I like to eat this with plain boiled brown rice, not very heavily seasoned, as all the flavour and punch come from the buttered almonds. It is also really quick to bring together if you are pressed for time.
Trim about 2-3cm off the tough woody end of the stalks and quarter the broccoli heads through the stalks. Heat the oil in a large frying or sauté pan with a lid. Or use a baking tray to cover. Place the broccoli, cut-side down, in the pan and sprinkle in a good pinch of Maldon Salt. Cover and cook for 5 minutes over a medium-high heat. Alternatively, roast the broccoli in the oven. Place on a baking tray and roast for 10-15 minutes at 220C.
When the broccoli has started to brown, turn on the other cut side and cook, covered, for a further 5 minutes or so.
Turn on the final floret side and cook, covered, for a further 5 minutes. A knife should easily pierce the stalks at this stage. If not keep cooking, rotating the sides until done. Remove the broccoli and set aside.
Wipe any excess oil from the pan with kitchen paper. Melt the butter in the pan until foaming. Add the almonds and cook, continuously stirring, over a medium heat for 5 minutes until golden. Add the parsley and chilli flakes and cook for 1 minute, stirring constantly. Remove from the heat. Add a good sprinkle of Maldon Salt.
You can cut each broccoli segment into three or four smaller chunks, or leave as they are. Place in a bowl and spoon over most of the almond mix. Toss to coat well. Place on a platter and finish with the remaining buttery almond mix.
Cauliflower is a wonderfully versatile vegetable, which often gets overlooked in my opinion. It has a delicate earthiness to it which marries really well with fragrant spices. These koftas are packed full of flavour, and when piled up in a soft flatbread with the creamy herbed yoghurt, pickled red cabbage salad, zesty pomegranate and mint it’s a pretty exciting mouthful.
Start by making your koftas – preheat the oven and then whack in the cauliflower florets drizzled with oil to roast. Once they are roasted, allow them to cool slightly before adding them to the food processor along with chickpeas, halloumi, parsley, coriander, cumin, paprika and cinnamon and a generous pinch of Maldon Salt. Season them well. Blitz until they form a rough paste.
Shape the kofta mix into small balls and place onto a tray or plate in the fridge to firm up until you are ready to fry them.
To pickle the red cabbage – finely shred the cabbage and place in a large bowl. In small pan add the water, Maldon Salt, sugar, spices, vinegar and lime juice. Gently heat the pickle brine until the sugar and salt have dissolved. Pour this over the cabbage and then set aside. You can do this a day ahead and leave covered in the fridge.
Mix up the herbed yoghurt – yoghurt, mint, dill and Maldon salt. Set aside.
Make the flatbreads – mix the self-raising flour, baking powder, yoghurt, 1 tsp salt and the nigella seeds to make a rough dough. Gently knead it to make it smooth. Break off small pieces and roll them on a lightly floured surface with a rolling pin. Heat a frying pan or griddle pan and fry off the flatbreads on each side until slightly charred in spots and cooked through. Brush them with oil and then wrap them in foil and keep warm in the oven while you make the rest.
Heat 2cm high of vegetable oil in a high sided sauté pan. When the oil is hot, fry off the koftas until they are golden brown on all sides. Remove from the hot onto a try lined with kitchen roll to soak up any excess oil.
Serve up! Take a warm flatbread and spread with the herbed yoghurt. Pile on some pickled red cabbage and then the koftas on top. Finish with some mint leaves, pomegranate seeds and a drizzle of pomegranate molasses.
Whether you use a pestle and mortar in this recipe or a hand blender – Maldon Salt flakes will help grind down the herbs and butter into a beautiful paste. This is a big ratio of herbs to butter and that’s how I love it. You can add the garlic or leave it out, as chives give a nice hit of allium. If you can’t grind sorrel, add watercress or spinach and a gentle spritz of lemon. This is good with grilled chicken and also with simple barbecued vegetables.
Put the potatoes into cold water and add a half of the Maldon Salt. Boil for 10-15 minutes or until a knife can easily go through.
Meanwhile pound or blitz the herbs, butter, garlic (if using) and the remaining Maldon Salt. You will have this amazing emerald l-green buttery herb paste.
Drain the potatoes and dress in the buttery herbs while still hot. Serve immediately.
Dredging clumps of crispy green beans through chilli sauce spiced mayonnaise is rather awonderful way to eat. This pairs well with a cold beer and friends. I like to pile the lightly coated green beans to encourage a bit of clumping. But do still cook in manageable batches. Draining each in-between piling on to a plate. Then you can tear away sections that way you eat form a perfect dredging apparatus.
In terms of adding chilli to the mayonnaise, play with your favourite sauce options. Gowith a hot sauce for a more vinegar led kick. For a spicy funk, try XO sauce or chilli rayu.
In a large bowl, beat the egg whites until fluffy with soft peaks. Whisk in the flour and sparkling water.
Heat the oil in a wide, deep pan until about 180C or when a little bit of batter fries well in contact with the oil.
Meanwhile mix together the chilli sauce and the mayonnaise.
Dredge the beans through the batter, allowing any excess to fall off. Gently lay the batter-covered beans in the pan, crisscrossing the beans to form tangled masses. Fry in batches for 3 minutes, turning once to cook evenly. Drain on kitchen paper and repeat until the beans are cooked. Add a generous pinch of Maldon Salt to each batch you make.
Arrange on a platter with the chilli mayonnaise in a deep dipping bowl. Take great pleasure in dredging chunks of green beans through the chilli mayonnaise.
This is the perfect time for asparagus, and we grow some of the best here in the UK. This creamy orzo dish is a sort of hybrid between a risotto and a pasta – perfectly indulgent yet fresh with the spring vegetables and lemon zest. ‘Pangrattato’ literally translates as ‘poor man’s parmesan’ in Italian, and these fried, crunchy breadcrumbs are used in the place of parmesan across an array of Italian dishes.
Start by heating up a big glug of olive oil in your pan and then add the shallot and fry until soft and translucent. Then add the garlic and fry for another couple of minutes.
Next add your orzo and fry in the shallot and garlic for a couple of minutes before adding a glass of nice white wine. Let the alcohol bubble off and liquid evaporate before adding the stock. Let the orzo gently cook in the stock.
While the orzo is cooking you can make the pangratatto – blitz some stale sourdough in the food processor to make breadcrumbs. Then heat some oil in a pan and add the breadcrumbs, garlic, and chilli flakes. Fry gently until the breadcrumbs go golden and toasted. Then take off the heat and add the lemon zest.
Once your orzo is nearly cooked you can add your vegetables – chopped asparagus, peas and the finely chopped pistachios. Let these cook for 2- 3 minutes until just tender. If the orzo is looking a little dry then add a splash more water.
Take the orzo off the heat and stir through the mascarpone, a knob of butter and the grated pecorino. Add a generous pinch of Maldon Salt and cracked black pepper to finish.
Spoon the orzo into bowls and scatter over the pangratatto.
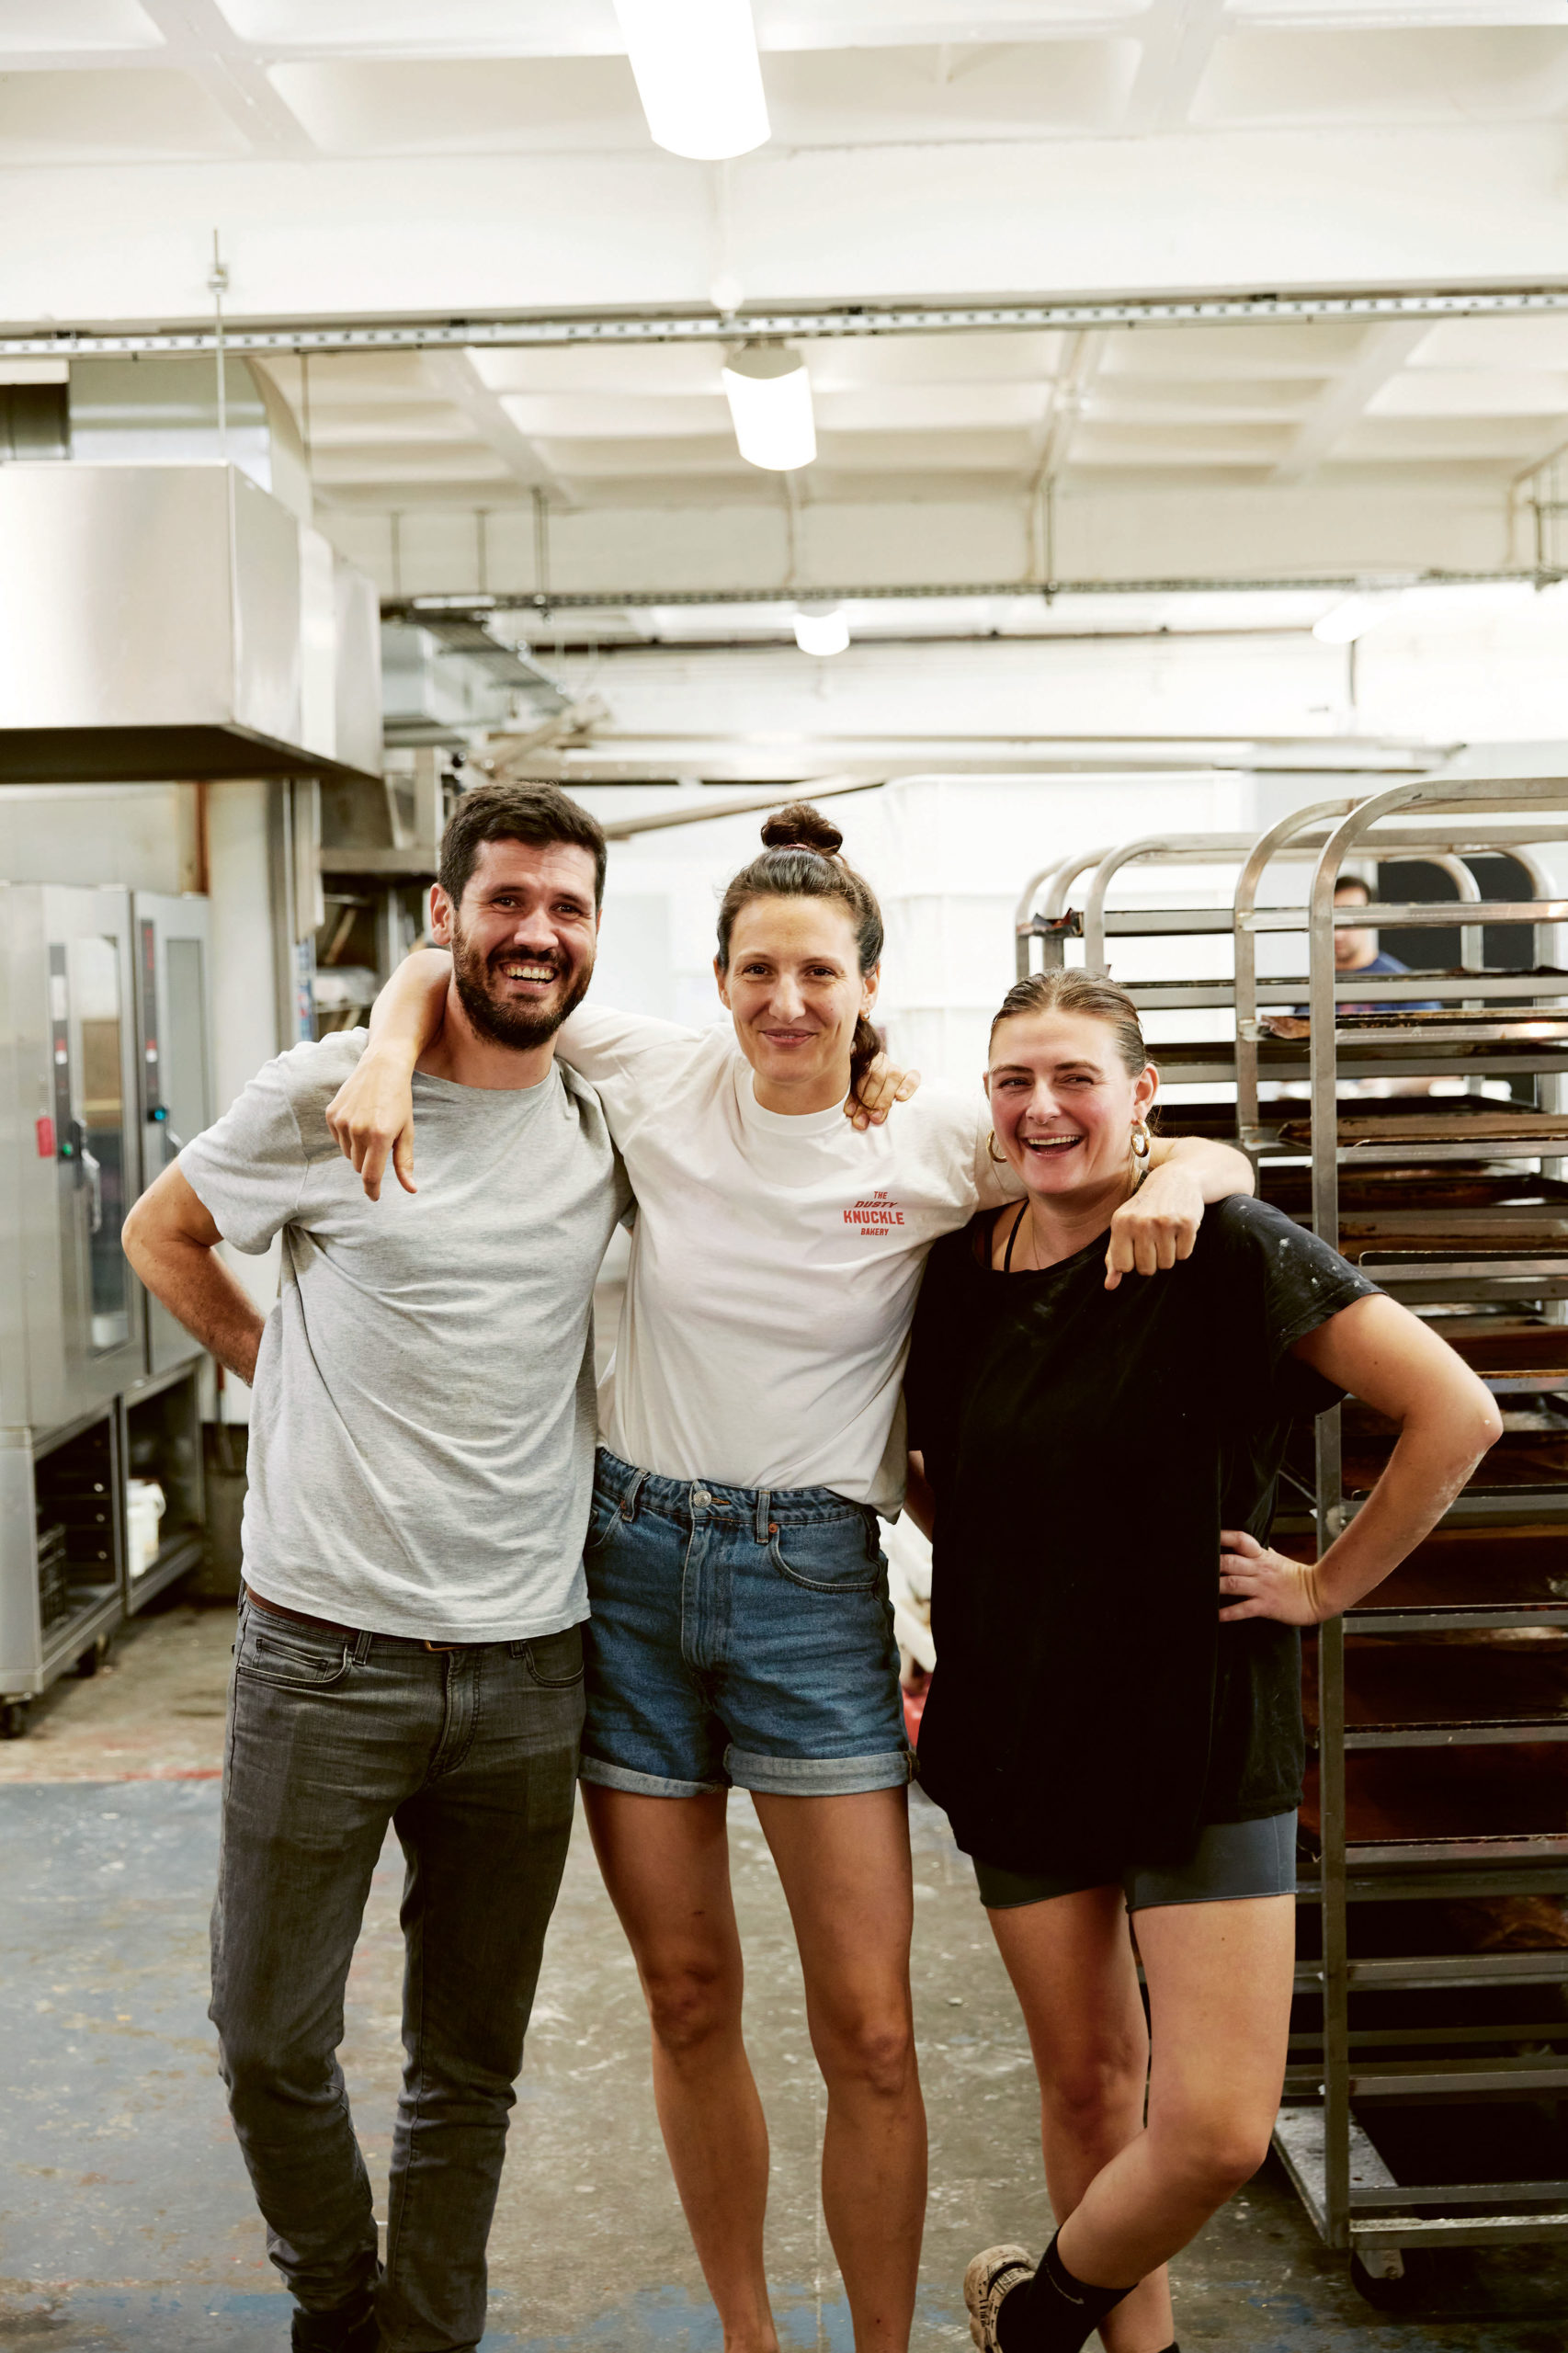
The Dusty Knuckle is East London’s favourite bakery and café with being experts in creating seriously good bread, knockout sandwiches and everything in between! Having two locations based in Dalston and Harringay, The Dusty Knuckle offer an abundance of baked goods, where you can wine & dine and even attend their baking classes during the weekend, learning how to make their ‘knock-out’ breads.
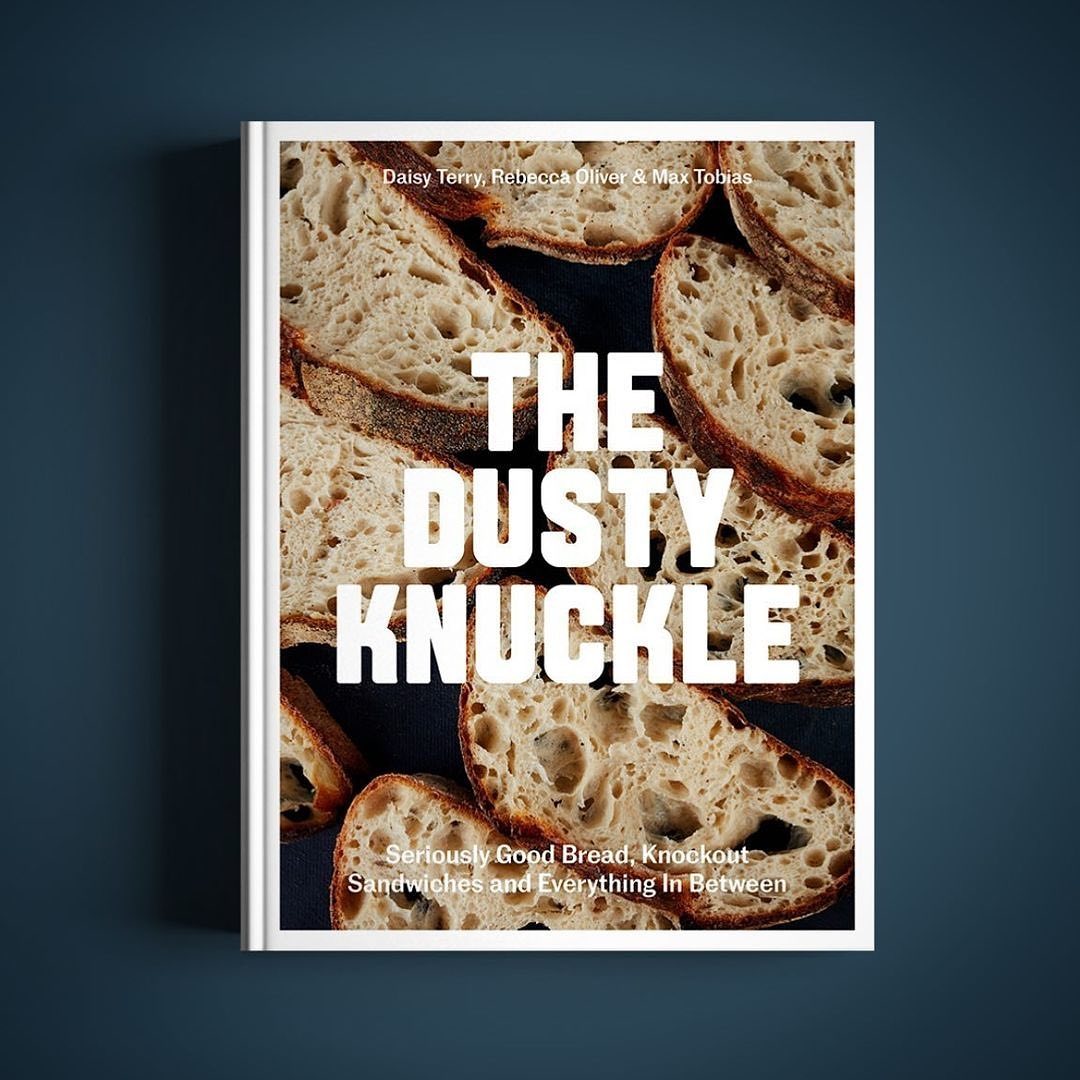
Sharing their baking secrets is at the heart of the bakery, where managers Max Tobias, Rebecca Oliver and Daisy Terry have shared it all with the release of their latest cook book, ‘The Dusty Knuckle’, whereby Maldon Salt is credited for being the bakery’s salt of choice!
Here we delve into one of the recipe’s in which The Dusty Knuckle have used Maldon Salt to enhance their dish…the infamous Focaccia!
For the poolish, add the water and yeast to a bowl, mix until your yeast is dissolved, then throw in the flour. Mix quickly with your hands; this will be wet and sloppy and you are only looking to mix it enough so that there are no wet bits and no dry clumps. Scrape your bowl down, cover it with a clean cloth or lid and leave somewhere warm to ferment. How long this takes depends on the heat of your home, your yeast, your flour, your hands. You are basically looking for it to have grown to almost triple in size and for the surface to be covered in little bubbles, roughly 2 hours. Use it before it begins to deflate and drop down the edges of the bowl.
Add the first water addition for the dough, and the yeast. It will separate and feel slimy; don’t worry, this is normal. Add your flours and mix thoroughly until everything is combined. If you are doing this by hand, it will take around 4 minutes, and if using a mixer with a dough hook, around 2 minutes on slow speed. Scrape your bowl down, cover and leave for an hour. This rest period (called autolysis) allows the flour to further absorb the water, which is important in this recipe as it uses nearly the same amount of water as flour. It should rise nicely and it may get a bit of a crusty top: don’t worry about this, it’ll all get mixed in.
Add the second water addition and Maldon Salt, and mix in with your hands (again, it will break up, but don’t worry, it’ll soon come back together). Once your dough is looking a bit more coherent, you will need to work it a bit. The easiest way to do this is to grab one side, stretching it upwards as far as it will allow you, then fold it back on itself, turn the bowl slightly and repeat, working your way around and around (keep the dough in the bowl; you will thank yourself when cleaning up later). The dough will start off shaggy and will tear easily, but will soon become elastic and silky. This will probably take you about 10 minutes, but don’t scrimp on the time here: you are building strength in the dough, which is the key to that chewy delicious bread. You can use a mixer – we do – for this, mixing for 2 minutes on slow speed, then 4 minutes on fast.
Check your dough for elasticity: does it stretch without tearing? If it’s still a bit weak and tears easily when you lift it, give it a couple more minutes.
Once mixed and silky and lovely and smooth and soft, take the dough out of the bowl, pour 2 generous glugs of olive oil into the bowl and replace the dough in the bowl. Cover and leave to rest for 1 hour, then fold and leave for another hour, before folding again and leaving for another hour (3 hours in total from mixing the final dough). To fold the dough, grab the edge of the dough with oily fingers and stretch it as high as it will let you, then fold it back over itself. Do this 4 times (north, south, east, west) to complete one fold.
After 3 hours your dough should be feeling pillowy, soft and silky, and bubbly. Turn it out onto a well-oiled standard-sized baking tray and fold it neatly into a square shape (don’t worry if this is much smaller than the tray as it will sprawl out and fill the tray) and leave somewhere nice and warm, and not too airy, for 1 hour. (If following the morning bake schedule, then this is when you would put it in the fridge – it can be in the fridge at this stage for up to 12 hours.)
Fold each side in to create a square and leave it for another hour, then do this one more time and leave for its final hour.
Give it a prod: if it feels like it will let you, gently slide oily hands right underneath and slowly stretch it out, pulling from the central underbelly. Be delicate here: it should feel like a wobbly, airy pillow (if it doesn’t leave it another hour). Ensure you do not tear the dough. It will relax and start to fill the tray. Heat your oven to its hottest setting.
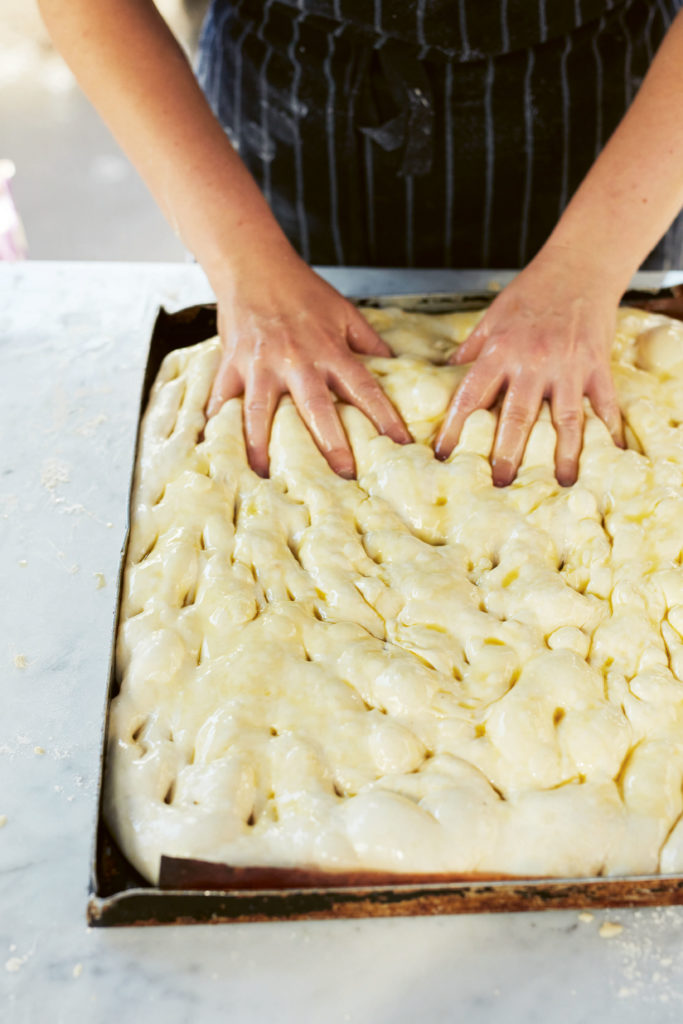
Whisk together 200ml (7fl oz/scant 1 cup) olive oil and 100ml (3 ½ fl oz/scant ½ cup) water until cloudy and immediately pour all over the top of the dough – be super-generous here. Dimple the top of the dough with your fingertips – sharp hard dimples are better than little soft ones so don’t worry if you go right through to the tray or even make a little hole; this will move the bubbles around inside and help get that chewy, open structure we are all looking for. Because it is so oily and bubbly, and nice to touch, it is tempting to over-dimple which can knock the air out, so just prod it enough so the surface is evenly dimpled. Sprinkle with Maldon Salt and bake for 15 minutes or until deep and golden brown. Be super-careful taking this out of the oven as the oil is hot and there will be excess on the tray.
Remove from the tray straight away and leave to cool on a wire rack.
Make the classic whiskey sour with a flowery twist from the infused flavours of lavender and nectarine syrup to give a subtle sweetness to the cocktail…delicious!
Prepare the syrup the day before by mixing the water, sugar, a pinch of Maldon Salt and the cut nectarine in a saucepan. Let it boil for 5 minutes, add the lavender and remove from the heat. Cover and leave to cool.
Mix the ingredients in a liquidiser at full power until the ice has started to crush and a thick foam has formed.
Serve and garnish with a sprig of lavender.
Create the perfect pistachio ice cream, but make it vegan! The buttery, nutty flavour of the humble pistachio really is intensified when combined with the rich, creamy coconut milk as the vegan alternative to the ice cream. Sprinkled with a pinch of Maldon Salt and chocolate cocoa and you’ll want to go for seconds!
Put all the ingredients in a liquidiser and blend at full power until the mixture is a smooth cream with no chunks.
Pour the cream mixture into the cake mould, cover it with baking paper and freeze it for at least 6 hours, preferably overnight.
Chop and toast the pistachios for the topping for a 2-3 minutes. Scrape one side of the chocolate bar with a knife to get chocolate shavings.
If you want, create balls with a special spoon or make quenelles with the help of two soup spoons. Sprinkle each portion with pistachios, chocolate shavings and a pinch of Maldon Salt.
The perfect summer dessert – freshly baked apricots coated with a rosemary, butter glaze. Sprinkle a generous pinch of Maldon Salt to enhance the sweetness of the fresh apricots.
Cut the butter into slices, put it in the liquidiser together with the washed and prepared rosemary. Add the sugar and blend at maximum speed for 2 minutes. Put the mixture into a bowl, let it soften at room temperature. Heat the oven to 160ºC.
Wash the apricots and cut into the top of each apricot. Open up the cut with a knife and insert a portion of butter into each cut. Spread the rest of the butter over the dish.
Put the dish in the oven and bake for 20-30 minutes on indirect heat. Once they begin to brown slightly, take out of the oven and serve with a sprinkle of Maldon Salt. On a hot summer’s day, serve with vanilla ice cream, cream or frozen yogurt.