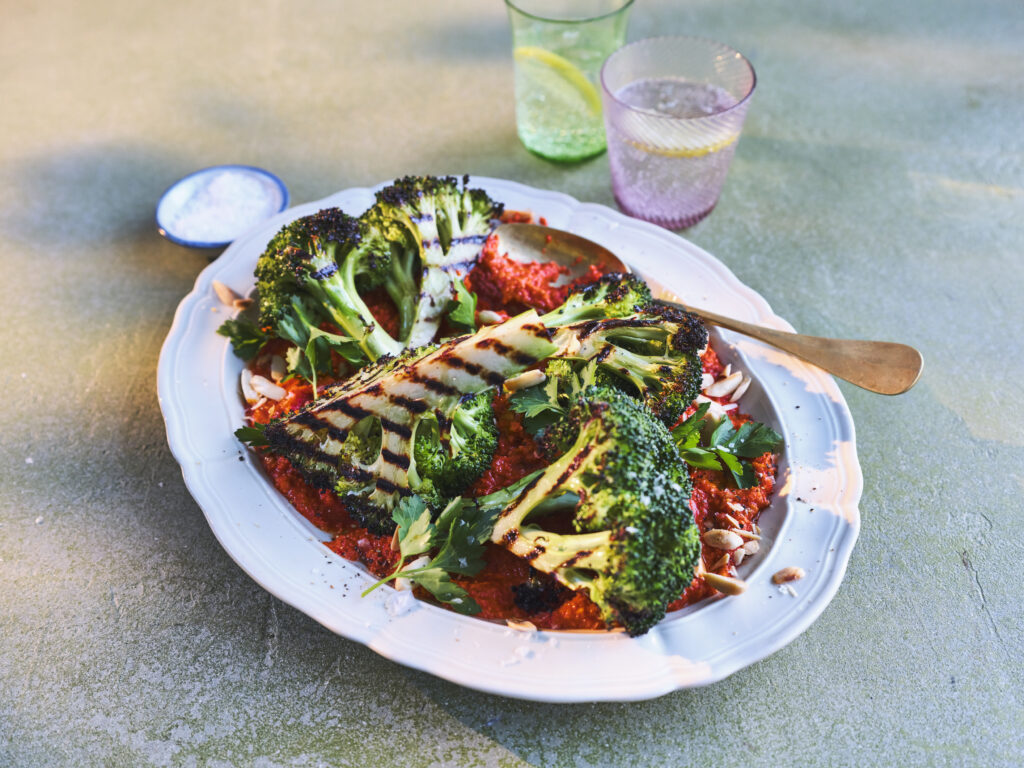
Lightly griddled broccoli wedges with a delicious Romesco sauce is the perfect side dish for your springtime banquet. The combination of sweet and slightly acidic with the smoky red pepper Romesco sauce pairs beautifully with the charred broccoli, a flavour profile that will certainly impress your dinner guests.
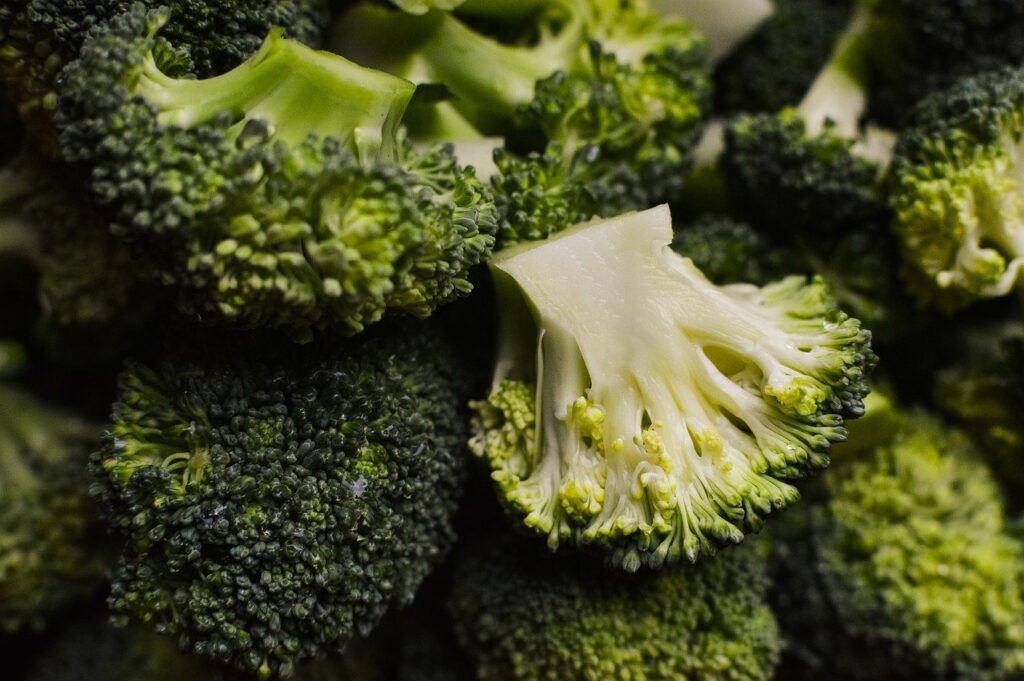
Broccoli contains compounds that some people may consider bitter. However, gently griddling your broccoli will allow a delicious earthy, almost sweet taste to rise. It also brings out many nutrients, including a wide array of vitamins, minerals and fibre.
Image by <a href=”https://pixabay.com/users/catkin-127770/?utm_source=link-attribution&utm_medium=referral&utm_campaign=image&utm_content=482403″>Catkin</a> from <a href=”https://pixabay.com//?utm_source=link-attribution&utm_medium=referral&utm_campaign=image&utm_content=482403″>Pixabay</a>
What is Romesco sauce?
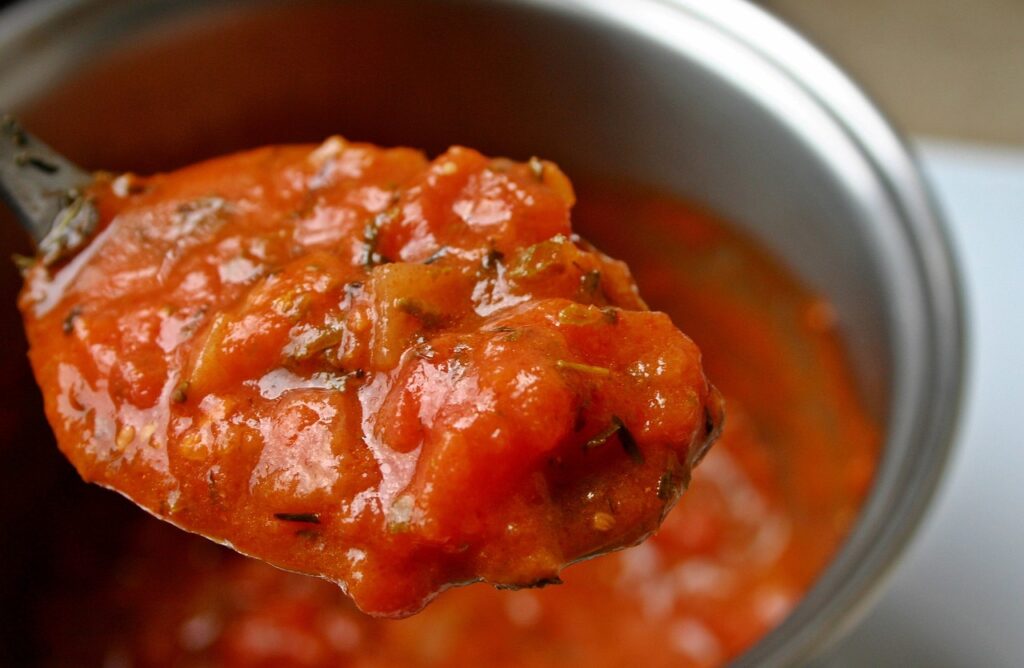
Romesco sauce is a rich Spanish sauce comprising of roasted red peppers, which are pureed and thickened with toasted almonds and sometimes pieces of bread.
The origin of the sauce dates back to the 18th century, where fishermen were believed to have made the sauce to eat with their rather bland meals, whilst catching their fish off the coast of Catalonia, Northwest Spain.
The taste of Romesco sauce is lightly sweet and tangy in flavour, with a delicious hint of garlic and smoky flavours and a touch of spice. As the sauce is a classic Mediterranean condiment, it’s the perfect accompaniment to fish, grilled vegetables and roasted chicken.
Is Romesco sauce served hot or cold?
Romesco sauce is very adaptable and can be served either hot or cold depending on the dish that you’re making.
Romesco sauce can freeze and last for up to 3 months in the freezer. We do not recommend storing the sauce longer than 3 months as the flavour can start to degrade and the colour becomes dull.
You can freeze Romesco sauce easily by using an ice cub tray:
Portion the sauce into the ice cube tray. You can use spoons to make it easier to pour into each ice cube square.
Wrap the ice cub tray with a layer of clingfilm to prevent spillages and also limit the chance of any odours in your freezer.
Put the tray in the freeze carefully, keeping it as flat as possible.
Once frozen solid, you can pop the cubes out of the ice cube tray into a freezer bag, making sure it is sealed up.
Label the bag with the contents and the date it was made, before placing it back in the freezer.
The best way to defrost Romesco sauce is by taking a cube out of the freezer and popping it into the dish, allowing it to thaw whilst the dish continues to cook.
Image by <a href=”https://pixabay.com/users/jeshoots-com-264599/?utm_source=link-attribution&utm_medium=referral&utm_campaign=image&utm_content=569070″>Jan Vašek</a> from <a href=”https://pixabay.com//?utm_source=link-attribution&utm_medium=referral&utm_campaign=image&utm_content=569070″>Pixabay</a>
How to make Romesco sauce?
Start by making the romesco sauce.
In a large frying pan, add the blanched almonds and toast them until they turn colour and start to char in places, turning them over so they evenly toast. Then tip them out the pan and allow to cool slightly.
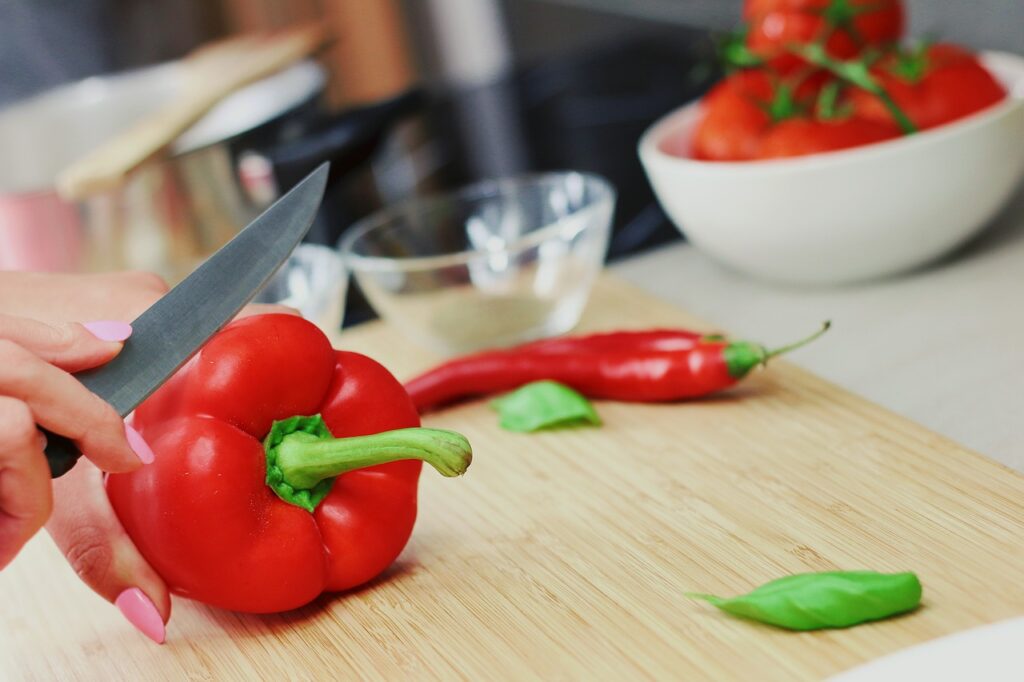
In a food processor add the roasted red peppers, toasted almonds, handful of parsley and the garlic cloves. Pulse this until everything has broken down to a chunky paste. Then add the sherry vinegar, lemon juice and olive oil and pulse again to your desired texture – you don’t want it to be completely smooth.
Tip the mixture from the food processor to a bowl and stir through the paprika and Aleppo pepper. Taste the sauce and then add some Maldon Sea Salt flakes and cracked black pepper.
How to make griddled broccoli?
Prepare the broccoli. Heat a griddle pan onto a high heat. Slice the broccoli heads into wedges by cutting each one in half lengthways through the stalk, then cut each half again into quarters.
Rub each wedge with olive oil, and then place onto the griddle pan. Let each side cook for 5 minutes until prominently char lines appear on the stalk before turning and doing the other side. This can be done in batches; the broccoli will char but also steam as it cooks.
Image by <a href=”https://pixabay.com/users/zichrini-3417353/?utm_source=link-attribution&utm_medium=referral&utm_campaign=image&utm_content=3267634″>Hanna</a> from <a href=”https://pixabay.com//?utm_source=link-attribution&utm_medium=referral&utm_campaign=image&utm_content=3267634″>Pixabay</a>
Do you have to boil broccoli before frying?
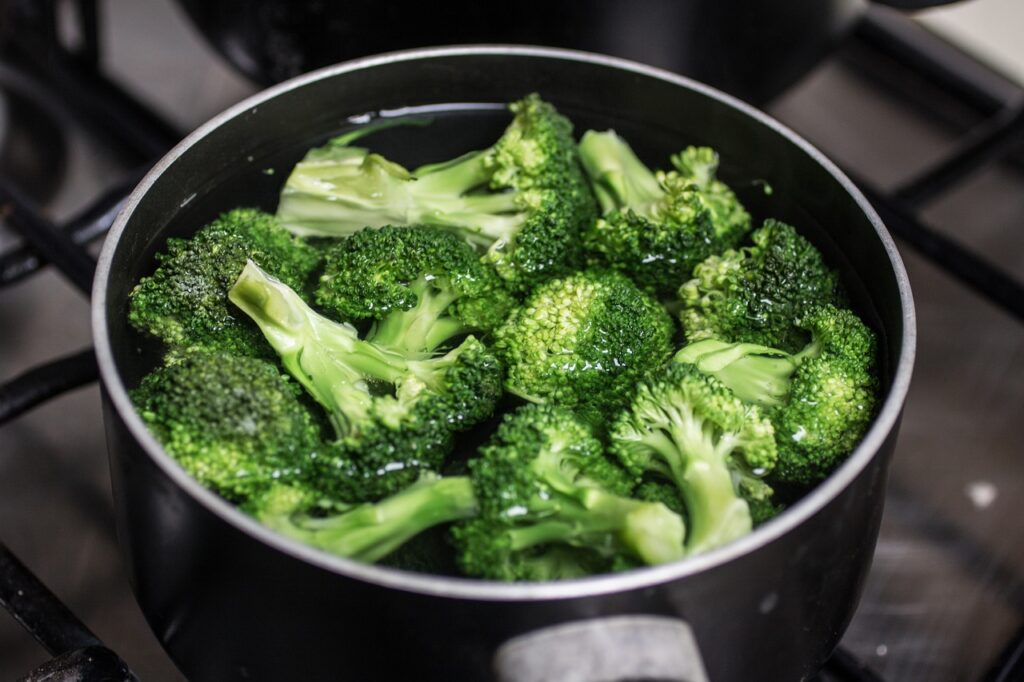
You do not need to boil broccoli before frying in the pan if you implement a steaming method to it. This is where you trap hot air in the pan to help soften the broccoli. This allows the broccoli to be a little softer in texture when you bite into it, but still irresistibly crunchy.
You can blanch the florets before stir-frying to help soften the stems and stop the enzyme that leads to browning. We recommend adding a good pinch of Maldon Sea Salt flakes and a dash of olive oil to your blanching water to help the broccoli retain it’s crunchy texture and vibrant green colour.
How to serve griddled broccoli with Romesco sauce:
When you are ready to serve, spoon the romesco sauce across the base of a large serving platter.
Then arrange the charred broccoli wedges on top.
Finally scatter with some chopped smoked almonds, a drizzle of olive oil and a final sprinkle of Maldon Sea Salt flakes and Aleppo pepper.
Image by <a href=”https://pixabay.com/users/meszarcsekgergely-18097400/?utm_source=link-attribution&utm_medium=referral&utm_campaign=image&utm_content=7744338″>Meszárcsek Gergely</a> from <a href=”https://pixabay.com//?utm_source=link-attribution&utm_medium=referral&utm_campaign=image&utm_content=7744338″>Pixabay</a>
How long does it take to cook raw broccoli?
Broccoli can be easy to overcook, it should always retain it’s vivid bright green colour when cooked and should have a little ‘crunch‘ to it.
When you are boiling broccoli in a pan of boiling water, we recommend cooking the florets for 6-8 minutes.
If you aresteaming your broccoli, make sure to place a steamer over boiling water and cook for the same time, around 6-8 minutes.
You can stir-fry your broccoli for a delicious, crunchy texture. You need to separate into bite-sized florets, adding 1 tbsp of olive oil into the frying plan and adding the broccoli, cooking for around 4-5 minutes or until nice and tender.
When roasting broccoli, we recommend preheating your oven to 400 degrees F for 20 minutes to allow the vegetable to be perfectly roasted.
How long does broccoli keep in the fridge?
Fresh broccoli can last up to 3-5 days in the fridge when properly stored in an air-tight container. If it is cut-up broccoli, we recommend no more than 4 days stored in the fridge, otherwise the vegetable will start to decay in colour and texture and have a unpleasant odour.
If you are storing cooked broccoli in the fridge, make sure to store in a shallow, air-tight container or wrapped in foil. It can be stored for up to 3-5 days.
A twist on the classic cranberry sauce. Homemade cranberry sauce is so worth making, it’s unbelievably simple and tastes so much better than store bought. Orange and cranberry pair brilliantly, but the addition of Maldon Chilli Sea Salt adds a hum and warmth to the sauce which is unexpected. Add a splash of port because… well, Christmas!
Place the cranberries, orange zest and juice, caster sugar and cinnamon stick in a pan and simmer gently for 10 minutes until the cranberries have begun to break down and pop.
Add the port and Maldon Chilli Sea Salt and simmer for a further 5 minutes until thickened.
Check the seasoning and then allow to cool before serving with your Christmas meal or alongside pigs in blankets.
Creamy, tender and full of flavour…New potatoes are the ultimate comfort food.
This recipe only contains four ingredients, with Maldon Garlic Sea Salt being the star of the show for this dish. The delicious blend of sea salt flakes with wild and roasted garlic elevates the humble potato to new heights, giving a fragrant taste that compliments the new potatoes.
What are new potatoes?
A new potato is basically an immature potato that is dug up before it reaches full size. As a result, the tend to have a sweeter taste and loose skins which can be gently rubbed off before being boiled or cooked. The flex is waxier than other potatoes, which is why many use new potatoes in salads when cold, and paired with butter when warmed up.
The best variety of new potatoes are ‘charlottes’. They offer a great resistance to blight and are generally resistant to scabbing.
Place your new potatoes in a large pan of water so they are submerged. Put this onto the heat and bring to the boil. Allow the potatoes to cook for 5 – 8 minutes in the water, until they are just tender and you can insert a knife easily.
Drain the potatoes and allow to steam dry for a couple of minutes.
Tip into your favourite serving bowl and toss with the olive oil, Maldon Garlic Sea Salt and cracked black pepper.
Serve whilst still warm.
Want to impress your guests at your next party? Mix up a classic dirty martini, made using Graza “Drizzle” Extra Virgin Olive Oil. Whilst holding the usual ingredients for an ordinary martini, adding EVOO will allow the cocktail to become silkier and smooth in texture, resulting in a ‘delicious’ experience.
Make sure to add a salt rim using Maldon Sea salt flakes to help bring balance to cocktail’s flavour, whilst elevating the sweetness and reducing the bitterness from the olive brine.
Here is how to make Graza’s Dirty Marg-tini
Using a spare olive, wet and rim a cocktail glass with Maldon Salt and set aside in a freezer to chill.
Add tequila, brine, Drizzle, lime, and agave nectar to a shaker tin and shake vigorously over ice for 10-15 seconds or until chilled and aerated.
Using a Hawthorne and tea strainer, fine strain into your prepared cocktail glass.
Garnish with three Castelvetrano olives and enjoy.
Where Can You Buy Graza “Drizzle” Extra Virgin Olive Oil?
You can purchase Graza’s “Drizzle” directly from their website. You have the option to buy as a one-time purchase, or subscribe & save to have a frequent delivery of EVOO at a lower price – what more could you want!
“Drizzle” is 100% Extra Virgin finishing oil. It’s made from olives that are picked early, when flavour is bold and antioxidants are highest.
We are delighted to team up with Magimix in creating falafel with a freshly chopped salad and creamy hummus for dipping. Using their iconic 4200XL Processor, we were able to make the falafel balls and hummus from scratch from the use of the machine’s multifunctional blades. With a simple press of a button, we are able to effortlessly multitask to create delicious tasting food!
This plant-friendly recipe is perfect for the warm summer months when you are craving something light to eat. The falafel themselves are made up of chickpeas and a handful of herbs. We also add 1 green chilli to introduce a gentle layer of spice to the balls. We pair these with an irresistibly creamy hummus for dipping the falafel in, along with a tasty chopped salad as well. The salad is packed full of veg and also has pomegranate seeds and molasses to introduce sweetness to the dish.
Here is how to make our Falafel with Chopped Salad & Hummus recipe…
Start by making the falafel.
Soak the chickpeas overnight, the next day drain them. Place the chickpeas in the Magimix 4200XL Food Processor along with the onion, garlic, parsley, coriander, green chilli, spices, Maldon Salt, cracked black pepper and baking powder. Pulse the mixture together until it comes together but still has a little texture – you don’t want it to be completely smooth or fine.
Tip the mixture into a large bowl and cover with clingfilm. Place in the fridge for 30 minutes to chill.
While the falafel is chilling, make the hummus.
Clean out the bowl of the Magimix. Then add the chickpeas, lemon juice, crushed garlic, Maldon Salt, tahini, cumin and smoked paprika. Blend this together until it is smooth. Add a couple of tbsp of water if needed, and the EVOO. Then blitz again until you have the desired texture. Remove from the Magimix and tip into a bowl, set aside.
Make the chopped salad. In a large bowl add together all the chopped vegetables and herbs.
Whisk together the pomegranate molasses, olive oil and lemon juice in a small bowl and season with Maldon Salt and black pepper.
When you are ready to fry the falafel, remove the mix from the fridge and then use your hands to shape into small balls, just a bit smaller than a golf ball.
In a large pan, pour in enough vegetable oil so it comes up 3 inches up the side of the pan. Heat this until it reaches 180C on a thermometer.
Carefully drop the falafel into the oil and fry them for 2 – 3 minutes each until deep golden brown and crispy.
Remove from the heat and place onto a tray lined with kitchen paper. You can serve these straight away or keep them warm in a low oven if it takes a while to fry.
To serve, toss the dressing over the chopped salad and spoon onto a big platter, garnish with the pomegranate seeds.
Serve alongside the hummus and the fresh falafel. Use warmed pitta bread to pile in all three and enjoy.
A classic chakalaka – refreshing spicy tomato bean relish that will make you go up for second helpings! We use our NEW Kalahari Desert Salt, Selected by Maldon to elevate the spices of cumin and cayenne pepper and make your taste buds sing!
Chakalaka originates from South Africa and is a staple throughout the country! This pairs perfect with barbecues, known as braais. It is believed that the dish was developed by men who worked within the goldmines, combining vegetables with beans to form a tasty relish to give them enough energy for the day.
Here is how to make our Chakalaka…
Heat the oil in a large frying pan and then add the onion. Cook for a few minutes until it starts to soften and go translucent.
Next add the garlic, ginger, curry powder, cumin and cayenne and fry for another minute.
Add the diced peppers and cook for a couple of minutes to allow them to soften.
Next add the grated carrot, tomato paste and tinned tomatoes. Mix it well so everything is well coated and allow it to cook for 5 – 10 minutes.
Finally add the cannellini beans, fresh thyme and seasoning and allow it to bubble for a further 5 minutes.
Check the seasoning and then serve.
Simple yet refreshing. Our cucumber salad recipe is quick and easy to make within a matter of minutes…perfect for the summer!
When choosing your cucumber, we recommend using a seedless variety. English cucumbers are great for this as they are long, slim and hardly have any seeds. You can also opt for Persian cucumbers, however they are notably shorter in comparison to English cucumbers.
Pair this salad with summertime classics, including juicy burgers and chargrilled chicken on the BBQ for that perfect cool contrast from the warm meats.
Finely slice the cucumber. In a bowl, toss the cucumber slices with Maldon Salt and a small pinch of sugar. Let this stand for roughly 5 minutes.
Add the cucumber to a large bowl with the red onion, white wine vinegar, Maldon Salt and cracked black pepper.
Transfer onto a serving plate and garnish with dill sprigs and Maldon Salt before serving.
Embrace the joy of home cooking with our delicious classic chip recipe. There is something special in making chips from scratch, from the glorious aroma to the satisfying crunch!
We season our homemade chips with a generous pinch of Maldon Salt, garlic and a few sprigs of rosemary to elevate the flavour to new heights. Whether you are a seasoned pro or a novice in the kitchen, this easy-to-follow recipe will allow you to dish up golden, crispy chips…the perfect alternative to any store-bought counterpart.
We recommend baking these chips with a juicy burger, ideal for the warm, summer evenings. Additionally, you can also have a go in making chips from another vegetable, perhaps our delicious baked turnip chips, which can be enjoyed on their own with a dipping sauce or paired with a succulent lamb shoulder.
Preheat the oven to 180C.
Start by cutting the potatoes into chips, keeping the skin on (you can make these as thin or chunky as you like).
Place a large pan of lightly salted water on the hob and add the chips. Bring the water to the boil and let them simmer for 3 – 5 minutes until they are still holding their shape, but a sharp knife can be inserted.
Drain the chips and allow them to steam for a few minutes in the colander – give the colander a little shake to gently rough up the edges too.
While the chips are steaming, pour the vegetable oil into a large baking tray and place into the preheated oven to heat up the oil.
After 5 mins, remove the tray from the oven and tip the chips into the hot oil – be very careful as the hot oil will spit. Flip and coat the chips in the oil. Add the bashed garlic cloves and a few sprigs of the rosemary. Season well with Maldon Salt and cracked black pepper and place the chips back in the oven.
Roast the chips for 15 minutes, then take them out and flip and rotate the chips using a spatula. Place them back in the oven for another 15 – 20 mins depending on the size of your chips. You want them golden brown and crispy all over.
Remove from the oven and sprinkle with a final pinch of Maldon Salt.
Did you know acai bowls originated in Brazil, where the classic pureed berry dish became globally loved for it’s refreshing smoothie like texture from the blending of the acai berry, causing it to have it’s classic purple-hued colour.
The bowl is then topped with a heap of sliced fruits, nuts and seeds. You can follow our homemade granola recipe to also add as a topped to your bowl, giving it a delectable, crunchy texture.
Place your bowls in the freezer – this will help keep the puree in form without melting.
Add the acai powder, frozen banana, frozen berries, ice cubes and pinch of Maldon Salt into a high powered blender and blend until smooth.
Pour the smoothie into 2 bowls, then top with any of the following toppings you like: sliced kiwi, diced mango, sliced strawberries, blueberries, coconut flakes, granola, chia seeds.
Serve immediately.
Dukkah, also commonly spelt duqqa, is a Middle Eastern and Egyptian blend of nuts, seeds and warming spices, coarsely grounded to create a savory, sweet and slightly zesty flavour!
Typically used as a dip for breads or vegetables, we serve ours on a softly roasted sweet potato to really infuse the flavours and aromas of the blend. We use a pinch of Maldon Salt to heighten the earthy notes of pistachios, almonds and cumin within this dish.
Start by toasting the nuts. Heat the oven to 180C and place the nuts on to a baking tray and place in the oven for 5 minutes – keep an eye on them so they don’t burn but are nicely golden.
Remove from the oven and then when slightly cooled, chop or bash in a pestle and mortar. Then tip into a large bowl.
In a large frying pan start by toasting the sesame seeds, then add these to the nuts.
Next toast the fennel seeds, coriander seeds and cumin seeds until they are golden and smelling fragrant. Add these to the pestle and mortar and crush before adding to the bowl with the nuts. Add the smoked paprika, Maldon Salt and black sesame seeds and mix well.
You can now use this dukkah on several dishes – salads, on feta or burrata, meat and fish, roasted vegetables and hummus. We served ours on a soft roasted sweet potato.