Beat the summer heat with this easy strawberry mojito recipe! Muddled strawberries, fresh mint, zesty lime, and a splash of rum (or keep it alcohol-free) combine for the ultimate refreshing drink. Topped with sparkling water and a pinch of Maldon Salt, this homemade mojito is bursting with flavour—perfect for garden parties or relaxing afternoons.
How to Make a Strawberry Mojito
Step 1 – Make the Simple Syrup
Combine sugar and water in a small pan over medium heat.
Cook gently until sugar dissolves, then cool.
Step 2 – Muddle the Ingredients
In two tall glasses, add strawberries, mint, simple syrup, and a pinch of Maldon Sea Salt.
Muddle until strawberries are smushed and juicy. Use a muddler or the end of a wooden spoon for best results
Step 3 – Mix the Drink
Add a handful of crushed ice to each glass.
Add lime juice and white rum (if using).
Stir gently.
Step 4 – Top and Garnish
Top up with more crushed ice and sparkling water.
Garnish with extra mint leaves.
Tips
For a non-alcoholic mojito, simply omit the rum.
Use very ripe strawberries for maximum flavour and colour.
Adjust sweetness by adding more or less simple syrup.
Can I make a strawberry mojito without alcohol?
Yes, you can make a strawberry mojito without alcohol, which makes it a mocktail version. Simply take out the white rum and leave the sparkling water. This is refreshing and still tastes delicious!
Can I use frozen strawberries?
Yes, you can definitely use frozen strawberries for a mojito. This will make the drink slightly sweeter in taste and have a stronger flavour than fresh strawberries. This is because of the way that they are frozen and thawed. Fresh strawberries have a more delicate and diluted flavour due to withstanding transport.
How do I batch this recipe for a party?
To batch make strawberry mojitos for a party, you’ll need to scale up the ingredients proportionally and prepare the base in advance for easier serving! Here is a guide to make a batch for 10 people, which is five times the original recipe for 2 people.
125g granulated sugar
125ml water (to make simple syrup)
20 strawberries, roughly chopped
Large handful of fresh mint leaves (about 2 packed cups)
Crushed ice (as needed, for serving)
Juice of 5 limes (approx. 150ml)
500ml white rum (optional, adjust to taste)
Sparkling water (to top up each glass)
5 pinches of Maldon Sea Salt (or add a small pinch per glass)
What’s the best rum for mojitos?
Accordingly to Liquor.com, the best overall rum for mojitos is The Real McCoy 3 Year Old Rum, which has tasting notes of vanilla, banana and coconut. If you want something a little less expensive, Bacardi is also just as good. It’s light, floral and not overpoweringly sweet, allowing it to blend nicely with the mint and strawberries.
Serving Suggestions
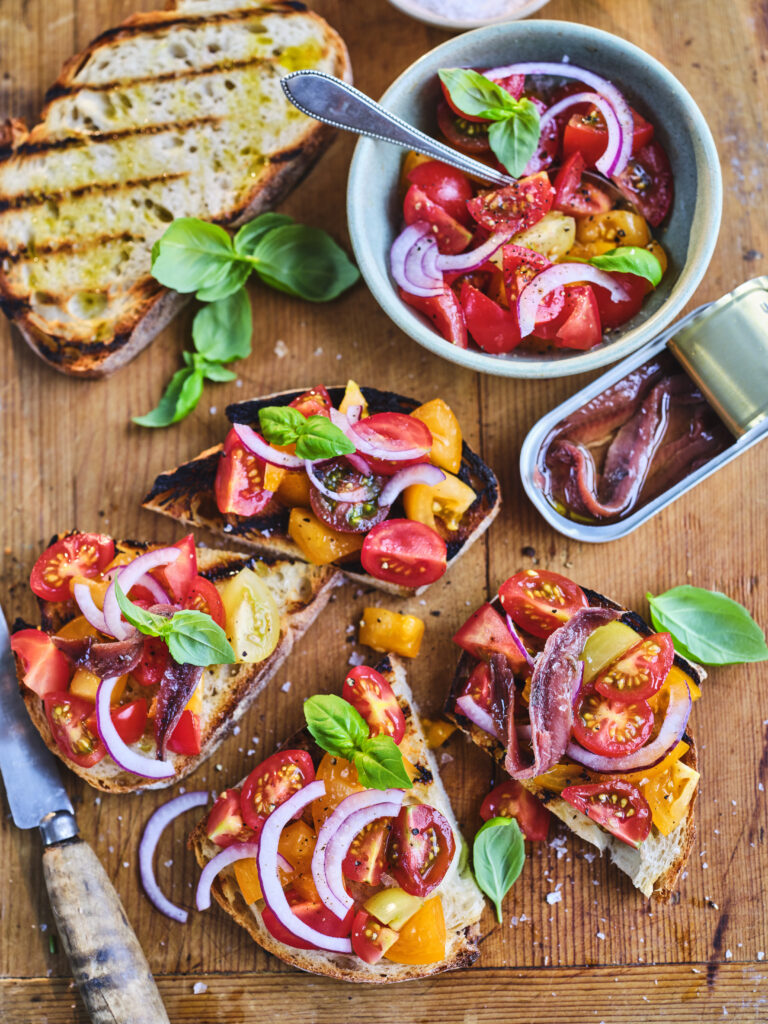
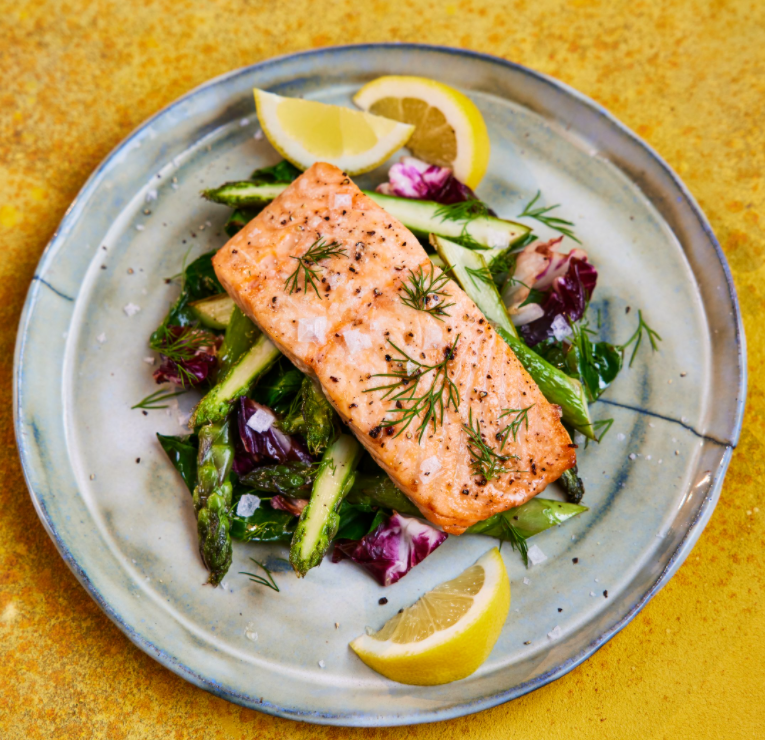
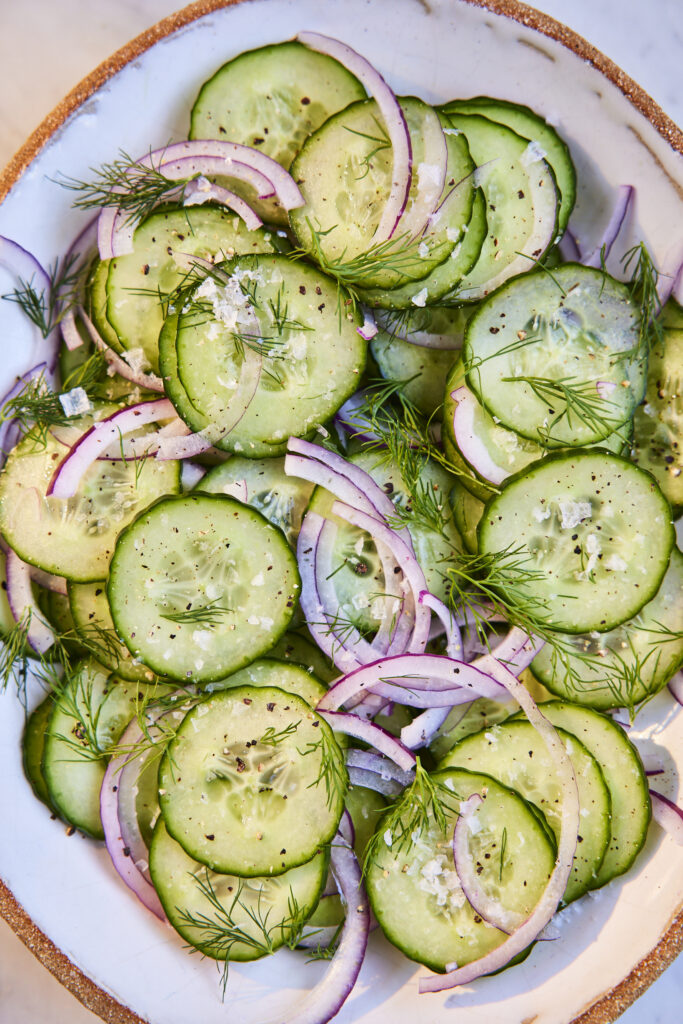
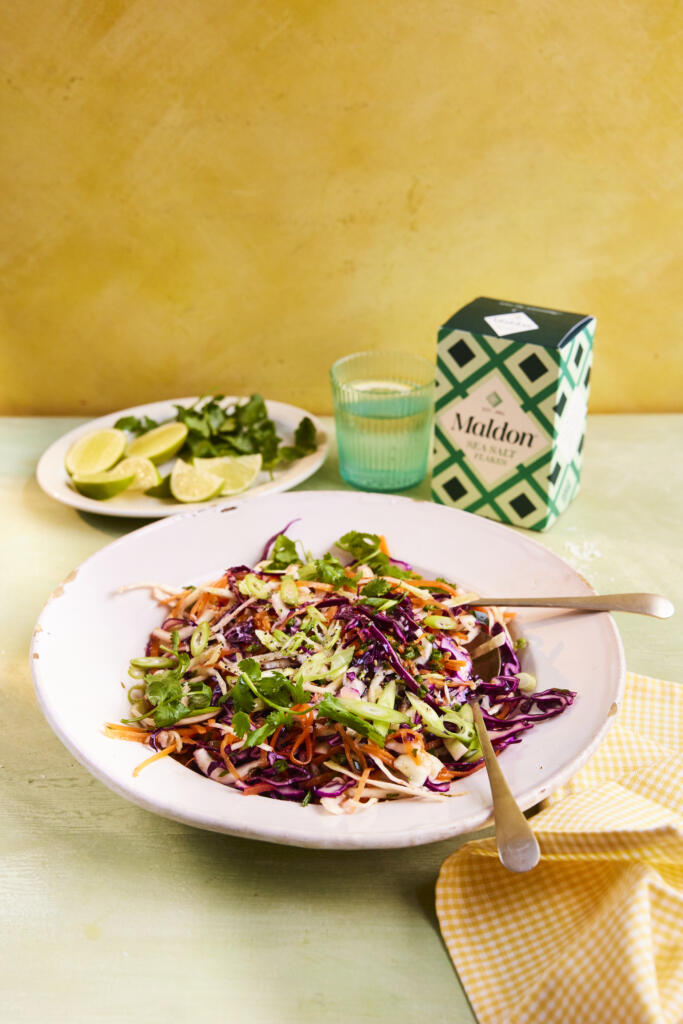
Bruschetta Grilled SalmonCucumber Salad
Serve in tall glasses with extra mint and lime wedges.
Simple syrup can be made ahead and stored in the fridge for up to a week.
Prepare mojitos fresh for best flavour; muddled fruit can be kept chilled for a few hours.
You should never reheat a mojito and should only be served cold. Heating certain spirits, like rum, can mask the flavour and lower the potency, causing the drink to taste dull and unbalanced.
If you make this strawberry mojito, let us know in the comments! For more refreshing summer drinks, explore our cocktail collection.
For the nachos, cut the tortillas into nacho-sized triangles. Heat vegetable oil in a large, heavy-based pan. To test the temperature of the oil, add one piece of tortilla, if it sizzles and turns lightly golden within a minute or so, the oil is ready.
Fry the tortillas, working in batches to prevent overcrowding. Once lightly golden and crisp, transfer to a tray lined with kitchen paper to absorb any excess oil. Immediately sprinkle with Maldon salt.
For the pico de gallo, mix the finely chopped onion with the lime juice and a pinch of Maldon Sea Salt. Set aside to soften for 5 minutes or so as you chop the rest of the ingredients.
Stir through the tomatoes, jalapeños and coriander. Season with Maldon Sea Salt to taste.
For the salsa verde, char the peppers, either over a gas flame or under the grill until the skin is charred all over. Transfer the charred peppers to a large bowl and cover with a plate. This allows the peppers to steam and makes peeling off their skins easier.
As the peppers cool, mix the finely chopped onion with the lime juice and a pinch of Maldon Sea Salt. Set aside to soften for 5 minutes.
Once cool, remove and discard the charred pepper skins and seeds. Very finely chop the peppers. Add these to the onion mix, along with the jalapeños and coriander. Mix and season to taste.
Brighten up any meal with this lime and coriander cabbage slaw! Packed with crunchy cabbage, sweet carrots, fresh coriander, and a zesty lime dressing, this healthy side dish is a perfect addition to summer picnics, BBQs, or taco nights. Quick to prepare, naturally vegan, and bursting with flavour, this easy slaw recipe will become your go-to for fresh salad ideas.
How to Make Lime and Coriander Cabbage Slaw
Step 1 – Prepare the Vegetables
Thinly slice the cabbage, julienne or grate the carrots, finely chop jalapeño, spring onions, and coriander.
Step 2 – Make the Dressing
In a small bowl, whisk together lime zest, juice, olive oil, maple syrup/honey, and sea salt.
Step 3 – Assemble and Toss
In a large bowl, combine cabbage, carrots, jalapeño, most spring onions, and coriander. Drizzle with dressing and toss to coat.
Step 4 – Serve
Scatter reserved spring onions and coriander on top before serving. Taste and adjust seasoning if needed.
Tips
Use a mix of red and white cabbage for extra colour.
For extra crunch, add toasted seeds or nuts.
Make ahead: Prep veggies and dressing separately, combine just before serving.
Can I make cabbage slaw ahead of time?
Yes, you can make cabbage slaw ahead of time. Martha Stewart actually recommends making slaw ahead of time so that the flavour intensifies. You can prep the vegetables and dressing separately for up to a day ahead, refrigerating for up to 3 hours.
How long does cabbage slaw last in the fridge?
You can store cabbage slaw in the fridge for up to 3-5 days. However, we recommend eating it within a day or two for the best results in flavour and texture. This is because it can become watery if kept for longer, making it unpleasant to eat.
Is this slaw recipe vegan and gluten-free?
Yes, this cabbage slaw recipe can be vegan and gluten-free friendly depending on the ingredients used.
The base ingredients for the slaw (the vegetables) can remain the same, however you would need to swap the honey in the dressing mix with pure maple syrup instead to make it 100% vegan. We like to use Biona Organic Pure Maple Syrup Amber Grade A 1 for this recipe.
Can I use lemon instead of lime?
Yes, you can use lemon instead of lime, but it will alter the flavour slightly. This is because lemons have a sweeter, less tart flavour than limes.
Serving Suggestions
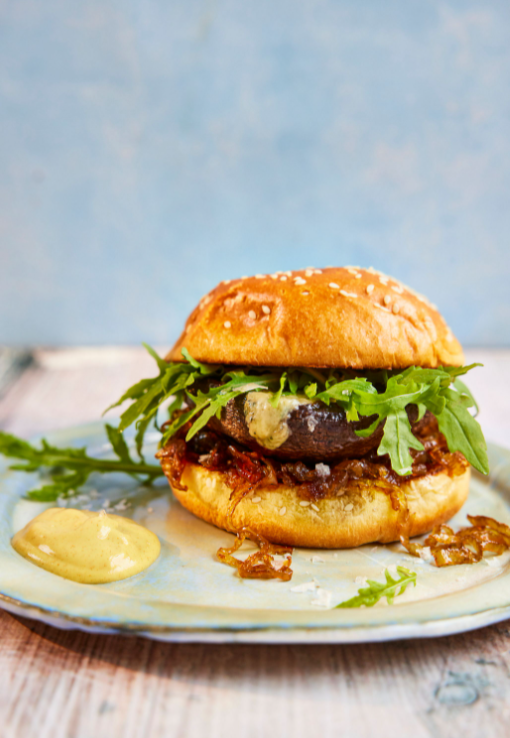
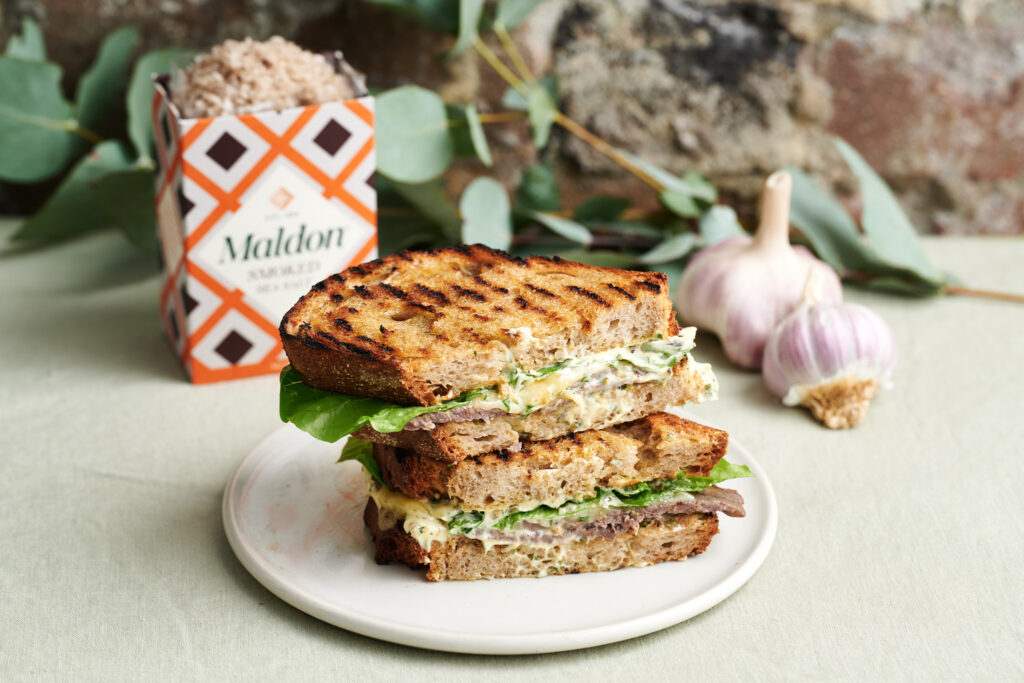
TacoMushroom BurgerClub Sandwich
Perfect with tacos, grilled meats, burgers, or as a BBQ side.
Add to wraps, sandwiches, or bowls for extra crunch and flavour.
Storage & Reheating
Store in an airtight container in the fridge for up to 3 days.
For best texture, keep dressing separate until ready to serve.
Refresh with extra lime juice if needed.
If you try this lime and coriander cabbage slaw recipe, let us know in the comments or submit your own recipe using this slaw! For more fresh salad ideas, check out our full collection.
Use a peeler to remove strips of peel from the lemons, avoiding the white pith. Put the lemon peel, sugar, 400ml water and a pinch of Maldon Sea Salt in a medium saucepan. Cook over a gentle heat until the sugar has fully dissolved. Remove from the heat and leave to cool.
Pour the syrup through a strainer. Discard the peel.
Juice the lemons and add the juice to the syrup. Mix well and transfer to a large jug. Add plenty of crushed ice and top up with sparkling water. Serve with lemon slices and fresh mint.
Tip the flour in the bowl of a stand mixer. Put the yeast on one side of the bowl and the Maldon Sea Salt on the other (this separation prevents the salt from killing the yeast). Put the mixer on low to evenly distribute the dry ingredients.
With the motor running, pour in 3 tbsp olive oil, followed by 350-370ml water. Add the water gradually until you have a slightly sticky dough (you may not need the full 370ml).
Leave the mixer running on a medium speed to knead the dough for 7-10 minutes until the dough is coming away from the sides of the bowl and feels stretchy when pulled. Transfer the dough to a clean bowl, cover with a tea towel and leave to prove for an hour or so until doubled in volume.
Grease a rectangular, shallow tin (about 25cm x 20cm) with olive oil. Gently tip the dough into the tin and use your fingertips to stretch the dough towards the edges of the tin. Cover with the tea towel and leave to prove for another 30-45 minutes.
Preheat the oven to 200C fan. Press your fingers into the dough to make dimples, scatter with rosemary leaves and drizzle with 3 tbsp olive oil. Bake for 35-40 minutes until golden. As soon as the focaccia comes out of the oven, drizzle with a final 2-3 tbsp olive oil. Sprinkle with Maldon Sea Salt and cut into squares.
This cherry tomato tarte Tatin is a delightful twist on the classic French dessert, reimagined as a savoury dish bursting with rich, caramelised flavours. Juicy cherry tomatoes are slow-cooked in a buttery glaze and finished with a flaky puff pastry crust, creating a perfect balance of sweetness and and savoury.
The addition of Maldon Garlic Sea Salt flakes elevates the tarte, infusing it with a subtle garlicky depth and enhancing every bite with a delicate crunch of mineral-rich sea salt flakes. Ideal as a light lunch, appetiser, or elegant side, this tarte is an impressive as it is easy to make.
Here is how to make a cherry tomato tarte Tatin
Preheat the oven to 200C fan.
In an ovenproof pan, about 23cm in diameter and preferably cast iron, warm the olive oil over a medium heat. Add the cherry tomatoes and season with Maldon Garlic Sea Salt. Stir to coat in the oil and cook for 10 minutes or so, stirring every so often, until the tomato skins have split. Transfer to a plate.
Return the pan to a medium heat, add the balsamic vinegar and honey. Simmer for a minute or so to create a syrupy mixture then immediately remove from the heat. Return the cherry tomatoes to the pan, leaving behind any juices that have collected on the plate, and arrange in a single layer. Tuck sprigs of thyme between the tomatoes then lay the pastry over the tomatoes, tucking it around the tomatoes at the edge.
Prick the pastry with a fork in a few places then bake for 25-30 minutes until the pastry is golden brown. Leave to settle for 5-10 minutes then run a knife around the edge to loosen the pastry. Place a large plate on top of the pan and, moving quickly and confidently, invert the tarte Tatin onto the plate. Sprinkle with Maldon Garlic Sea Salt to serve.
Add vibrant colour and irresistible smoky flavour to your next BBQ with these easy smoky grilled peppers. Charred until perfectly tender and finished with a drizzle of red wine vinegar, olive oil, and Maldon Smoked Sea Salt, these grilled peppers are the ultimate summer side dish for picnics, parties, or alfresco dining.
How to Make Smoky Grilled Peppers
Step 1 – Prepare the Peppers
Cut peppers into large pieces, removing pith and seeds.
Step 2 – Grill the Peppers
Preheat BBQ or griddle pan to high.
Place peppers skin side down and grill in batches if needed until nicely charred. Make sure to press peppers gently with tongs to ensure even charring.
Step 3 – Finish and Serve
While still hot, drizzle with red wine vinegar and season with Maldon Smoked Sea Salt.
Finish with olive oil before serving.
Tips
Use a mix of red, yellow, and orange peppers for maximum colour and sweetness.
Grill peppers just before serving for best flavour and texture.
For extra smokiness, close the BBQ lid while grilling for a minute or two. This will add depth to the flavour.
This recipe be made indoors on a griddle pan.
Can I make smoky grilled peppers ahead of time?
Yes, you can make smoky grilled peppers ahead of time. Make sure you prepare your grill or smoker beforehand if barbecuing outdoors. Grill the peppers until the skins are nicely charred and blistered. Once cooled, store in the refrigerator in an airtight container. You can peel the skins off from the grilled peppers if you prefer the taste and texture, especially in dishes like pasta sauces and salads.
How long do grilled peppers last in the fridge?
Grilled peppers can last up to 5-10 days in the fridge if stored in an airtight container. If you want to extend this further, you can freeze them for up to 2 months.
Can I use other types of vinegar?
Yes, you can absolutely use other vinegars instead of red wine vinegar, although the flavour will be slightly different. You can use white wine vinegar, although you won’t get a slightly pink/red hue like red wine vinegar gives. You can also use apple cider vinegar, which has a fruiter flavourful compared to red wine vinegar. Alternatively, sherry vinegar is a slightly sweeter option, which is often used in Spanish cuisine.
Are grilled peppers vegan and gluten-free?
Yes, grilled peppers are both vegan and gluten-free. This is because peppers are naturally plant-based and do not contain any gluten.
Store cooled grilled peppers in an airtight container in the fridge for up to 3 days.
Best served at room temperature—no need to reheat.
Drizzle with extra olive oil to refresh before serving.
If you try these smoky grilled peppers, let us know in the comments! For more BBQ inspiration, explore our summer recipe collection.
Whip up the ultimate avocado toast in minutes Piles high with creamy avocado and a zesty cherry tomato topping, this avocado on toast recipe is fresh, satisfying and finished with a pinch of crunchy Maldon Sea Salt flakes for perfect balance. Ideal for a quick breakfast, healthy brunch or light lunch.
Step 1 – Make the Tomato Topping
In a bowl, mix chopped cherry tomatoes with red wine vinegar, 1 tbsp olive oil, and a pinch of Maldon Sea Salt flakes.
Toss and leave for 5 minutes to lightly macerate; tomatoes should look glossy and juicy.
Step 2 – Toast and Top
Toast the sourdough until golden and crisp.
Fan the avocado slices over each toast. Drizzle with the remaining olive oil.
Season generously with black pepper and Maldon Sea Salt flakes.
Step 3 – Serve
Spoon the tomatoes over the avocado.
Serve immediately while the toast is still crisp.
Tips & FAQs
Tips
Ripeness: Use a ripe Hass avocado that yields slightly to gentle pressure.
Extra zing: Add a squeeze of lemon or lime to the avocado to prevent browning and boost freshness.
Texture swap: Prefer “smashed”? Lightly mash the avocado with a fork before spreading.
Bread: Sourdough gives the best crunch and structure; thick slices hold toppings well.
Finish strong: A final pinch of Maldon Sea Salt flakes enhances sweetness in the tomatoes and balances richness.
FAQs:
What’s the best bread for avocado toast?
Thick-cut sourdough or country bread—sturdy, with an open crumb that toasts crisp without getting soggy.
How do I keep avocado from browning?
Toss sliced or smashed avocado with 1–2 tsp lemon or lime juice and cover tightly until serving.
Can I make this ahead?
Assemble just before serving for crisp toast. Prep the tomato topping up to 24 hours ahead; store chilled in an airtight container.
Is avocado toast vegan?
Yes—this recipe is naturally vegan. Add-ons like poached eggs or feta make it vegetarian, not vegan.
Serving Suggestions
Add-ons: chilli flakes, basil, chives, or a drizzle of balsamic glaze.
Protein boosts: poached egg, smoked salmon, or marinated chickpeas (keep base recipe vegan).
Plate with a simple green salad or fruit for brunch.
Portioning: serve as two open-faced toasts or cut into halves/quarters for canapés.
Storage & Reheating
Best enjoyed fresh.
Tomato topping: refrigerate up to 24 hours.
Avocado: prep to order; if prepping, coat with citrus and press cling film directly on the surface.
Toast: toast just before serving; reheating softens the crumb.
There’s nothing quite like a plate of perfectly cooked lemon sole and golden, crispy chips to celebrate the flavours of Essex. Sourced straight from the county’s shores, lemon sole is a delicate, buttery fish that deserves to be treated with the best seasoning. That’s why we’re using Maldon Garlic Sea Salt, enhancing it’s natural sweetness with a subtle garlicky depth. We wrapped our lemon sole in a copy of theEssex Chronical for that final, ‘Essex’ touch.
And what’s a fish supper without chips? Thick-cut, triple-cooked chips, also dusted with the same flavourful sea salt, brings the perfect balance of crunch and fluff. This dish is a true homage to Essex – a simple yet indulgent nod to it’s rich coastal heritage.
Here is how to make lemon sole and chips
Recipe created by Annie-Mae Herring – https://www.instagram.com/theculinarybee/
Prepare the chips – Peel the potatoes and cut them into thick batons. Rinse under cold water, then simmer in salted water for 8–10 minutes until just tender. Drain and let them steam dry.
First fry – Heat oil to 140°C. Fry the chips in batches for 5 minutes, just until they form a light crust. Drain on a rack and cool completely (this can be done ahead).
Roast the fish – Preheat the oven to 200°C. Lay the lemon sole on a lined tray, drizzle with olive oil, and season with Maldon Garlic Sea Salt and Original Sea Salt. Scatter over chopped herbs and arrange lemon slices on top. Roast for 12–15 minutes, until the flesh is just opaque and flakes easily.
Make the tartare sauce – Mix mayo, mustard, gherkins, capers, and tarragon. Squeeze in a little lemon juice and stir. It should be thick, ‘spoonable’, and packed with flavour.
Final fry – Heat oil to 180°C. Fry the chips again for 5–6 minutes, until deep golden and crispy. Drain on paper towels and toss with more Maldon Garlic Sea Salt while hot.
Serve – Pile everything onto a sheet of Essex newspaper. Fish, chips, a generous dollop of tartare. A cold cider or bitter on the side. Best eaten outdoors, fingers greasy, with a bit of salt still clinging to your lips.
There’s something about slow-cooked pork…its deep, smoky sweetness, the way it falls apart under the lightest touch. This one, kissed by Essex oak and cider, is worth the wait.
Annie-Mae Herring’s smoked Essex pork shoulder with a cider BBQ sauce is a true homage to Essex, celebrating it’s rich flavours and local ingredients. Seasoned with Maldon Chilli Sea Salt for a touch of heat and slow-smoked to perfection, this tender pork is finished with a tangy, cider-infused BBQ sauce made from the finest Essex cider. Perfect for gatherings, it’s best piled into soft buns for the ultimate BBQ feast!
Here is how to make smoked Essex pork shoulder
Photography by https://www.instagram.com/theculinarybee/
Rub the pork—massage in the Maldon Chilli Sea Salt, sugar, spices, a splash of oil. Let it sit while the barbecue comes to life.
Set for indirect cooking, low and slow, around 120°C. A tray of water beneath keeps things gentle.
Smoke for 6–8 hours, topping up the wood as needed. Mop with a little cider now and then.
Make the sauce—simmer everything until rich and glossy. Taste. Adjust.
When the pork pulls apart with ease, rest, shred, mix with sauce. Pile into buns, let it drip onto fingers, eat outside with the smell of wood smoke still clinging to your clothes. Essex on a plate.