


- For the nachos, cut the tortillas into nacho-sized triangles. Heat vegetable oil in a large, heavy-based pan. To test the temperature of the oil, add one piece of tortilla, if it sizzles and turns lightly golden within a minute or so, the oil is ready.
- Fry the tortillas, working in batches to prevent overcrowding. Once lightly golden and crisp, transfer to a tray lined with kitchen paper to absorb any excess oil. Immediately sprinkle with Maldon salt.
- For the pico de gallo, mix the finely chopped onion with the lime juice and a pinch of Maldon Sea Salt. Set aside to soften for 5 minutes or so as you chop the rest of the ingredients.
- Stir through the tomatoes, jalapeños and coriander. Season with Maldon Sea Salt to taste.
- For the salsa verde, char the peppers, either over a gas flame or under the grill until the skin is charred all over. Transfer the charred peppers to a large bowl and cover with a plate. This allows the peppers to steam and makes peeling off their skins easier.
- As the peppers cool, mix the finely chopped onion with the lime juice and a pinch of Maldon Sea Salt. Set aside to soften for 5 minutes.
- Once cool, remove and discard the charred pepper skins and seeds. Very finely chop the peppers. Add these to the onion mix, along with the jalapeños and coriander. Mix and season to taste.
Topic: Mains / Dinner
Enjoy a burst of summer flavours with this rigatoni pasta tossed with oven-roasted courgettes, red peppers, and juicy cherry tomatoes. Finished with olives, fresh basil, and a sprinkle of Himalayan Pink Salt, this easy roasted vegetable pasta recipe is perfect for a vibrant weeknight dinner or a healthy meal-prep option.
How to Make Rigatoni with Roasted Summer Vegetables

Step 1 – Roast the Vegetables
- Preheat oven to 200°C (fan).
- Spread courgettes, peppers, cherry tomatoes, and garlic on a large roasting tray. Make sure to roast in a single layer for best caramelisation
- Season with Himalayan Pink Salt, pepper, and chilli flakes; drizzle generously with olive oil and toss.
- Roast 25–30 minutes, until tomatoes char and vegetables are golden.
- Slip garlic from skins and mash with a fork.
Step 2 – Cook the Pasta
- Boil a large pot of salted water.
- Cook pasta until just shy of al dente.
- Reserve a mug of pasta water, then drain.
Step 3 – Combine and Finish
- Return pasta to the pot with roasted vegetables, tray juices, and olives.
- Toss over medium heat, adding pasta water to create a light sauce.
- Stir in half the basil. Taste and adjust seasoning.
Step 4 – Serve
- Spoon into bowls, top with remaining basil and Parmesan.
Tips
- Use any mix of summer vegetables—try aubergine, red onion, or yellow courgette. It makes the dish both visually appealing and flavourful when using a medley of summer veggies.
- For a vegan version, skip the Parmesan or use a non-dairy alternative such as nutritional yeast. Nutritional yeast is a deactivated yeast and makes a great a great cheese substitute. We like to use Marigold Engevita with B12 Yeast Flakes when making this recipe vegan-friendly.
- Make ahead: Roast vegetables in advance and store refrigerated.
Can I use other pasta shapes for this recipe?
Instead of using rigatoni for this dish, you can use any short tubular pasta, such as penne, ziti and paccheri. It’s important to use a tubular pasta shape for this dish as the hollow centre and ridges trap the delicious sauces and juices of the vegetables, ensuring a flavourful bite every time.
How do I make this pasta vegan or gluten-free?
To make this pasta dish vegan, you can remove the Parmesan topping, or substitute it for a vegan alternative such as nutritional yeast, cashews or lemon zest to counterpoint the rich, savoury flavours.
If you want to make this recipe gluten-free, you can swap the rigatoni with a ‘free-from’ brand, such as Salvo 1968 Rummo Gluten Free Mezzi Rigatnoi, which is made from corn and brown rice. You could also use legume-based pasta (such as chickpea or lentil) which offer a protein-rich taste.
How long does roasted vegetable pasta last in the fridge?
Roasted vegetable pasta can last up to 3-5 days in the fridge if stored in an airtight contained to maintain freshness. You can also store this dish in the freezer for up to 3-6 months.
Can I add protein to this dish (e.g. chickpeas, grilled chicken)?
Yes, you can add protein to roasted vegetable pasta. If you are a vegetarian, you can add cooked green lentils or kidney beans, which enhances the nutritional value, increases protein content and adds a hearty texture and flavour to the dish.
If you want to add meat to the dish, we recommend adding chicken to provide a protein boost, whilst introducing a mild and versatile flavour that pairs well with the sauce and roasted vegetables. You can also add fish, such as anchovies or sardines, to provide a strong umami flavour that can deepen the overall flavourful profile of the pasta dish. It also adds a healthy source of omega-3 fatty acids.
Serving Suggestions
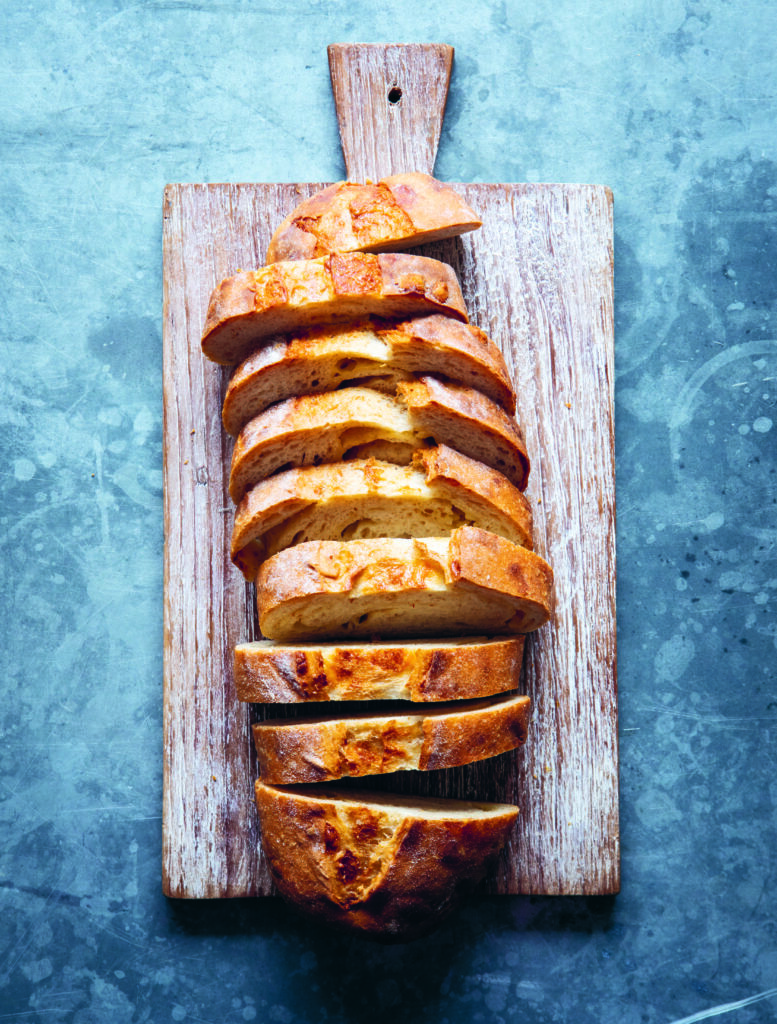
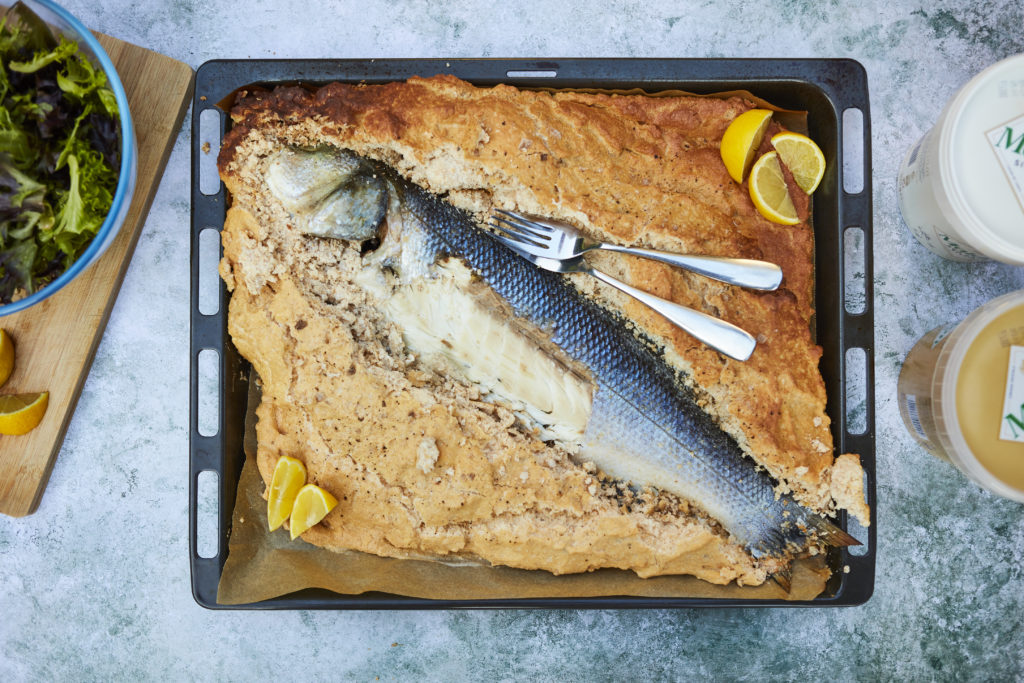
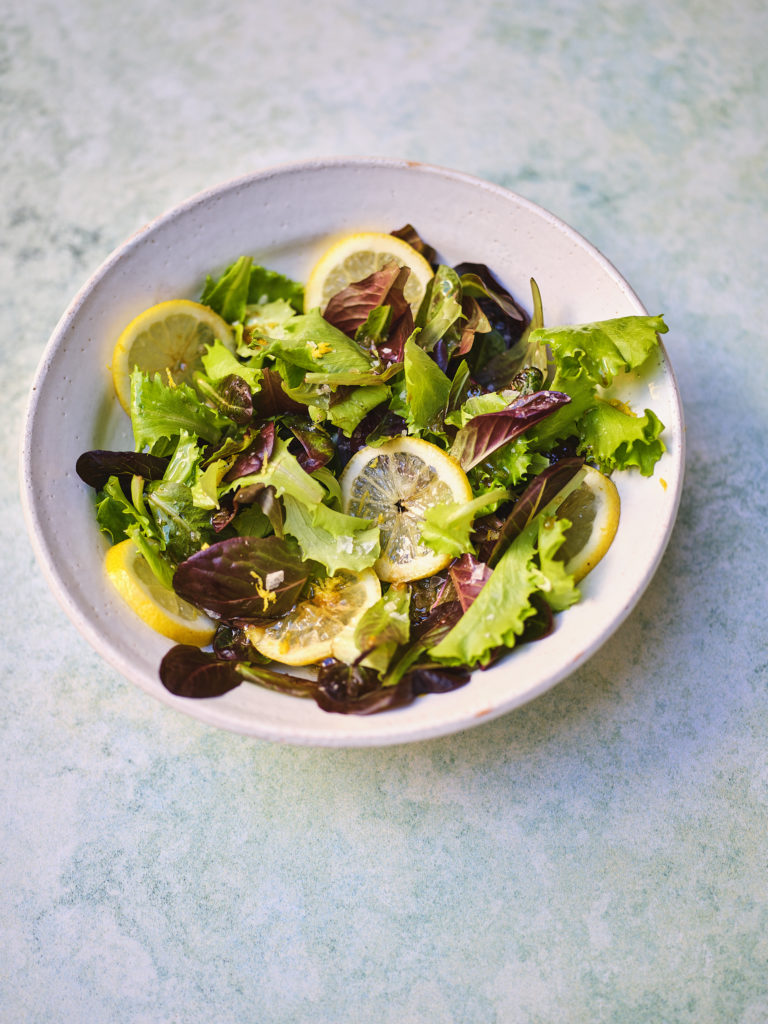
- Perfect as a main for summer dinners or picnics.
- Pair with green salad, garlic bread, or grilled fish.
- Serve warm or at room temperature—great for packed lunches.
Storage & Reheating
- Store leftovers in an airtight container in the fridge for up to 3 days.
- Reheat gently on the hob with a splash of water or olive oil, or enjoy cold as a pasta salad.
If you make this rigatoni with roasted summer vegetables, let us know in the comments! For more easy pasta recipes, browse our full collection
- If using wooden skewers, soak in water for at least 30 minutes before you plan to BBQ/griddle.
- Mix the marinade ingredients in a large bowl.
- Cut each halloumi block into 8 large chunks. Thinly slice the courgettes lengthways to about 3mm thick, ideally with a mandolin (go carefully!) or with a sharp knife. Halve and de-stone the nectarines then cut each half into 4 chunks.
- Toss the halloumi chunks, courgette strips and nectarine chunks in the marinade. Thread everything onto the skewers, alternating between chunks of halloumi, pieces of nectarine and courgette slices (thread these on in squiggly S shapes). Set aside on a tray or plate as you preheat the BBQ or griddle pan.
- Cook on the BBQ or griddle pan until nicely charred on both sides of the halloumi chunks. Transfer to a platter, scatter with mint leaves and drizzle with honey. Serve with lemon wedges.
This cherry tomato tarte Tatin is a delightful twist on the classic French dessert, reimagined as a savoury dish bursting with rich, caramelised flavours. Juicy cherry tomatoes are slow-cooked in a buttery glaze and finished with a flaky puff pastry crust, creating a perfect balance of sweetness and and savoury.
The addition of Maldon Garlic Sea Salt flakes elevates the tarte, infusing it with a subtle garlicky depth and enhancing every bite with a delicate crunch of mineral-rich sea salt flakes. Ideal as a light lunch, appetiser, or elegant side, this tarte is an impressive as it is easy to make.
Here is how to make a cherry tomato tarte Tatin
- Preheat the oven to 200C fan.
- In an ovenproof pan, about 23cm in diameter and preferably cast iron, warm the olive oil over a medium heat. Add the cherry tomatoes and season with Maldon Garlic Sea Salt. Stir to coat in the oil and cook for 10 minutes or so, stirring every so often, until the tomato skins have split. Transfer to a plate.
- Return the pan to a medium heat, add the balsamic vinegar and honey. Simmer for a minute or so to create a syrupy mixture then immediately remove from the heat. Return the cherry tomatoes to the pan, leaving behind any juices that have collected on the plate, and arrange in a single layer. Tuck sprigs of thyme between the tomatoes then lay the pastry over the tomatoes, tucking it around the tomatoes at the edge.
- Prick the pastry with a fork in a few places then bake for 25-30 minutes until the pastry is golden brown. Leave to settle for 5-10 minutes then run a knife around the edge to loosen the pastry. Place a large plate on top of the pan and, moving quickly and confidently, invert the tarte Tatin onto the plate. Sprinkle with Maldon Garlic Sea Salt to serve.
Few things capture the flavour of summer quite like a juicy BBQ beef burger, hot off the grill, smoky and sizzling under the sun. Whether you’re firing up the barbecue for a weekend treat, planning a picnic, or hosting a casual garden get-together, this homemade burger recipe delivers series crowd-pleasing flavour.
Made with tender ground beef and seasoned generously with Maldon Sea Salt flakes and freshly cracked pepper, these beef patties are grilled to perfect over high heat until charred on the outside and juicy on the inside.
The real magic, though, comes in the layering – these BBQ beef burgers are topped with sharp, tangy quick-pickled red onions and a creamy, smoky spicy mayo with pickles, giving every bite a perfect balance of heat and zing. Serve them up in toasted buns with a slick BBQ sauce, crisp lettuce, and all your favourite toppings for the ultimate grilled burger experience.
How to Make Summer Beef Burgers

Quick and easy to make, this BBQ burger recipe is build around simple, bold ingredients like beef mince, olive oil and Maldon Sea Salt – proof that a great homemade burger doesn’t need much to shine.
Step 1 – Make the Quick-Pickled Onions
Toss and lightly scrunch the onions with the vinegar and a pinch of salt of Maldon Sea Salt. Set aside to soften and turn bright pink as you get on with the burgers.
Step 2 – Prepare the Burger Patties
In a large bowl, mix the beef mince, finely chopped onion, beaten egg, a good pinch of Maldon Sea Salt and pepper.
Step 3 – Shape and Chill the Patties
Using wet hands, divide the mixture into four balls, then lightly press each ball down to create patties about 5cm thick. Transfer the patties to a plate and leave to chill in the fridge for 30 minutes, or until you’re ready to cook.
Step 4 Make the Spicy Pickle Mayo
In a small bowl, mix the mayonnaise with a dash of hot sauce and the finely chopped gherkins. Taste for seasoning and add a dash more hot sauce if you’d like more heat.
Step 5 – Cook the Burgers
Heat your BBQ or griddle pan to medium-high. Brush patties with olive oil, then add to the grates or pan. Press down lightly with a spatula. Cook for 4–5 minutes until well browned, then flip and cook for 3–5 minutes more. Add cheddar slices after flipping if desired.
Step 6 – Toast the Buns
Transfer cooked burgers to a plate to rest for a couple of minutes. Toast the burger buns, cut side down, on the BBQ or pan until golden.
Step 7 – Assemble and Serve
Spread spicy pickle mayo on the bottom buns. Add patties, pickled onions, and your favourite toppings: lettuce, tomato, cheese, mustard, and sliced gherkins.
Serving Suggestions
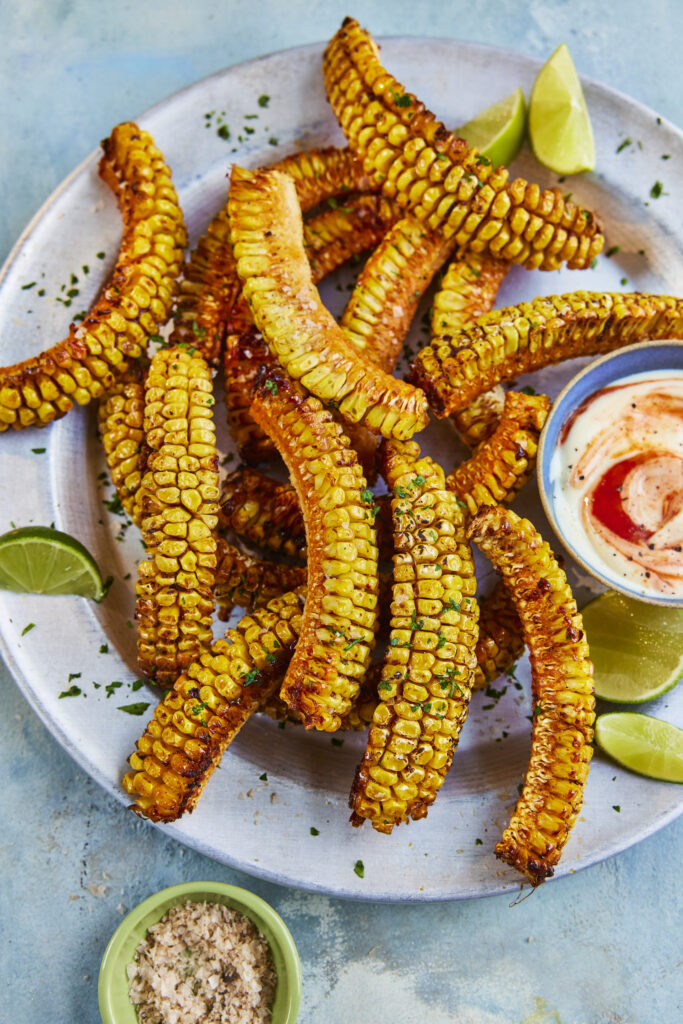
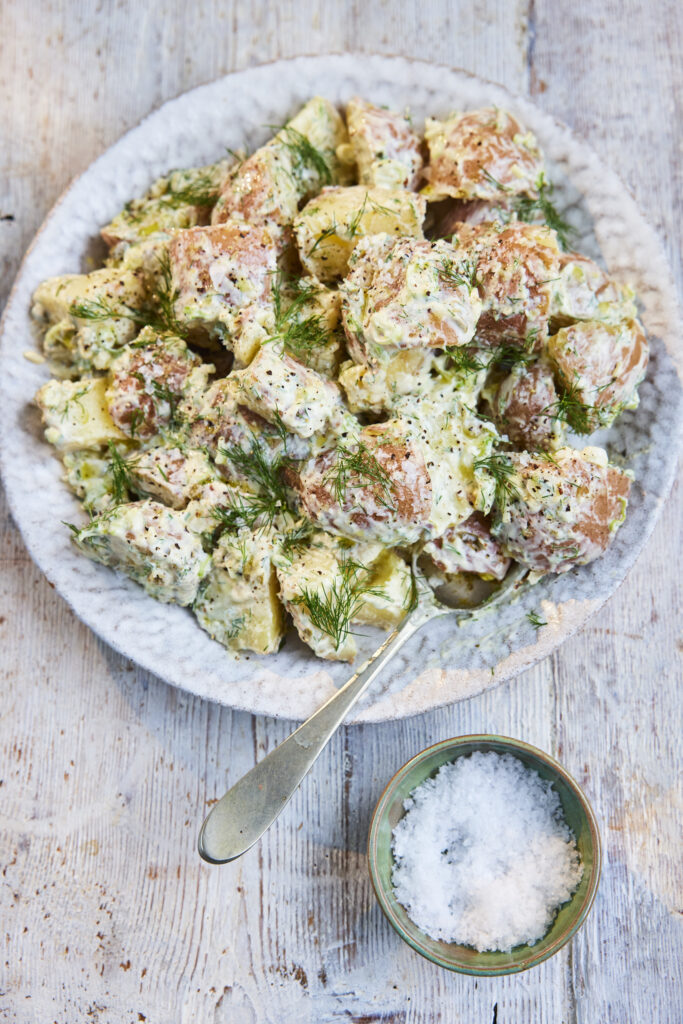

- Serve with grilled corn, potato salad or a crisp summer slaw.
- Try on brioche buns for added richness.
- Pair with homemade lemonade, iced tea, or a cold beer.
- Make sliders for parties by forming smaller patties and using mini buns.
Storing and Reheating Your Burgers
Store your cooked patties in the fridge for up to 2 days. Reheat burgers in a pan or oven until piping hot. Pickled onions can be kept in a sealed container in the fridge for up to 1 week. The spicy pickle mayonnaise can last in the fridge for up to 2-3 days, if stored in an air-tight container.
Tips
- Use 20% fat beef mince for juicer burgers.
- Chill patties in the fridge for up to 30 minutes to help them hold their shape on the grill.
- Don’t press down too hard during cooking as you will loose all the delicious juices.
Can I make burgers ahead of time?
Yes, you can make the burgers ahead of time by making the patties (beef mince, onion, egg, pepper, Maldon Sea Salt and olive oil) and shape them. You can then store the beef patties in the fridge to chill for up to 3 days, ensuring they are tightly wrapped to prevent oxidation.
Can I freeze the patties?
Yes, you can freeze beef burger patties. Start by shaping the ground beef into patties, adding your desired seasonings to the mix. When freezing, make sure that you separate the patties with parchment paper or plastic wrap to prevent sticking. Use freezer-safe bags or airtight containers to protect from freezer burn. The raw patties can be frozen for up to 3 months. Cooked patties can be frozen for roughly 4 months.
What’s the best beef burger for burgers?
For a juicy and flavour-packed burger, the best beef option is ground chuck. This is because it has an 80/20 lean-to-fat ratio, which means it has a good balance between lean protein and flavourful fat for a delicious, tender and juicy burger. You can also experiment with mixing different cuts like chuck, brisket, or short ribs to create your own burger blend.
Can I cook these without a BBQ?
Yes, you can absolutely cook burgers without a barbecue grill.
- Oven Baking – Preheat your oven to 190°C/375°F. Place your patties on a baking sheet and bake for 20-25 minutes for medium-rare, adjusting time for desired doneness.
- Pan-Frying – Use a cast iron or non-stick skillet over medium-high heat. Place seasoned patties in the hot skillet, allowing for some space between them. Cooking for about 3-4 minutes per side for a medium-rare burger, flipping halfway for a balanced cook – you want a nicely seared and browned surface on either side.
How do I keep burgers juicy?
If you want your homemade beef burgers to be juicy, you need to make sure to do the following:
- Avoid overworking the meat when forming your patties. This will prevent them from becoming tough and dry.
- Use a good ground beef with a higher fat content (80/20). This is because it provides a balance of flavour and juiciness from the fat content, which melts during cooking, contributing to a flavourful, juicy burger that’s not too dry.
- Add a spoon/knob of butter to add moisture and fat to the beef, helping to prevent the burgers from drying out during the cooking process. It also adds a delicious rich and savoury flavourful that compliments the beef well.
Can you cook beef burgers from frozen
Yes, you can cook beef burgers from frozen. This is because the flat shape of the patties allows for an even cooking. The thawing process can also help retain moisture, leading to a juicer burger! Make sure to adjust your cook time and heat accordingly to ensure the burger is cooker through. For the oven, we recommend cooking at 230°C for 12 minutes, flipping halfway through. If using the air fryer, preheat to 200°C, cooking for 8-12 minutes, flipping halfway through.
Can I cook the beef burgers in an air fryer?
Yes, you can cook homemade beef burgers in the air fryer. Place the patties in the air fryer basket and cook for 5 minutes on one side at 175°C, flip, and cook for another 5 minutes.
How to Make Air Fryer Fish and Chips
There’s nothing quite like a classic British dinner of fish and chips – especially when it’s made healthier and faster in the air fryer! This easy air fryer recipe transforms flaky cod or hake fillets into irresistibly crispy air fryer fish, coated in panko breadcrumbs for that satisfying crunch. Paired with golden, homemade chips cooked to perfection in the air fryer basket, this is the ultimate quick fish dinner that doesn’t compromise on flavour or texture. Best of all, there’s no messy deep-frying required – just simply, delicious comfort food ready in under an hour!
The secret to elevating fish and chips lies in the seasoning. Each fillet and chip should be seasoned with Maldon Sea Salt flakes right after cooking. The delicate, pyramid-shaped flakes enhance the natural flavours of the fish and potatoes, adding a subtle crunch and clean salinity that ordinary table salt just can’t match. For best result, try arrange everything in a single layer in the air fryer to ensure even crisping. Serve immediately with a side of homemade mushy peas and a generous dollop of tangy tartar sauce for a truly authentic meal.
Prepare and Cook the Chips

- Preheat the air fryer to 180C.
- Peel the potatoes and cut the potatoes into thin batons. Toss with oil to coat and season with Maldon Sea Salt. Spread out evenly in the air fryer basket, ensuring not to overcrowd. Bake for 25-30 minutes until golden and crisp.
Bread and Air Fryer the Fish
- For the fish, pat the fillets dry and season with Maldon Sea Salt. Put the flour in one shallow bowl, the beaten egg in another, and the panko breadcrumbs in another.
- Coat the first fillet in flour, tap off any excess, then turn in the egg, let any excess drip off, and finally coat in the breadcrumbs. Use your hands to press the breadcrumbs onto the fillet to ensure even coverage. Repeat with the second fillet.
- Drizzle the breaded fillets with a little oil then bake in the air fryer for 15 minutes until crisp on the outside and cooked through.
Make the Mushy Peas
- For the mushy peas, briefly cook the peas in salted boiling water until tender. Drain, the return to the pan with the butter. Use a potato masher to crush the peas thoroughly. Season to taste with Maldon Sea Salt.
Prepare the Tartar Sauce
- For the tartar sauce, simply mix all the ingredients in a bowl and season with plenty of black pepper.
Serve and Enjoy
- As soon as the fish comes out of the air fryer, sprinkle with Maldon Sea Salt.
- Serve the fish and chips with the mushy peas and tartar sauce.
What is the best fish for air fryer fish and chips?

The best fish for air fryer fish and chips is white, flaky, mild-flavoured fish that holds up well during cooking. Cod is the traditional favourite for British-style fish and chips because it’s tender, flaky and mild, which makes it perfect for a crispy coating when air frying! Alternatively, you can use Haddock, Hake or Pollock, which are all soft and have a flaky texture. The worst fish to use when making fish and chips is salmon or mackerel. This is because they have a high fat content which can lead to a greasy, unpleasant texture when fried.
Can you make air fryer fish and chips ahead of time?
You can make air fryer fish and chips ahead of time, but it’s not ideal if you want to preserve that signature crispiness. Crispy air fryer fish and golden chips are best served immediately after cooking, when the coating is at it’s crunchiest and the fish is perfectly flaky and moist inside. If you reheat air fryer fish and chips, the panko coating an soften and you could dry out the flaky cod or hake fillets.
If you want to prep ahead, you can bread the fish and cut the chips in advance, then store them in the fridge separately until ready to cook.
How do you reheat air fryer fish and chips?
To reheat air fryer fish and chips, preheat your air fryer to 160-175°C, place the fish and chips in a single layer in the basket, and cook for around 7-8 minutes, flipping halfway through.
Is air fryer fish and chips healthier than traditional fish and chips?

Yes, air fryer fish and chips are generally ‘healthier’ than traditional deep-fried versions. This is because there is less oil, which means fewer calories. Traditional fish and chips are deep-fried in oil, which significantly increases the fat and calorie content. Air Frying requires little to no oil, reducing overall fat whilst delivering a crispy air fryer fish and golden chips. Air frying is a smarter choice for a quick fish dinner that feels indulgent but fits into a balanced diet.
Can I use frozen fish fillets when making fish and chips?
Yes, you can use frozen fish fillets when making fish and chips in the air fryer. Make sure to thaw the fillets completely before breading. This helps the panko breadcrumbs stick better and ensures the fish cooks evenly. To speed up the process, you could use pre-breaded frozen fish. This can be air-fried straight from frozen – just check that they’re cooked through and finish with a generous pinch of Maldon Sea Salt flakes before serving.
How long to cook baked potatoes in air fryer?

If you’re swapping chips for baked potatoes in your air fryer fish and chips meal, you need to preheat your air fryer to 200°C and cook directly in the air fryer basket for 35-45 minutes, turning once halfway through for even crisping. Make sure you scrub and dry the potatoes before cooking (a Russet or Maris Piper potato would be best), pricking them a few times with a fork. Rub a little oil onto the baked potato and season with Maldon Sea Salt flakes.
Serving Suggestions
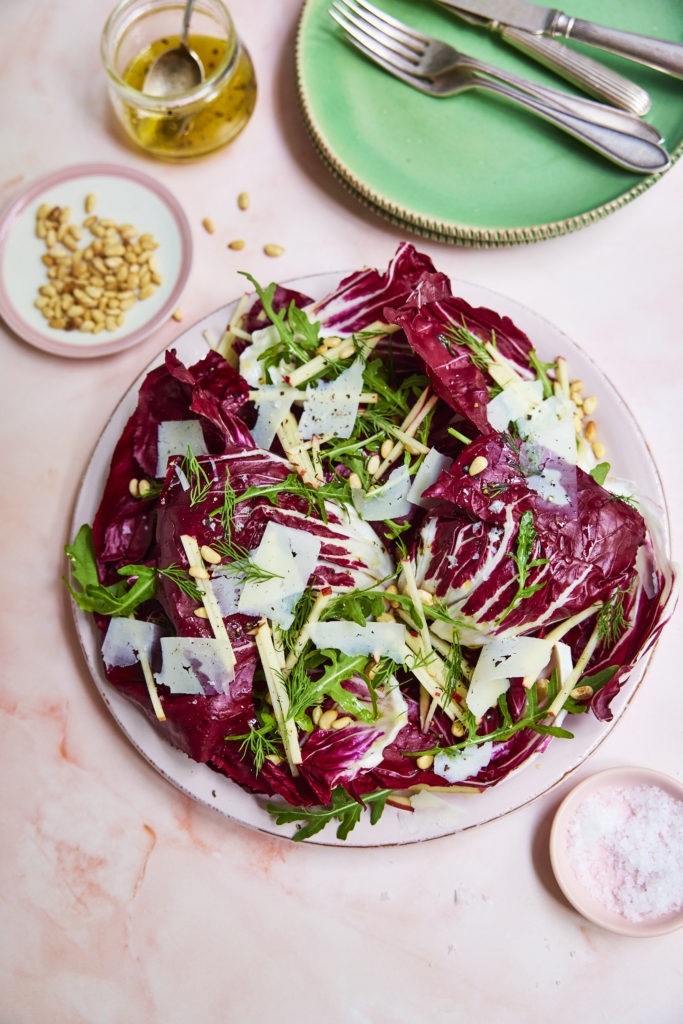
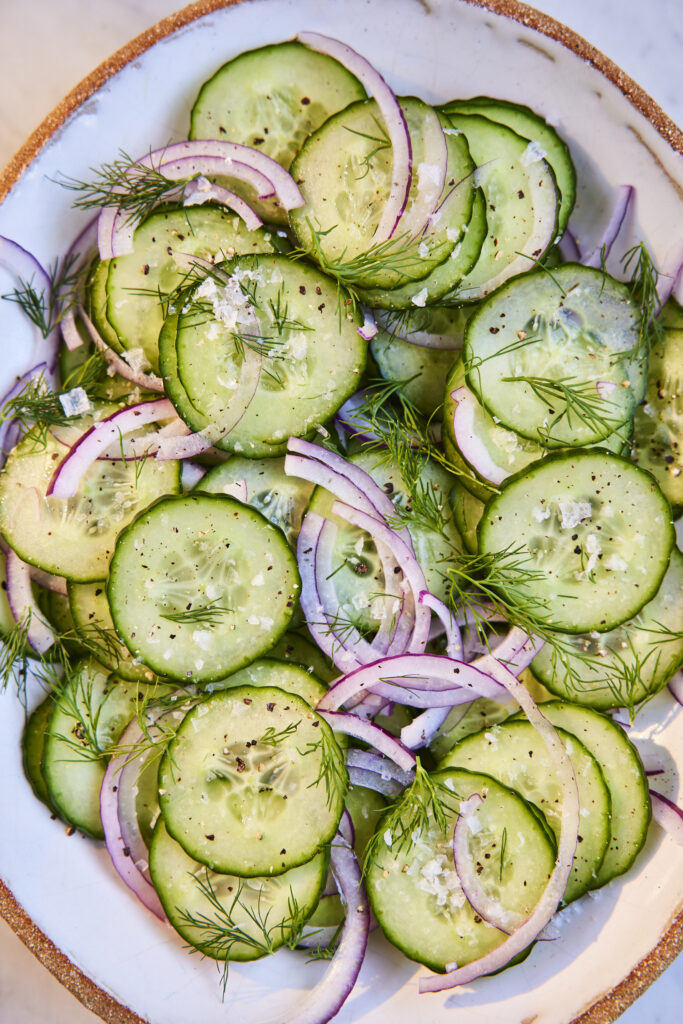
Here are some delicious and well-balance pairings for air fryer fish and chips that help elevate the dish while keeping it true to it’s classic British dinner roots.
- Homemade mushy peas – A must-have for fish and chips! Creamy, lightly seasoned with Maldon Sea Salt flakes and black pepper, and a perfect contrast to the crunch of crispy air fryer fish.
- Tangy tartar sauce – The zing from capers, pickles and lemon cuts through the richness of the fish and adds moisture.
- Lemon wedges – It may seem simple, but a fresh squeeze of a lemon brings brightness and enhances the flavour of the flaky code or hake fillets.
- Pickled onions or gherkins – A sharp, vinegary bite balance the meal nicely. In London and among those in the fish and chips trade, a gherkin is also known as a ‘wally’. This originated in the late 19th century, believed to be a corruption of the word ‘olive’ and then later stuck for pickles and gherkins.
- Green salad – Tossed with a light vinaigrette to add freshness and balance the heartiness of the fish and golden chips. Try pairing a radicchio salad with the air fryer fish and chips; the radicchio has a satisfying crunch that pairs beautifully with the soft, flaky fish.
- Slaw – A crisp cabbage slaw with a vinegar-based dressing offers texture and tang to the air fryer fish and chips. We added jalapenos to our slaw to give a delicious spicy kick!
These serving suggestions turn a quick fish dinner into a well-rounded meal while letting the panko-breaded, crispy air fryer fish and chips shine.
Storing air fryer fish and chips
Storing and reheating air fryer fish and chips properly can help preserve the crispiness and flavour – though nothing beats enjoying them served immediately.
Storage Tips
- Cool completely first – Let the crispy air fryer fish and golden chips cool to room temperature before storing to avoid steam build-up, which causes sogginess!
- Store separately – Place the fish and chips in separate airtight containers, preferably lined with a paper towel to absorb moisture.
- Refrigerate – Keep in the fridge for up to 2 days. Avoid freezing – especially if the fish was previously frozen before cooking.
Tried this air fryer fish and chips recipe? Let us know in the comments below! For more easy air fryer recipes, visit our full collection.
Recipe created by Sasha Berman
Welcome the fresh flavours of spring with this vibrant lemon and herb chicken with Maldon Garlic Sea Salt – a dish that sings with brightness and depth. Tender, juicy chicken thighs are infused with lemon juice, olive oil, thyme, parsley, pepper and a generous pinch of garlic sea salt to create a beautifully aromatic base. Paired with baby potatoes, crisp asparagus, and the rich umami of sundried tomatoes.
What sets this dish apart is the balance of flavours – zesty blood oranges add a touch of sweetness, while briny green olives provide a subtle contrast to the rich, golden-browned chicken. Maldon Garlic Sea Salt enhances every bite, bringing out the natural succulence of the ingredients. Roasting everything together allows the juices to mingle, creating a light yet flavourful sauce that perfectly coats the vegetables. It’s a simple, elegant meal that embodies the essence of springtime dining.
Here is how to make lemon and herb chicken
- In a large bowl, mix the lemon juice, zest, olive oil, thyme, parsley, black pepper, and 1½ tsp of Maldon Garlic Salt.
- Add the chicken thighs, turning to coat them fully in the marinade. Cover and refrigerate for at least 30 minutes (or up to 4 hours).
- Preheat the oven to 200°C (180°C fan). Place the marinated chicken thighs and baby potatoes on a baking tray. Drizzle with a little extra olive oil and sprinkle with ½ tsp Maldon Garlic Salt.
- Roast for 35–40 minutes, basting the chicken with its juices halfway through, until the skin is golden and crisp, and the potatoes are tender.
- While the chicken roasts, heat a skillet over medium heat. Melt the butter, add the asparagus, and sauté for 3–4 minutes until tender but still bright green. Season lightly with Maldon Garlic Salt to taste.
- Remove the chicken and potatoes from the oven, giving them a final sprinkle of Maldon Garlic Salt and some fresh blood orange segments, sundried tomatoes and olives for added flavour and texture.
- Serve hot with the sautéed asparagus, and if you’re feeling fancy, mix together a squeeze of blood orange juice with some olive oil, garlic salt and pepper, for a lovely zingy drizzle to spoon over the chicken.
This recipe was created by Annie-Mae Herring
There’s nothing quite like a plate of perfectly cooked lemon sole and golden, crispy chips to celebrate the flavours of Essex. Sourced straight from the county’s shores, lemon sole is a delicate, buttery fish that deserves to be treated with the best seasoning. That’s why we’re using Maldon Garlic Sea Salt, enhancing it’s natural sweetness with a subtle garlicky depth. We wrapped our lemon sole in a copy of theEssex Chronical for that final, ‘Essex’ touch.
And what’s a fish supper without chips? Thick-cut, triple-cooked chips, also dusted with the same flavourful sea salt, brings the perfect balance of crunch and fluff. This dish is a true homage to Essex – a simple yet indulgent nod to it’s rich coastal heritage.
Here is how to make lemon sole and chips

- Prepare the chips – Peel the potatoes and cut them into thick batons. Rinse under cold water, then simmer in salted water for 8–10 minutes until just tender. Drain and let them steam dry.
- First fry – Heat oil to 140°C. Fry the chips in batches for 5 minutes, just until they form a light crust. Drain on a rack and cool completely (this can be done ahead).
- Roast the fish – Preheat the oven to 200°C. Lay the lemon sole on a lined tray, drizzle with olive oil, and season with Maldon Garlic Sea Salt and Original Sea Salt. Scatter over chopped herbs and arrange lemon slices on top. Roast for 12–15 minutes, until the flesh is just opaque and flakes easily.
- Make the tartare sauce – Mix mayo, mustard, gherkins, capers, and tarragon. Squeeze in a little lemon juice and stir. It should be thick, ‘spoonable’, and packed with flavour.
- Final fry – Heat oil to 180°C. Fry the chips again for 5–6 minutes, until deep golden and crispy. Drain on paper towels and toss with more Maldon Garlic Sea Salt while hot.
- Serve – Pile everything onto a sheet of Essex newspaper. Fish, chips, a generous dollop of tartare. A cold cider or bitter on the side. Best eaten outdoors, fingers greasy, with a bit of salt still clinging to your lips.
This recipe was created by Annie-Mae Herring
There’s something about slow-cooked pork…its deep, smoky sweetness, the way it falls apart under the lightest touch. This one, kissed by Essex oak and cider, is worth the wait.
Annie-Mae Herring’s smoked Essex pork shoulder with a cider BBQ sauce is a true homage to Essex, celebrating it’s rich flavours and local ingredients. Seasoned with Maldon Chilli Sea Salt for a touch of heat and slow-smoked to perfection, this tender pork is finished with a tangy, cider-infused BBQ sauce made from the finest Essex cider. Perfect for gatherings, it’s best piled into soft buns for the ultimate BBQ feast!
Here is how to make smoked Essex pork shoulder

- Rub the pork—massage in the Maldon Chilli Sea Salt, sugar, spices, a splash of oil. Let it sit while the barbecue comes to life.
- Set for indirect cooking, low and slow, around 120°C. A tray of water beneath keeps things gentle.
- Smoke for 6–8 hours, topping up the wood as needed. Mop with a little cider now and then.
- Make the sauce—simmer everything until rich and glossy. Taste. Adjust.
- When the pork pulls apart with ease, rest, shred, mix with sauce. Pile into buns, let it drip onto fingers, eat outside with the smell of wood smoke still clinging to your clothes. Essex on a plate.
Celebrate Easter with a vibrant Spring Vegetable Quiche, bursting with fresh, seasonal flavors. A buttery, flaky crust holds a creamy, savory filling packed with tender asparagus, sweet peas, baby spinach, and colorful bell peppers. Light, wholesome, and perfect for brunch, this quiche is a delightful centrepiece that captures the essence of spring in every bite. Serve warm or chilled for an easy, elegant Easter dish.
Here is how to make a vegetable quiche
- Start by making the pastry. Place the flour and Maldon Sea Salt into a large bowl and mix together. Then add the cold, cubed butter and use your fingers to rub the butter into the flour until it resembles fine breadcrumbs and there are no large lumps of butter left. Alternatively, you can do this by pulsing it a few times in a food processor. Then add the cold water (start with 3 tbsp and see if you need more) and mix together until it starts to clump and there are no floury or dry patches. Tip onto the work surface and gently knead until it comes together as a smooth pastry.
- Then lightly flour the work surface and roll the pastry out with a rolling pin until it is £1 in thickness. Carefully lift it and line a 23cm fluted tart tin, pressing gently into the sides, but leaving some pastry to overhang. Use a cutlery fork to prick some holes onto the base and then place the lined tin into the fridge to chill for 30 minutes.
- Preheat the oven to 180c.
- After 30 minutes, take the pastry case out of the fridge and put onto a flat baking sheet. Scrunch up some baking paper and put this onto the pastry then fill with baking beans. Blind bake the pastry for 15 mins, then remove the baking beans and paper and return for another 5 – 7 mins, until the pastry is very lightly golden and feels chalky to the touch.
- Remove from oven and set aside to allow to cool slightly. Then take a sharp serrated knife and carefully trim off the excess pastry overhangs so it has a nice, neat edge.
- Heat a frying pan on a medium heat and add the knob of butter and 1 tbsp of olive oil. Then add the sliced leek and sauté gently until soft and starting to caramelize. Place a pan of water on to boil, and then add the asparagus and frozen peas – you just want to blanch them quickly for 2 minutes, then remove from the pan and place into a bowl with iced water to stop them cooking any further.
- In a jug, whisk together the eggs, cream, milk and chives and season well with Maldon Sea Salt and cracked black pepper.
- Spoon the veg into the pastry case and crumble over the goat’s cheese. Then pour over the egg mixture and bake in the oven for 30 mins until the filling is set and the top is golden.
- Remove from the oven and allow to cool slightly then serve with a green salad.