


- Measure the milk into a small pan and gently warm over a low heat. Once it is warm but not boiling, remove from the heat and add the butter, allowing it to melt in. Set aside.
- Mix the flour, yeast, sugar, Maldon Sea Salt flakes, spices, and orange zest into the bowl of your stand mixer. Make a well in the middle and pour in the warm milk and butter mixture. Then pour in the 2 beaten eggs. Use your hands or a wooden spoon to bring this together to a sticky dough. Then add the dough hook attachment and knead for 5 – 8 minutes until smooth and elastic.
- Place the dough into a lightly oiled bowl and cover with clingfilm, then leave in a warm place for it to double in size. This will take approximately 1 hour.
- Grease and line a 900g loaf tin with baking paper and set aside.
- After an hour, take the dough use your hands to knock the air out. Tip it back into your stand mixer and add the dried fruit, then use the dough hook to knead and distribute evenly throughout the dough.
- Shape into a smooth loaf and then place into the prepared loaf tin. Cover loosely with clingfilm and then set aside for 45 minutes to rise again.
- Preheat the oven to 180C.
- Prepare the cross by mixing the plain flour and water until you have a smooth paste. Put this into a piping bag and snip off the end. After the dough has proved, carefully pipe a cross on the top and then place into the oven for 35 – 40 minutes.
- Once cooked, remove from the oven and onto a wire rack. Brush with the melted apricot jam glaze. Cool in the tin before removing, slicing, and serving toasted with plenty of butter and a sprinkle of Maldon Sea Salt.
Dietary: Vegetarian
Let’s be honest, how many times have you seen a blog that claims to have the ‘best’ chocolate cake recipe? We’ve seen dozens upon dozens, and although we have tried (and eaten) many throughout the years, yet none have itched that truly rich, decadent, chocolaty scratch that we all crave deep down.
That is until we got our aprons on and got busy in the kitchen, where upon test after test, we eventually itched that scratch…the ULTIMATE chocolate cake was created!
Our chocolate tahini cake is dangerously delicious, with moist chocolate buttercream layers in between tall, fluffy and soft chocolate sponge cake. It’s then coated in the remaining buttercream to pack everything together, sealing in the rich, decadent goodness of every chocolate lover’s dream.
Including tahini within the mixture causes the cake to have a beautiful, nutty, sweet and sesame like taste to it, allowing the texture to be fudgy, smooth and buttery.
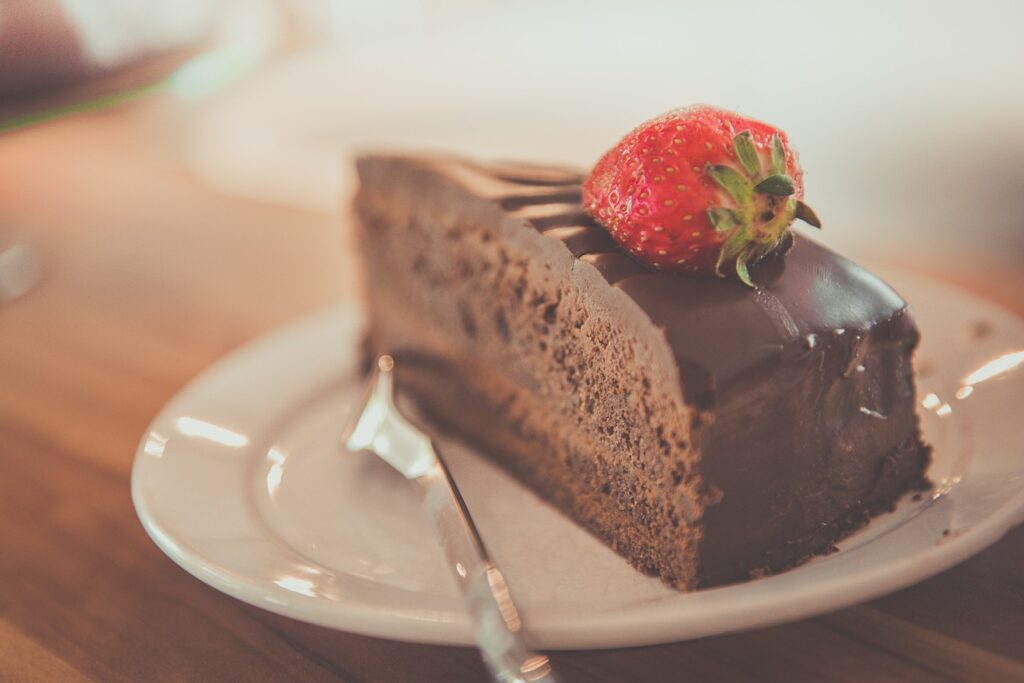
When was chocolate cake invented?
Speaking of chocolate, have you ever wondered where chocolate cake came from? Between 1764 – 1765, John Hannon and Dr. James Baker worked together to make cocoa powder from grinding cocoa beans between two massive circular millstones. From this, chocolate candy was invented and then shortly afterwards milk chocolate arrived in 1876. It wasn’t until 1886 when American cooks began adding cocoa powder to cake batter, making the first chocolate cakes!
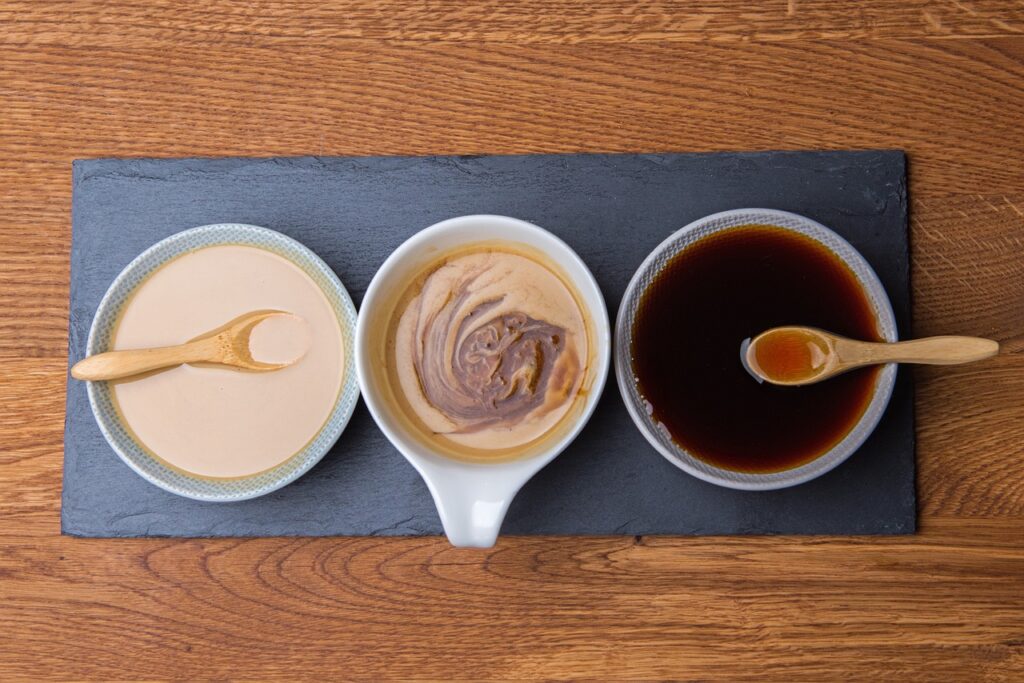
What is Tahini?
If you haven’t tried tahini, it’s a thick paste made from ground sesame seeds, commonly used in Middle Eastern dishes like hummus! Tahini is what gives dishes like hummus that beautiful nutty flavour, causing the texture to be creamy.
Why should you use tahini in baking?
Tahini paste is a great addition when baking as it balances out the sweetness – just like sea salt does! It pairs beautifully with chocolate and coffee aromas too! Because of it’s creamy texture and healthy fat content, it binds easily with the other ingredients, making the overall texture fudgy and rich.
Because tahini mixes better with ingredients that have similar textures and fat contents, it works perfect in a buttercream, made with softened butter and cream cheese! Adding tahini in your buttercream will result in a delicious smooth frosting, with added depth to the overall flavour.
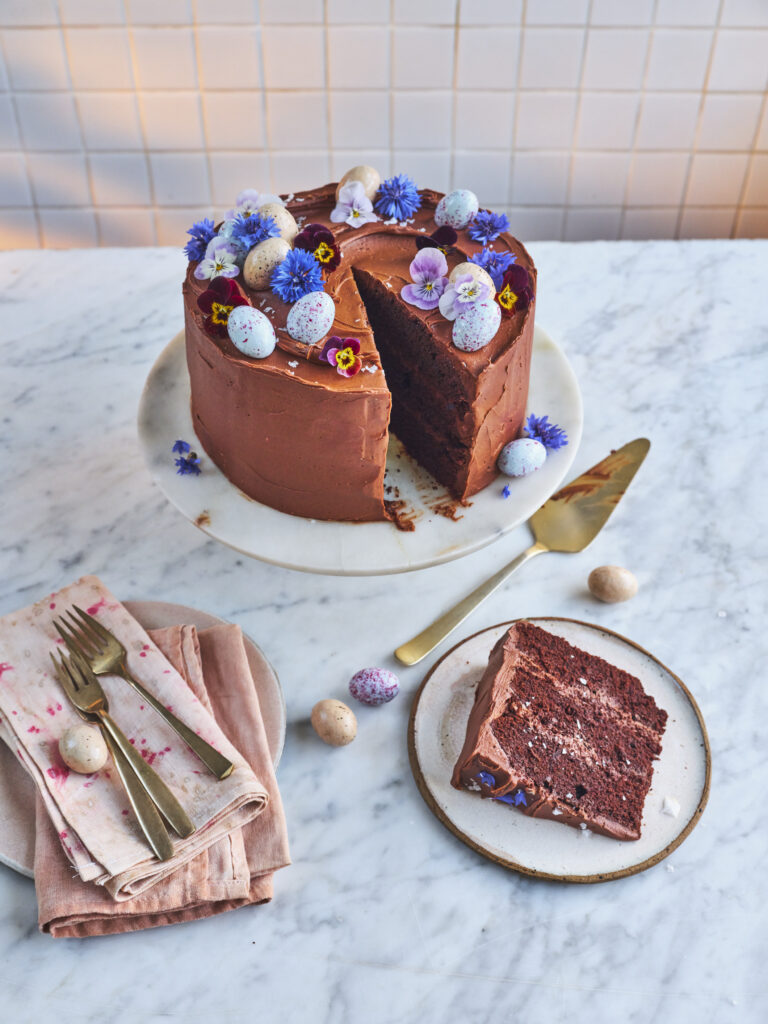
How do you make chocolate tahini sponge cake
- Grease and line 3x 20cm baking tins with greaseproof paper.
- Preheat the oven to 180c.
- In a large mixing bowl sift in the plain flour. Next add the golden caster sugar, soft brown sugar, cocoa powder, baking powder, bicarbonate of soda and Maldon sea salt. Mix the dry ingredients together, and then make a well in the middle.
- In a separate bowl mix your wet ingredients – the eggs, buttermilk, tahini, vegetable oil and vanilla extract. Whisk this together, and when it is fully incorporated pour it into the well in the middle of the dry ingredients.
- Use the KitchenAid Stand Mixer to combine altogether, until you have a smooth batter (but be careful not to overmix). Then pour the mixture evenly between the 3x cake tins. Place them on a shelf in the middle of the preheated oven and bake for 30 minutes. Check they are fully cooked through by inserting a skewer or cocktail stick in the middle of the sponge and ensuring it comes out clean.
- Set the cakes on a wire rack and allow them to cool completely.
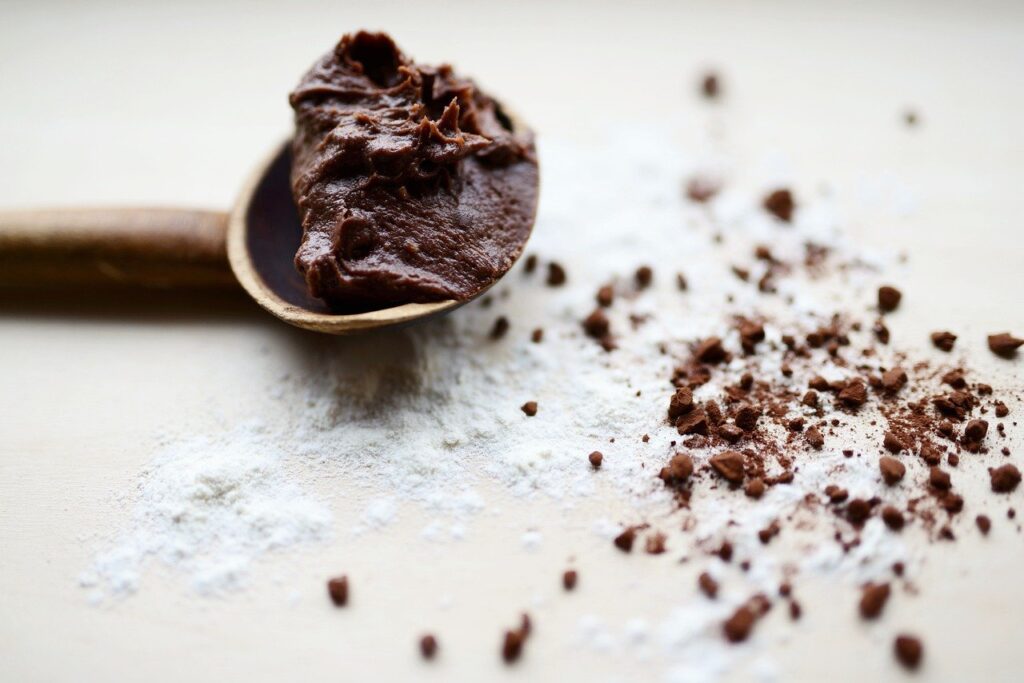
How to make chocolate buttercream
- While the cakes are cooling you can make the chocolate buttercream. In the stand mixer bowl, beat the butter until it is fully softened and smooth. In a separate bowl sift the icing sugar and the cocoa powder. Slowly add the icing sugar and cocoa powder to the butter mixture in spoonful’s, beating each addition in before adding the next (so you don’t create a sugar dust cloud!).
- Continue until you have added all the icing sugar and cocoa powder, and the mixture is thick and smooth. Finally add the melted and cooled chocolate, along with the whole milk, and beat this through to create a silky smooth and chocolatey buttercream.
- Once the sponge layers have fully cooled you can assemble your cake. Spread a little buttercream onto the base of the cake stand or board in the centre, then place the first sponge on top of this. The buttercream will help it stick in place. Spread some of the buttercream all over the top of this cake, and then sandwich the second sponge on top, pressing down gently. Repeat this with the final sponge. Now you want to use the remaining buttercream to smooth all around the sides of the cake and on the top. Using a palette knife or cake scraper can help you achieve a smooth finish.
How to decorate a chocolate cake
When decorating the chocolate cake, we chose some edible flowers and coloured Easter chocolate eggs – but you can decorate however you wish! Don’t forget to do a final sprinkle of Maldon Sea Salt flakes on top – it works perfectly with the rich chocolate as it elevates the sweetness and counteracts the bitterness from the cocoa.
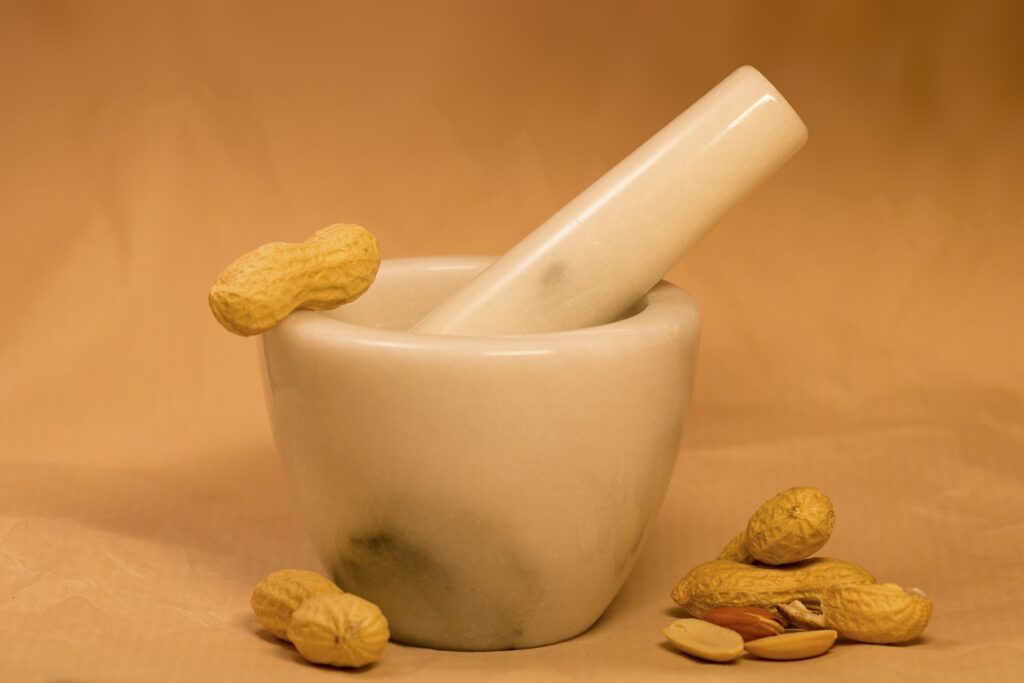
What is a good substitute for tahini?
There are many substitute options for tahini if you are struggling to find it in the local grocery shop! Because tahini is a sesame seed paste, try using a nut butter instead. We recommend an almond butter as it’s very similar in both texture, flavour and colour! Other nut butters you could use instead could be: cashew or macadamia nut butter. Both have the same creamy richness and nutty flavour that you get from tahini.
Alternatively, some people may use Greek yogurt instead of tahini as it lends itself a creamy, but thinner consistency. Because of it’s slightly thinner texture, you may need to adjust the ratio to the other ingredients.
Can you freeze chocolate cake?
Once the cakes have completely cooled, wrap it in clingfilm tightly. The tighter the better, as it seals in the freshness of the cakes and avoids it from getting freezer burn. Wrap the cake in a layer of aluminium foil for extra protection.
For best taste and texture, you shouldn’t freeze cakes for longer than 3 months, but the sooner you can serve it, the fresher it taste!
When thawing cakes, transfer the wrapped cakes to the refrigerator one day before decorating or serving. The cakes take at least 8 hours to thaw completely in the refrigerator. You can thaw them in toom temperature, but the flavour and texture is best one thawed slowly in the refrigerator.
What better way to celebrate Mother’s Day than by spoiling your mum or motherly figure in your life with a delicious breakfast in bed!
Start their day with a heavenly treat: Caramelised banana French toast topped with a luscious caramel sauce infused with Maldon Sea Salt flakes.
Maldon Salt’s delicate sea salt flakes dissolve seamlessly into the caramel, adding a rich sweetness with a subtle hint of savoury complexity with every bite.
This recipe was created by: @lujains.kitchen.
How to make French toast:
- Slice the brioche bread into 3 thick slices (roughly 3cm thick)
- Whisk together eggs, milk, double cream, vanilla, and cinnamon till combined.
- Dip the brioche toast for 15 seconds on each side (do not leave it for too long otherwise it will fall apart)
- Heat a pan and add a knob of butter, once the butter is melted place the brioche toast and leave to cook till lightly golden on each side then remove and set aside.
How to make caramel sauce:
- To make the caramel, place the sugar and water in a pan and cook till the sugar burns and turns into a caramel colour then take off heat and add in the double cream.
- Stir then add the butter
Assembling your French toast:
- Slice the banana and dip one side into light brown sugar.
- Using a blow torch, torch the sugar till caramelised.
- Assemble the French toast on top of each other, top with the caramelised banana, pour the caramel sauce on top and sprinkle with Maldon Sea Salt flakes.
Lightly griddled broccoli wedges with a delicious Romesco sauce is the perfect side dish for your springtime banquet. The combination of sweet and slightly acidic with the smoky red pepper Romesco sauce pairs beautifully with the charred broccoli, a flavour profile that will certainly impress your dinner guests.
Broccoli contains compounds that some people may consider bitter. However, gently griddling your broccoli will allow a delicious earthy, almost sweet taste to rise. It also brings out many nutrients, including a wide array of vitamins, minerals and fibre.
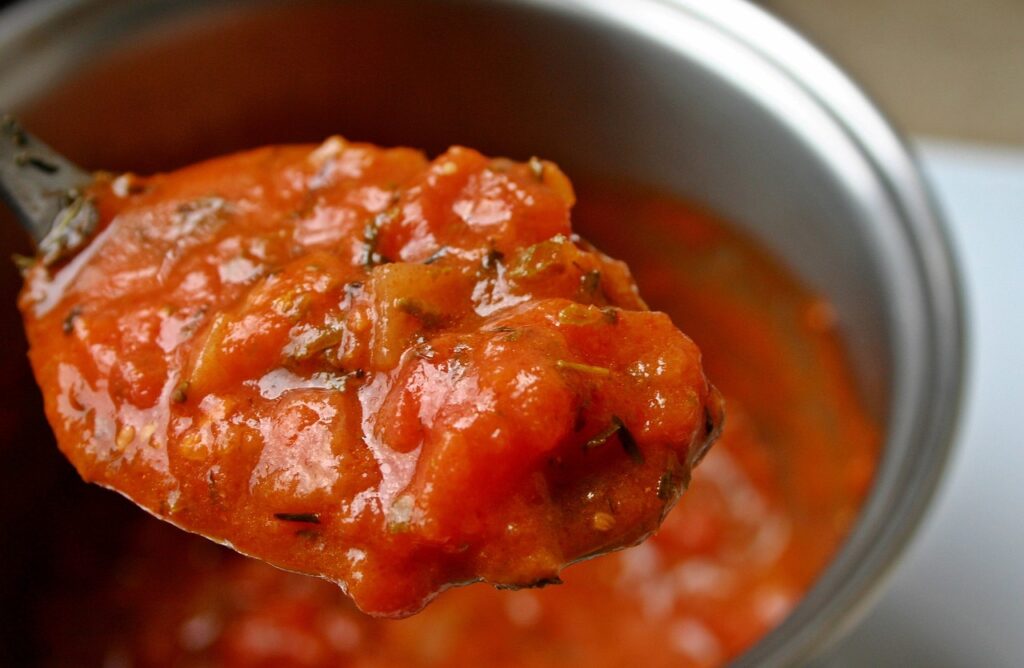
What is Romesco sauce?
Romesco sauce is a rich Spanish sauce comprising of roasted red peppers, which are pureed and thickened with toasted almonds and sometimes pieces of bread.
The origin of the sauce dates back to the 18th century, where fishermen were believed to have made the sauce to eat with their rather bland meals, whilst catching their fish off the coast of Catalonia, Northwest Spain.
The taste of Romesco sauce is lightly sweet and tangy in flavour, with a delicious hint of garlic and smoky flavours and a touch of spice. As the sauce is a classic Mediterranean condiment, it’s the perfect accompaniment to fish, grilled vegetables and roasted chicken.
Is Romesco sauce served hot or cold?
Romesco sauce is very adaptable and can be served either hot or cold depending on the dish that you’re making.
Romesco sauce served cold:
Romesco sauce served hot:
- On top of roasted/griddled vegetables (especially aubergine or roast potatoes).
- Stirred in a pasta dish.
- Drizzled over seasonal greens
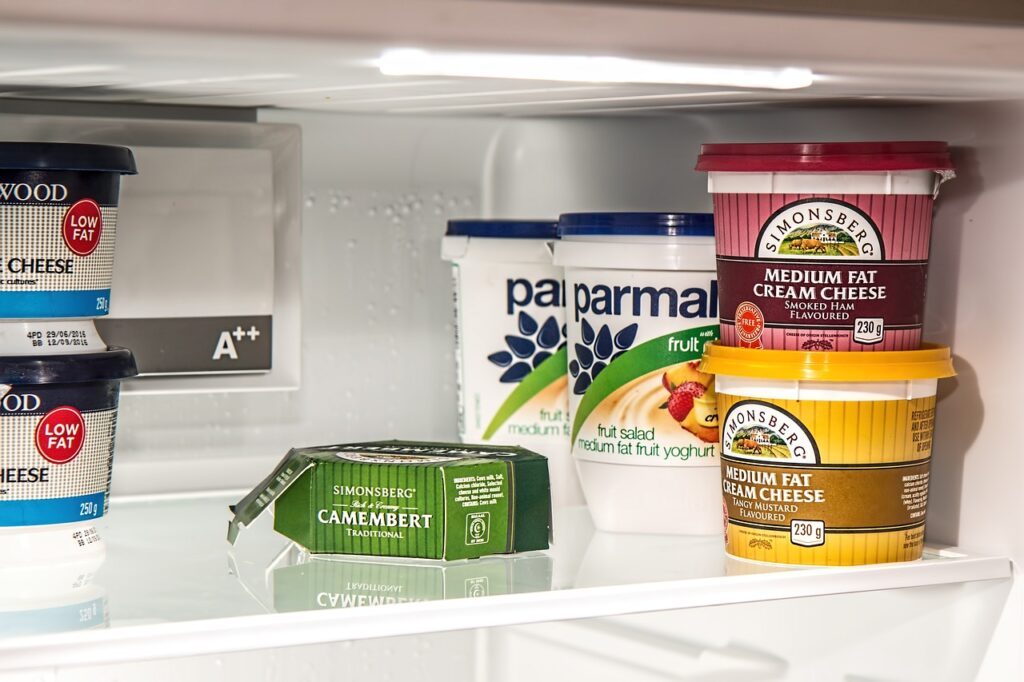
Can you freeze Romesco sauce?
Romesco sauce can freeze and last for up to 3 months in the freezer. We do not recommend storing the sauce longer than 3 months as the flavour can start to degrade and the colour becomes dull.
You can freeze Romesco sauce easily by using an ice cub tray:
- Portion the sauce into the ice cube tray. You can use spoons to make it easier to pour into each ice cube square.
- Wrap the ice cub tray with a layer of clingfilm to prevent spillages and also limit the chance of any odours in your freezer.
- Put the tray in the freeze carefully, keeping it as flat as possible.
- Once frozen solid, you can pop the cubes out of the ice cube tray into a freezer bag, making sure it is sealed up.
- Label the bag with the contents and the date it was made, before placing it back in the freezer.
The best way to defrost Romesco sauce is by taking a cube out of the freezer and popping it into the dish, allowing it to thaw whilst the dish continues to cook.
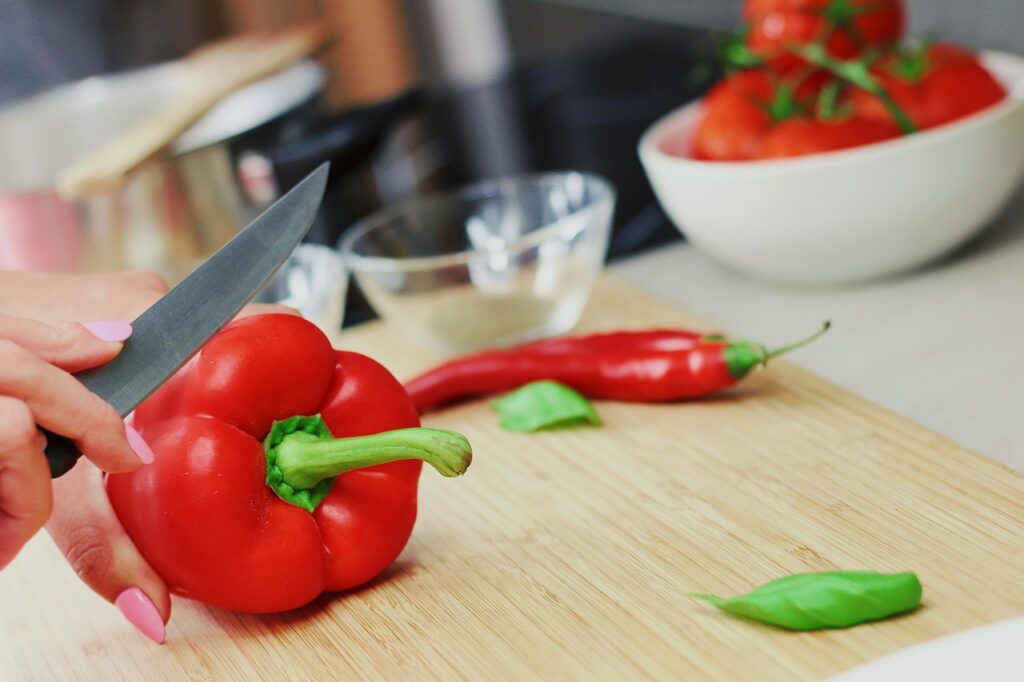
How to make Romesco sauce?
- Start by making the romesco sauce.
- In a large frying pan, add the blanched almonds and toast them until they turn colour and start to char in places, turning them over so they evenly toast. Then tip them out the pan and allow to cool slightly.
- In a food processor add the roasted red peppers, toasted almonds, handful of parsley and the garlic cloves. Pulse this until everything has broken down to a chunky paste. Then add the sherry vinegar, lemon juice and olive oil and pulse again to your desired texture – you don’t want it to be completely smooth.
- Tip the mixture from the food processor to a bowl and stir through the paprika and Aleppo pepper. Taste the sauce and then add some Maldon Sea Salt flakes and cracked black pepper.
How to make griddled broccoli?
- Prepare the broccoli. Heat a griddle pan onto a high heat. Slice the broccoli heads into wedges by cutting each one in half lengthways through the stalk, then cut each half again into quarters.
- Rub each wedge with olive oil, and then place onto the griddle pan. Let each side cook for 5 minutes until prominently char lines appear on the stalk before turning and doing the other side. This can be done in batches; the broccoli will char but also steam as it cooks.
Do you have to boil broccoli before frying?
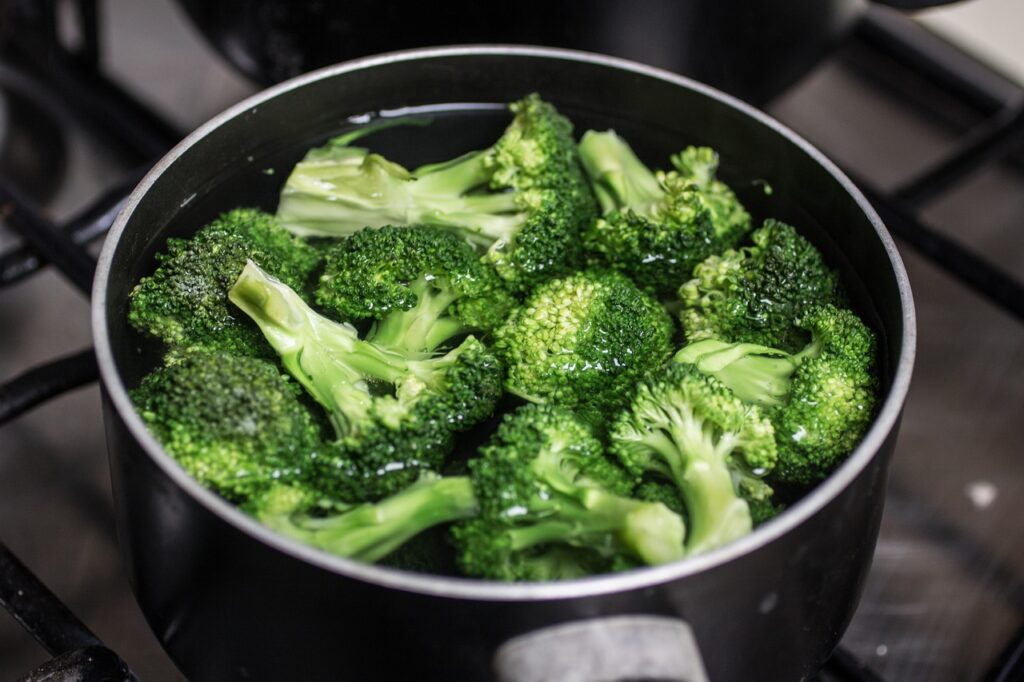
You do not need to boil broccoli before frying in the pan if you implement a steaming method to it. This is where you trap hot air in the pan to help soften the broccoli. This allows the broccoli to be a little softer in texture when you bite into it, but still irresistibly crunchy.
You can blanch the florets before stir-frying to help soften the stems and stop the enzyme that leads to browning. We recommend adding a good pinch of Maldon Sea Salt flakes and a dash of olive oil to your blanching water to help the broccoli retain it’s crunchy texture and vibrant green colour.
How to serve griddled broccoli with Romesco sauce:
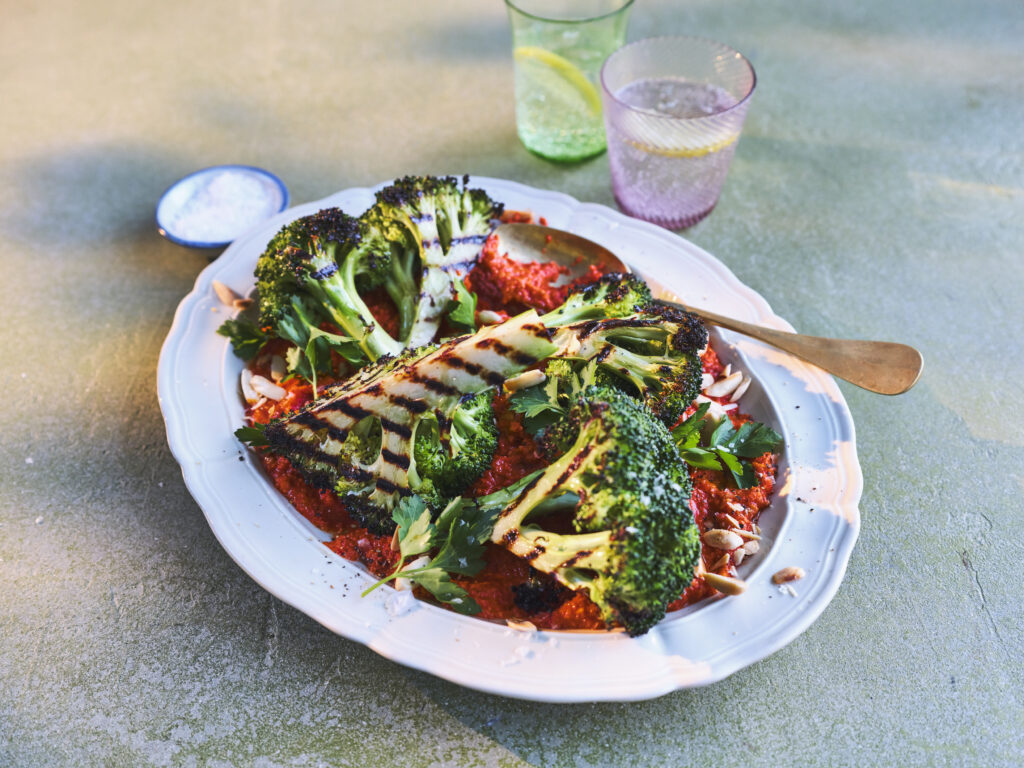
- When you are ready to serve, spoon the romesco sauce across the base of a large serving platter.
- Then arrange the charred broccoli wedges on top.
- Finally scatter with some chopped smoked almonds, a drizzle of olive oil and a final sprinkle of Maldon Sea Salt flakes and Aleppo pepper.
How long does it take to cook raw broccoli?
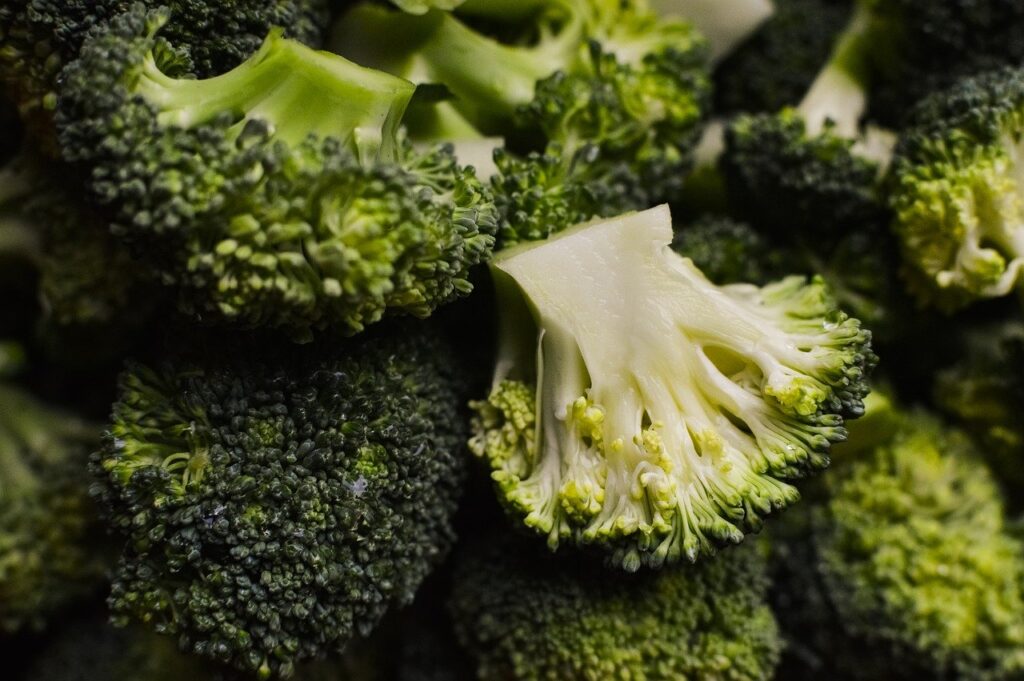
Broccoli can be easy to overcook, it should always retain it’s vivid bright green colour when cooked and should have a little ‘crunch‘ to it.
When you are boiling broccoli in a pan of boiling water, we recommend cooking the florets for 6-8 minutes.
If you aresteaming your broccoli, make sure to place a steamer over boiling water and cook for the same time, around 6-8 minutes.
You can stir-fry your broccoli for a delicious, crunchy texture. You need to separate into bite-sized florets, adding 1 tbsp of olive oil into the frying plan and adding the broccoli, cooking for around 4-5 minutes or until nice and tender.
When roasting broccoli, we recommend preheating your oven to 400 degrees F for 20 minutes to allow the vegetable to be perfectly roasted.
How long does broccoli keep in the fridge?
Fresh broccoli can last up to 3-5 days in the fridge when properly stored in an air-tight container. If it is cut-up broccoli, we recommend no more than 4 days stored in the fridge, otherwise the vegetable will start to decay in colour and texture and have a unpleasant odour.
If you are storing cooked broccoli in the fridge, make sure to store in a shallow, air-tight container or wrapped in foil. It can be stored for up to 3-5 days.
What is a picnic pie?
As we head into Spring, many people turn to the outdoors to have a picnic. This is where you pack a meal to be enjoyed in the open air, usually in the countryside, beach or garden. It’s a brilliant way to enjoy the sunshine, socialise with friends and family, and tuck into some delicious tasting foods.
Classic picnic foods include great British bakes of sandwiches, scotch eggs, and sausage rolls, but one of the main centrepieces for a picnic is a ‘picnic pie’. The name is self explanatory, this is a decadent pie that is to be enjoyed at a picnic. It’s a classic pie dish, usually having a shortcrust pasty base due to it’s solid structure, avoiding any crumbling/wreckage whilst travelling to your desired picnic location!
The filling options for your picnic pie are endless! From classic chicken and leek; steak and ale, and coronation chicken, to vegetarian options of spinach, dark greens and even Pilau! It’s important to note that many picnic pies have distinctive layers in between fillings.
How do you make layers in a picnic pie?
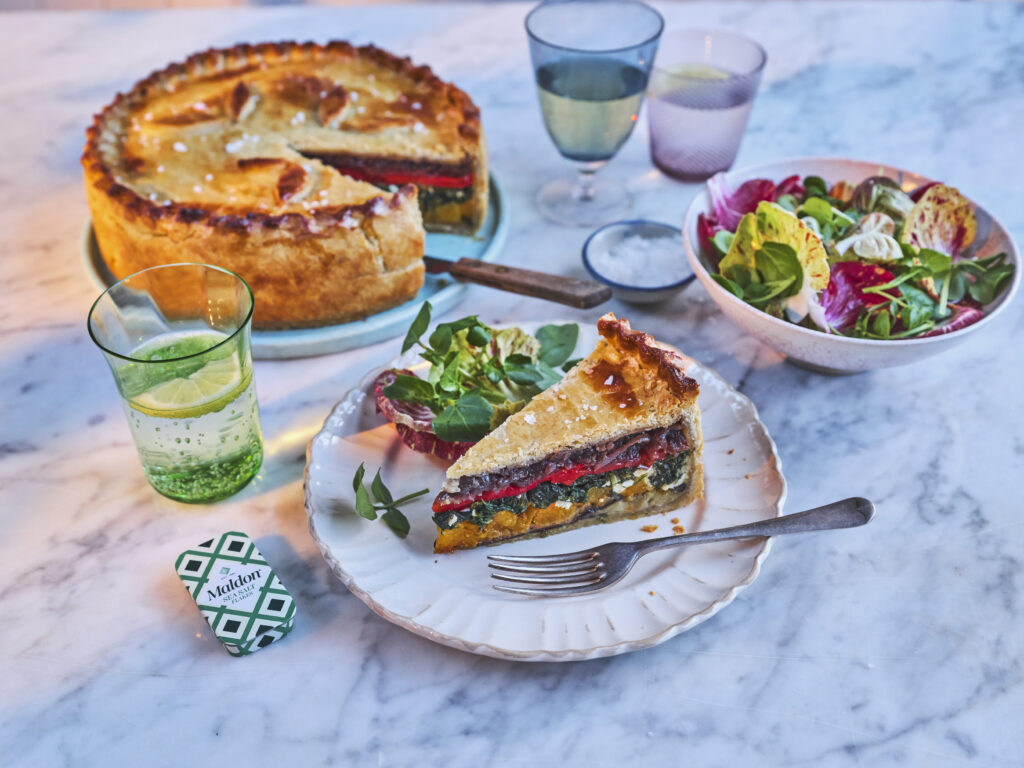
The construction of layers requires the most attention when making your picnic pie. We recommend having all the layers ready and cool enough to assemble inside the pastry case. Try using a loose-bottomed spring form cake tin, as the pastry won’t stick to the tin and you can easily lift of the pie to serve without wrecking the pastry!
Your first layer should be the strongest of the layers, preferably one that has a low water content, such as potatoes, beef and peppers. You can then start adding your ‘lighter’ ingredients, such as spinach, cheese or mushroom. You can then repeat the process until you have nice, visible layers. Try using colourful ingredients to make the layers really stand out and impress your guests!
How to make a layered vegetable picnic pie
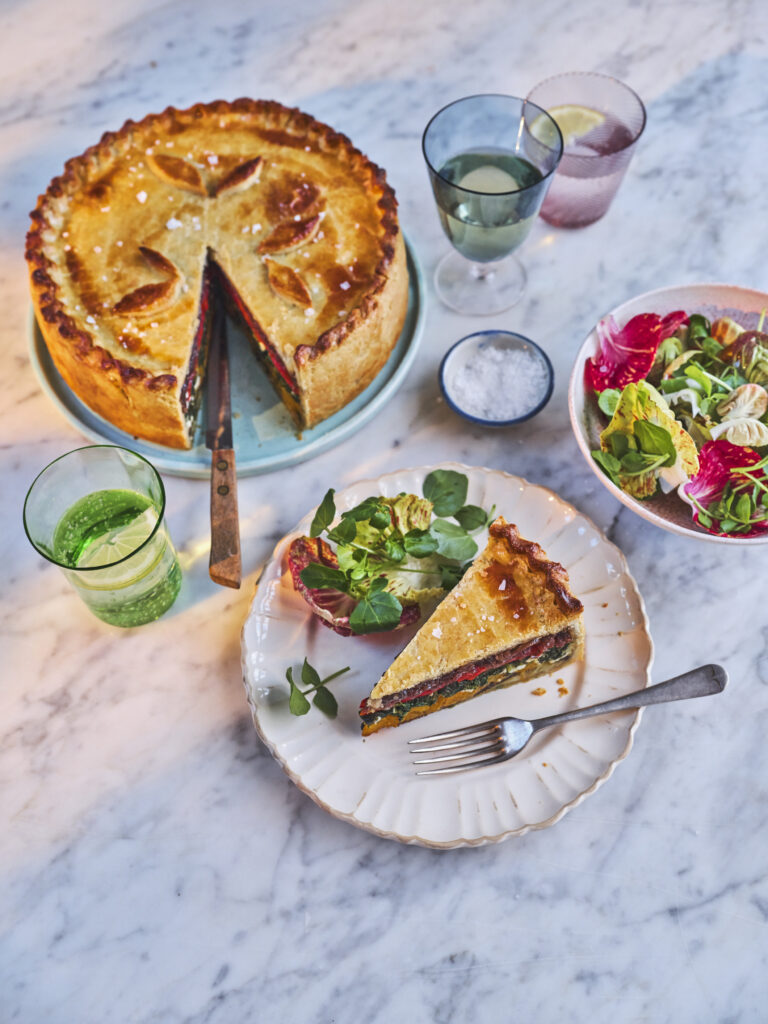
We made a showstopping layered vegetable pie, perfect for a picnic! The layers consist of butternut squash, aubergine, onions, red peppers, spinach and crumbly feta. Once compressed and assembled together, the layers are incredibly vivid – representing the beautiful colours of Springtime.
Making shortcrust pastry:
- You can either do this by hand or with a food processor.
- By hand, simply measure out the plain flour into a large bowl and add a generous pinch of salt. Then add the cold, cubed butter and use your fingertips to rub the butter into the flour. Keep doing this until no large lumps of butter remain and the mixture resembles fine breadcrumbs.
- Add 1 beaten egg to the mix and use a metal knife to cut this through, then use your hands to gently bind the pastry together.
- When it has come together as a ball simply tip onto your surface and knead very briefly so the pastry is smooth.
- Flatten the ball into a disc shape and then cover in clingfilm and rest in the fridge (for at least 30 minutes) while you make the fillings.
Making the fillings for your pie:
- Preheat the oven to 180c.
- Peel the butternut squash and then cut into small cubes. Arrange them on a single layer in a baking tray and drizzle with olive oil, cumin seeds and a good pinch of Maldon Sea Salt flakes and some cracked black pepper. Place the butternut squash into the oven and roast for 20 – 30 minutes until the squash is soft and starting to caramelize. Remove from the oven and set aside to cool.
- While the butternut squash is cooking you can also prepare the aubergine. Thinly slice both aubergine and lay them across a couple of baking trays in single layers. Drizzle with olive oil, Maldon Sea Salt flakes and then place into the oven for roughly 10 minutes on each side until they are collapsed and slightly charred on each side. Remove from the oven and set aside to cool.
- For the caramelised red onions, finely slice all three onions. Heat a large frying pan on a medium low heat and drizzle in a generous amount of olive oil. Add the sliced red onions and fry gently for 10 minutes until softened. Add the crushed garlic and continue to fry for 5 minutes until everything has become soft, jammy, and caramelised. Remove the pan from the heat and allow the onions to cool.
- This would be a good stage to line the cake tin with your pastry.
Lining a cake tin for your pastry crust:
- Take out the chilled pastry and cut it into 2 pieces, one 2/3 and the other 1/3.
- Lightly flour your work surface and then roll out the bigger piece of the pastry first, into a large circle approximately 1cm thick.
- Take a 23cm cake tin and carefully lift the large pastry circle and drape into the cake tin. Then press into the base and up the sides, leaving an overhang of pastry over the edges of the cake tin. If your pastry tears or rips at any stage don’t worry, just use your fingers to carefully press the pastry hole together again. Set this in the fridge.
- Next roll out the smaller 1/3 of pastry to a circle that is the same 23cm diameter as this will form the top of the pie. Place this onto a lined baking tray and pop into the fridge to chill also.
Making the layers for your pie:
- Now you start preparing the fillings. We started with spinach. Place a large pan of water onto boil. Add the spinach to the water and allow it to wilt for a minute only, before immediately draining in a large colander. Run some cold water over the spinach to cool it down quickly and then use your hands to press as much liquid out as possible. Once all the liquid has been removed, tip the wilted spinach into a large bowl and crumble in the feta, the lemon zest and some Maldon Sea Salt flakes and cracked black pepper. Mix to combine and set aside.
- Now let’s make the roasted red pepper layer. Simply remove four roasted red peppers from the jar and drain on some kitchen paper to remove the excess oil. Slice them open and set aside.
- Remove the lined pastry tin from the fridge and start adding your vegetable layers.
- We started with the roasted aubergine at the bottom of the pie.
- Then added a layer of the roasted red peppers, followed by the spinach and feta mix. Next add the roasted butternut squash (pressing down gently on each layer so it is well compacted and even) and finished with a layer of the caramelised red onion.
Concealing with a pie lid:
- Now take the pastry pie lid from the fridge and cut it to the correct size. Place this on top of the pie to enclose the fillings.
- Use the second beaten egg as the egg wash and then fold the pastry overhang to tuck into the lid – use your fingers to create a crimping pattern around the edges to ensure that everything is tightly sealed.
- Any extra pastry can be cut off and used to make patterns such as leaves for the top. Use the remaining egg wash to brush all over the pie top.
Cooking the layered picnic pie:
- Place it into the oven in the middle shelf for 40 – 45 minutes until golden brown all over.
- Remove from the oven and let it stand for 10 minutes before removing from the cake tin.
- This can be cooled completely or served warm alongside fresh green salad.
Can you freeze picnic pie?
Once cooked, you can freeze the pie whole or pre-portioned up to 3 months. Make sure that the pie, or individually slices are wrapped well to avoid freezer burn.
What is freeze burn?
Freeze burn is when foods are exposed to cold air, dehydrating the outer layer as moisture is lost. This can make your foods have dry spots once defrosted. You can tell if your frozen foods have freeze burn as ice crystals will appear.

Why do we celebrate Pancake Day?
Did you know Pancake Day is also referred to as Shrove Tuesday? It’s a traditional Christian festival that is celebrated all around the world! Every year, Shrove Tuesday falls on a Tuesday before the beginning of Lent (on Ash Wednesday). Across the UK, Ireland, Australia and Canada, many people will say ‘Pancake Day’ as traditionally during Lent, Christians would give up rich, tasting foods that included: butter, eggs, sugar and fat. As a result, Shrove Tuesday was an opportunity for families to use up all of these delicacies before their Lenten fast…and pancakes are the perfect way to use up all of these ingredients in one!
What is a pancake?
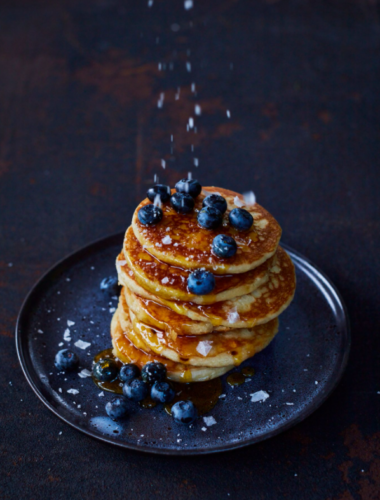
A traditional English pancake is a thin, flat cake made up of batter and fried in a frying pan. The simple batter mixture contains the following ingredients: all-purpose flour, milk, egg and sugar. In contrast, North American pancakes contain a raising agent, typically baking powder or whipped egg white. This creates their pancakes to be very thick and fluffy in texture.
Many people top their pancakes with lemon juice and sugar for a burst of citrus and sweetness. However, over the years people have got creative with their toppings, from a generous spread of Nutella, fruit or ice cream, to savoury picks of bacon, cheese and even poached eggs! Try our delicious blueberry pancakes recipe, where we add juicy blueberries to the pancake mixture for a pop of sweetness.
What’s the difference between a pancake and a crepe?

Crepes are also thin pancakes which have become a breakfast staple, tracing back to 13th-century France! The main difference between a pancake and a crepe is that a pancake tends to be smaller and slightly thicker in texture, whereas a crepe is much wider and ultra thin. It’s much thinner than a pancake due to having a higher volume of milk or water to it’s batter mix.
How to make American style pancakes
- Start by mixing the batter for the pancakes.
- In a large bowl add the flour, baking powder and caster sugar and give it a whisk so it is well incorporated.
- In a jug mix together the eggs, whole milk and vanilla extract. Make a well in the middle of the flour mixture and then slowly pour in the milk mixture whisk as you go, until you have a smooth batter.
- Heat a knob of butter in a non-stick frying pan and then when foaming, begin to ladle in your pancake batter to the size you want. Allow them to cook for a couple of minutes, until you see small holes and bubbles appear in the batter, then flip them and cook on the other side until golden and cooked through. You will need to do this in batches, but you can keep the cooked ones on a tray in a low oven to stay warm.
- While you are making the pancakes, get a second pan on a low heat and add another knob of butter. Allow this to melt and then add the apple slices. Cook them on each side for roughly 4 minutes until they are caramelized and softened. Keep turning them in the pan until they have cooked through, are starting to collapse but still holding their shape. Then remove them from the pan and set aside while you make salted caramel sauce.
How to make salted caramel sauce
- In a saucepan add the 100g butter, soft brown sugar, and double cream.
- Turn the heat on low and allow the mixture to slowly melt, using a wooden spoon to gently encourage it.
- Once all the sugar has dissolved and the mixture is smooth, take off the heat and stir through a generous pinch of Maldon sea salt.
- Set aside to cool slightly.
How to serve your pancakes:
- When all your pancakes are ready, take the cooked apple slices and stir them through the salted caramel sauce.
- Serve a stack of the pancakes with a generous spoonful of the apples and salted caramel sauce.
- Eat immediately.
How to flip a pancake:

Although the pancake has been around for over 5,000 years, people still find it hard to flip them without making a mess and leaving splatters!
Here is how to flip a pancake perfectly:
- Wait until the edges of the pancake will begin to brown and the top begins to bubble.
- Carefully lift the edge of the pancake to see if the underside is turning golden brown.
- Once golden brown underneath, slide the spatula under the pancake until it is in the centre.
- Flick 180 degrees to one side so that the pancake flips over.
Can you cook pancakes in an air fryer?

You can absolutely make pancakes in an air fryer! We recommend using American-style pancakes as you need to make sure sure your pancake mix is relatively thick to avoid sticking or tearing from the baking paper.
- All you need to do it pull out your air fryer’s draw and line up with baking paper.
- After that, carefully add a dollop of your pancake mixture on top, and then place another piece of baking paper on top, repeating the process until you have a nice stack of pancakes!
- Turn on your air fryer to 165 degrees for roughly 7-8 minutes.
- Take out once golden and crispy round the edges.
Currys released a fantastic tutorial on how to air fry your pancakes on TikTok, you can watch the viral video here!
Can you freeze pancake batter?

You can freeze raw pancake batter. This is because eggs are whisked and mixed into the batter, making it safe to freeze. Once stored in the freezer, it can last up to 3 months!
How to freeze pancake batter:
- Once the pancake batter is mixed, pour carefully into freeze-safe zip bags.
- Lay a baking sheet inside the freezer draw and place the zip bag containing the mixture on it.
- Freeze.
How to defrost pancake batter using water:
- Fill up the sink with cold water and place the zip-bag of frozen pancake batter into the water.
- Wait 30 minutes until the mixture has become liquefied in the bag.
How to defrost pancake batter using the fridge:
- Remove the zip-bag of frozen pancake better from your freezer.
- Lay a tea towel on one of the shelves of your fridge.
- Place the zip-bag containing the batter on top of the towel.
- Wait overnight until the mixture has completely thawed.

As we celebrate ‘Healthy January’, we are delighted to team up with renowned Chef Richard Buckley and share one of our favourite vegetarian-based recipes from his cookbook.
Richard Buckley is an award-winning chef and owner of The Oak in Bath (UK), a Michelin Green Star recipient.
Buckley was raised a vegetarian and, after graduating with a degree in English Literature, he set about studying vegetable cookery whilst working in a series of top vegetarian restaurants. This culminated in his five-year role as head chef for Demuth’s Restaurant where he developed and refined his plant-centric cooking style. He has a passion for sharing the knowledge and techniques that he has learnt and developed in order to increase the general standard of vegan cookery across the country.
With over 15 years spent studying plants and working at top vegetarian restaurants, Richard released his cookbook: ‘Plants Taste Better’.
Plants Taste Better is a plant-based recipe book, where plants take centre stage on the dinner plate. With over 70 mouth-watering recipes, ranging from the simple to the stand-out, Plants Taste Better will guide and inspire you to get creative with vegan cookery.
This book balances the traditional with modernity to show readers how to make even the simplest ingredients shine. With delicious, thoughtful recipes and stunning images, you will be amazed what you can accomplish in your kitchen when you combine vegetables alongside a deeper understanding of the techniques requested.
Recipes include flavoursome snacks of Fritters and Squash & Hazelnut Pate, to showstopping mains of Carrot, Pea & Cardamom Tagine and Beetroot and Mushroom Casserole. If you have a sweet tooth, try getting your hands stuck into a decadent Chocolate Salted Caramel Taste, or Burnt Peaches.
On the topic of food, let’s share one of our favourite recipes from the cookbook!
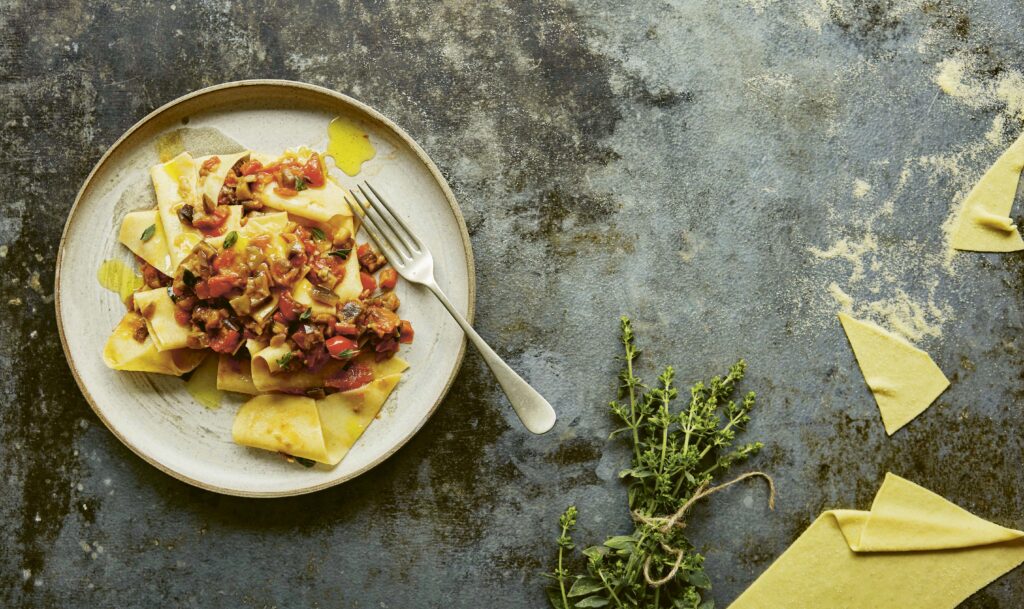
Aubergine (Eggplant) Ragu with Pangrattato and Maltagliati
This dish is a great way of making use of a couple of leftovers: the pangrattato is fried breadcrumbs from a stale loaf – a fantastic thing to have on hand to sprinkle on almost everything that needs a bit of texture – and the maltagliati is essentially pasta offcuts. When you are making a lot of pasta you get left with lots of bits that weren’t quite the right fit; let them dry out and keep them in a pile and you have a quick, easy, free lunch. Obviously, if you aren’t making a lot of pasta then you can just roll out a batch of your favourite pasta and cut it into raggedy shape or alternatively just use your favourite store-bought dried pasta or break up some dried lasagne sheets.
Serves: 4 people
Ingredients:
FOR THE PANGRATTATO:
- 250g (9oz) stale bread
- 4 cloves of garlic
- extra virgin olive oil
FOR THE SEMOLINA PASTA:
- 400g (14oz/21/3 cups) fine semolina
- 235g (81/3oz) warm water
FOR THE RAGU:
- 75ml (2¾fl oz/1/3 cup) extra virgin
- olive oil, plus a little extra if needed
- 2 aubergines (eggplants), cut into 1cm (1/2-inch) dice
- 500g (2¼lb) plum tomatoes
- 1 medium onion, diced
- 2 cloves of garlic
- ½ red chilli
- 2g marjoram leaves
- Maldon Sea Salt flakes
- freshly ground black pepper
Method:
- To make the pangrattato, blitz your stale bread in a food processor or blender to make breadcrumbs – the bigger the crumb the more crunch you get, just remember there is a line somewhere between breadcrumb and crouton. Purée the garlic, add it to the breadcrumbs and rub it in until all the crumbs are coated. Heat a couple of tablespoons of oil in a frying pan (skillet), add the breadcrumbs and fry gently until golden and crispy. Turn onto a baking tray (sheet) to cool and store in an airtight container until needed.
- To make the pasta, put the semolina in a pile on a clean work surface. Make a well in the middle and carefully pour in the water, being sure not to let any spill out. Using a fork, whisk the water around, allowing the semolina to fall into the middle slowly. When it reaches the thickness of pancake batter, swap the fork for a dough scraper and chop in the remaining semolina to form a rough dough. Using your hand, bring it together into a rough ball and knead it a couple of times until homogenous but still dimpled and not smooth. Cover with a bowl and leave for 30 minutes to rest.
- Knead again; it should become very smooth and silky very quickly. Form it back into a ball, wrap in cling film (plastic wrap), and leave to rest at room temperature for at least 2 hours before using. You can keep it in the fridge overnight, but it will become sticky and harder to work.
- When ready to use, either roll the dough by hand using a rolling pin on a lightly floured surface, until it is just a little thinner than a credit card, or roll through a pasta machine following the instructions on page 124. Cut it into rough pieces and leave scattered on the work surface to dry until you need them.
- To make the ragu, heat the olive oil in a large saucepan over a medium heat, add the aubergine (eggplant) and cook for up to around 45 minutes until it is broken down to a mush, catching on the pan, browning and existing in the space between dice and purée: be patient, it’s the key to the flavour of this sauce. Remove the aubergine (eggplant) from the pan and set to one side in a bowl. Put the tomatoes in a food processor or blender and blitz to a rough paste. Cook the onion in the same pan as the aubergine until soft, adding a little oil if needed.
- Mince the garlic and chilli together, add to the onion in the pan and cook for 30 seconds. Add the tomatoes and cook gently for about 15 minutes until the mixture is thickened and rich. Add the aubergine back in, along with the marjoram, and cook for 5 minutes to bring the flavours together. Season to taste with salt and pepper.
- To serve, bring a large saucepan of water to the boil and season as for pasta water (see page 125). Heat the ragu gently in a pan next to it. Add the maltagliati to the boiling water and stir to prevent them sticking. As soon as they float to the surface, lift one out and check its doneness – we are looking for a crisp, al dente texture. If your pasta is freshly rolled this could be as fast as 20 seconds. Using a spider, quickly lift the pasta out into the ragu and stir it through. Using a ladle, add a little of the pasta cooking water to the ragu to create a glossy, creamy texture.
- Lay out 4 warmed, rimmed plates or pasta bowls and split the ragu and maltagliati among them. Sprinkle generously with the pangrattato and any leftover herbs.

Purchase ‘Plants Taste Better’ Today
Move aside meat, it’s time to give plants the spotlight in the kitchen! You can purchase your very own copy through Quarto Books today. The perfect gift for your fellow veggie friend…or yourself!
Make sure you have your Maldon Salt ready for these recipes! If you are running out, please feel free to browse on our Where to Buy Page to find your nearest store in which stocks our beloved Maldon Salt.
Lastly, we LOVE seeing your creations – please tag us on Instagram using the #maldonsalt so we can share your own take on Richard’s recipes!
Elevate your mornings with a slice of homemade breakfast loaf!
This high-fibre breakfast loaf is loaded with succulent figs, sweet dates and a hint of black tea to give a delicious malty flavour. We sprinkle in a few warming spices and a pinch of Maldon Sea Salt flakes to complete the symphony of flavours and textures before baking it in the oven.
Pair the loaf with a good dollop of Greek yogurt for extra protein and a few crisp apple slices – because breakfast should be a celebration of delicious nourishment!
This recipe was created by Isobel Keane. Enjoy!
Here is how to make a breakfast loaf:
- Preheat the oven to 170c
- Soak figs, dates and sultanas with tea
- Mix together flour, oats, baking powder, nuts and seeds. Add soaked fruit and tea into the mix. Add in the egg and give it one last good mix.
- Bake in the oven for an hour 20 minutes. At 30 minutes, cover with baking parchment or tin foil so it doesn’t brown too quickly.
- Leave to cool for a couple of hours (or overnight).
- Slice and serve with Greek yoghurt, apple and cinnamon. Sprinkle with Maldon Sea Salt.
A twist on the classic cranberry sauce. Homemade cranberry sauce is so worth making, it’s unbelievably simple and tastes so much better than store bought. Orange and cranberry pair brilliantly, but the addition of Maldon Chilli Sea Salt adds a hum and warmth to the sauce which is unexpected. Add a splash of port because… well, Christmas!
- Place the cranberries, orange zest and juice, caster sugar and cinnamon stick in a pan and simmer gently for 10 minutes until the cranberries have begun to break down and pop.
- Add the port and Maldon Chilli Sea Salt and simmer for a further 5 minutes until thickened.
- Check the seasoning and then allow to cool before serving with your Christmas meal or alongside pigs in blankets.
Homemade custard is a thing of beauty, you could eat this straight with a spoon. Christmas spices such as brandy, nutmeg, cloves, cardamom, and cinnamon make this custard extra delicious and warming. A sprinkling of Maldon Sea Salt flakes in a sweet sauce always adds the perfect saltiness note. This would be great cold in a trifle, warmed on Christmas pudding or even with a mince pie.
- Place the milk, cream, brandy, and spices into a saucepan and bring to a simmer (but do not boil), and gently simmer for a couple of minutes to allow the flavours to infuse. Remove from the heat.
- In a large bowl whisk together the egg yolks and caster sugar until pale. Then slowly pour in the warm infused milk, through a sieve and whisk constantly. When all the milk is added and you have a smooth liquid, pour this back into a clean pan along with the vanilla bean paste and a good pinch of Maldon Sea Salt flakes.
- Gently heat again, stirring continuously until the custard has thickened (it should coat the back of a spoon).
- Serve the custard on top of warm Christmas pudding or cold in a Christmas trifle.