Category: Uncategorized

How to create:

  1. Pop all the ingredients into a saucepan with a splash of cold water.
  2. Mix to combine them and bring to a simmer over a medium-low heat, stirring constantly for 10 minutes.
  3. Then cover and simmer on a very low heat for 1 hour stirring occasionally.
  4. The figs will break down and you’ll be left with a delicious jam with textured bits from the soft fig skin.
  5. Popping your jam into jars is a slightly lengthy process… but worth it to give it the longevity so you can enjoy it later in the year. Pop your glass jars on a tray and slide them into the oven at 130c/275f (don’t have it any hotter as they may shatter) leave them in the oven for at least 20 minutes. Be extremely careful taking them out one by one using oven gloves, popping them on to a heat proof mat or pad. Spoon the hot jam mix straight into the jars and seal the lid tightly. Pop your jam in the cupboard, once open keep in the fridge and consume within 2 months!

How to create:

  1. Preheat the oven to 270 fan assisted and line a baking tray with some oven/baking paper. Once the oven reaches temperature, lay the bacon onto the tray and cook for 7 minutes until nice and crisp. Remove from oven, dab the excess fat off using a little kitchen paper and set aside.
  2. Pop your sourdough bread into the toaster and meanwhile in a small bowl combine the ricotta with oregano, black pepper and a generously seasoning of Maldon sea salt and mix well.
  3. Remove the bread from the toaster and spread the ricotta evenly onto the surface. Then top with the figs, sandwich the bacon slices in between the figs, sprinkle over with nigella seeds, chilli and some black pepper. Drizzle generously with clear honey and finish with a generous sprinkling of Maldon sea salt crystals and enjoy!

How to create:

  1. Stir all ingredients together in this order and serve!
  1. Using a small knife, prick the chilli peppers all over so they will absorb the liquid marinade.
  2. Place the chillies in a 1 litre preserving jar, packing them down lightly.
  3. Mix the remaining ingredients in a jug, then pour the liquid over the chillies.
  4. Seal the jar and store it in a dark place for up to one month, by which time the chillies will have softened and become pickled in flavour!

How to create:

  1. Add all ingredients to the glass, stir well, add ice, garnish with a celery stick, cherry tomato and lemon wedge with cracked black pepper & enjoy!

How to create:

  1. Shake all ingredients together over ice.
  2. Salt rim 2 glasses.
  3. Serve with a wedge of lime.
  1. For the sea bass, preheat the oven to 200C/400F/Gas 6.
  2. Stuff the thyme into the cavity of the sea bass.
  3. Whisk the egg whites in a bowl until soft peaks form, then fold in the salt. Line a baking tray with greaseproof paper and spread one-third of the egg white mixture over the tray. Lay the sea bass on top and spoon over the remaining egg white mixture, ensuring the fish is completely covered. Bake the sea bass in the oven for 30-35 minutes, or until crisp. Carefully crack the salt crust, remove it from the fish and discard. Peel the skin from the fish and place it onto a serving plate.

How to create:

  1. Place the rosemary in a bowl and cover with 6 tbsp of the olive oil.
  2. Add the flour, fast action yeast, Maldon salt and remaining olive oil into a bowl, add 175 ml water and mix it until sticky.
  3. Knead the sticky dough on a lightly oiled surface for around 10 minutes until it turns smooth.
  4. Cover and leave for an hour until it has risen to double its size.
  5. Prepare a baking tray with parchment paper, knead out the dough to whichever shape you like and leave to rise for a further 30 minutes.
  6. Heat the oven to 200c, make holes using your finger and spread over the rosemary and olive oil mixture.
  7. Add an extra pinch of Maldon salt and cook for 20 minutes.

How to create:

  1. Preheat oven to 200°C (180°C fan) mark 6 and line a baking sheet with baking parchment. Peel the squash neck and slice evenly in half lengthways. Lay cut-side down on prepared sheet and brush with 1tbsp oil. Season and roast for 11⁄4-11⁄2hr, until tender. Set aside to cool.
  2. Meanwhile, make mushroom layer. Heat remaining 2tbsp oil in a large frying pan over medium heat and cook shallots for 5min, until softened. Turn up heat to high and add mushrooms. Cook, stirring occasionally, for 12-15min, until any liquid released by mushrooms has evaporated and they are golden brown. Add garlic, thyme and miso and cook for a further 2min. Remove from the heat.
  3. In a food processor or using a stick blender, blend cashews and stock until smooth. Stir this into mushroom mixture, check seasoning and set aside to cool.
  4. To assemble, line baking sheet with fresh baking parchment. Lightly flour a work surface and roll out 1⁄3 of the pastry to a 30.5 x 15cm (12 x 6in) rectangle. Spread over mushroom mixture, leaving a 1cm (1⁄2in) border around the edge. Lay on roasted butternut halves, making sure they join up neatly in the middle.
  5. Roll out remaining pastry as before until large enough to cover the assembled filling. Lay over the filling, trim edges and crimp to seal. Chill for 30min.
  6. Reheat oven to 200°C (180°C fan) mark 6. Brush Wellington with soya milk and cook for 50min–1hr, until golden brown and crisp. Leave to rest for 10min before transferring to a board or plate. Serve in slices.

Elevate your Christmas celebrations with the ultimate Christmas cheese board! Packed with artisan cheeses, fresh fruits, and crunchy crackers, this festive platter is perfect for sharing with family and friends. Follow our tips to create a stunning centrepiece that every cheese lover will adore this Christmas season!

How to Create Your Ultimate Christmas Cheese Board

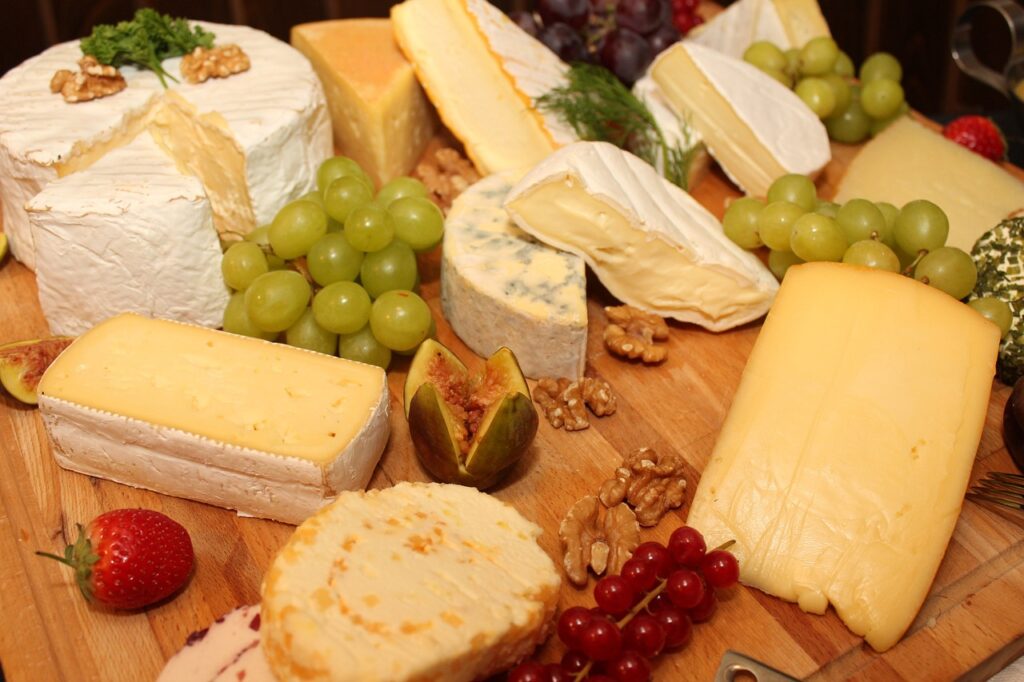
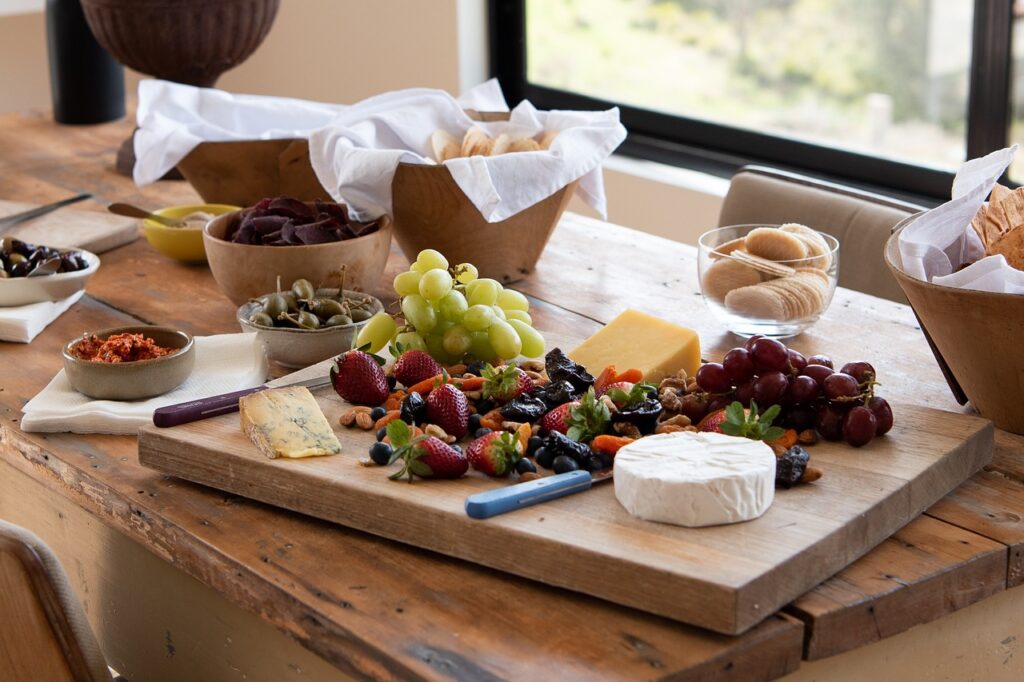
  1. Leave softer cheeses such as brie or blue cheeses whole, slice the harder cheeses such as red Leicester and cheddar.
  2. Leave gaps between your cheeses and fill with chutneys, grapes and nuts.
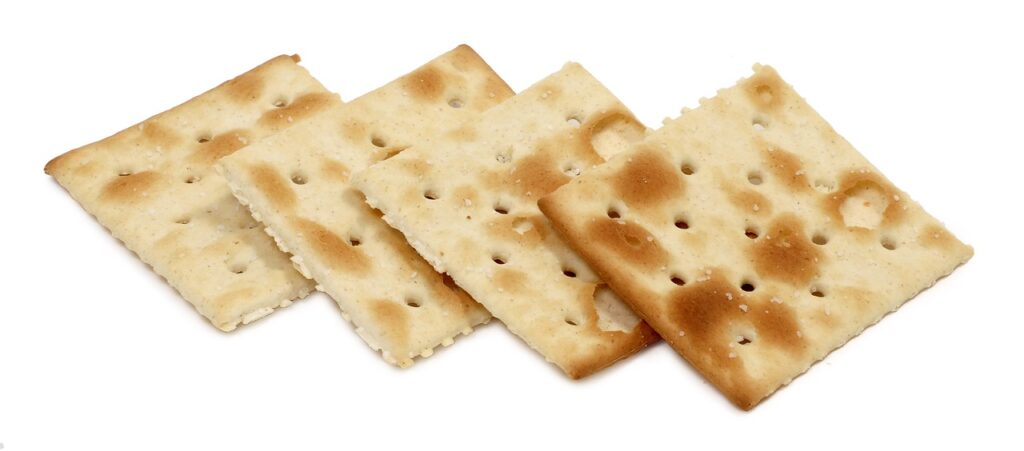
  3. Add variations of crackers.
  4. For a final touch add fresh figs and apple slices!

Tips for Assembling and Serving Your Cheese Board

Creating and serving a cheese board can be a delightful experience! Here are some tips to help you assemble a visually appealing and tasty cheese board that will impress your guests!

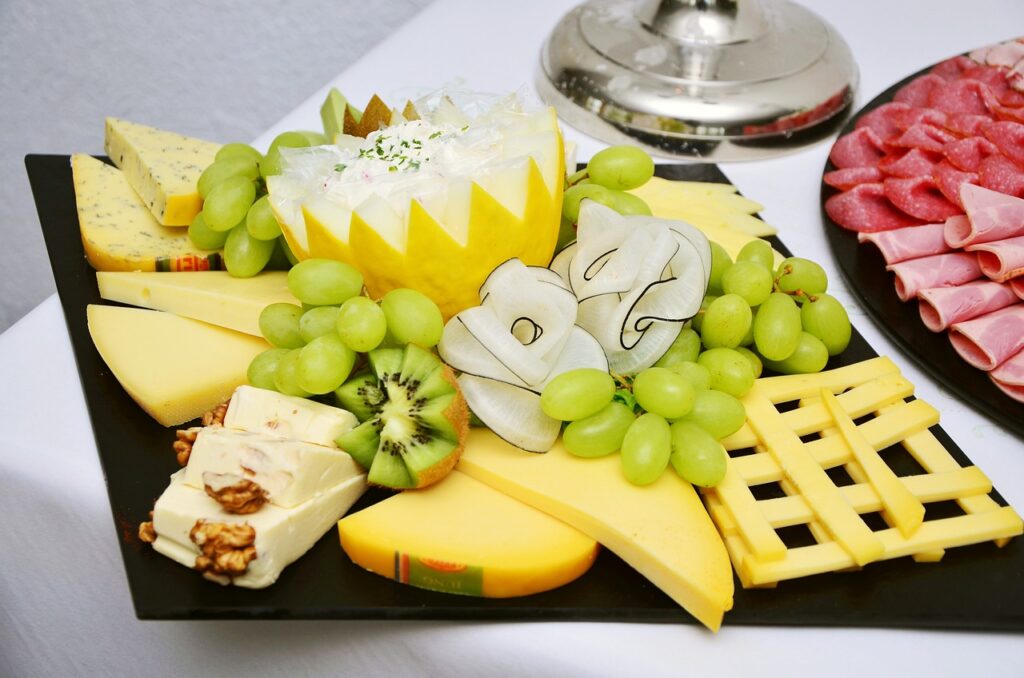
  1. Choose a variety of cheeses

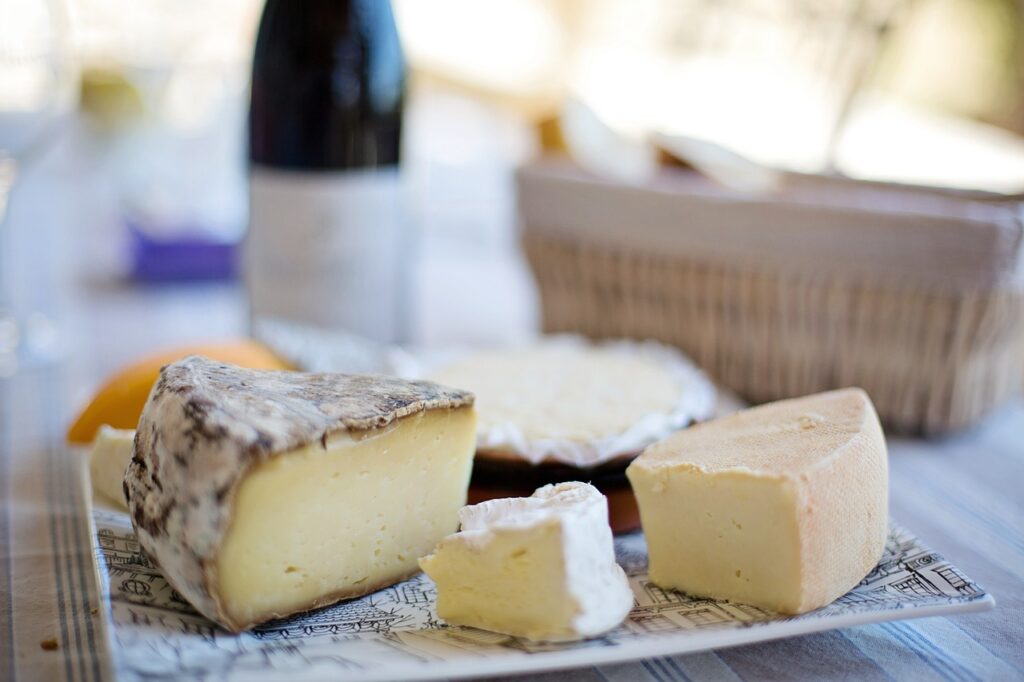
You should use a selection of both soft and hard/firm cheeses when making a cheeseboard. This will give your board a delicious variety of texture and flavour. Soft cheeses include brie, Camembert, feta and gorgonzola. Add a few hard cheeses, such as cheddar or Pecorino. Paxton & Whitfield, who are London cheesemongers since 1797, suggest 3-4 different soft and hard cheese is usually enough when creating a cheese board. In terms of portion size, we estimate about 1-2 ounces of cheese per person, if served as an appetiser.

2. Accompaniments

You should provide a selection of crackers or sliced baguette to pair with the cheese. This will give texture and elevate the flavour of the soft and hard cheeses. Try adding a handful of fruits, both fresh and dried, to bring sweetness to the bitter cheeses like Cornish Yarg. You can also add a few nuts, such as almonds or pistachios for a tasty crunch and richness.

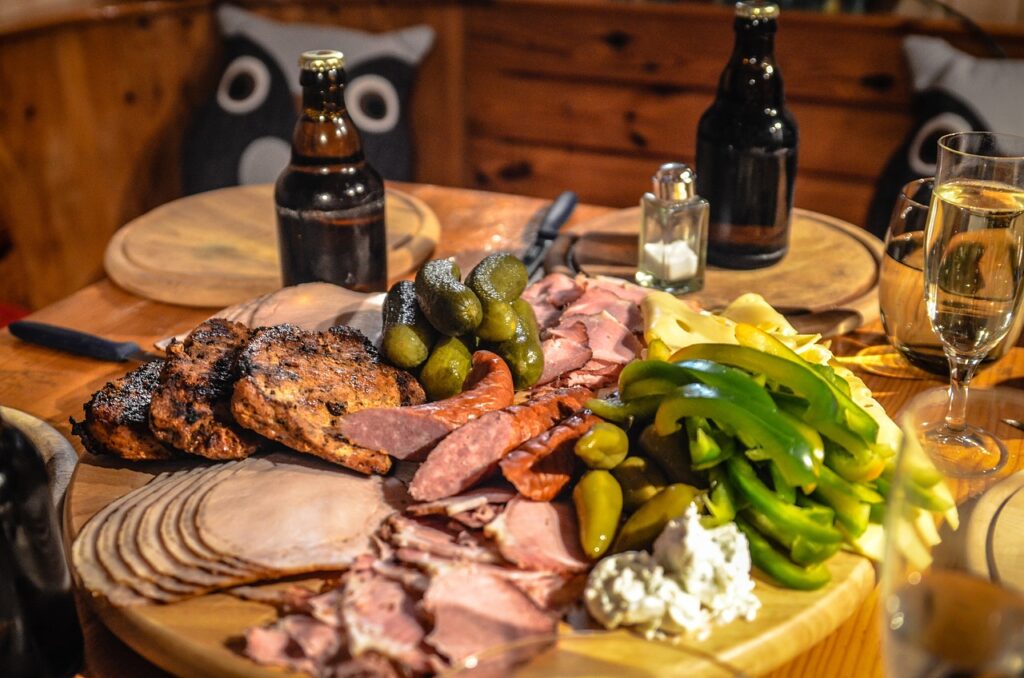
Many people also include savoury options to their cheese board, such as salami or rolled ham, and olives. If you have a sweet tooth, try incorporating sweetness to the board, with honey, or fig jam for a gentle touch of sweetness that pairs beautifully with brie or ricotta.

For a kick of acidity, add a few handfuls of cornichons, pickled onions or marinated artichoke hearts.

How to Assemble a Cheese Board

  1. Use a base

Many people opt for the classic wooden board, but you can also use slate or perhaps a marble platter. You should avoid wooden boards that are porous (such as oak, walnut, or mahogany) as these can absorb flavours and smells from cheese. Do not use a board with a lacquer finish or vanish, as these are not food safe and can chip into the wood.

2. Arrange the cheeses first

Space the soft and hard cheeses evenly, allowing room for other ingredients. You can slice or crumble some cheeses, such as cheddar or feta, for easy access, but leave others whole for presentation, such as a Brie cheese round.

3. Make the board more appealing and tasty

Group ingredients around the cheeses that they pair well with. Apples and cheddar is a classic pairing! This is because the sweet, tartness of apples compliment the sharp, savoury taste of the cheddar. Dried pears match well with brie due to the tartness of the pear, complimenting the buttery richness of brie.

Make sure to sue small bowls for jams, olive, or honey to contain the mess but also to make the board look aesthetically neat and clean.

4. Layers of texture and colours

When assembling your cheese board, you should alternate between bright fruits, neutral crackers, and rich cheeses for visual appeal.

Serving Tips for Cheese Boards

Before serving your cheese board, you need to make sure the cheeses have been sitting in a room temperature environment for 30-60 minutes. This will ensure optimal flavour of the creamy, rich selection of cheeses.

Speaking of cheeses, you can use small labels or cards to identify each cheese. This is a great idea for guests who might not be familiar with their origin or flavour.

To avoid flavour mixing, try offering separate knives of spreaders for each cheese. This will make the experience more enjoying and delicious.

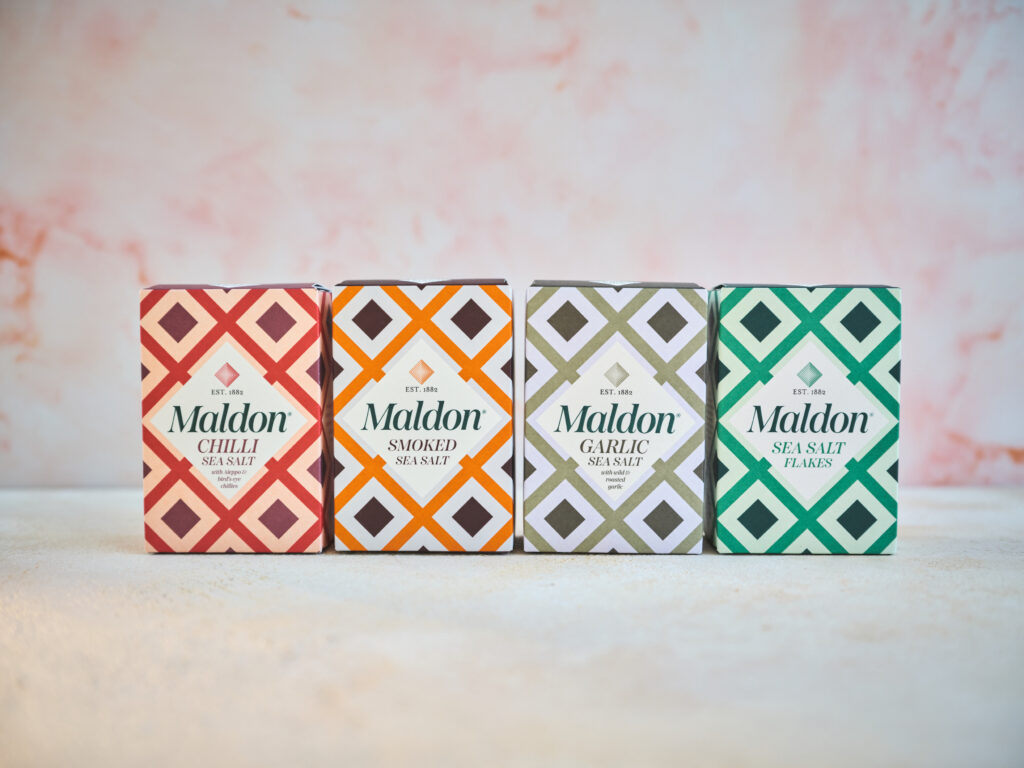
Why Maldon Salt is the Perfect Finishing Touch

Maldon Chilli Smoked Garlic and Original Sea Salt Flakes

Maldon Salt is the perfect finishing touch for cheese boards because it elevates both the flavour and presentation of the cheeses and their accompaniments. Here is why:

  1. Enhances the cheese’s natural flavours

Maldon Salt’s pyramid-shaped flakes have a clean, bright salinity that breaks through the creamy, rich textures of cheese like Brie or tripe-cream varieties. Sea Salt also helps elevate the nutty, tangy or sometimes sharp notes of cheeses (such as Cheddar or Parmesan).

2. Sweet and salty balanace

A simple pinch of Maldon Salt enhances the sweetness of honey, figs of caramelised nuts.

3. Textural appeal

Maldon Salt’s light, flaky crystals provide a delicious crunch that contrasts from the creamy, or crumbly textures of cheeses. Due to the flakes formation, it dissolves gently on the tongue, leaving a burst of fresh flavour without being gritty.

By adding Maldon Salt to your cheese board, you enhance the flavours and textures, ensuring every bite feels delicious satisfying.