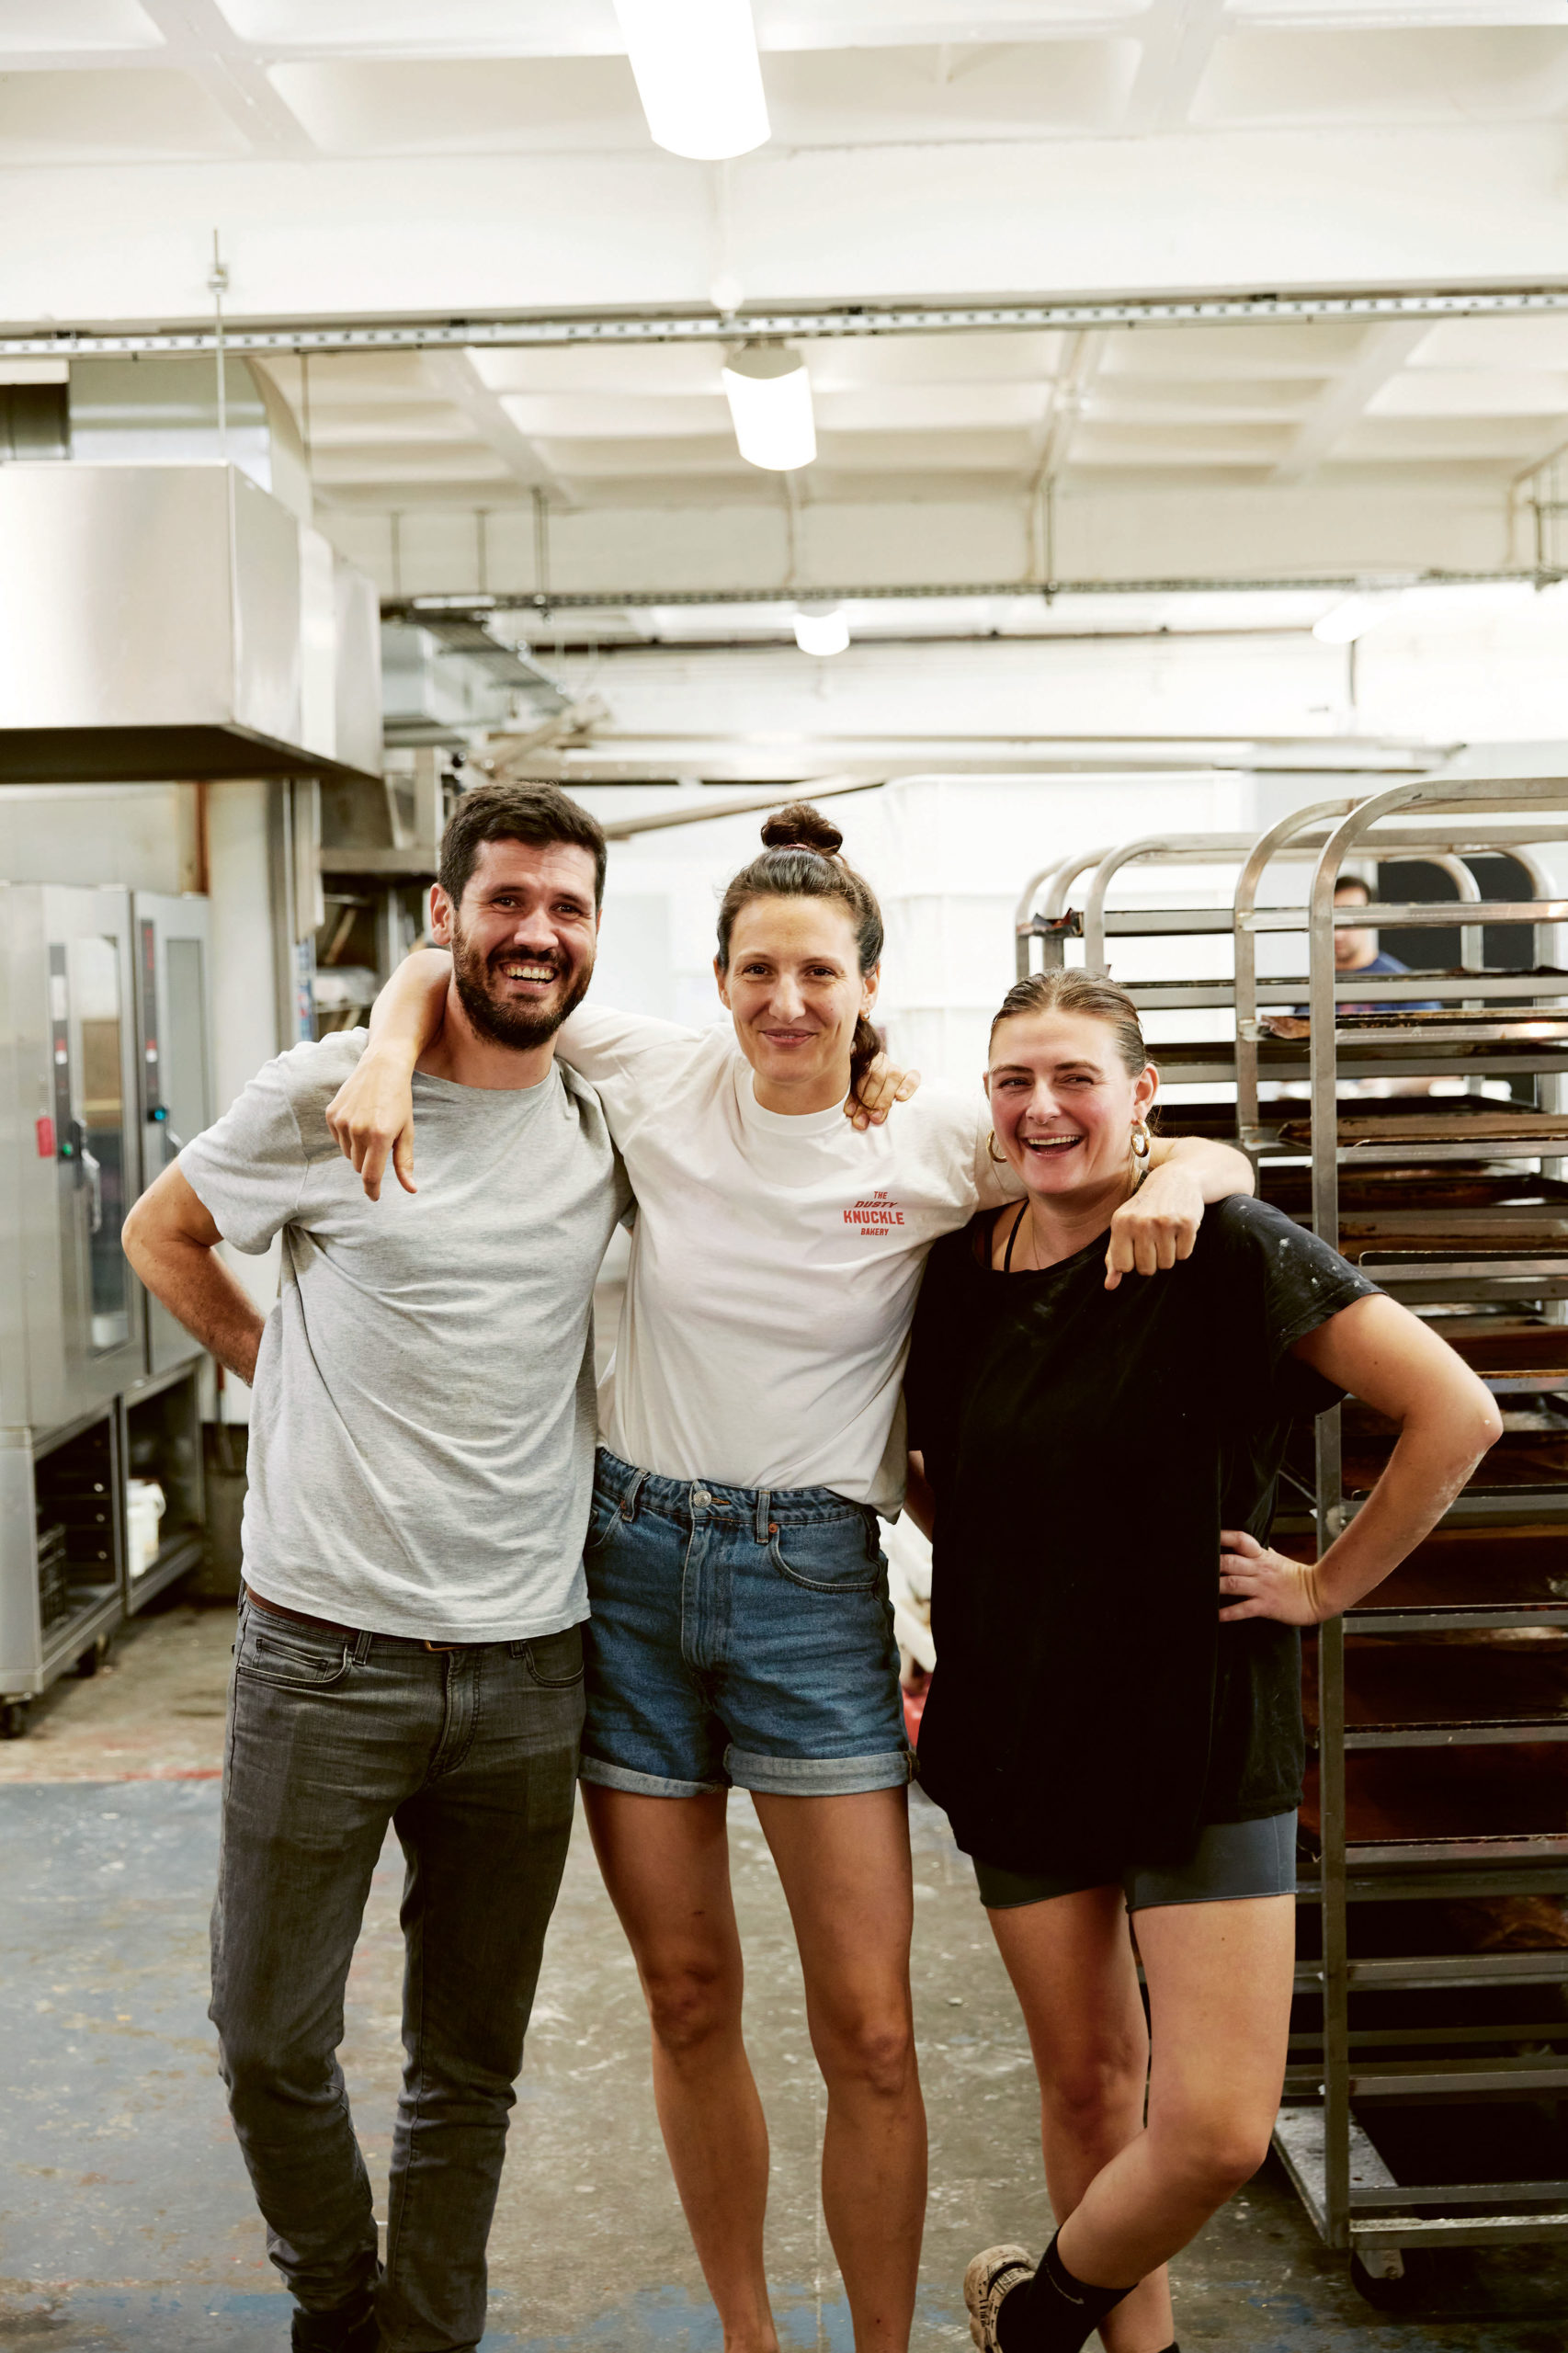
The Dusty Knuckle is East London’s favourite bakery and café with being experts in creating seriously good bread, knockout sandwiches and everything in between! Having two locations based in Dalston and Harringay, The Dusty Knuckle offer an abundance of baked goods, where you can wine & dine and even attend their baking classes during the weekend, learning how to make their ‘knock-out’ breads.
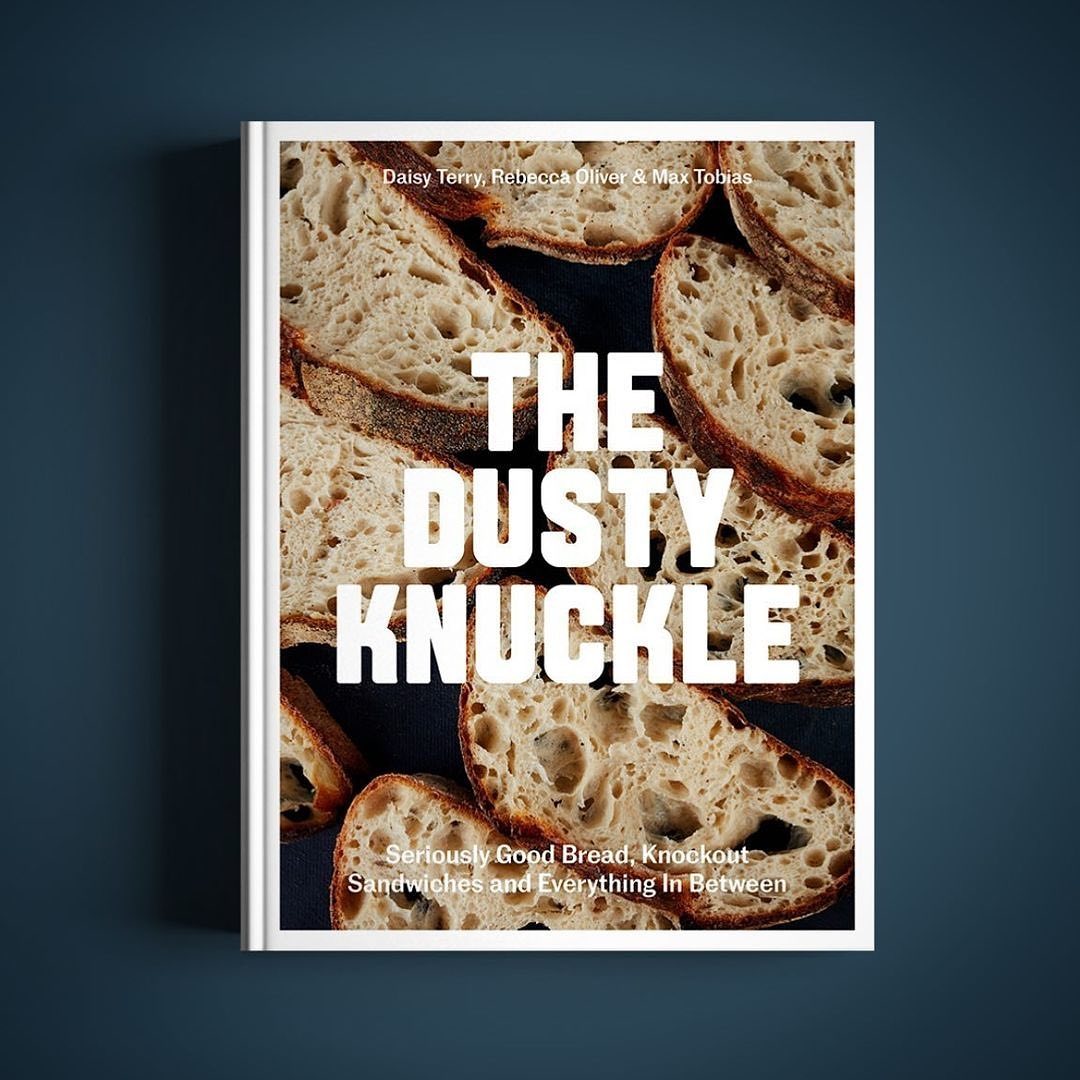
Sharing their baking secrets is at the heart of the bakery, where managers Max Tobias, Rebecca Oliver and Daisy Terry have shared it all with the release of their latest cook book, ‘The Dusty Knuckle’, whereby Maldon Salt is credited for being the bakery’s salt of choice!
Here we delve into one of the recipe’s in which The Dusty Knuckle have used Maldon Salt to enhance their dish…the infamous Focaccia!
For the poolish, add the water and yeast to a bowl, mix until your yeast is dissolved, then throw in the flour. Mix quickly with your hands; this will be wet and sloppy and you are only looking to mix it enough so that there are no wet bits and no dry clumps. Scrape your bowl down, cover it with a clean cloth or lid and leave somewhere warm to ferment. How long this takes depends on the heat of your home, your yeast, your flour, your hands. You are basically looking for it to have grown to almost triple in size and for the surface to be covered in little bubbles, roughly 2 hours. Use it before it begins to deflate and drop down the edges of the bowl.
Add the first water addition for the dough, and the yeast. It will separate and feel slimy; don’t worry, this is normal. Add your flours and mix thoroughly until everything is combined. If you are doing this by hand, it will take around 4 minutes, and if using a mixer with a dough hook, around 2 minutes on slow speed. Scrape your bowl down, cover and leave for an hour. This rest period (called autolysis) allows the flour to further absorb the water, which is important in this recipe as it uses nearly the same amount of water as flour. It should rise nicely and it may get a bit of a crusty top: don’t worry about this, it’ll all get mixed in.
Add the second water addition and Maldon Salt, and mix in with your hands (again, it will break up, but don’t worry, it’ll soon come back together). Once your dough is looking a bit more coherent, you will need to work it a bit. The easiest way to do this is to grab one side, stretching it upwards as far as it will allow you, then fold it back on itself, turn the bowl slightly and repeat, working your way around and around (keep the dough in the bowl; you will thank yourself when cleaning up later). The dough will start off shaggy and will tear easily, but will soon become elastic and silky. This will probably take you about 10 minutes, but don’t scrimp on the time here: you are building strength in the dough, which is the key to that chewy delicious bread. You can use a mixer – we do – for this, mixing for 2 minutes on slow speed, then 4 minutes on fast.
Check your dough for elasticity: does it stretch without tearing? If it’s still a bit weak and tears easily when you lift it, give it a couple more minutes.
Once mixed and silky and lovely and smooth and soft, take the dough out of the bowl, pour 2 generous glugs of olive oil into the bowl and replace the dough in the bowl. Cover and leave to rest for 1 hour, then fold and leave for another hour, before folding again and leaving for another hour (3 hours in total from mixing the final dough). To fold the dough, grab the edge of the dough with oily fingers and stretch it as high as it will let you, then fold it back over itself. Do this 4 times (north, south, east, west) to complete one fold.
After 3 hours your dough should be feeling pillowy, soft and silky, and bubbly. Turn it out onto a well-oiled standard-sized baking tray and fold it neatly into a square shape (don’t worry if this is much smaller than the tray as it will sprawl out and fill the tray) and leave somewhere nice and warm, and not too airy, for 1 hour. (If following the morning bake schedule, then this is when you would put it in the fridge – it can be in the fridge at this stage for up to 12 hours.)
Fold each side in to create a square and leave it for another hour, then do this one more time and leave for its final hour.
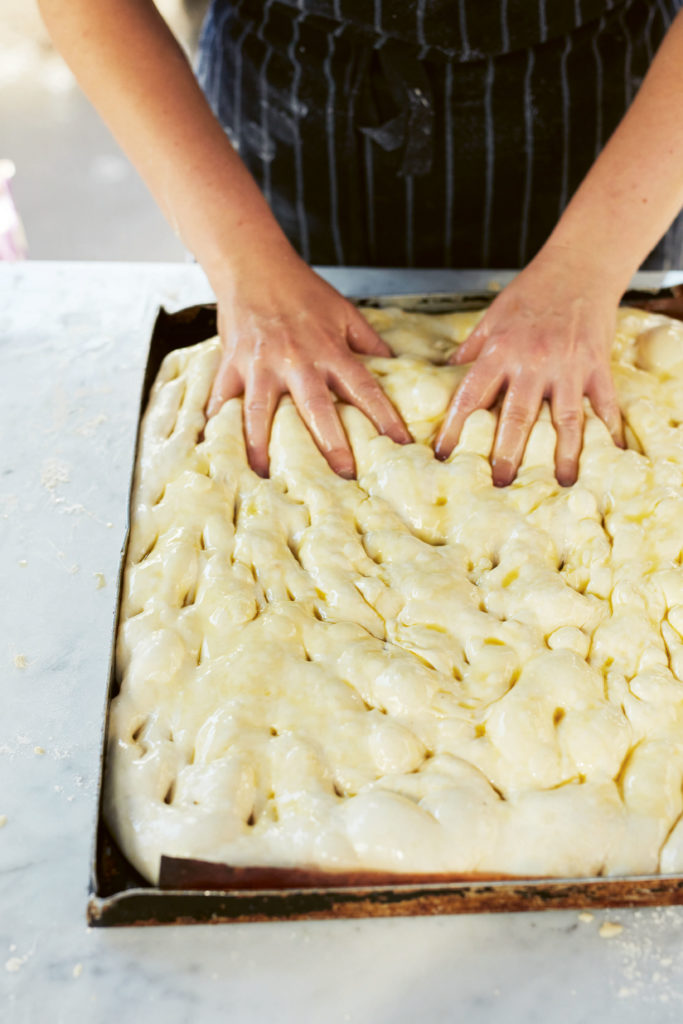
Give it a prod: if it feels like it will let you, gently slide oily hands right underneath and slowly stretch it out, pulling from the central underbelly. Be delicate here: it should feel like a wobbly, airy pillow (if it doesn’t leave it another hour). Ensure you do not tear the dough. It will relax and start to fill the tray. Heat your oven to its hottest setting.
Whisk together 200ml (7fl oz/scant 1 cup) olive oil and 100ml (3 ½ fl oz/scant ½ cup) water until cloudy and immediately pour all over the top of the dough – be super-generous here. Dimple the top of the dough with your fingertips – sharp hard dimples are better than little soft ones so don’t worry if you go right through to the tray or even make a little hole; this will move the bubbles around inside and help get that chewy, open structure we are all looking for. Because it is so oily and bubbly, and nice to touch, it is tempting to over-dimple which can knock the air out, so just prod it enough so the surface is evenly dimpled. Sprinkle with Maldon Salt and bake for 15 minutes or until deep and golden brown. Be super-careful taking this out of the oven as the oil is hot and there will be excess on the tray.
Remove from the tray straight away and leave to cool on a wire rack.
Make the classic whiskey sour with a flowery twist from the infused flavours of lavender and nectarine syrup to give a subtle sweetness to the cocktail…delicious!
Prepare the syrup the day before by mixing the water, sugar, a pinch of Maldon Salt and the cut nectarine in a saucepan. Let it boil for 5 minutes, add the lavender and remove from the heat. Cover and leave to cool.
Mix the ingredients in a liquidiser at full power until the ice has started to crush and a thick foam has formed.
Serve and garnish with a sprig of lavender.
Create the perfect pistachio ice cream, but make it vegan! The buttery, nutty flavour of the humble pistachio really is intensified when combined with the rich, creamy coconut milk as the vegan alternative to the ice cream. Sprinkled with a pinch of Maldon Salt and chocolate cocoa and you’ll want to go for seconds!
Put all the ingredients in a liquidiser and blend at full power until the mixture is a smooth cream with no chunks.
Pour the cream mixture into the cake mould, cover it with baking paper and freeze it for at least 6 hours, preferably overnight.
Chop and toast the pistachios for the topping for a 2-3 minutes. Scrape one side of the chocolate bar with a knife to get chocolate shavings.
If you want, create balls with a special spoon or make quenelles with the help of two soup spoons. Sprinkle each portion with pistachios, chocolate shavings and a pinch of Maldon Salt.
The perfect summer dessert – freshly baked apricots coated with a rosemary, butter glaze. Sprinkle a generous pinch of Maldon Salt to enhance the sweetness of the fresh apricots.
Cut the butter into slices, put it in the liquidiser together with the washed and prepared rosemary. Add the sugar and blend at maximum speed for 2 minutes. Put the mixture into a bowl, let it soften at room temperature. Heat the oven to 160ºC.
Wash the apricots and cut into the top of each apricot. Open up the cut with a knife and insert a portion of butter into each cut. Spread the rest of the butter over the dish.
Put the dish in the oven and bake for 20-30 minutes on indirect heat. Once they begin to brown slightly, take out of the oven and serve with a sprinkle of Maldon Salt. On a hot summer’s day, serve with vanilla ice cream, cream or frozen yogurt.
The native Spanish dish, Patatas Bravas. This recipe shows how you can create spicy potatoes, paired with the spicy flavours of paprika and choricero pepper paste to give an underlying depth of heat.
Peel and chop the garlic and onion and tomato separately.. Heat the oil in a pan and fry the onion for 10 minutes over a low heat with 1 tsp of Maldon Smoked Salt. Add the garlic and tomato and stir and cook for 20 minutes.
Fill a deep bowl with cold water. Peel and cut the potatoes into eighths or chunks measuring about 3 cm. Leave the potato chunks in the cold water and set aside.
Add the choricero pepper paste and paprika to the sauce, stir and leave to cook. Mix the flour into the broth until it has completely dissolved. Add it to the frying pan, stir and leave to cook for 10 minutes. Blend the mixture and leave it to one side, still hot.
Heat the oven to 60ºC, and prepare a flat tray with several layers of absorbent kitchen roll. Heat a deep, narrow pot over medium heat with plenty of oil. Drain the potatoes and make sure they are completely dry—this is important so that the oil does not splash, to avoid burns.
When the oil is very hot, turn up the heat and fry the potatoes in four batches (this is important to make sure they are crispy) for 2-3 minutes until they are slightly golden brown. Check the cooking point before removing them with a skimmer and placing them on the tray with the kitchen roll so they finish draining. Repeat until all the potatoes have been fried. Between each batch of frying, keep the potatoes warm by inserting the tray into the preheated oven. Serve the potatoes with the spicy sauce on top. Add mayonnaise/Aioli on top and Maldon Salt flakes to taste.
These arancini balls are deliciously golden and crispy, filled with a beef and creamy mozzarella centre. This filling is more classic in comparison to our butternut squash and fontina arancini balls, where our meat ‘ragu’ option is one of the best-loved Sicilian snacks and street food across Italy and the world!
The rice is flavoured with saffron in which the balls are then rolled in breadcrumbs before frying them gently in oil. They are traditionally made with caciocavallo cheese, however as this is difficult to source outside of Southern Italy, we use parmesan cheese to give a fruity and nutty taste to the recipe.
These delectable rice balls can either be eaten as an appetizer, or as a meal when paired with a soup or a salad. Make sure to dip your arancini balls with a delicious marinara sauce of Salsa Verde!
Heat 1 tbsp of olive oil and 1 tbsp of butter in a saucepan, toasting the saffron and stirring it with a wooden spoon so that it does not burn.
Add the rice and sauté it for a few minutes, add the broth and Maldon Salt and cook for 10 minutes over a high heat without a lid. Lower the heat, then cook for 5 minutes more.
Cover the saucepan, turn off the heat, and let it stand for 5 minutes. Remove the lid, add 1 tbsp of butter and parmesan cheese, mix and pour over a bowl. Spread it out well with a spatula, cover it with film and leave to cool at room temperature.
Heat the rest of the butter in a pan, sauté the meat over a high heat for 5 minutes, add the white wine and tomato paste, lower the heat, and cook for 15 minutes with a lid. Chop the mozzarella. When the meat is cold, mix it with the mozzarella.
Once the rice has cooled, divide it into 8 portions. Cut a piece of cling film and place it over one hand. Spread a portion of rice over the film and compact it into a ball shape.
Sink your thumb in the centre of the rice ball to make room and add a tablespoon of the filling. Shape the rice back into a ball or cone shape.
Whisk the water with the flour in a bowl until smooth. Put the breadcrumbs on a deep plate, and heat abundant oil in a small frying pan or on a ladle.
First, dip each arancino in the bowl with the batter. Drain it a little and roll it through the breadcrumbs until it is completely covered. Fry the arancini two at a time until they are golden. Remove them from the heat with a skimmer and leave them to drain on the tray with absorbent kitchen roll. If you are going to serve them hot, put them to one side in an oven preheated to 60ºC while the others are frying. Sprinkle with a pinch of Maldon Salt to finish.
Can you choose different arancini fillings?
A classic arancini is made up using meat, cheese and peas, however there are many filling variations to choose from!
Arancini al pistachio is a very traditionally-loved across Italy, where the rice balls are stuffed with a beautiful pistachio béchamel sauce. The pistachios are usually grown near Mount Etna, where this variety is considered to be made from.
Continuing with the theme of vegetarian-friendly options, you could also try our butternut squash and fontina arancini balls. The butternut squash gives a beautiful, nutty and earthy feel to the rice balls, with the addition of fontina cheese to give a gentle sweetness.
If you are a big cheese lover, why not try a Neapolitan Arancini, where the only filling consists of cheese! You only need arborio rice and pecorino cheese, which is a hard cheese perfect for grating!
Do you have a sweet tooth? Well Arancini con cioccolato are traditional italian rice balls filled with chocolate sauce! The filling is usually dark chocolate, vanilla and a pinch of cinnamon.
How to store arancini?
You can keep arancini balls in the fridge for up to 5 days. When you are wanting to consume, please reheat in an oven at 400F/200c for 10 to 15 minutes. This will allow the outer to become crispy again and the centre to become beautifully creamy and melty. You can eat them cold if you like them that way, but we can’t guarantee a showstopping cheese-pull from this!
If you are wanting to freeze these, they can be stored in the freezer for 2 to 3 months. Make sure to freeze them on a baking sheet. When you are wanting to bake from frozen, place them in the oven at 400F/200c for around 15 to 20 minutes.
The tender lamb chops is a great addition to a dinner party, paired with the flavours of parsley and garlic to give an underlying depth of spice to the dish. Sprinkle with Maldon Salt to really enhance the succulent taste of the lamb.
Remove the lamb chops from the fridge, cover them lightly with oil and leave them to rest at room temperature.
Wash, dry and peel the parsley, chop it a finely before placing it on the mortar. Crush it together with Maldon Salt and garlic until it forms a paste. Cover and set aside.
. Heat the grill, greasing the griddle with olive oil. Lightly grease the chops with extra virgin olive oil once the barbecue is hot. Cook them for 4 minutes on each side at 180ºC. Season them with Maldon Salt when they have just cooked and serve them hot with the parsley aioli you made.
Sautéed mussels is simple yet effective dish with the pairings of lemon and garlic to bring out the flavours of the shellfish. By using a generous glug of larger, this will give the recipe a spiced, sweet-bitter taste that will impress your guests.
Heat up the wok with the oil. Peel ½ a lemon and cut it in half. Brown the crushed garlic and lemon peel and turn up the heat.
Squeeze the lemon over the mussels and add them to the wok. Add the lager, stir, cover and leave to cook for 5 minutes.
Drain off the resulting juice from the mussels and drizzle it over mussels. Sprinkle Smoked Maldon Salt on top and serve hot, or at room temperature with slices of bread to mop up the sauce.
The classic Paella, a cult favourite within the Spanish cuisine. Paired with saffron flavoured rice, this dish carries an abundance of flavours, including chicken; Norwegian Lobster, squid, mussels and monkfish.
For the mussels, heat two inches of water in a saucepan over a high heat. When it reaches the boil, add the mussels for a minute, remove from the heat and set aside without opening the lid.
Whilst the mussels are boiling, begin prepping the remainder of the vegetables, chopping them finely. Heat the paella pan, keeping the pan on a medium-high heat in the centre, whilst keeping the sides at a low hear.
Pour 2 tbsp of oil in the centre of the paella pan. Add the head of garlic to the pan.
Brown the Norwegian Lobsters and prawns for 1 minute on either side and remove them.
For the sauté base, move the garlic to the side of the paella pan, add another 1 tbsp of oil and sauté the onion until it starts to turn transparent. Add the green pepper and stir the mixture as it cooks for 5 minutes at a low heat. Add the tomato and stir the mixture together. Add a pinch of sugar and Maldon Salt.
Move the sauté mix to the sides of the paella pan where the heat is lower. Add another tablespoon of oil and fry the chicken for 5-10 minutes and the squid 5 for minutes more (until they are golden). Bring the sauté mix back to the centre of the paella pan, mix everything together and push it back to the sides.
Sauté the green beans and peas for 2 minutes. Bring the sauté mixture back from the sides to the centre and stir everything together.
Add the remaining oil and the rice, stirring with the ingredients for 2 minutes over a high heat. Spread the whole mixture evenly over the paella pan, with the garlic head in the middle.
Add the fish stock. When the water boils, lower the heat to the minimum and leave to simmer for 20 minutes. After 10 minutes, add the diced monkfish to the rice. Open the mussels, keeping only the shell with the mussel meat. Finally, place the prawns, Norwegian Lobsters and mussels on top of the rice.
After 20 minutes, turn off the heat, cover with a clean tea towel and leave to rest for 5 minutes. Serve with eighths of lemon. Finish with a pinch of Maldon Salt.
The infamous French salad tossed in a flavoursome dressing that will impress your guests. Instead of using the typical tuna fish, we have used anchovies to give the dish a balance of umami and saltiness.
Wash and slice the tomatoes, toss them into a salad bowl and season with a pinch of Maldon Salt. Wash and dry the pepper and cucumber. Then, slice the pepper into thin strips, removing the stalk and pips as you go, and chop the cucumber into fine slices. Mix both in with the tomatoes.
Peel and chop the garlic clove and spring onion, add them to the salad bowl and throw in 2 pinches of Maldon Salt, 3-4 pinches of freshly ground pepper, and the vinegar. Mix well together.
Wash and dry the basil, remove the leaves from the stalk, chop them and add them to the salad dressing, along with the olive oil, then pour into the salad bowl.
Before serving, peel the eggs, cut each one into quarters and add to the salad with the anchovies.