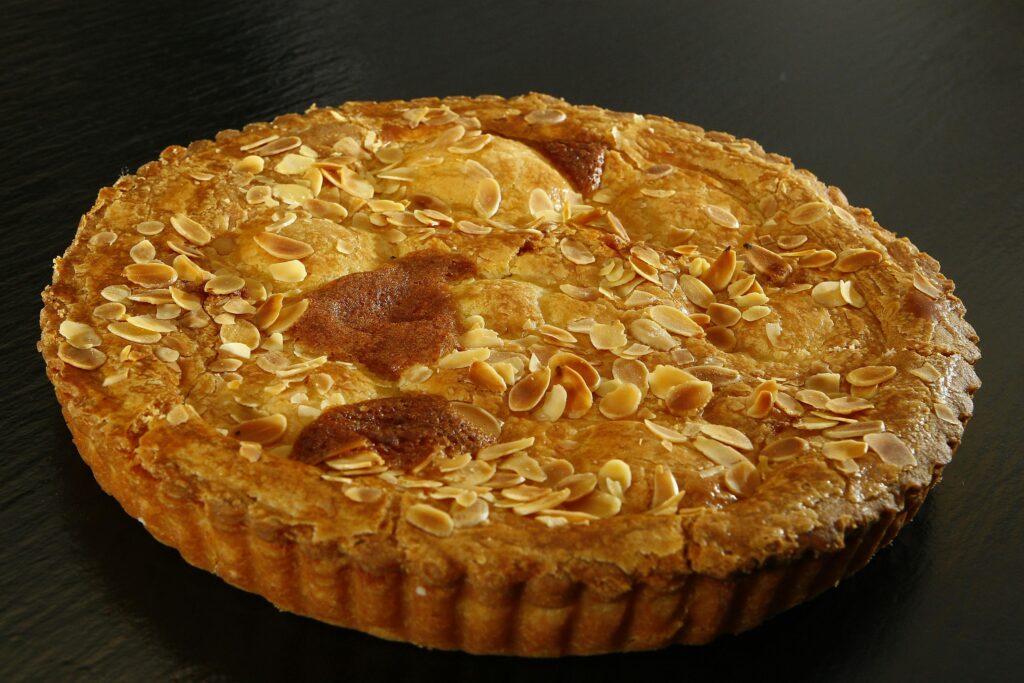
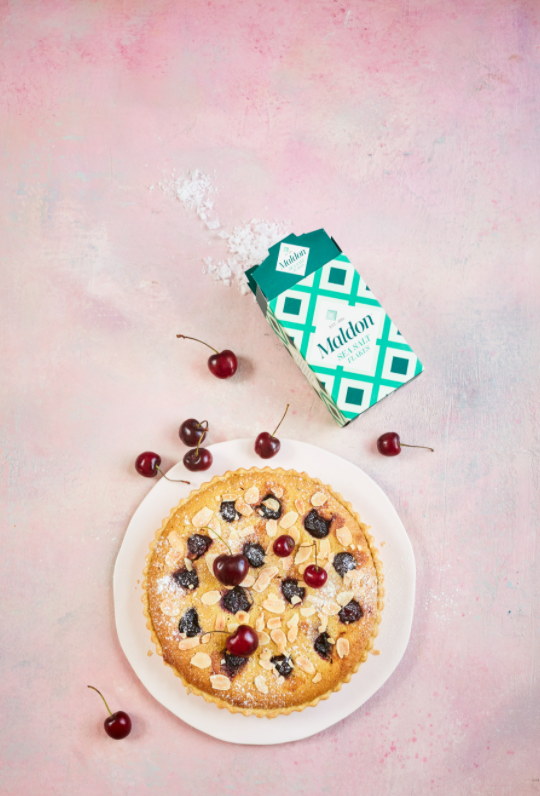
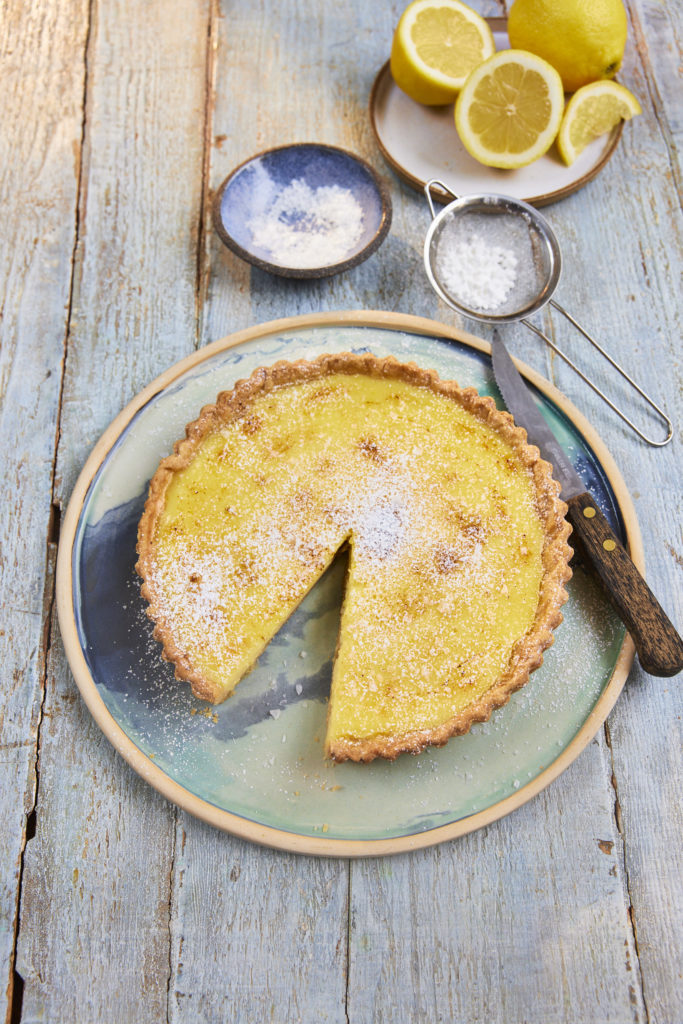
Indulge in the rich, comforting flavours of a spiced apple frangipane tart, where the warm, nutty essence of almond meal meets the crisp sweetness of Granny Smith apples. This elegant apple tart is elevated with the subtle smokiness of Maldon Smoked Sea Salt, adding a sophisticated twist to the classic dessert. Each bite of this tart reveals layers of flavour, from the buttery crust to the spiced apples on top, dusted with a delicate sprinkle of powdered sugar.
What is frangipane?
Frangipane is usually made as a filling for tarts, comprising of finely ground almonds, butter, sugar and eggs. You can also add a drop of almond extract in the mixture if you like a more intense almond flavour. Once you have made the frangipane, you can then spread it evenly across a blind-baked tart shell, creating a delicious, creamy mixture once baked.
Frangipane vs marzipan
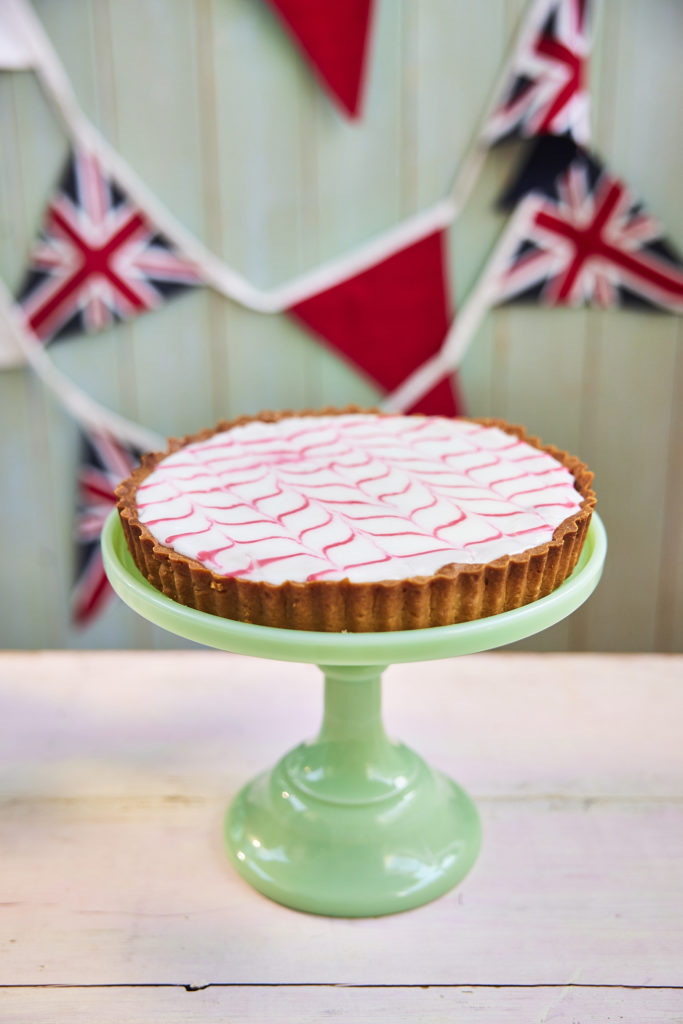
Although both frangipane and marzipan’s main ingredient is almond meal, marzipan does not include butter, whereas frangipane does! Because of this, the main difference between frangipane and marzipan is the texture. Frangipane is very rich and used as a cream-based filling for tarts. In contrast, marzipan is more of a thick paste, used for decorating cakes and cupcakes. Our delicious orange and pistachio Battenberg cake uses marzipan to protect the soft, fluffy interior of the cake.
As a result, you can’t substitute one from the other, as they consist of different components and have different purposes in baking. However, if you’re running out of time, bakers tend to use almond paste instead of marzipan for a quicker solution when decorating.
Frangipane tart recipe
To make a classic frangipane tart, start by preparing the frangipane filling. Cream together room-temperature butter and sugar until light and fluffy, then add an egg yolks and a touch of almond extract for extra flavour (optional). Gradually fold in the finely ground almonds or almond meal to create a smooth mixture. Pour the frangipane filling into a blind-baked tart shell, ensuring it spreads evenly across the base.
If you are wanting to add fruit to your tart, we recommend lemons, apples or cherries. If opting for apples, you need to make sure your chosen apples (preferably Granny Smiths), are thinly sliced. Arrange the apples slices in a decorative pattern on top of the frangipane . Bake the tart is a preheated oven at 350°F (180°C) for about 30-45 minutes, or until the filling is set and the apples are golden. Once cooled, dust the tart with powdered sugar for a final touch. You can serve warm or at room temperature to enjoy the perfect balance of sweet almond filling and tart apples.
How to make a spiced apple frangipane tart
Start by making the pastry. In a food processor add the plain flour and icing sugar. Then add the cold, cubed butter and pulse until it resembles fine breadcrumbs. Next add the egg yolk and cold water. Pulse again until the pastry starts to come together. If it looks a little dry, add a splash more water.
Bring the pastry together with your hands and tip out of the food processor. Knead very gently and then wrap in clingfilm in a flat disc shape and put into the fridge to chill for 30 mins.
After 30 mins, remove the pastry from the fridge and the roll it out on a lightly floured work surface. Roll a large circle around 2cm in thickness and the use your rolling pin to lift the pastry and drape over a 23cm fluted tart tin. Gently press in the corners and up the sides, leaving some overhang at the top. Use a fork to lightly prick the base of the tart. Then place this back into the fridge for another 30 mins.
Preheat the oven to 180c.
After 30 minutes, remove the chilled pastry case from the fridge. Scrunch up some baking paper and then line the pastry with this and some baking beans. Place into the preheated oven to blind bake. Bake it for 15 minutes, then remove the beans and paper and return to the oven for an additional 5 minutes until the pastry feels chalky and lightly golden in colour. Remove from the oven and allow to cool slightly
While the pastry is blind baking, make the frangipane. Using an electric hand whisk, place the softened butter, sugar and pinch of Maldon Smoked Sea Salt in a large bowl and whisk together for 2 – 3 minutes until pale and fluffy. Then add the eggs, yolks, and vanilla and whisk again. Finally add the cinnamon, nutmeg, ground almonds and flour and whisk until combined.
When the pastry case has cooled slightly, take a small, serrated knife and carefully trim off the excess pastry so you have a nice smooth line around the top. Dust off any pastry remains.
Spoon the frangipane filling into the pastry case and smooth out with a palette knife. Then arrange the apple slices on the top and lightly press into the filling.
Place the tart back into the oven for around 40 – 45 minutes until the apples are golden and the frangipane is puffed up and golden brown too.
Remove from the oven and allow to cool before dusting with icing sugar and serving.
Can you freeze frangipane?
Once you have made your frangipane, you can store in the fridge for up to 5 days, or frozen for up to 1 month in the freezer. Make sure you thaw the frangipane overnight in a fridge before using it in your bakes. When you are storing leftover frangipane, make sure it’s covered with clingfilm to prevent freezer burn.
Pisco Sour origin
The Pisco Sour is a classic South American cocktails, known for it’s refreshing balance of citrus, sweetness, and the distinctive aroma of pisco. Pisco is a spirit made from fermented grape juice. Originating in the early 20th century, it’s believed that the cocktail was popularized by American bartender Victor Morris, created within his very own bar, Morris Bar, in Lima, Peru.
The Pisco Sour combines pisco – whether Peruvian or Chilean – with fresh lime juice, simple syrup, and egg white. The egg white creates a frothy, smooth texture at the top of the cocktail. This beverage is typically garnished with a dash of Angostura bitters, adding a subtle spice to it’s otherwise tart and tangy profile.
What is Pisco?
Pisco, the main ingredient of the Pisco Sour, is distilled from aromatic grape varieties, with Peruvian pisco traditionally being unaged and produced in a pure form, like Pisco Acholado or Mosto Verde, and Chilean pisco often aged in wood.
The variety of pisco used can significantly influencer the cocktail’s flavour, with brands like Macchu Pisco and Campo de Encanto offering diverse expressions. The Pisco Sour is a classic that’s intertwined with South American culture, rivalling other sour/bitter cocktails such as the Whiskey Sour.
Here’s how to make a clementine Pisco Sour
Place the sugar syrup in a cocktail shaker along with the lemon juice, pisco, Maldon Sea Salt, egg white and clementine juice. Add some ice to the cocktail shaker, close firmly and shake well for 30 seconds.
Strain this into your martini or nick & nora glass.
Garnish with a wheel of clementine, a sprig of rosemary and some pomegranate seeds, if you like.
Can you freeze a Pisco Sour?
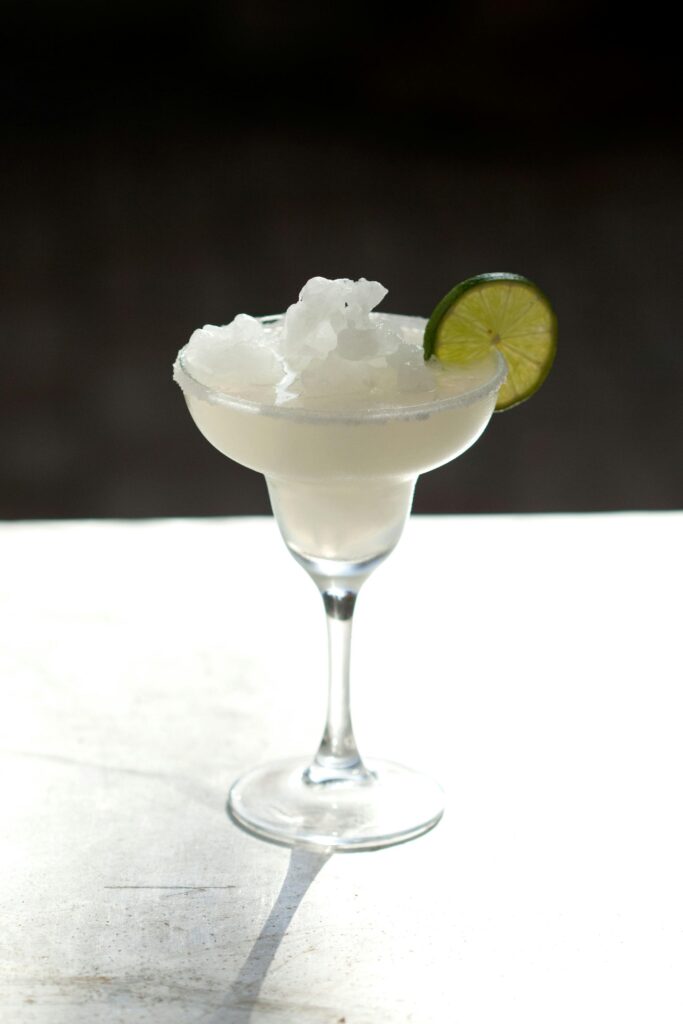
Today we see many variations of the Pisco Sour, such as the Frozen Pisco Sour, which is equally delicious!
An excellent recipe, created by A Beautiful Mess, demonstrates just how easy it is to transform a classic pisco sour to a frozen Pisco sour.
Serves: 1
Ingredients:
1 1/2 oz Pisco
2 tbsp sugar
Juice from one lime (roughly 3/4 oz.)
Zest from one lime
1 egg white
1 to 1 1/2 cups of ice
A pinch of Maldon Sea Salt, to elevate the sweetness
Method:
In a blender, combine the sugar, lime juice, lime zest and Maldon Sea Salt flakes. Blend until the sugar dissolves.
Add the pisco, egg white, and ice. Blend until combines and very frothy.
Pour into a glass and enjoy!
Tag us in your creations!
Make sure you have your Maldon Salt ready when making your pisco sours! If you are running out, please feel free to browse on our Where to Buy Page to find your nearest store in which stocks our beloved Maldon Salt.
Lastly, we LOVE seeing your creations – please tag us on Instagram using the #maldonsalt so we can share your own take on the recipes!
Half fill a pan with water and add the vanilla pod, cinnamon stick, star anise, caster sugar and orange peel. Bring up to the boil and allow the sugar to dissolve before lowering the heat and adding the pears. Simmer gently for 15 minutes until the pear is tender. Remove from the heat and leave the pears to cool in the poaching liquid.
To make the salted caramel sauce start by melting the sugar in a pan. Gently melt in the pan and swirl around but avoid vigorous stirring until the sugar has completely dissolved and it has gone a deep golden-brown colour. Then immediately take off the heat and add the butter and half of the cream – it will bubble a lot – whisk this in before adding the remaining cream and a generous pinch of Maldon Sea Salt, whisking to a smooth caramel sauce.
Serve the pears with some crème fraiche, the salted caramel sauce and some toasted almonds.
With a brush, begin ‘painting’ the wine glass on the side with sugar syrup. Sprinkle Maldon Sea Salt over the sugar syrup.
Fill wine glass with cubed ice.
Build drink in order of ingredients.
Briefly stir to mix ingredients.
Sip slowly and enjoy!
Rim the small rocks glass with a lime wedge and dip it in the Maldon Chilli Sea Salt.
Add the ingredients to the cocktail shaker in the order listed.
Add cubed ice to shaker and the rock glass.
Strain cocktail into glass.
Sip slowly and enjoy!
Take the rock glass and fill with cubed ice.
Build drink in glass in the same order as the ingredients listed.
Stir briefly.
Take a chocolate shard and sprinkle with Maldon Smoked Sea Salt.
Add chocolate shard on the edge of the glass.
Sip slowly and enjoy!
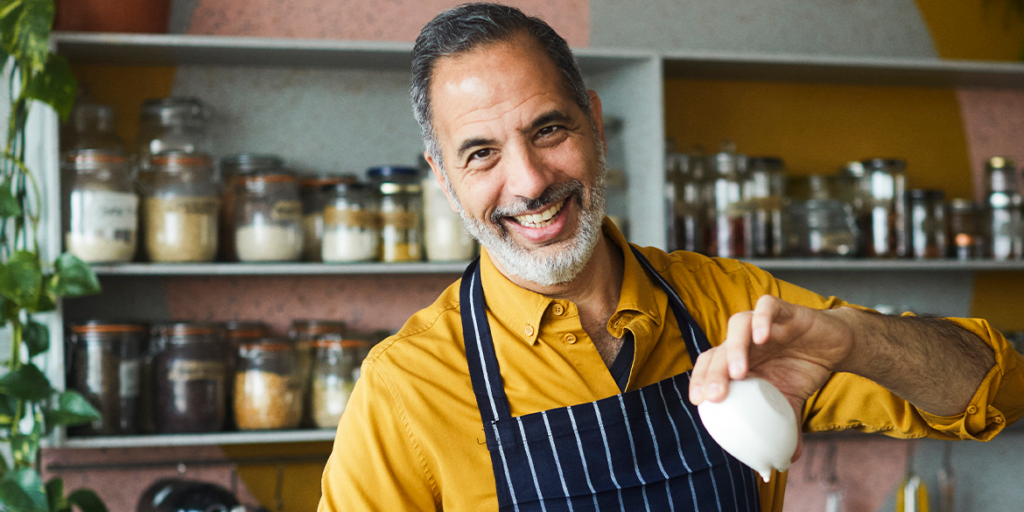
Yotam Ottolenghi returns with Ottolenghi COMFORT, his much-anticipated new book that brings warmth, nostalgia and bold flavours to the heart of comfort cooking. Known for his vibrant, flavour-forward approach, Ottolenghi reimagines classic dishes with a twist, offering over 100 irresistible recipes that evoke a sense of home. Each dish is a celebration of the connections food fosters, whether through family traditions, childhood memories, or the influencer of travels near and far.
In Ottolenghi COMFORT, Yotam blends his rich culinary heritage with modern inspiration, weaving together personal stories and the joy of sharing food with loved ones. As the chef-patron of seven Ottolenghi delis and renowned restaurants NOPI and ROVI, Yotam has spent years honouring his craft, creating recipes that resonate with cooks around the world.
This new collection is not just about food – it’s about the experiences and memories we pass down from generation to generation. With eight bestselling cookbooks to his name and over thirteen years as a columnist for The Guardian, Ottolenghi continues to inspire with recipes that celebrate the essence of home.
In Conversation with Yotam Ottolenghi…
Yotam, we’re BIG fans of your latest cookbook, Ottolenghi COMFORT. You focus on the theme of comfort cooking – how did your own experiences and memories shape the recipes in this book?
My own experiences and memories definitely shaped a lot of this book, as well as those of my fellow co-authors, Helen, Verena and Tara. Between us, there is a fair bit of global ground. Helen’s stretches from China to Malaysia to Melbourne to West London. Verena’s takes in Germany and Scotland, to New York. Tara was born in Khartoum, grew up in London, spent a year eating tapas in Barcelona and three years in Sarajevo, And for me, my parents are Italian and German, and then I’ve lived in Jerusalem, Amsterdam and now of course London. We always knew we wanted to do something ‘cosy’: about the food we eat at home. Before it was ‘COMFORT’ – we tried out ‘HOME’ and ‘FAMILY’. COMFORT manages to be about both these things but it’s somehow universal in a way that’s unique.
Food is deeply connected to memory and family traditions. Is there one recipe in particular in Ottolenghi COMFORT that reminds you of your childhood?
The chicken meatballs with potatoes and lemon is one recipe that really stands out from my childhood. It’s a recipe that takes me back to my home and reminds me of my both parents, who both cooked a lot when I was growing up. Meatballs were always there, one way or another.
As someone with such a busy career in restaurants and writing, how do you personally define “comfort” when it comes to your own cooking and eating habits?
Comfort not only means different things to different people; it means different things to the same person, depending on the season, the setting, the reason for a meal. It’s about the time of year, the season, the company. To me, comfort food now is quick and something my kids will love too! My go to is a quick toastie toasties that I fry in a pan, with whatever cheese is around, plus a pickle or ferment. Cheddar and feta, for example, with sliced gherkin, or comte with kimchi. A good smear of butter, mayo or mustard (or all of them) as well.
How has your approach to cooking evolved over the years, and how is that reflected in Ottolenghi COMFORT compared to your earlier books?
Spending time with my family is the most important thing to me, so when I’m cooking at home, I want something that is of course always delicious, but gives me time to spend with them. I think Ottolenghi COMFORT shows this – the recipes are maybe a little simpler, can easily be done, and rely on a lot of ingredients that you will already have lying around or can be used across lots of the recipes in the book.
What does a typical day in the life look like for you, Yotam?
A typical day is still quite varied, but often starts with a proper breakfast at home and the school run. I then will head into the Test Kitchen in Holloway and I love to see all the creativity and ideas that all the chefs have there. I often taste some of the recipes being developed, and we work through little changes and adaptions to really make a dish an Ottolenghi dish. Sometimes I will do some filming at the kitchen, other days I might have some writing to do for my columns in the Guardian or the New York Times, and then other days I visit a deli or restaurant. I love to see what customers are choosing and what is really resonating with people eating with us on a daily basis. At the end of the day, I get home and make some dinner for us all. It’s really important to me to be able to sit down as a family and have dinner, like I did as a child with my family.
Do you have a favourite cookbook that you’re reading at the moment?
I really am loving SIFT by Nicola Lamb at the moment. I started out as a pastry chef and my inner pastry buff couldn’t help but tuck in. It is the ultimate baking guide, but Nicola really makes it so accessible. The first half of the book dives into the theory and science of baking, breaking down complex ideas into easy-to-understand diagrams. The second half is a treasure chest of recipes. It has without doubt made my 2024 all the more delicious!
Name three things in the kitchen you can’t live without!
I am loving dukkah at the moment – it is a seed and nut mix from Egypt. Everyone has their own spin — the one I like to make has a gentle smokiness, a touch of citrus and a satisfying crunch. It’s the perfect go-to finishing touch.
For my toasties, I always have to have some cheese lying around that I can turn to when in need.
And then finally, always having some kimchi in the fridge. Again, just perfect to add to so many things to give it a little more flavour – rice, toasties, stews, pancakes, sometimes just out the jar!
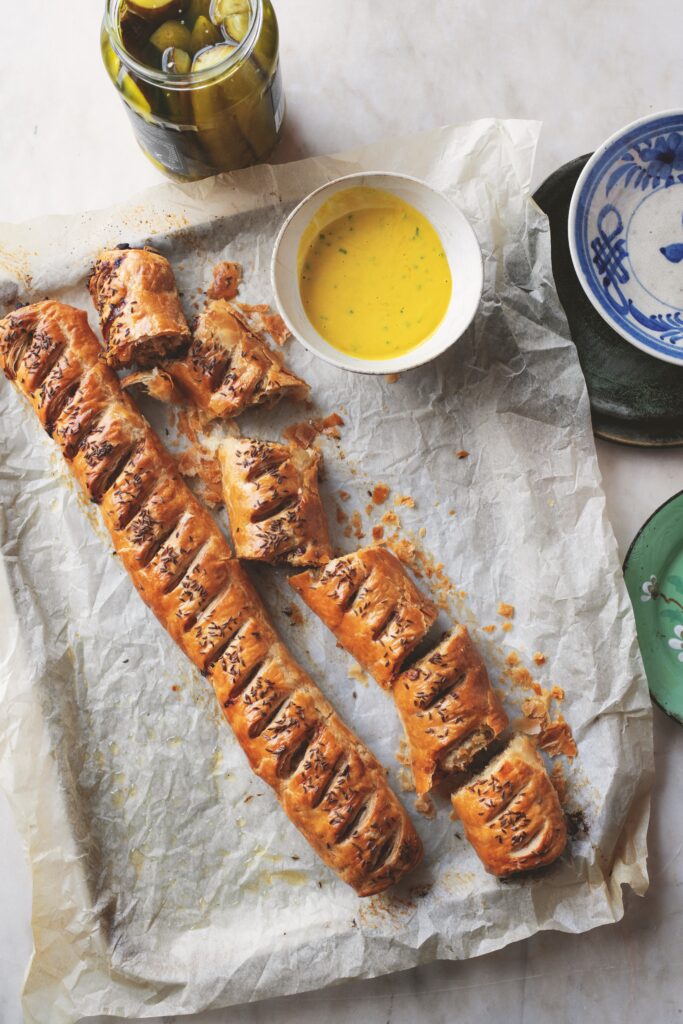
German-Style Sausage Roll Recipe
If you want to spot a ‘Verena recipe’, the inclusion of butter and pastry are often clues, as is the use of mustard. These are no exception: inspired by everything she associates with German sausages – the spices in bratwurst, for example, the mustard dipping sauce, the pretzels – and a celebration of all the wonderful things that can be wrapped up in all-butter puff pastry.
Getting ahead: These can be made a day ahead of baking and kept in the fridge (or further ahead, if baking from frozen).
Serves: 6 people
Ingredients:
¼ tsp white peppercorns
¼ tsp black peppercorns
1 tsp coriander seeds
2 tsp caraway seeds
1¼ tsp dried marjoram (or thyme)
¾ tsp ground ginger
1 tsp ground mace (or nutmeg)
½ tsp English mustard powder 50g salted pretzels, roughly crushed
60ml milk
1 egg, beaten, ½ tablespoon reserved for brushing
1 tbsp olive oil
30g unsalted butter
2 onions, chopped into roughly 1cm dice (325g)
2 tsp dark soft brown sugar
350g good-quality pork sausage meat (or start with pork sausages, and remove the casing)
15g chives, finely chopped
1 pack of ready-rolled all-butter puff pastry (320g)
flour, for dusting
Maldon Sea Salt flakes
Honey mustard dipping sauce:
3 tbsp yellow mustard (we like French’s)
1½ tbsp mayonnaise
1 tbsp runny honey
15g chives, finely chopped
Method:
Put the peppercorns, coriander seeds and 1 teaspoon of the caraway seeds into a medium sauté pan and place on a medium-high heat. Cook for 1 minute, until fragrant, then transfer to a spice grinder (or a pestle and mortar). Blitz to form a semi-fine powder, then add the remaining spices, along with the mustard powder and ¾ teaspoon of Maldon Sea Salt. Set aside.
Combine the pretzels, milk and egg in a bowl and set aside to soften.
Add the oil and butter to the same sauté pan and place on a medium-high heat. Add the onions, along with ¼ teaspoon of Maldon Sea Salt, and cook for 15 minutes, stirring often, until softened and starting to caramelise. Add the sugar and cook for another 5 minutes, stirring a few times, until fully caramelised. Set aside to cool.
Add the sausage meat to the bowl containing the pretzel mixture, along with the chives, spices and cooked onions. Mix well to combine.
Mix together all the ingredients for the dipping sauce and set aside. Preheat the oven to 200°C fan.
Unroll the puff pastry and place on a lightly floured work surface. Slice it in half, lengthways, to form two long, wide strips, about 11½cm x 38cm. Arrange half the sausage meat in a long log shape down the middle of one of the pastry strips, then lift one edge of the pastry over the meat. Brush the remaining free edge with some of the reserved egg, then lift and slightly pull it up and over the pastry, overlapping a little to ensure that it sticks. Repeat with the remaining pastry and sausage meat, then roll each log over so that the seams are both underneath. Brush all over with egg wash, sprinkle with the remaining teaspoon of caraway seeds, then lightly score the top of each log, each cut about 2cm apart. Arrange the logs on a large parchment-lined baking tray and bake for 32–35 minutes, rotating the tray halfway through, until golden brown.
Remove from the oven and leave to cool for 15 minutes before cutting into 12 portions. Serve warm, or at room temperature, with the dipping sauce alongside.
Where to buy ‘Ottolenghi COMFORT’?
You can find where to purchase Yotam’s NEW cookbook here and start being creative with food and flavours in the comfort of your kitchen.
Make sure you have your Maldon Salt ready for these recipes! If you are running out, please feel free to browse on our Where to Buy Page to find your nearest store in which stocks our beloved Maldon Salt.
Lastly, we LOVE seeing your creations – please tag us on Instagram using the #maldonsalt so we can share your own take on Yotam’s recipes!
In a cocktail shaker combine all ingredients and stir the mixture thoroughly to ensure all ingredients are well-blended.
Transfer the mix into a soda stream bottle, filling it only one-third full to avoid excessive pressure build-up
Ensure the liquid is very cold before carbonating (refrigerate for several hours or use an ice bath).
Use the soda stream to carbonate the mixture, as per your machine’s instructions.
Pour 125 ml of the carbonated Pyramid Paloma mix into a coupe glass.
Float a fresh basil leaf on top of the drink.
Sprinkle Maldon Garlic Sea Salt onto the basil leaf for a salty and aromatic garnish.
To prepare the verdita: In a blender, mix fresh pineapple juice, ginger juice, simple syrup, and Bittermens Xocolatl Mole, and blend until smooth.
Add mint leaves and coriander, then blend.
Strain to remove any pulp.
Take a rocks glass and run a lime wedge along the rim.
Dip the rim into Maldon Chilli Sea Salt and coat it evenly.
In a cocktail shaker, add 50 ml of gin, 50 ml verdita, 25 ml fresh lime juice and a dash of chili bitters (optional).
Add ice cubes and shake vigorously.
Strain the mixture into the prepared rocks glass filled with cubed ice.
Preheat the oven 160C.
Peel the pears and slice them, add them to add with 1/2 tsp turmeric and 1 tsp lemon juice, mix and keep aside.
In another bowl add the blueberries, rest of the lemon juice and 2 tsp of caster sugar, mix and keep aside.
Rub the butter all over the tin, place the baking sheet into the bottom of the tin.
In a bowl add the butter, sugar and vanilla extract, cream them until smooth. Add eggs and whisk again until it creamy. Add ricotta and half teaspoon of Maldon Sea Salt and combine it well. Sieve flour, baking powder and fennel powder into the batter, mix it well with the hand blender.
Once the mixture come together, add the blueberries and mix it until the batter is all combined.
Pour the mixture into the tin, then layer the top of the batter with pears coated in turmeric into a round circle covering the batter. Sprinkle with demerara sugar, put in the oven and cook for 55minutes in the oven on 170C. Switch the oven and leave the cake to rest for 10 minutes in the oven. Remove after 10 minutes, sprinkle rest of the Maldon Sea Salt over the baked cake while it is still warm.