Hake has a good sturdy texture that is great as a burger – think of these as giant fish fingers in a bun – but you could use any chunky white fish here. They are best cooked in a pan over the fire as you want a good amount of oil to get the all-important crispy bread crumbs. Genevieve Taylor loves membrillo, a tart sticky paste made from slow-cooked quinces. Normally served alongside cheese, here it adds a sweet and sour note to the chutney. It’s pretty easy to find these days, definitely online, or make friends with someone who has a quince tree, as they are likely to have a tonne of the stuff.
Here is how to make the hake burgers…
For the chutney, set a small saucepan on the hob over a medium heat and pour in the olive oil. Add the tomatoes, garlic and chilli flakes, if using, and cook for a few minutes until the tomatoes have collapsed. Add the membrillo and sherry vinegar and season with a little salt and pepper. Cook for another few minutes, stirring until the membrillo has dissolved, then remove from the heat, scoop into a bowl and set aside to cool.
When you are ready to cook, fire up the barbecue ready for direct grilling. Tip the breadcrumbs into a bowl and stir through the smoked paprika and a generous grind of salt and pepper. Crack the egg into another bowl and lightly beat with a fork. Add the flour to a third bowl. Toss the fillets about in the flour to coat all over, then dip into the egg until evenly covered. Add to the bowl of breadcrumbs and flip over a couple of times so each one is evenly coated in crumbs. Line up on a plate. If your hands get unbearably messy, stop, wash and begin again.
Drizzle a little olive oil over the aubergine slices and season with Maldon Sea Salt and pepper. Set on the grill bars over the fire and grill until lightly charred all over. Slide away from the fire so they keep warm and set a flameproof frying pan over the fire to heat up. Pour in a good amount of olive oil so it coats the pan by a couple of millimetres. Once the oil is hot, add the crumbed fish and fry for a couple of minutes on each side until crisp and golden. Use a temperature probe to test the fish for doneness – it should be 60°C (140°F)deep in the centre. Slide the pan off the heat a little if the crumbs are colouring too quickly so the fish can finish cooking. Once the fish is done, split the buns open and toast briefly on the cut side. To serve, add a little rocket to the base of each bun, then add the fish and a couple of slices of aubergine.
Finish with a dollop of the chutney, top with the bun lid and tuck in.
Purchase ‘SCORCHED’ by Genevieve Taylor
Live-fire expert Genevieve Taylor covers everything you’ll ever need to know about buying and cooking all kinds of fish in her third cookbook: Scorched. From cooking whole dish, fillets, shellfish to burgers and skewers, this is the ultimate guide to barbecuing fish!
You can purchase your very own copy here, where you can become inspired with over 85 recipes and gain insight on how to set up your barbecue, sourcing your fuel and lighting your fire.
These ridiculously easy and very tasty skewers take just a couple of minutes to cook, so plan on making them as part of a bigger spread to get the most out of your good fuel. They make a lovely little nibble while you’re cooking your main course. It can be a little tricky to source, but you could also make these using morcilla, a delicious Spanish black pudding, if you can find some.
Here is how to make the skewers…
Fire up the barbecue ready for hot direct grilling but, as usual, leaving a fire-free zone on your grill so you can slide the skewers further from the heat. Use a small sharp knife to separate the orangey-pink coral from the scallop and drop both into a bowl. Add the chorizo, sage, garlic and olive oil. Season generously with salt and pepper and stir well to coat.
Starting and ending with chorizo (the more solid texture of which will hold everything else in place), alternately thread the can chill in the fridge for 30–60 minutes, if you like. When you are ready to cook, rest the skewers directly over the fire, either hung between two bricks, or onto hot clean grill bars. Grill for just a minute or so on each side until lightly caramelized. The fat from the chorizo will cause the fire to flare a little so if it’s all getting a bit much, slide a little further away from the fire.
Squeeze over some lemon juice and tuck in while sizzling hot.
Purchase ‘SCORCHED’ by Genevieve Taylor
Live-fire expert Genevieve Taylor covers everything you’ll ever need to know about buying and cooking all kinds of fish in her third cookbook: Scorched. From cooking whole dish, fillets, shellfish to burgers and skewers, this is the ultimate guide to barbecuing fish!
You can purchase your very own copy here, where you can become inspired with over 85 recipes and gain insight on how to set up your barbecue, sourcing your fuel and lighting your fire.
Much as Genevieve Taylor loves fish and meat proteins, she adores pulses and try to eat them several times a week. Cheap and cheerful, a bowlful of beans is an excellent way of making your fish go a little further. Fresh oregano is one of her favourite herbs, giving a slightly floral note to this pesto-style dressing.
Here is how to make the recipe
As is usual, a few hours before you want to cook, lay the mackerel fillets skin-side up on a rack over a tray and slide into the fridge to dry the skin and minimize sticking.
For the pesto, pour a good 4 tablespoons of the olive oil into a bowl and stir through the chopped oregano and garlic, the lemon zest and juice. Season to taste with Maldon Sea Salt and pepper and a good pinch of sugar. Spoon out a tablespoon or so into a separate small bowl ready to baste the fish, then set both bowls a side.
When you are ready to cook, fire up the barbecue ready for direct grilling but leaving an area coal-free so you have room to manoeuvre if things are getting hot. Set a grill tray or cage over the fire to heat up.
Once the fire has a little heat in it, start on the beans. Set a flame proof pan over the fire (it’s fine to rest the pan on the grill tray so you can heat two things at once!) and pour in the olive oil. Add the tomatoes and garlic and fry for a few minutes, just until the tomatoes are softening. Add the beans and cinnamon, then season to taste with the sugar and salt and pepper. Bring up to a simmer and cook for a few minutes. Take the pan off the heat and cover with a lid or foil to keep warm – they are more flavourful eaten warm rather than hot, so don’t worry too much about them cooling a little.
Remove the mackerel from the fridge and drizzle the remaining tablespoon of oil all over the skin side, spreading it out into a thin, even layer. Sprinkle generously with Maldon Sea Salt flakes and take to the grill along with the smaller bowl of pesto and a silicone brush.
Lay the fillets, skin-side down, on the hot grill tray and rest a lightly oiled weight on top to press the fillets flat, keeping the skin in maximum contact with the hot surface. After a couple of minutes, the weight will have done its job so remove it, then brush the oregano pesto over the flesh side of the fish. Cook for another couple of minutes until the skin is crisp. Use a fish slice to tease the fillets from the grill tray and rest on top of the beans. Drizzle over the rest of the pesto and tuck in.
Purchase ‘SCORCHED’ by Genevieve Taylor
Live-fire expert Genevieve Taylor covers everything you’ll ever need to know about buying and cooking all kinds of fish in her third cookbook: Scorched. From cooking whole dish, fillets, shellfish to burgers and skewers, this is the ultimate guide to barbecuing fish!
You can purchase your very own copy here, where you can become inspired with over 85 recipes and gain insight on how to set up your barbecue, sourcing your fuel and lighting your fire.
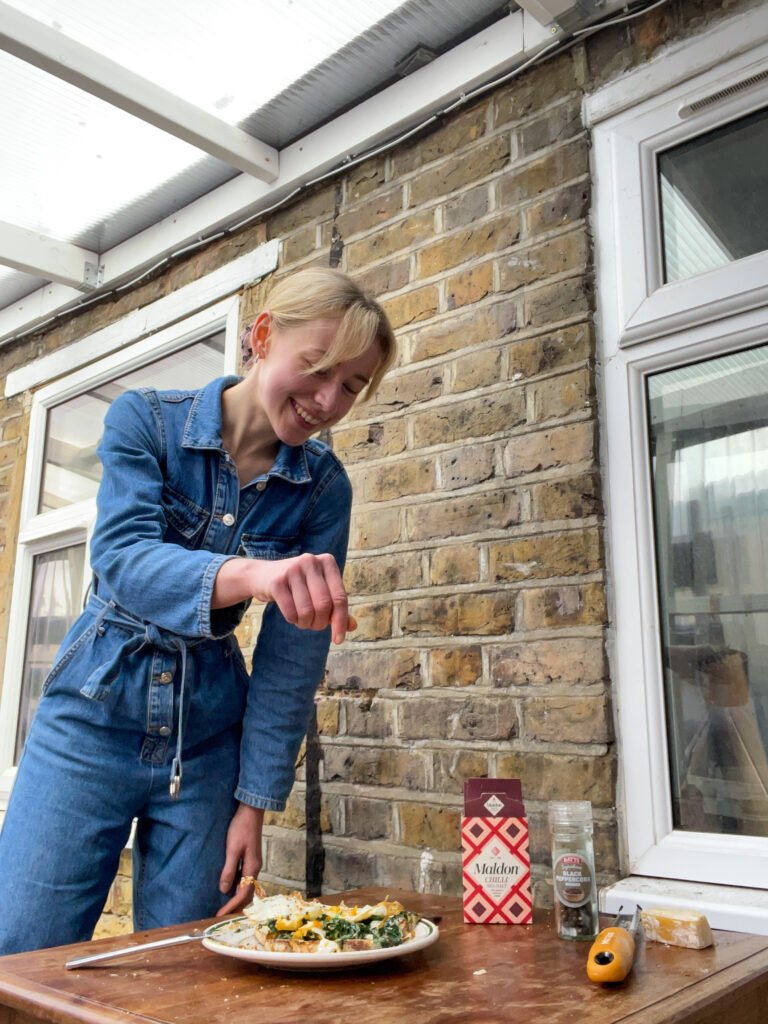
A fried egg really does hit the spot. Here, we have them jazzed up a little on a bed of creamy spinach with a kick of Maldon Chilli Sea Salt, providing both the perfect pinch of seasoning and kick (not to mention the beauty of those crystals with flecks of chilli flake beauty!)
This is a simpler and lighter version to a classic “creamed spinach”, but it still hits that same comfort need for a very delicious brunch.
Here is how to make creamed spinach with chilli fried egg on toast
Heat 2 tablespoons of the olive in a large pan over a low-medium heat. Add the garlic and cook for 2-3 minutes, stirring often, until and fragrant and lightly toasted.
Add the spinach with a splash of water and allow to wilt down for roughly 5 mins, stirring often (you may need to do this in batches). Then, add the Greek yogurt, pinch of salt and parmesan and stir to combine. Allow this to simmer while you fry the eggs
Meanwhile, add the remaining tablespoon of oil to a frying pan over a medium-high heat. Turn the heat down to low then crack in the eggs, sprinkle with a pinch of Maldon Chilli Sea Salt and cook for 3 minutes.
Toast your bread. Spoon over the creamy spinach, top with a fried egg and finish with extra parmesan, if you fancy.
Kitty wrote this recipe a long time ago, and it comes out a lot for birthdays and dinners because it’s pretty foolproof. You can easily swap round the types of sugar and use more caster (superfine) sugar than light brown soft sugar if that’s what you have, or use all one type.
How to make flourless chocolate cake
Preheat the oven to 170°C fan (375°F). Grease and line a 23 cm (9 inch) cake tin (pan) with baking parchment.
Combine the chocolate and butter in a heatproof bowl set over a saucepan containing 4 cm (1½ inches) of barely simmering water. Make sure the bowl isn’t touching the water. Stir until just melted, then remove from the heat and allow to cool slightly.
Once cooled a little, whisk in the light brown soft sugar, then the egg yolks one at a time, followed by the ground almonds and salt. If the chocolate splits, don’t worry! Stir in 1 teaspoon boiling water at a time until you have a smooth, silky mixture.
Using a stand mixer or hand-held electric whisk, whisk the egg whites until they form stiff peaks, then gradually add the caster sugar, whisking until the egg whites form soft peaks, like a very light meringue.
Very carefully fold the meringue mixture into the chocolate, working delicately with a spatula or metal spoon until it’s all evenly combined.
Carefully pour the mixture into the prepared tin, making sure not to knock out the air. Sprinkle over a little more flaky salt, then bake in the oven for 20–25 minutes. The middle should be a little gooey and the surface a bit cracked.
For the tahini cream, lightly whisk the cream in a large bowl until you have very light peaks. Stir in the tahini and give a few more whisks. Set aside while the cake bakes.
Remove the cake from the oven and allow to cool. It’ll dip a little when it cools. Slice and serve with a dollop of the tahini cream and fresh berries, if using.
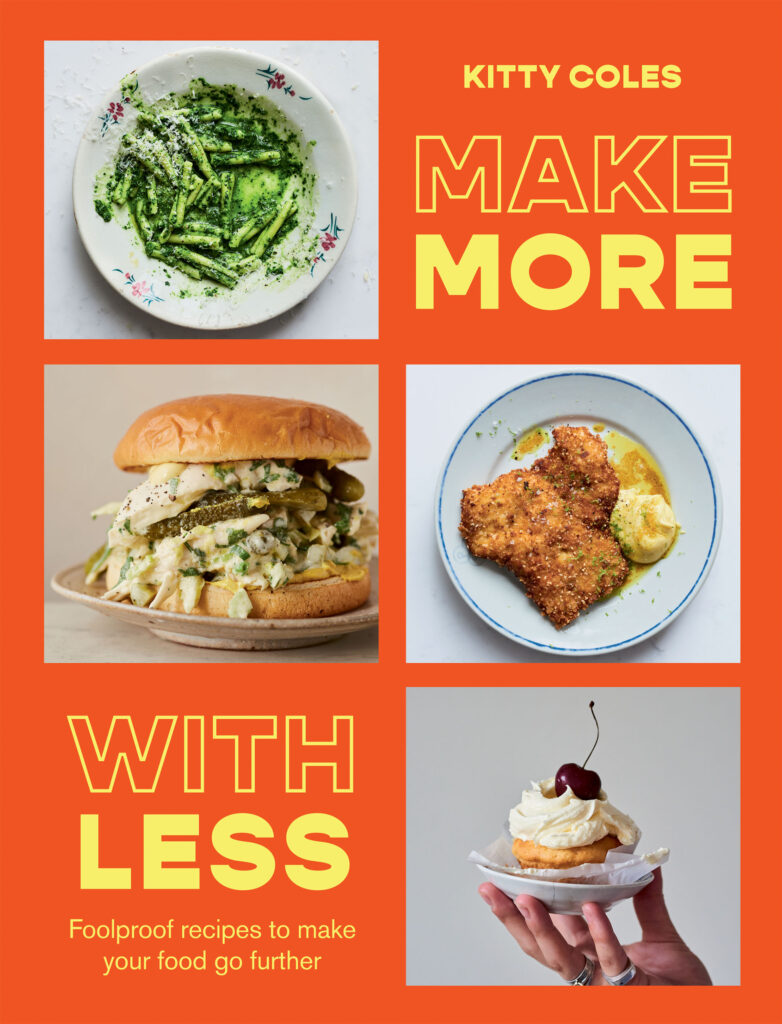
Purchase Make More With Less by Kitty Coles
Make More With Less by Kitty Coles (Hardie Grant, £22), Photography by Issy Croker.
Looking for fool proof recipes to make your food go further? Make More With Less by Kitty Coles takes core ingredients and transforms them into flavour-packed, simple dishes. From turning a few tins of beans into a comforting bean pasta to making leftover chicken tacos! the options are endless and the creativity never stops!
You can purchase your very own copy here, where you can flick through, raid your fridge and Kitchen cupboards and get started on creating low-waste, low-fuss and versatile recipes that you will make over and over again.
Kitty really loves saag aloo and often craves it, so she created this simple and delicious one-pan dinner inspired by those flavours. This is not at all like an authentic saag aloo, it’s Kitty’s own version. You can use any spices you have in the cupboard here. Kitty also made this with chicken thighs by frying them skin-side down for 5–10 minutes until golden and crisp, then roasting in the oven for 25–35 minutes until cooked through. Then continue as instructed.
Here is how to make roast chicken, spiced spinach and yogurt
Preheat the oven to 240°C fan (475°F).
Season the chicken all over with Maldon Sea Salt, then set aside to rest for 30 minutes.
Place the chicken into an ovenproof frying pan (skillet), low-sided casserole dish (Dutch oven) or cast-iron pan. Pour the oil over the chicken and massage it in with your hands. The oil will give the chicken a little kickstart in the oven, so give it some love and attention and get the oil into every nook and cranny to achieve maximum crispness.
Roast in the oven, legs at the back, for 30 minutes. After this time, reduce the heat to 180°C fan (400°F), then rotate the chicken and roast for a further 10–25 minutes until golden and crisp all over and the juices from the leg run clear. (If you have a meat thermometer, you’re aiming for 70°C/158°F at the base of the breast.)
Remove the pan from the oven, then lift out the chicken and set aside on a plate to rest.
Put the pan back over a medium heat and add the onions with a pinch of salt, tossing them in the chicken fat in the pan. Very slowly fry the onions for 10–15 minutes, stirring every so often until they are very, very soft and caramelised. If they start to fry too quickly, just turn down the heat and add a splash of water. Add the cumin, mustard seeds, turmeric, chilli flakes, ginger and garlic and fry for a further 5 minutes.
Add the spinach a handful at a time, mixing it into the onions as you go and letting it wilt with each batch. Let this cook down for a further 4–5 minutes until the spinach has soaked up all the flavours. Squeeze in the lemon juice and add a few grinds of black pepper, then taste.
Lay the chicken back on top of the spinach and serve to the table with the yoghurt and chilli.
Purchase Make More With Less by Kitty Coles
Make More With Less by Kitty Coles (Hardie Grant, £22), Photography by Issy Croker.
Looking for fool proof recipes to make your food go further? Make More With Less by Kitty Coles takes core ingredients and transforms them into flavour-packed, simple dishes. From turning a few tins of beans into a comforting bean pasta to making leftover chicken tacos! the options are endless and the creativity never stops!
You can purchase your very own copy here, where you can flick through, raid your fridge and Kitchen cupboards and get started on creating low-waste, low-fuss and versatile recipes that you will make over and over again.
This is an all-year-round one-pot meal that makes the most of your store cupboard. It’s a classic Italian dish made in various ways and we love it every time. You can bulk it out by frying off finely chopped onions, celery and carrots at the start with the garlic until soft for a more veg-packed version. Kitty also throws in a handful of shredded seasonal greens at the end to wilt, such as spinach, cavolo nero (lacinato kale) or kale. Use any pasta or bean type you have!
Here is how to make pasta and beans
In a large saucepan, heat the olive oil over a medium heat and add the garlic and rosemary before the oil is hot to prevent the herbs burning. Season with a pinch of salt and cook, stirring frequently, for 2 minutes until the garlic softens and turns very lightly golden. Add the chilli flakes and tomato puree, then continue to cook, stirring constantly, until fragrant and the tomato puree turns a dark red.
Add one-quarter of the beans with the liquid from the jar or tin (or 150 ml/5 fl oz/scant ⅔ cup of liquid if using beans for the week). Then, with the back of a fork or masher, crush the beans until completely broken down, this will create the creamy texture you want for the sauce. Now add the remaining beans, plus the bean liquid and stock mixture, then season with black pepper and a pinch of Maldon Sea Salt.
Bring to the boil over a medium-high heat, then stir in the pasta and cook for 2 minutes less than the packet instructions, as the pasta will continue to cook off the heat. The sauce should be reduced and the consistency of half-sauce, half-soup…so a bit of a wet sloppy pasta sauce (but in a delicious way). Adjust the consistency as needed with additional water, stock, or bean liquid, keeping in mind that any liquid will tighten up as it cools due to starch from the beans and pasta.
For the flavoured oil, add 4 tablespoons of extra virgin olive oil to a pan with the garlic, rosemary and chilli flakes, while the oil is still cold, so that the garlic cooks evenly and not too quickly. Gently cook for 3–4 minutes until fragrant and the garlic is lightly golden, then turn off the heat and squeeze in the lemon juice.
Remove the pasta from heat and add most of the grated Parmesan, leaving some to serve and stir rapidly to incorporate and become creamy. Ladle a few spoonful’s into bowls, then drizzle each serving with the flavoured olive oil and the reserved Parmesan.
Purchase Make More With Less by Kitty Coles
Make More With Less by Kitty Coles (Hardie Grant, £22), Photography by Issy Croker.
Looking for fool proof recipes to make your food go further? Make More With Less by Kitty Coles takes core ingredients and transforms them into flavour-packed, simple dishes. From turning a few tins of beans into a comforting bean pasta to making leftover chicken tacos! the options are endless and the creativity never stops!
You can purchase your very own copy here, where you can flick through, raid your fridge and Kitchen cupboards and get started on creating low-waste, low-fuss and versatile recipes that you will make over and over again.
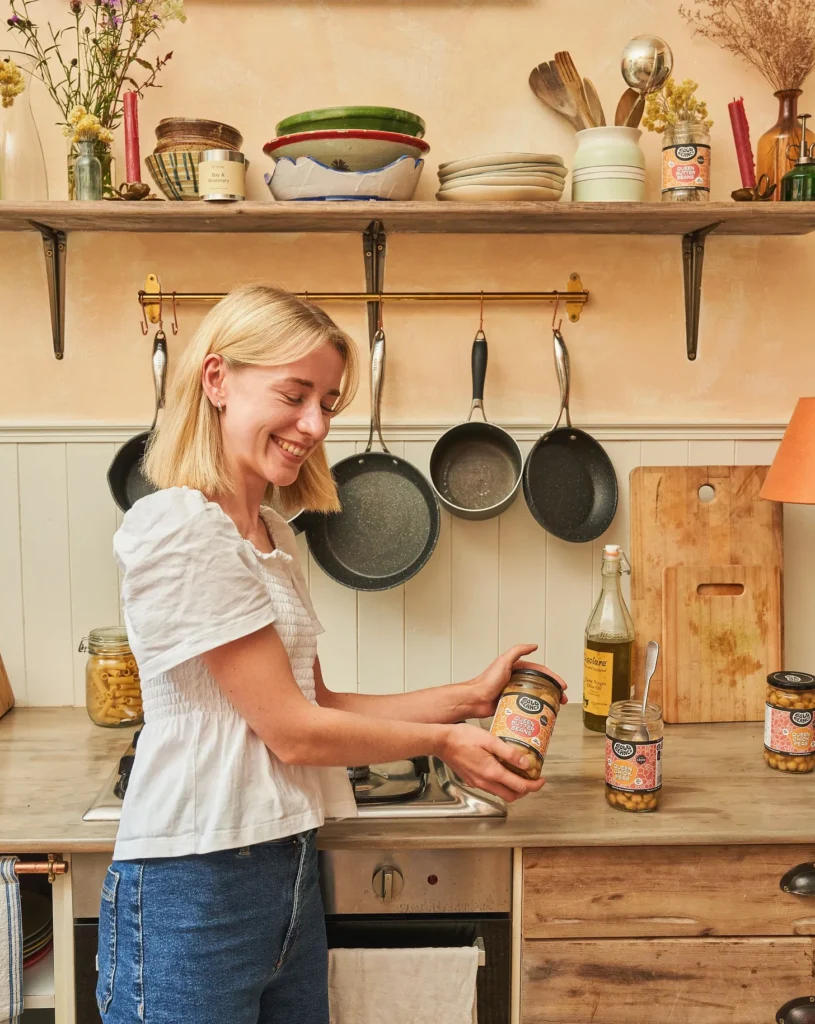
We welcome you to a cosy Q&A session with fellow Bold Bean icon and renowned recipe creator, Hannah Wilding, also known as @hans.hungry!
Get ready to dive into the world of culinary creativity with Hannah as she shares her insights, tips and mouth-watering recipes that will inspire your kitchen adventures.
Hey Hannah! We’re big fans of your (seriously) delicious recipes that you whip up across socials. Tell us, how did @hans.hungry come about?
It all started with a bowl of porridge. Yup!
It’s a bit of a rollercoaster story – but I’ll try and keep it short and sweet.
I actually grew up in the musical theatre industry, with big ambitions of being on the West End. But the year I graduated from drama school was the year of the dreaded covid. I was getting no auditions, theatres were put into blackout and I was truly lost.
So, I turned to my other passion – FOOD! I pretty much took over the kitchen in lockdown, experimenting with different flavours, ingredients, ended up taking pictures of everything (as us foodies do) and decided to document it all on an Instagram page, and so @hans.hungry was born. I kept it pretty consistent, posting a bunch of different recipes and overtime grew a following of fellow foodies – which still to this day makes me do a double take!
Oh yes, the porridge – I became a bit of a porridge-fanatic over lockdown. We’re talking seriously “pimped up” bowls of hearty, creamy oats, loaded with the works – different nut butters, seeds, fruit, fancy flavours (lets face it, we had all the time in the world) and so a bowl of porridge was my first ever post, presented oh so elegantly on my..radiator. You’ll still find the odd porridge bowl on my feed but I’d say my cooking style is very veg-centric, feel good and homely.
Can you share a memorable cooking experience that influenced your culinary journey?
I guess it was during lockdown, really! I’ve always been into the “eating” part of food but the “cooking” part only came towards the end of university. And so lockdown gave me that creative freedom and time to experiment in the kitchen. I’ve been incredibly lucky to have met such amazing food writers, stylists and brands within the industry who have shared such great knowledge with me and have been a huge influence to my culinary journey – and so weirdly, I’m very grateful for that time.
Are there any culinary trends or techniques that you’re excited about?!
This isn’t a trend as such, but there’s a small but mighty handful of cookbooks that have just been/are soon to be released – Kitty Coles’ ‘Make more with Less’, Ed Smith’s ‘Good Eggs’ and Sophie Wyburd’s ‘Tucking In’ – these 3 INCREDIBLE food writers have been huge inspirations in my own writing and food creativity and so I can’t wait to get my hands on these books.
Your ultimate comfort food dish?
It has to be something beany. Usually a Queen Butter Bean stew using my trusty Bold Beans simmered in a rich tomato sauce, any veggies I’ve got going in the fridge, probably some olives, a good showering of parmesan and a generous glug of olive oil.
What advice would you give to aspiring food creators who are just starting out?
Do it because YOU love it. Don’t go posting content that you “think” people will want to see, post content that YOU love, as that genuine passion will shine through and will generate a following of lovely, like minded people. Our uniqueness is what makes us brilliant, so although it’s natural to compare ourselves with others, trust the process and be yourself!
Name three things in the kitchen you can’t live without!
A trusty non-stick pan, a good quality olive oil + silicone spatula!
What’s one dish you ALWAYS use Maldon Sea Salt for?
My go-to dish for when I’m in a rush or need a quick lunch is always eggs (in some form) on toast, and I’m always sprinkling a pinch of Maldon Sea Salt on top for that extra hit of flavour – it’s such a winner when you want to jazz up the flavour a little, say with chilli, garlic or a hint of smokiness.
Looking for some recipe inspo?
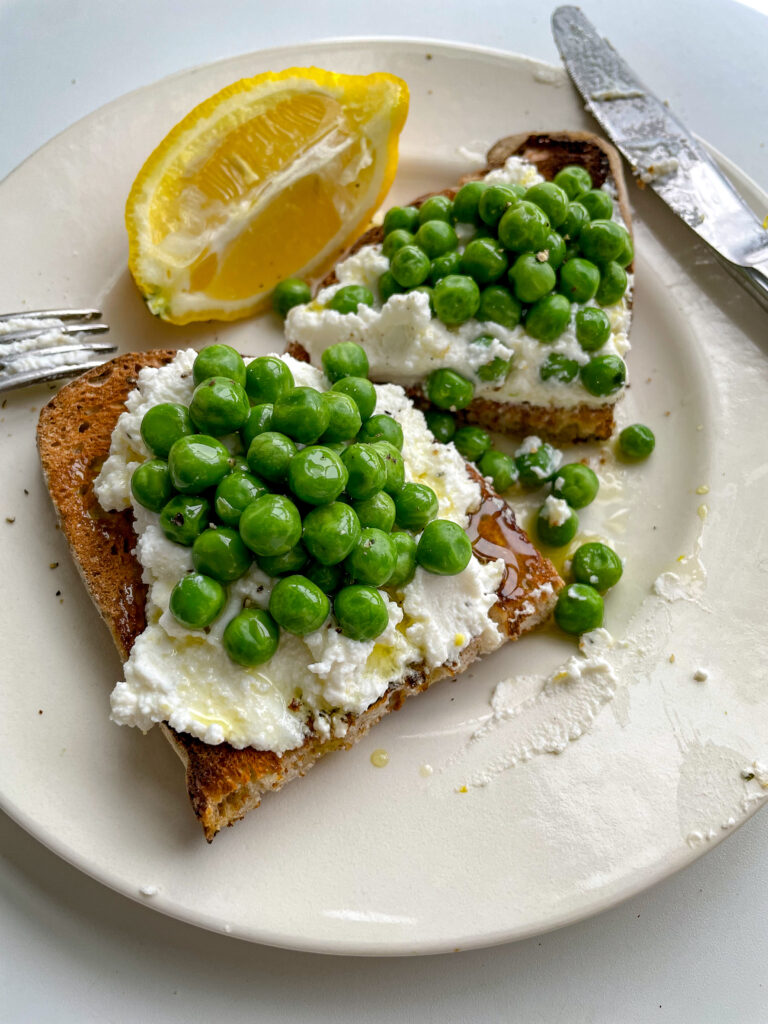
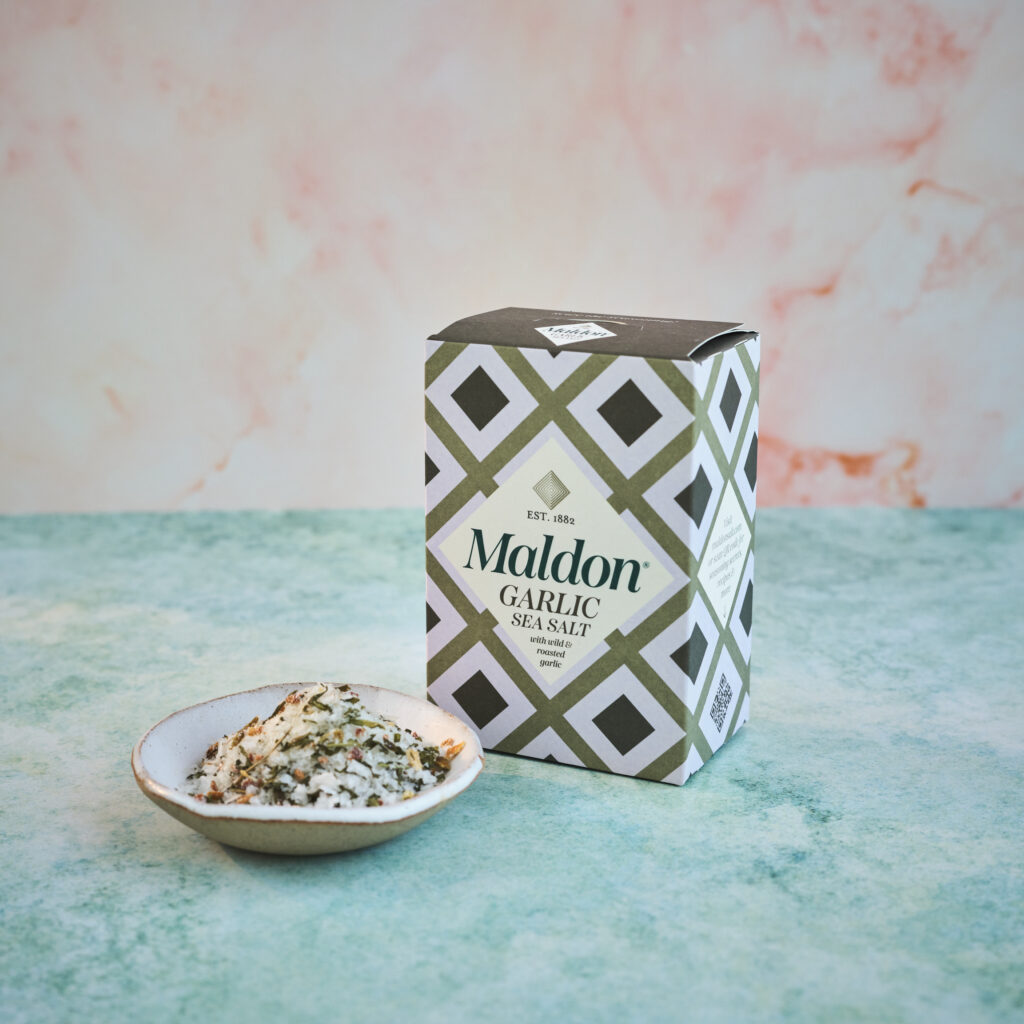
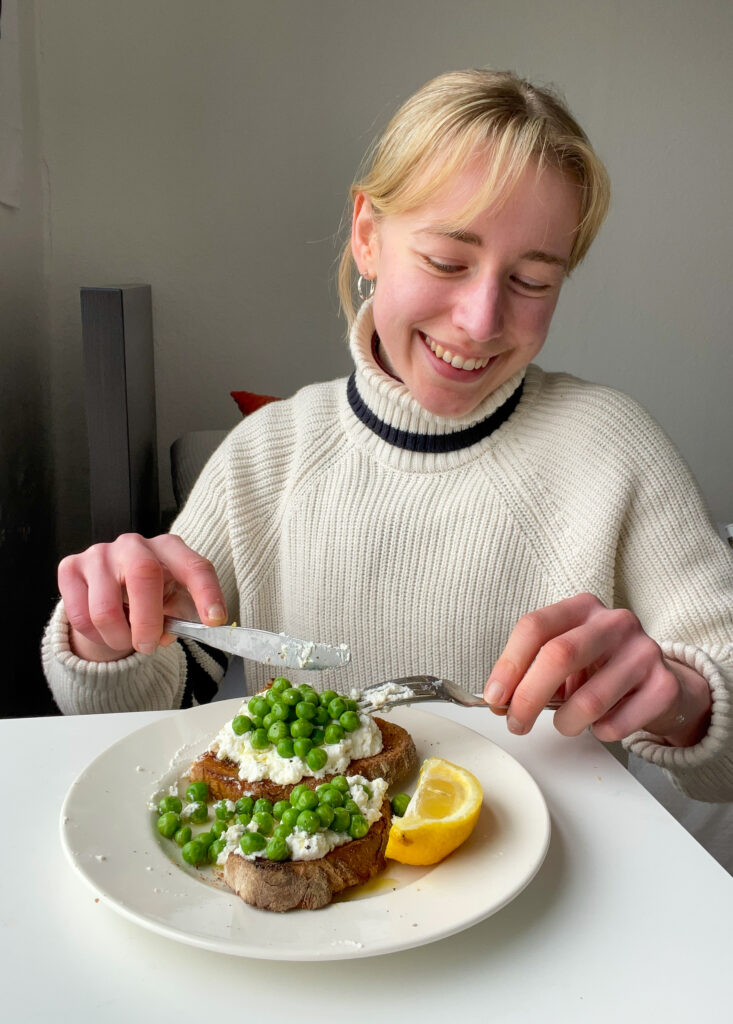
Check out Hannah’s socials where she shares delicious recipes weekly that will certainly inspire you to get creative in the kitchen! We’ve shared one of our current favourite; creamy whipped Garlic Salt Ricotta with Spring Peas on Toast. The ricotta is infused with Maldon Garlic Sea Salt for a flavour burst of wild and roasted garlic!
Ingredients: (serves 2)
90g peas, fresh if you can get them, frozen will work just as well
100g ricotta cheese
1 lemon
A good pinch of Maldon Garlic Sea Salt
Sourdough or bread of choice
Extra virgin olive oil, to serve
Method:
Blanch the peas in a pan of boiling salted water for just a couple minutes until tender.
To a mixing bowl, add the ricotta, zest of the whole lemon and a good pinch of Maldon Garlic Sea Salt and whip to a soft and pillow consistency.
Toast your bread. Slather the whipped ricotta onto the toast and tumble over the peas. Finish with a good drizzle of extra virgin olive oil and cracked black pepper.
Make sure you have your Maldon Salt ready for these recipes! If you are running out, please feel free to browse on our Where to Buy Page to find your nearest store in which stocks our beloved Maldon Salt.
Lastly, we LOVE seeing your creations – please tag us on Instagram using the #maldonsalt so we can share your own take on Hannah’s recipes!
This dish celebrates the simple – the simplicity of Spring – flavours and ingredients that are light, fresh and a little bit zingy. This is more of a concept than a strict recipe – heavily inspired by @anchovytrevor – but that’s the beauty of using minimal but great ingredients that sing well together. What I love about new Maldon Garlic Sea Salt is the addition of wild garlic! Not only do the little flecks look BEAUTIFUL alongside the salty pyramids we all know and love, but it adds a real depth to the garlicky flavour, contrasting oh so beautifully with the creamy, lemony ricotta and sweet peas.
Hannah Wilding
Here is how to make the recipe
Blanch the peas in a pan of boiling salted water for just a couple minutes until tender.
To a mixing bowl, add the ricotta, zest of the whole lemon and a good pinch of Maldon Garlic Sea Salt and whip to a soft and pillow consistency.
Toast your bread. Slather the whipped ricotta onto the toast and tumble over the peas. Finish with a good drizzle of Extra Virgin Olive Oil and cracked black pepper.
Blend bread to a crumb-like texture. Toast in the pan over high heat for a few minutes, then add olive oil to coat the breadcrumbs, dried parsley and a generous pinch of Maldon Garlic Sea Salt.
Cook in the pan, occasionally tossing, for 3-5 minutes. Serve right away or store in a vacuum-sealed container and keep in your freezer – just re-heat to serve.
Perfect on any dish especially over some creamy pasta – fantastic flavour at your fingertips!