Dukkah, also commonly spelt duqqa, is a Middle Eastern and Egyptian blend of nuts, seeds and warming spices, coarsely grounded to create a savory, sweet and slightly zesty flavour!
Typically used as a dip for breads or vegetables, we serve ours on a softly roasted sweet potato to really infuse the flavours and aromas of the blend. We use a pinch of Maldon Salt to heighten the earthy notes of pistachios, almonds and cumin within this dish.
Start by toasting the nuts. Heat the oven to 180C and place the nuts on to a baking tray and place in the oven for 5 minutes – keep an eye on them so they don’t burn but are nicely golden.
Remove from the oven and then when slightly cooled, chop or bash in a pestle and mortar. Then tip into a large bowl.
In a large frying pan start by toasting the sesame seeds, then add these to the nuts.
Next toast the fennel seeds, coriander seeds and cumin seeds until they are golden and smelling fragrant. Add these to the pestle and mortar and crush before adding to the bowl with the nuts. Add the smoked paprika, Maldon Salt and black sesame seeds and mix well.
You can now use this dukkah on several dishes – salads, on feta or burrata, meat and fish, roasted vegetables and hummus. We served ours on a soft roasted sweet potato.
Paccheri is a type of pasta that is commonly shaped of a very large tube, with origins of this pasta being traced back from Campania, Italy.
We’ve taken this classic pasta dish and given it a culinary twist with the use of butternut squash and chorizo for a comforting warmth of flavours. Remember to add Maldon Salt to your water when boiling the pasta as the salt will add an extra layer of flavour to the water, in which is then absorbed by the pasta when cooking.
Preheat the oven to 180C.
Peel and dice the butternut squash into rough chunks. Place onto a baking tray with the onion wedges and the garlic gloves still in their skins. Drizzle with 1 tbsp of olive oil, some Maldon salt, cracked black pepper and the chilli flakes. Toss them all together and then roast for 15 minutes until the squash is tender.
Cook the pasta according to the pasta instructions in a large pan of salted water.
In a large frying pan add the chorizo and fry until crispy. Once the butternut squash is cooked, remove from the oven, and add it to a blender with the onion and the garlic squished from their skins. Ladle in some of the pasta water and then blitz until smooth.
Tip the butternut squash sauce into the frying pan with the chorizo, then lift the cooked pasta into the sauce, adding some more pasta water if needed so it coats the pasta and turns into a glossy consistency.
In a small frying pan heat 2 tbsp of olive oil, then fry the sage leaves until crispy.
Spoon the pasta into bowls and top with the sage leaves, a drizzle of oil, some cracked black pepper and a good grating of parmesan.
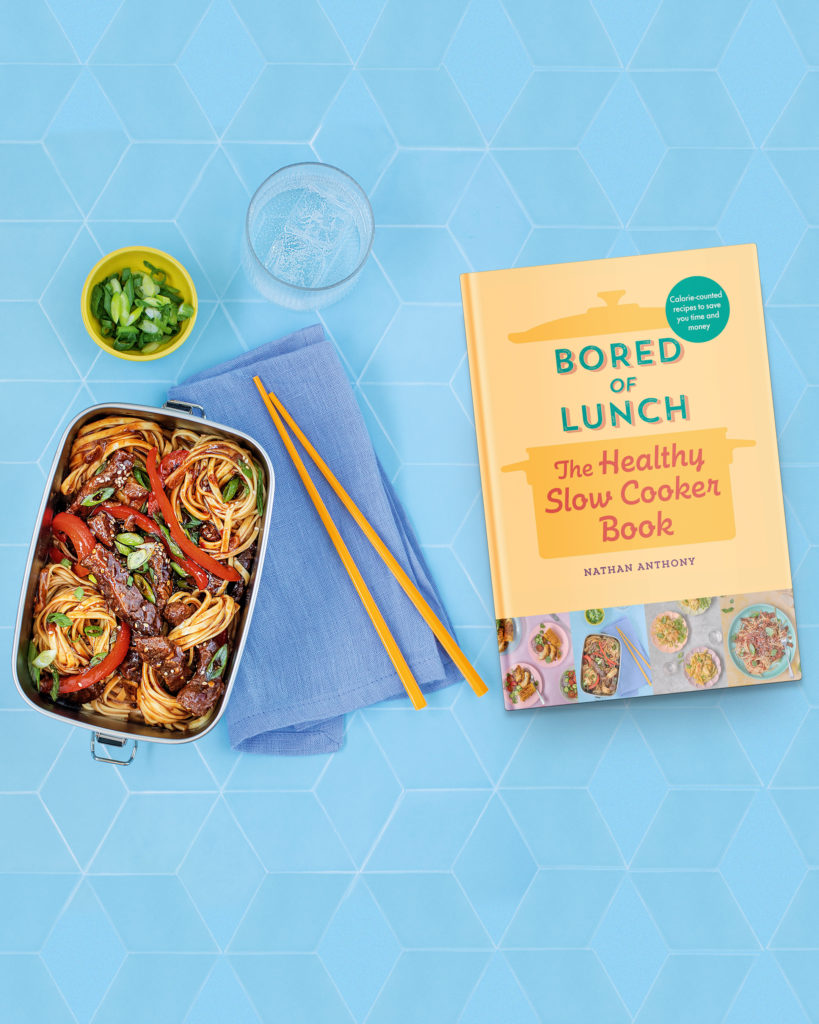
The Belfast author become a viral sensation with nearly 2 million followers during lockdown, who shared the simplicity of home-style recipes in which can be made from the accessibility of a slow cooker or an air fryer. Simply prep the recipe in the morning and then you can get on with your day…returning home to a fantastic, tasting dish!
Nathan shows his passion for wanting to share easy-to-follow recipes for all home cooks, regardless whether they are skilled or not! Additionally, he delves into the amazing cost-effectiveness of the slow cooker, in which supports and helps busy families in creating beautifully tasting dishes without the added expense. With a bundle of delicious recipes to choose from including family favourites of the humble roast dinner, to ‘fakeaways’ like Chilli Beef Noodles, this cookbook is perfect for anyone who wants to create foolproof dishes that not only taste great but make you feel great!
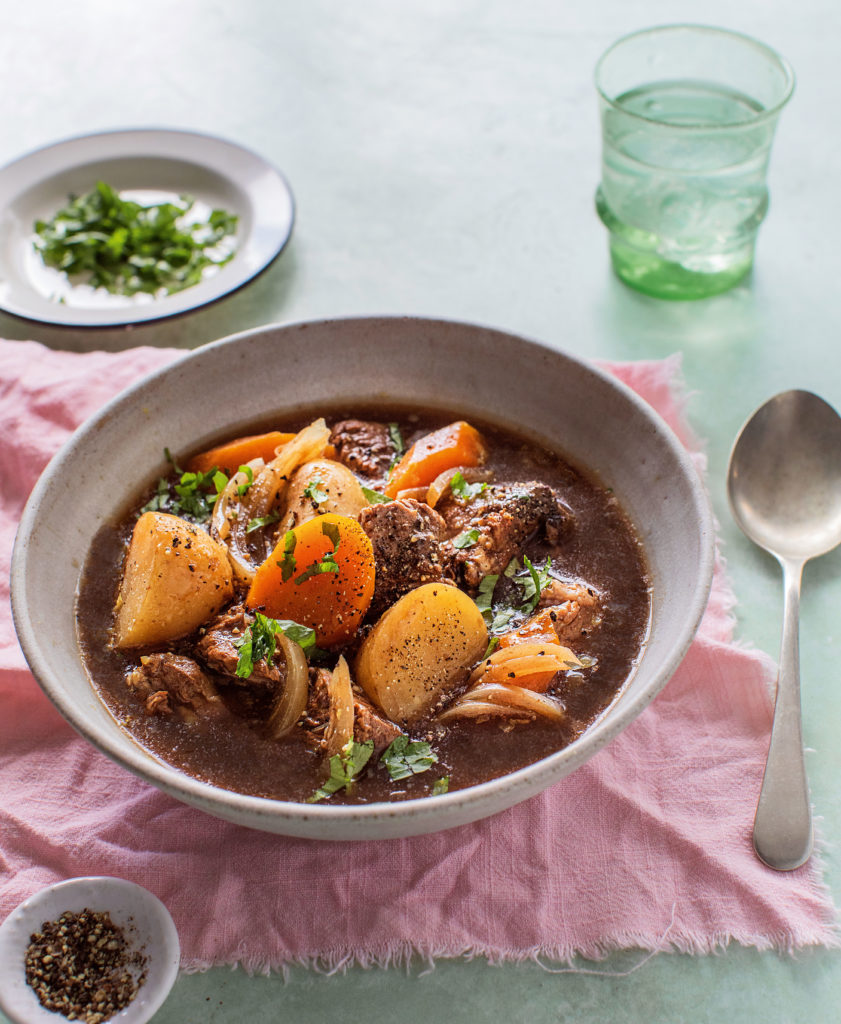
Irish Stew
Being on the island of Ireland, it would make sense for Nathan to include the iconic Irish Stew. He stresses that everyone has their own recipe, but this is how HE makes his own. It may appear controversial to some, but he likes it this way a it is inspired by his mum who always made it this way in her slow cooker, which adds so much more flavour and succulents to the protein. Don’t worry if you do not like Guinness, you won’t taste it – the alcohol evaporates, leaving an amazing rich gravy to be tucked into.
600ml boiling water (or less less if you prefer thicker consistency)
1 tsp curry powder
1-2 bay leaves
3 garlic cloves, chopped
7 potatoes, peeled and quartered
Gravy granules, or 1 heaped tbsp of cornflour, mixed to a paste with 1 tbsp water (optional)
Fresh parsley, to garnish (optional)
Pinch of Maldon Salt
Black Pepper
Method:
Place all the ingredients in the slow cooker, stir and season to taste.
Cook on high for 4 hours or low for 8-9 hours.
Use a spoon to break up some of the potatoes in the sauce.
Garnish with chopped fresh parsley and a final pinch of Maldon Salt.
Tips:
All you need is crusty bread with lots of butter to mop up the succulent juices after.
If you prefer a thick sauce, add the gravy granules or cornflour paste, but Nathan prefers his without.
In Conversation with Nathan Anthony
We had the delightful opportunity to sit down with Nathan and discuss the real inspiration behind his cookbook. We delve into the meaning behind the title of the cookbook ‘Bored of Lunch’, with also discussing his own personal message of the energy efficient of the slow cooker.
Hi Nathan! We wanted to give you huge congratulations on the release of your cookbook; Bored of Lunch: The Healthy Slowcooker Book! What inspired you to write a cookbook where recipes are created through use of a slow cooker.
Thank you! I have always used a slow cooker because I am always on the move and super busy with my job, I work for one of the largest companies in the UK so throwing ingredients into a pot and coming back to a nutritious meal suits me. They are perfect for those who have a full time job or even those with a busy family. They pack in a lot of flavour and are very energy efficient so it’s a win win all round.
We love the name ‘Bored of Lunch’ because it’s so straightforward and to the point. However, why did you choose it – Is there a story behind it?
Bored of Lunch was born at the start of lockdown and focussed on lockdown lunches, slow cooker soups and trying to get people to eat healthier, nutritious food boosting their immune system. It has now evolved into a huge platform with almost 2M followers. I am occasionally bored of my lunch so tend to meal prep and use my slow cooker and airfryer as a method to do so.
You mention a huge focus is about how energy efficient a Slowcooker really is! Why do you want to spread this message to your readers?
I think everyone is feeling the pinch at the moment from every corner of life from food, heating, electric, clothes. Using a slow cooker will help save you by using just slightly more energy than a lightbulb, You don’t need to use any oil either so its perfect. It also saves you time and time I think you cant put a price on.
Come on, you must have a favourite recipe in your cookbook! Can you share it with us?
Garlic Mac and Cheese is definitely my favourite, the pasta cooks in with the milk, melted cheese and garlic then topped with more cheese and a gorgeous crumb. So moreish but a really money saving, proper comfort food.
Where did this appreciation for food come from? Have you always been inspired or was it something you grew to love growing up?
I have always loved food and been surrounded by foodies throughout my life, from grandparents and aunts its always been in me, I was fascinated watching cookery shows as a child. I didn’t actually start cooking until I went to university and had to fend for myself so its not something I have been doing for a long time or have years upon years of experience in.
You are a viral sensation on TikTok and Instagram, do you think this is helping younger generation appreciate food and cooking more?
Definitely, I find a lot of busy people make my recipes but I have found students at Uni who are just learning how to cook or want to save money make my recipes. Theres not one generic demographic of follower I have I have people from all ages which is amazing. I try to make recipes be accessible and ingredients easily purchased from local shops so no fancy delis or bespoke shops.
Name 3 things in the kitchen you can’t live without?
Cornflour – a lifesaver when it comes to helping thicken a sauce or gravy. I also use it to coat a lot of chicken etc for fakeaways in the airfryer
2. Garlic, if a recipe says use two cloves I use five. I LOVE garlic and use it in nearly every savoury meal
3. Kitchen scales, not remotely fancy but when adding pasta or noodles to a slow cooker its key you weigh them.
What does a normal day-in-the-life look like for you Nathan?
I will get up early, maybe load up the slow cooker and record what I put in, work all day, few coffees and lunch with colleagues then come back and finish recording a slow cooker recipe. Have dinner, head to the gym and then ill edit the video before bed, hopefully whilst watching Netflix and decompressing after a busy day. Everything I do I do it on my phone I don’t have any fancy cameras or equipment.
Want To Create a Recipe From This Book?!
You can find where to purchase Nathan’s debut cookbook here and start creating a bountiful of easy yet deliciously good recipes for yourself and your family!
Make sure you have your Maldon Salt ready for these recipes! If you are running out, please feel free to browse on our Where to Buy Page to find your nearest store in which stocks our beloved Maldon Salt.
Lastly, we LOVE seeing your creations – please tag us on Instagram using the #maldonsalt so we can share your own take on Nathan’s recipes!
Bao (bow) Buns, also known as steamed buns, are thought to be derived within the Chinese culture as a filled version of ‘Mantou’, which is a steamed dumpling resembling a soft-like textured bread. However, a dumpling is commonly boiled or pan-fried, whereas bao bun’s are to be steamed in either a steamer or a slow cooker.
These buns are utterly delicious, being warm and fluffy in the inside from the sweet, white dough. You can learn how to make the dough from our Sticky Miso Roasted Aubergine Bao Buns recipe, primarily consisting of flour, Maldon Salt, sugar, yeast, milk and a dash of oil.
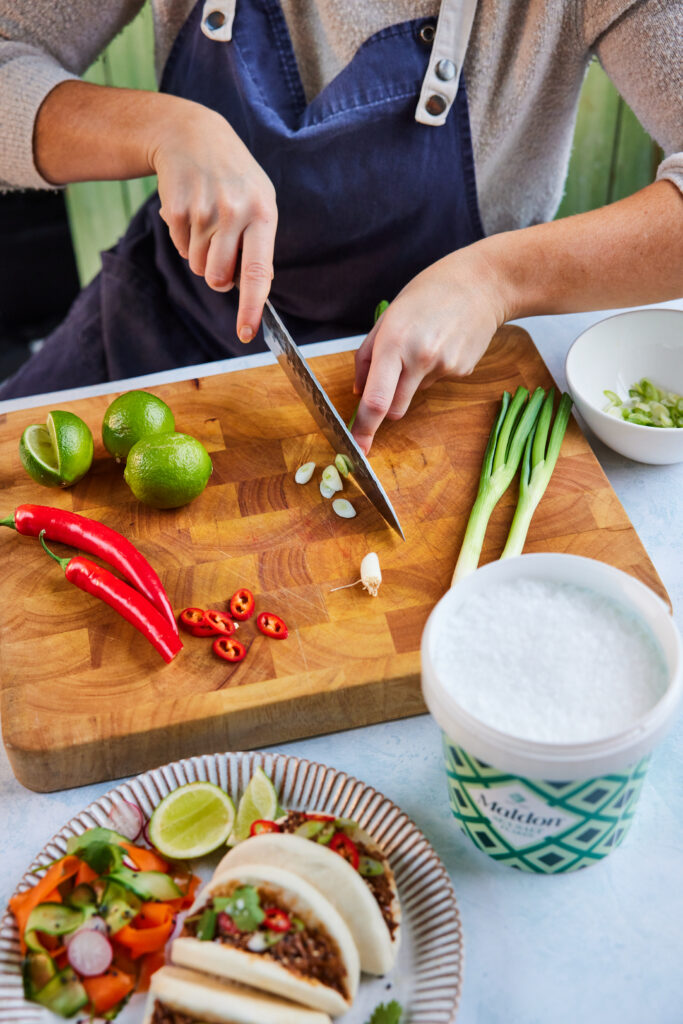
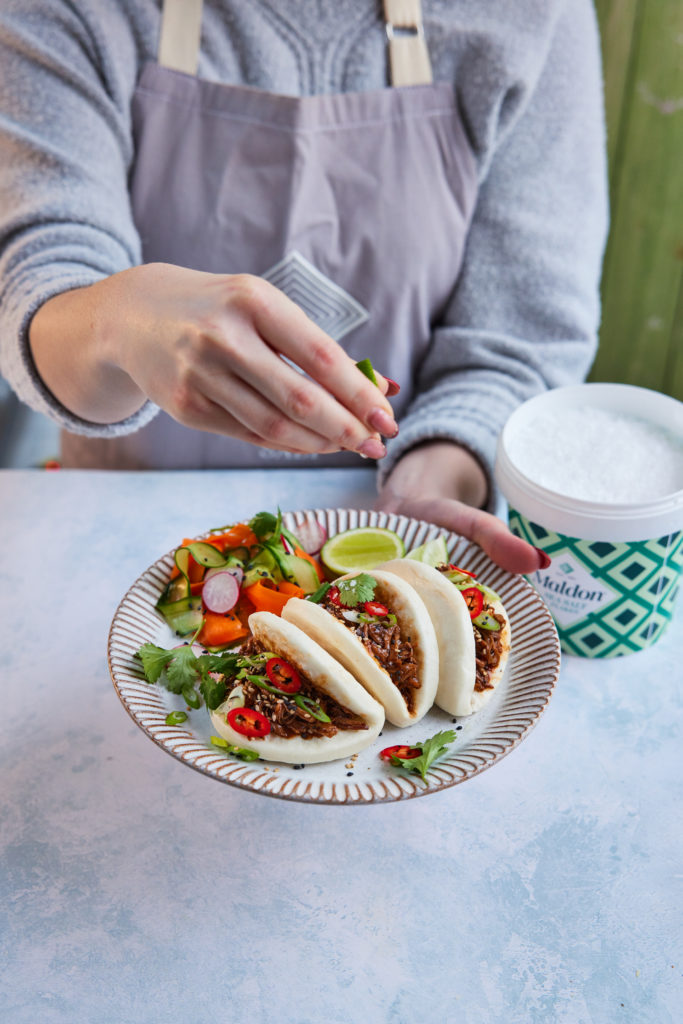
In this recipe, we fill our bao buns with the succulent protein of pulled pork (boneless pork shoulder), coated in soy sauce, Siracha and honey to add a touch of sweetness. We also combine layers of finely sliced carrot, radish and cucumber to add a layer of crunch for texture.
Start with the pulled pork. In a small bowl, mix the soy sauce, siracha, garlic, ginger, sesame oil, Maldon Salt, and runny honey.
Add the pork to a slow cooker and the pour over the sauce, mixing it well into the pork so it is fully coated. Place the lid on and cook on high for 4 -5 hours.
After this time the pork should be completely tender, and you can shred it with two forks. Toss in the remaining juices and set aside.
Make the pickled vegetables. In a large bowl mix the rice wine vinegar and caster sugar, whisking until the sugar dissolves. Peel the carrot and cucumber into long ribbons, and finely slice the radish, then place them into the vinegar bowl and toss well. Set aside to lightly pickle.
To serve, steam the bao buns until fluffy and soft. Then fill with the pulled pork and some hoisin sauce. Then sprinkle with sesame seeds and some finely sliced spring onions.
Serve alongside the pickled vegetables and some coriander for some extra crunch.
Homemade Takeaway Ideas with Maldon Salt
Do you feel like you are constantly spending money on takeaways recently? Why don’t you save your pennies and swap your usual for a cheaper, healthier and tastier alternative with our ‘fakeaway’ recipes!
This article will explore the benefits of home-cooking your favourite takeaway dish and how to replicate the perfect, restaurant quality from the comfort of your own kitchen. We even take you around the globe with a series of delicious ‘fakeaway’ recipes we have created; from landing in Southeast Asia with the notorious Pad Thai, travelling to China with delectable Bao Buns, and ending up in the United States with their lip-smackingly good Loaded Fries.
But first, we want find out which type of salt chefs are using when they are cooking our favourite takeaway dishes, and how our beloved Maldon Salt flakes come into play with this and the benefits that follow.
What Salt Do Chefs Use?
Salt is one of the most important components when it comes to cooking as it acts as a natural balance for sweetness and helps to counteract the harsher, bitter flavours within a dish. It also can help intensify the aromas you are wanting to elevate. Not only is it important in cooking, it important for the human body to function, as the human body can’t live without sodium – in which salt contains! This nutrient will allow muscles to contract and relax effectively and conduct nerve impulses. However, please note that you should only in-take small amounts of salt per day, with adults consuming no more than 6g of salt (1tsp) and children (1-3) eating no more than 2g salt.
Because salt is significant in the cooking process, chefs need to ensure that they are using the best quality to serve to their customers…and this is where Maldon Salt comes in!
Maldon Salt Benefits
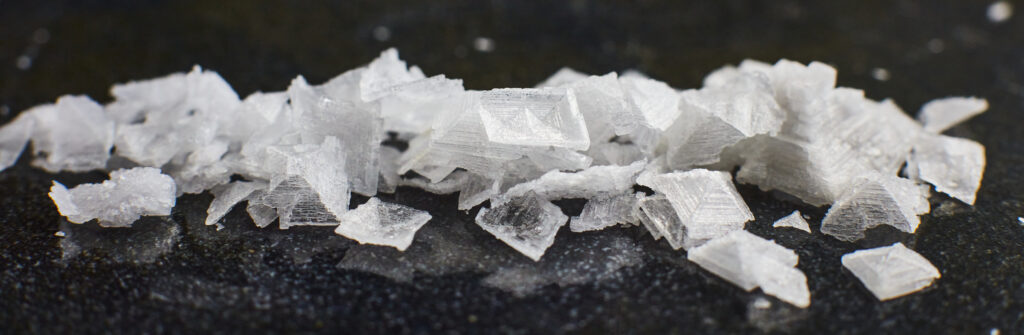
Many chefs and culinary professionals use Maldon Salt within their cooking due to the pyramid-shaped flakes adding a fresh salinity and perfect finish in texture to their dishes. With a small pinch, you are transported to flavours that have been heightened through the sprinkling of the flakes, with a subtle added crunch as you bite into the food.
Maldon Salt is hand-harvested from the coastal waters through time-honoured techniques and devoted care. It is through this that Maldon is rich in naturally occurring sodium and minerals. As a result, you only need a pinch to accentuate the flavours within your dish, refining your sodium intake. You can find out more about how Maldon Salt is made and where it comes from in our guide – it makes an excellent read!
Due to the family-kept secret in the timing and temperature of the sea salt, Maldon Salt receives a unique flavour profile of being less bitter than other salts within the market, with a fresh, clean intensity. When used as a finishing salt, the structure of the pyramid-flakes allows the flavour to spread across the pallet before gently melting, leaving a glorious end-taste.
When To Use Maldon Salt?
Maldon Salt is completely versatile when it comes to using it on your foods. If it’s being used within the cooking/baking process, simply add a small pinch to allow the sweet flavours of the recipe to become elevated, whilst reducing the bitterness. You can find our recipes which contain Maldon Salt in our Recipes, Tips and Blogs Page…I wouldn’t recommend reading them on an empty stomach!
You can also create extravagant salt crusts with Maldon Salt! Our delicious Salt Baked Sea Bass shows readers how the sea salt flakes are used to create a layer to insulate the food and reduce moisture from escaping…resulting in succulent, juicy dish.
The most prevalent way chefs use Maldon Salt is as a finishing salt. Because of it’s unique structure, when sprinkled over a dish you are not only receiving the fresh, clean taste of the sea salt, but you also experience that added level of crunch, giving a glorious texture to your dishes. An example of this is seen in our delicious warm winter salad, where salt is used to not only heighten the sweetness of the beetroot and apples, but to give a delectable texture as you bite into the dish.
Making Restaurant Quality Food at Home
Whether it be a box or tub of Maldon Salt that you possess, you are now one step closer into creating delicious, restaurant quality food from the comfort of your home!
When you are getting creative in the kitchen, you want to note to yourself that sometimes the simplest of recipes can be the best option. Quality of ingredients will be your best friend in this incidence, where you can rejuvenate a classic dish of roast potatoes to magnificent hasselback potatoes! You just need to test how flavours work and balance together, where with a sprinkle of Maldon Salt, you are already creating that natural equilibrium within the dish.
But the question still stands, why choose homemade instead of takeaway?
The simple answer is, it’s healthier! Studies have found that restaurant meals generally contain high amounts of sodium, fats, and calories in comparison to home-cooked meals. Cooking from home means you are often choosing fresher ingredients and becoming more self-aware of the amount of oil/butter used when you are cooking/baking your foods. Additionally, you are also portion sizing your meals when cooking from home, where in contrast a takeaway restaurant does this for you. As a result, in some circumstances you could be receiving a higher intake of calories than you daily recommend if not accurately checked by the restaurant. Therefore, choosing homemade cooking instead of take-outs will allow you to maintain a healthier lifestyle.
Another reason to choose homemade is that it is cost-effective. You are saving money when you are making ingredients for a dish fresh from your home, in which can come to a significantly lower cost for what you would end up purchasing at a takeaway restaurant – where prices are higher to maintain profit margins. The Guardian shared an excellent piece on how cheap you can create components of a dish here, resulting in saving you money and ending up with great tasting foods!
Finally, choosing to cook at home instead of ordering takeaways allows you to connect with food. You’ll tend to gain inspiration and creativity when cooking from home, which is a fantastic way of not only broadening your skill-sets, but provides a level of escapism for yourself. A study from the Frontiers in Psychology revealed that participants who took upon cooking during COVID-19 actually found happiness and relaxation in cooking, causing them to experience more self-reliance within themselves.
All this food talk has got us hungry for more! Why don’t we explore a few our favourite ‘fakeaway’ recipes in which can be easily cooked from home, and still maintain that delicious, restaurant quality we crave.
Our Favourite Fakeaway Recipes
Below we have listed three of our favourite ‘fakeaway’ dishes that can be easily made at home. With a sprinkle of Maldon Salt on each of these dishes, you’ll not only impress your dinner guest’s with your cookery skills, but the flavour that will be elevated from the pyramid-shaped flakes!
Prawn Pad Thai
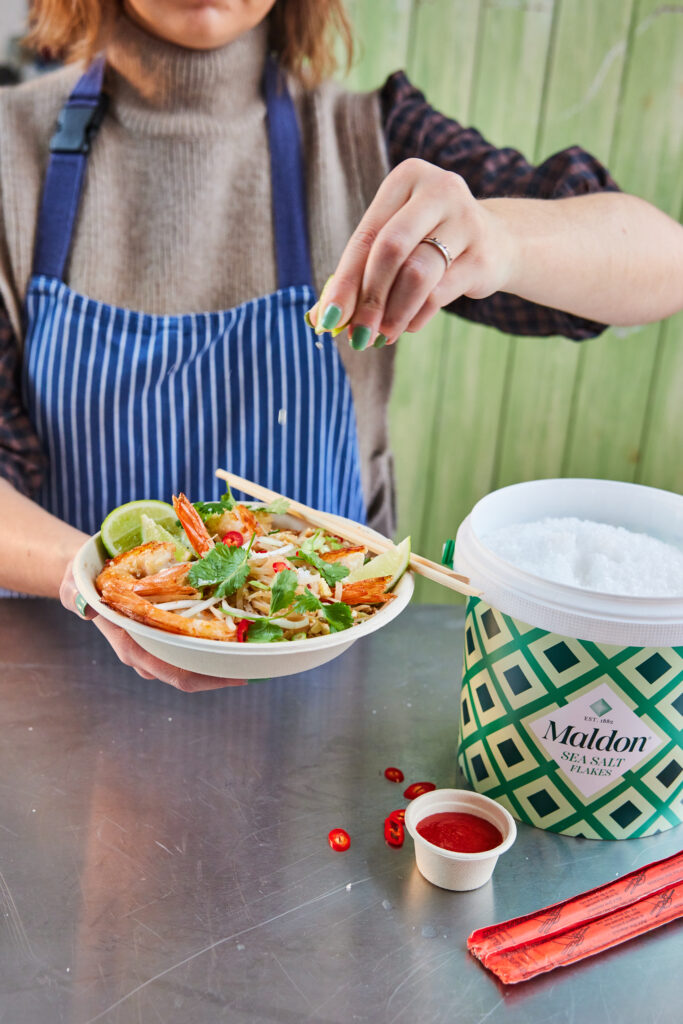
This dish is one of the most popular take-out dishes you can order, due to the deliciously good flavour profiles of sour, sweet, salty and umami. Originating from Thailand, the dish can be easily replicated in your home through the use of a wok pan. Our recipegoes into full detail on how to create the classical tasting pad-thai sauce, which pairs beautifully well with the king prawns and folded rice noodles.
Pulled Pork Bao Buns
You’re probably thinking this recipe is hard to make and should just opt for the takeout option instead – but you’re wrong! Bao buns are actually quite easy to make once you follow our recipe in how to make the soft, fluffy bao bun dough. Once you’ve followed this, you can create our delicious pulled pork bao buns, packed with juicy shredded pork shoulder and crunchy veg of radishes, carrot and cucumber.
Loaded Fries with Chorizo and Pickled Jalapeños
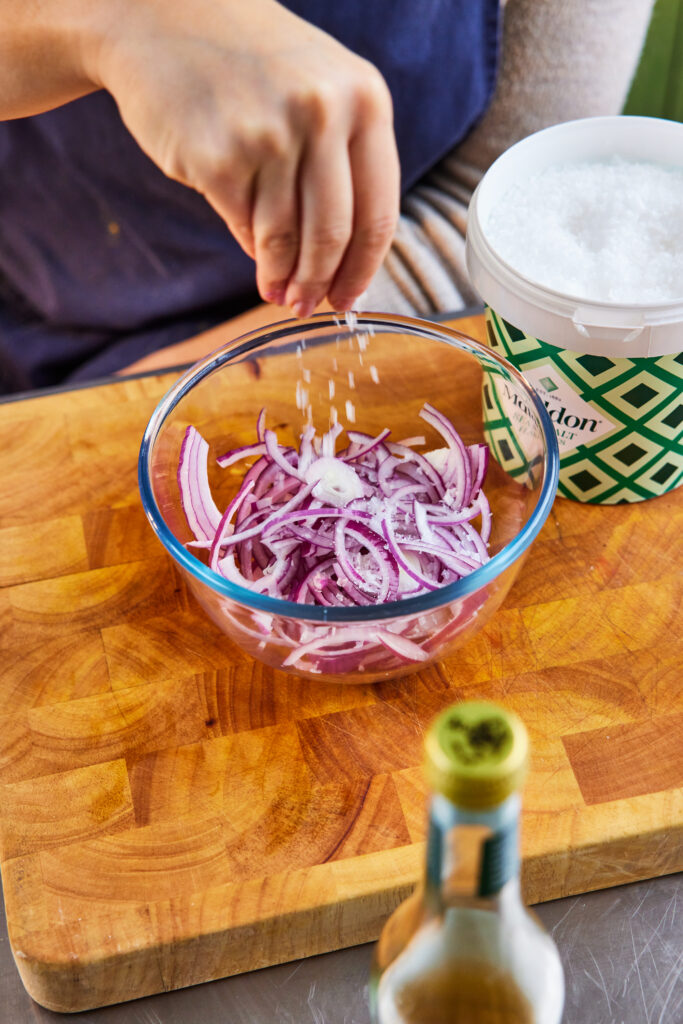
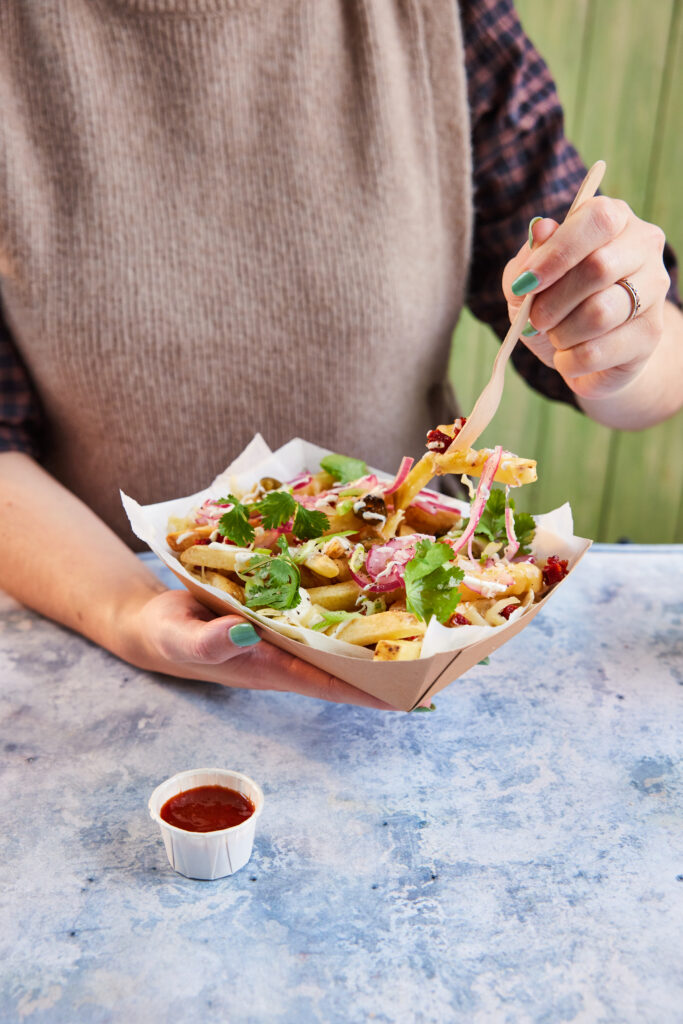
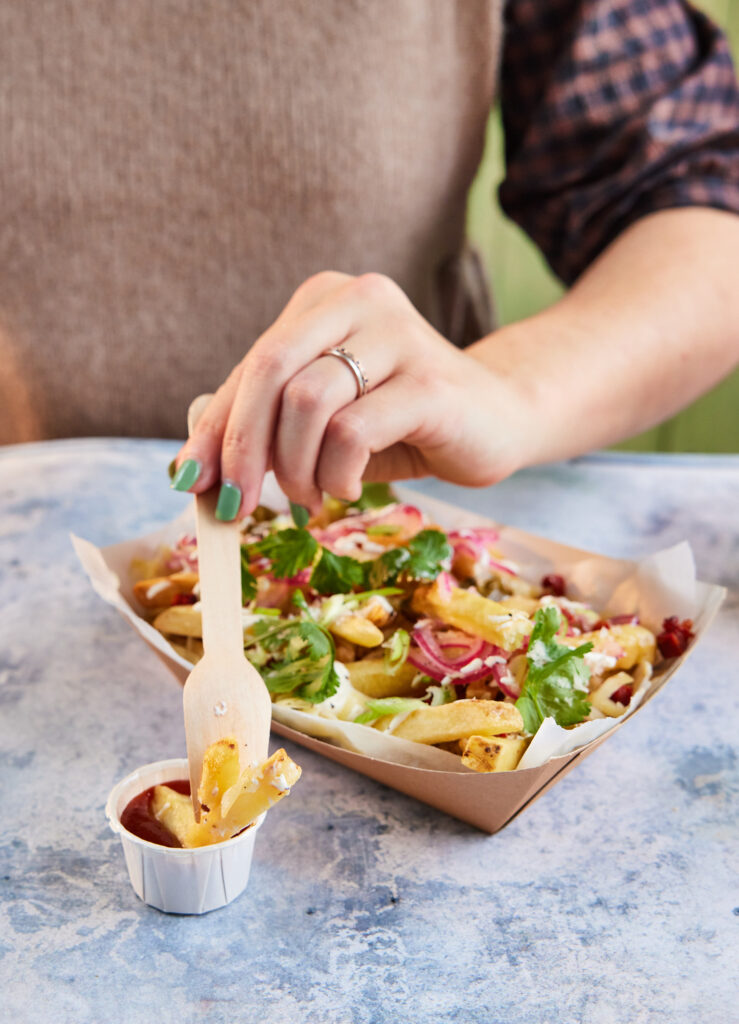
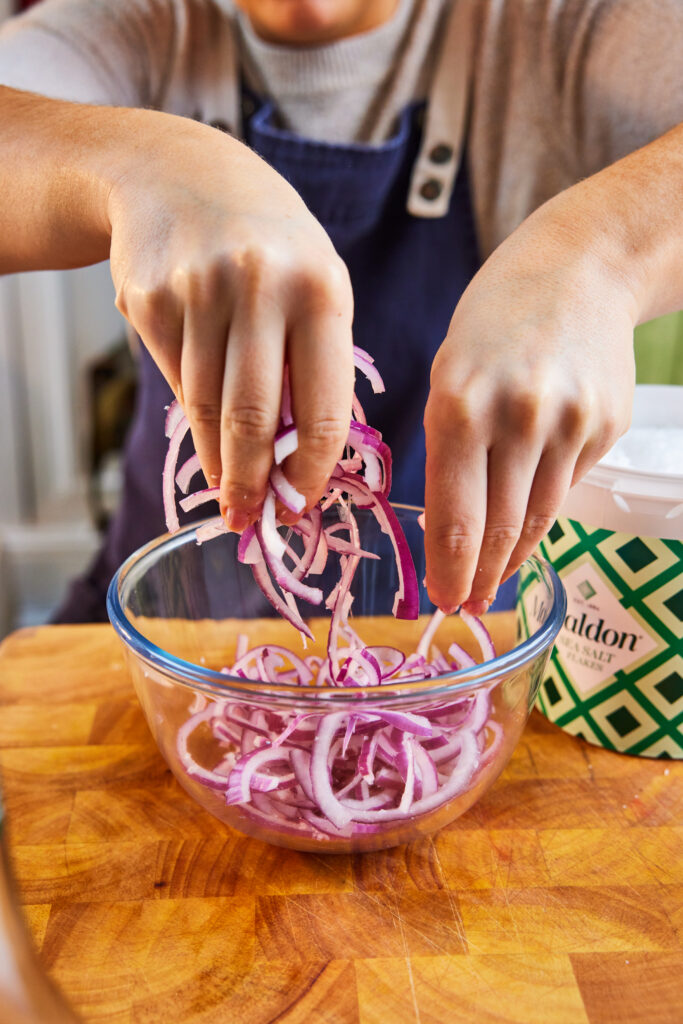
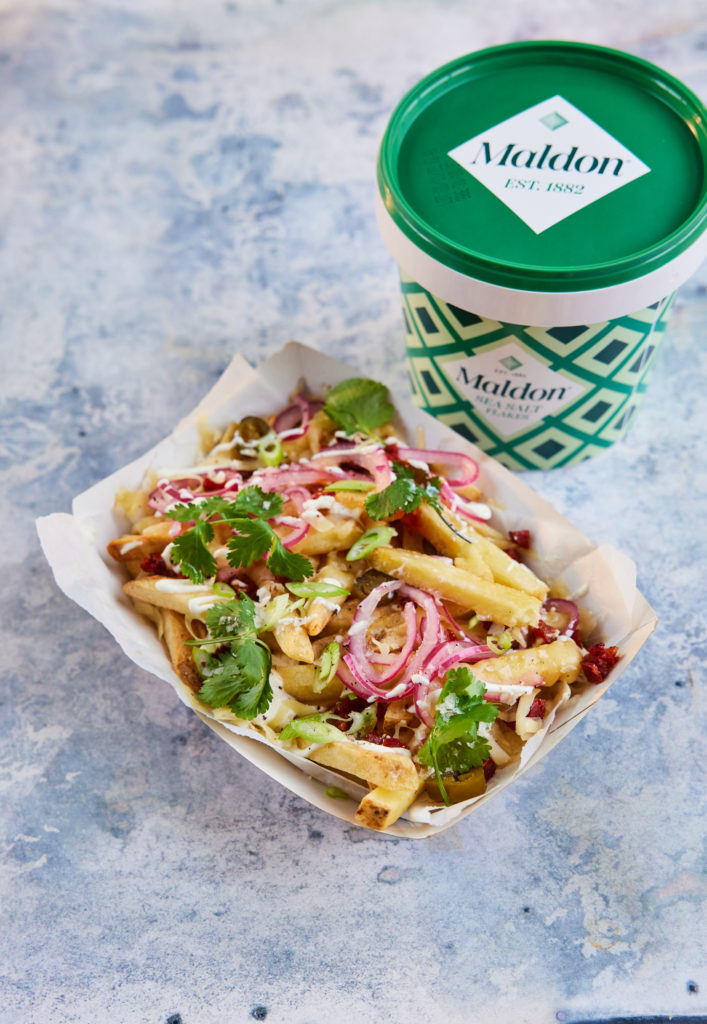
Ah yes, the ultimate comfort food…loaded fries! You can easily make these at home through cooking hop bought OR your own homemade chips. Within our recipe, we top the fries with chorizo, spring onion and pickled jalapeños to give that gentle level of heat. For the added level of creaminess, we also use cheese and sour cream, with a final pinch of Maldon Salt to finish this ravishing dish!
Food For Thought…
From this article, we’ve explored the benefits of homemade food in comparison to your go-to takeaway, listing the significant health, money-saving and joy home cooking can bring to you. We also illuminated to readers what salt chefs use in a restaurant setting, in which Maldon Salt is formidable for due to versatility of the pyramid-shaped flakes.
Make sure you have your Maldon Salt ready for ‘fakeaway’ dishes! If you are running out, please feel free to browse on our Where to Buy Page to find your nearest store in which stocks our beloved Maldon Salt flakes.
Lastly, we LOVE seeing your creations – please tag us on Instagram using the #maldonsalt so we can share your culinary masterpieces on our socials.
The only thing that survived this winter’s frost in Olia’s garden was kale, so she is using it in anything and everything! Use any dark greens that you have – spinach, cabbage, spring greens, wild garlic or nettles if you go foraging. Leeks give this pie a nice body and sweetness.
Clean the leeks well and slice lengthways in half, then slice thinly across. I only trim the dry edge of the green part of the leek, but use up the rest of the green part. Heat the butter and oil in a large frying pan or pot and add the leeks, cook over a medium-low heat until they soften, then add the garlic followed by the spinach and the kale and a generous pinch of Maldon Salt. At this point I cover the pan with a lid, this will help steam the greens. You want everything to yield and become nice and soft. Add the spring onions at the very end and cook for 2 minutes.
Let the filling cool down a little, then stir in the feta and plenty of black pepper. Butter a pie dish or a small deep tray and put the filling in.
Brush the melted butter over each filo sheet and crumple it on top of the filling.
Preheat the oven to 180C fan. Cook for 30 minutes or until the top is golden and the filling piping hot.
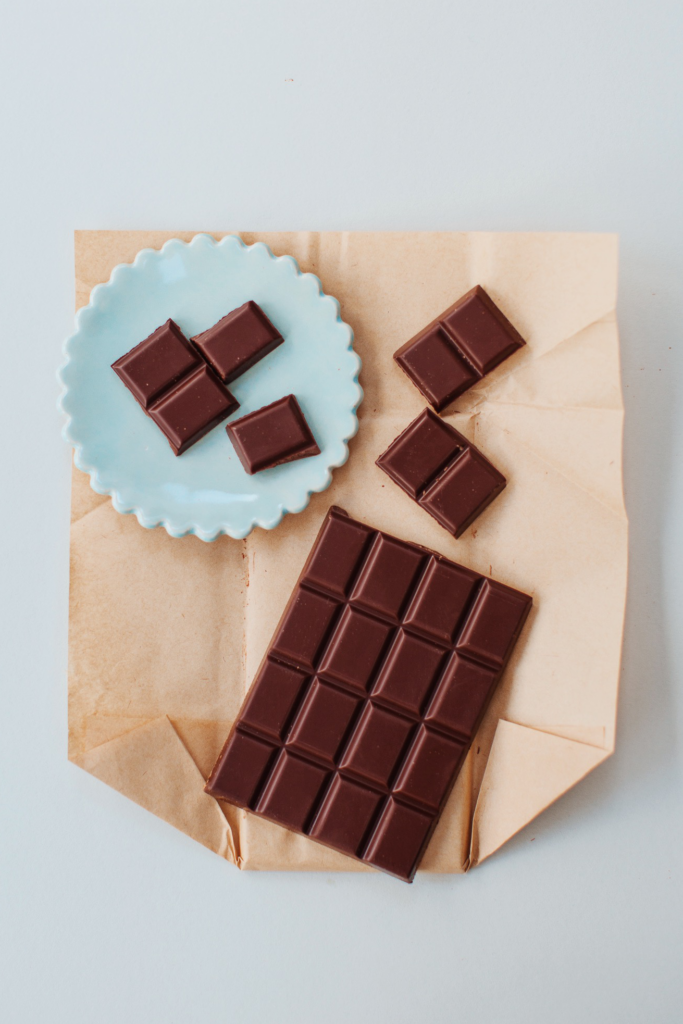
Why is chocolate and salt a match made in heaven?
Feeling the love this Valentine’s Day? We’ve been hanging around with Cupid recently, and wanted to share with you all the love story behind adding salt to chocolate and why this combination works so well together.
We first explore the historicalsimilarities and the sciencebehind the salty-sweet fusion, magnifying the benefitsit brings when pairing theses two components together.
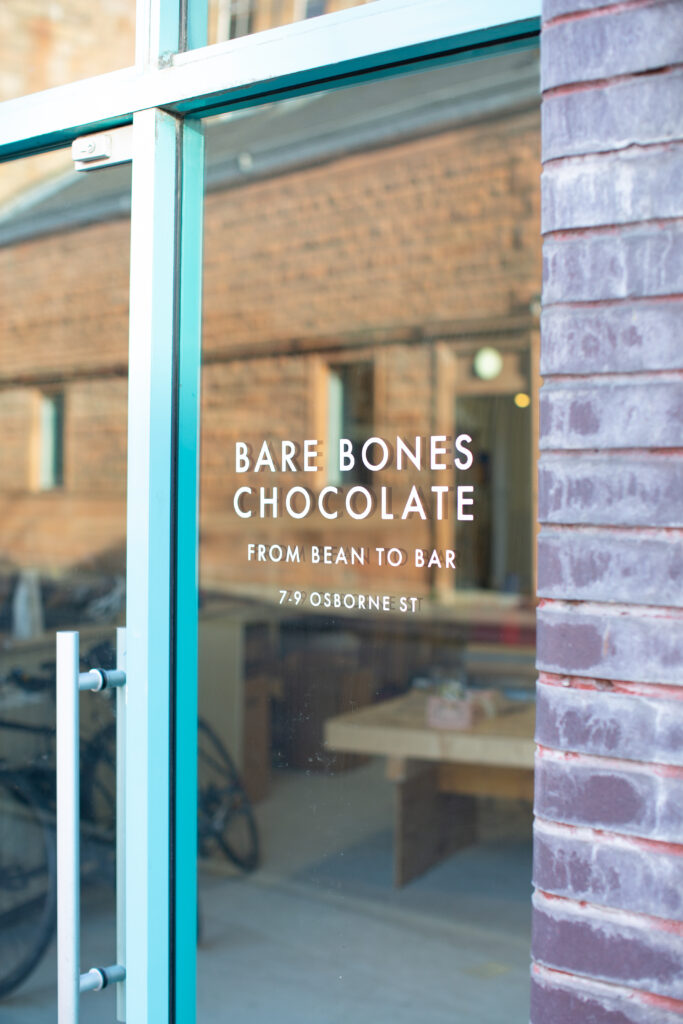
We then shine the light on our good friends’ Bare Bones Chocolate, looking into their own thoughts as to why they add Maldon Salt to their chocolate bars, including their delicious Dominican 68% Salted Chocolate. We also had the chance to sit down with Lara, who is one of the co-founders of Bare Bones Chocolate, where we got to understand their own thoughts behind sprinkling salt into chocolate and learning their ethos as a micro-batch, bean to bar company.
With our mouths watering for more, we end things on all things dessert, showcasing our favourite, easy-to-follow recipeswhich are perfect to make for your loved ones on Valentine’s Day.
A very similar history!
Did you know salt and chocolate share a very similar history, dating back thousands of years! Salt was an element that was very difficult to obtain back in the Roman era, which is why it was considered as a form of currency due to the high-value item status it obtained. This is why the word ‘salary‘ comes from, the Latin word ‘salarium‘ which directly translate to ‘salt money‘, due to to powerful, monetary value it possessed from being so difficult to come by.
Similarly, chocolate, or cacao beans, also acquired the same value with the Mesoamerican population. (The southern part of North America which extends to most of Central America, containing the countries of Mexico, Belize, Guatemala, El Salvador, Honduras, and Nicaragua, and northern Costa Rica). Cacao beans held such a high value that many of the employed population received this as a form of ready cash! Around 1000 B.C the Mayan population used cacao beans as currency, where goods would be priced in units of cacao.
From thousands of years ago to the present day, salt and chocolate are still being combined together, which leads us nicely into the science behind pairing the two elements together – and why it works so well!
It’s a scientific attraction…
Did you know that salt enhances the sweetness of a food and counteracts the bitterness? Researchers at Gizmodo explain how there is a sensor found in the human intestines known as SGLT1, where this specific sensor acts as a transporter with glucose moving into the ‘sweet taste cell’ when sodium is present, triggering the cell to register sweetness. Therefore, when you are adding a pinch of salt to your chocolate, not only are you balancing the flavours of the cacao beans, but the salt is literally acting as a detector, locating the sweeter notes of the chocolate and enhancing them to form a delicious tasting sweet treat!
Additionally, salt is a direct contrast to the sweet, sugary elements in chocolate. Thus, when the sodium ions of salt are first received on the receptors of our tongues, we are being prevented from tasting the harsh bitterness of the cacao beans, opening up to a pallet of more sweet tasting flavours – also known as cross-modal perception.
The benefits of adding sea salt to chocolate
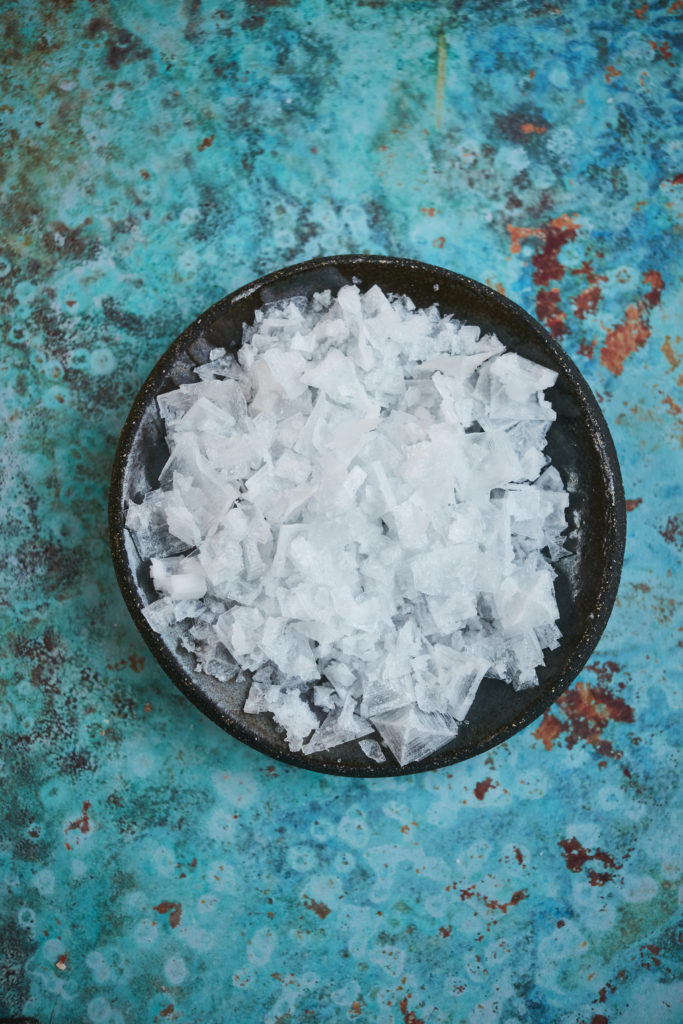
The main benefit in adding sea salt to chocolate is that you are gaining a purer flavour profile. Table salt is mostly iodized and processed to prevent gauter, which results in an artificially-tasting salt. In contrast, Maldon Salt is completely natural in it’s processes of being hand-harvested. This results in a salt which contains traces of minerals to give a more natural, fresh tasting flavour when added to chocolate.
Furthermore, adding sea salt to chocolate also enhances the texture. Maldon’s unique pyramid-shaped flakes allow the texture to become slightly crunchy, transforming your standard, flat chocolate bar to a treat to now having added layers of both complex flavours and texture.
Lastly, you only require a small amount of sea salt in comparison to using an excessive amount of table salt to chocolate. This is because the sea salt crystals tend to be larger in size, diffusing more slowly into the chocolate and making the flavour last longer. As a result you are lowering excessive sodium intake with substituting your standard table salt with Maldon Salt, where a pinch can make a whole difference to chocolate!
Now that we understand the benefits of combining sea salt with chocolate, we’re going to head over to our good friend’s Bare Bones Chocolatewho use Maldon Salt within some of their delicious chocolate bars…
Bare Bones Chocolate and Maldon Salt
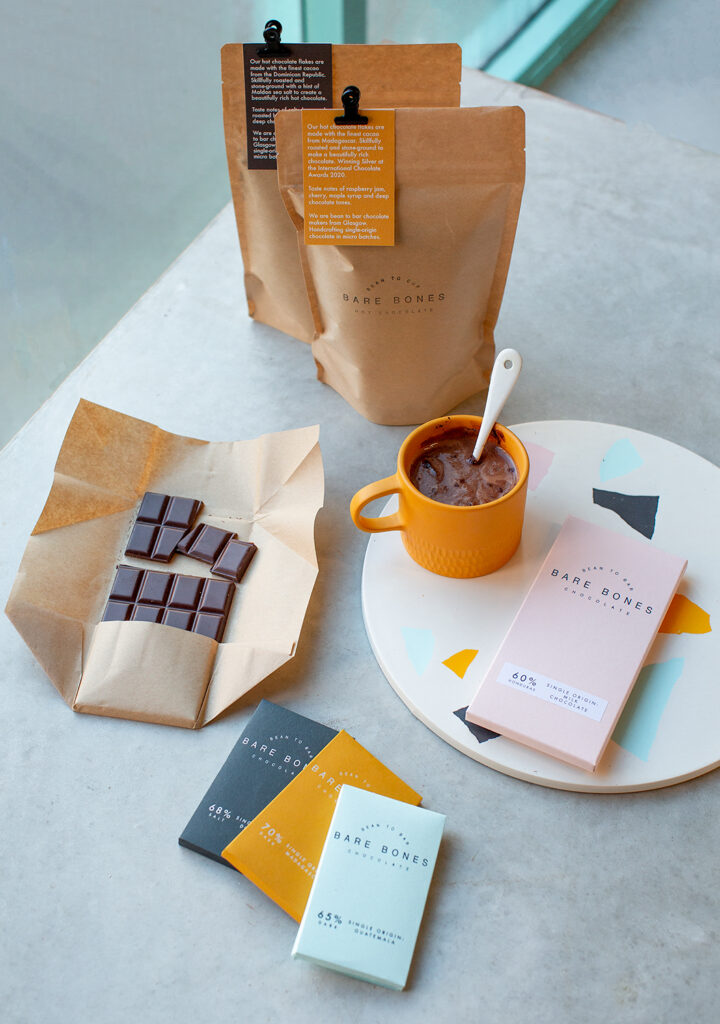
Bare Bones Chocolate is a micro-batch, bean to bar chocolate company situated in the bustling city of Glasgow, Scotland. The co-founders are Lara & Cameron, who are well and truly experts when it comes to all things chocolate, quality and sustainability.
With a remarkable ethos of chocolate needing to be pure, delicious and ethical, Bare Bones Chocolate is a company which honours their cacao farmers and cherishes their process from start to finish…resulting in glorious tasting chocolate from the quality and nurture of the cacao beans.
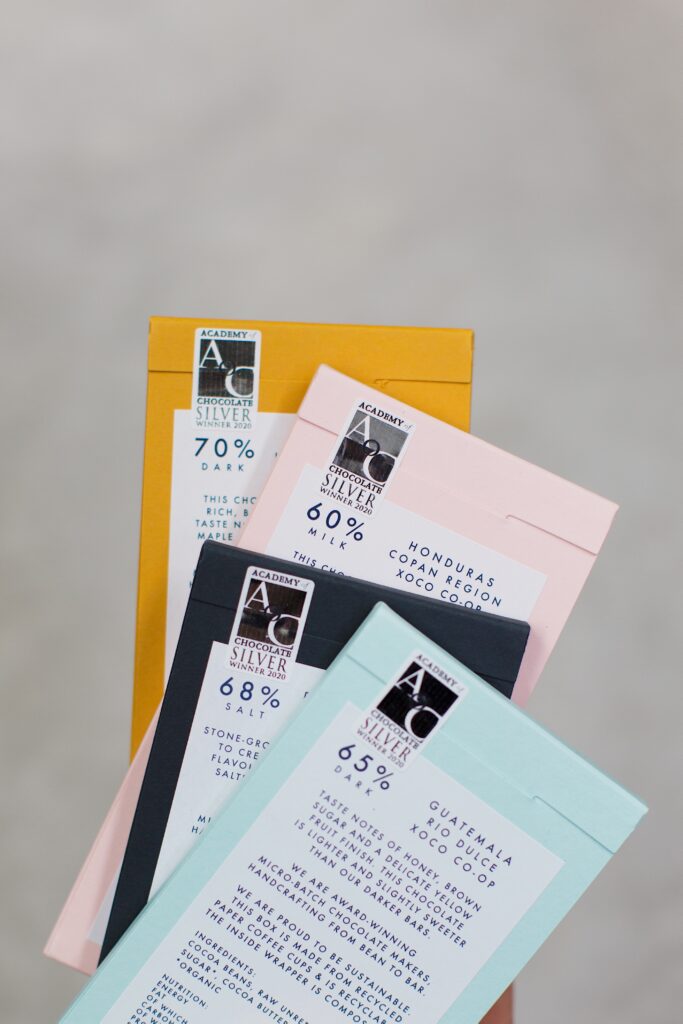
Being pioneers for both quality and flavour, Bare Bones Chocolate have created a bundle of delectable chocolate bars and hot chocolate to choose from, including their Dominican 68% Salted ChocolateBar. Maldon Salt is added to the dark chocolate which is grounded smooth for 24 hours to elevate the natural sweetness of the cacao beans. Not only this, but the salt is also used to give that flavour combination we all know and love, sweet-and-salty! Mixed to perfection, the chocolate bar contains flavour notes of salted caramel and roasted hazelnuts to give a gentle warmth.
In conversation with Bare Bones Chocolate…
We caught up with Lara and Cameron and took a look into the story of how they were able to transform the humble cacao bean to their brand Bare Bones.
Here’s their thoughts on why they add salt to their chocolate bars.
Happy Valentine’s Day Bare Bones Chocolate! We wanted to know what inspired you to create your own bean to bar chocolate company?
Myself and Cam have always loved specialty foods, coffee and handcrafted goods. We were so inspired by small food businesses in London when I lived there and always dreamt of having our own business one day where we made something we were really proud of. We fell in love with bean to bar chocolate and obsessively began researching and making our own chocolate at home. We were hooked! Cam is an engineer which is perfect for chocolate making – it’s all process, engineering and fixing broken machines! Our skill sets compliment each other so well, which I think makes us a great wee team.
Can you share with us the story of how you transform cacao beans into chocolate bars?
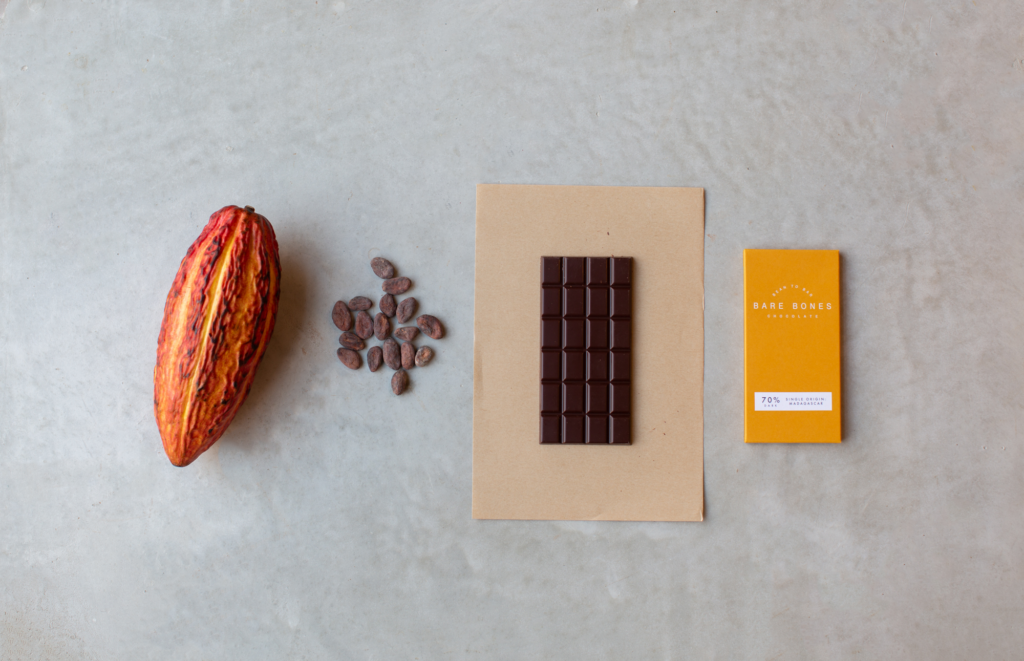
Making chocolate from scratch is a magical (but extremely scientific) process. We source cacao from Central America and Madagascar from small co-operatives of farmers. Just like wine, cacao tastes different from different origins depending on the beans genetics, the terroir and how it has been fermented and processed. As a chocolate maker, it’s our job to highlight the incredible work the farmer has already done and retain as much of those unique, natural flavours as possible. Amazing chocolate starts with amazing farmers!
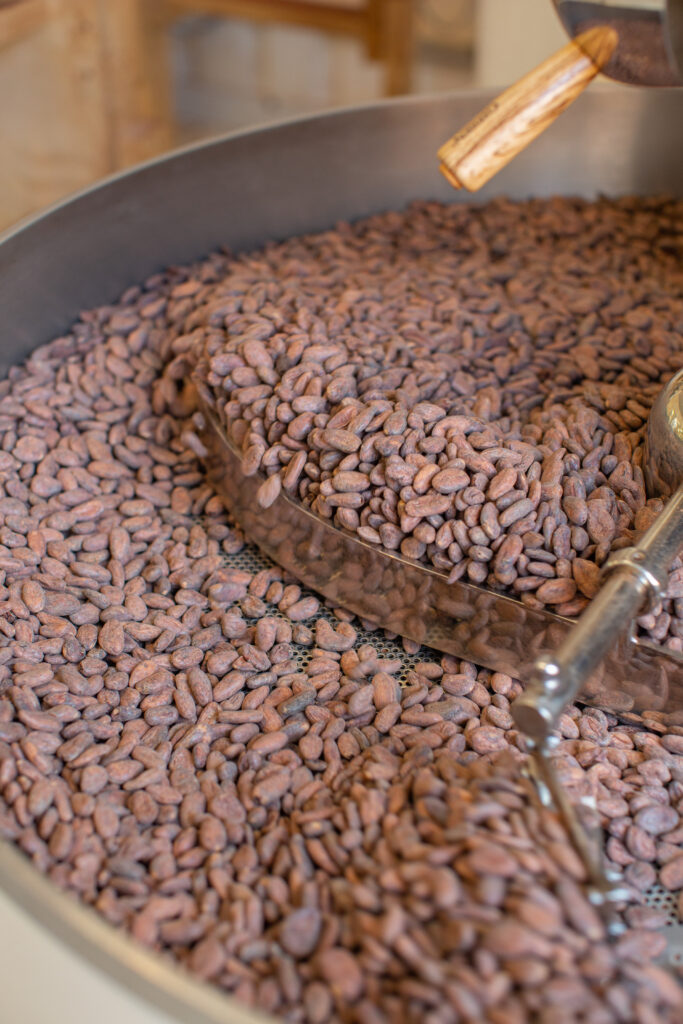
Once the beans arrive at our workshop, we sort them for defects or any cracks that might affect the roasting process and the flavour. We roast the beans in a modified coffee roaster (other chocolate makers roast in ovens) which gives us an incomparable level of control and precision to bring out the best of each bean!
The shells are removed from the beans through a process called winnowing, leaving us with the cacao nib which is what we use to make chocolate. The nibs are crushed by a melanger, which is like a giant mortar & pestle, to squeeze out the natural cocoa butter from the nibs and to make the chocolate fluid and smooth. At this stage we are also removing acidity (as chocolate is a fruit and can be very acidic!) through the introduction of air and the friction of the machine’s wheels. We add raw unrefined cane sugar, which tastes SO good as it has the natural molasses intact, and stone-grind it with the nibs.
Once it’s smooth and tasting incredible, we age the chocolate to mellow/or intensify the flavour (depending on what suits the origin). After ageing, we temper the chocolate into bars and blocks to shave for hot chocolate. Tempering aligns the crystal structure of the chocolate creating a crisp snap and glossy finish.
We hand-wrap all of our bars in compostable paper and package in beautiful colourful boxes made from recycled paper coffee cups! Each stage is so handcrafted… without ageing, it takes a week to make a bar of chocolate!
In your own opinion, why do you think chocolate and salt are often paired together?
Salt brings out the natural sweetness of the cacao. For our 68% Dominican Salted chocolate, we stone-grind Maldon through the batch for 72 hours. The salt transforms the cacao’s flavour profile, highlighting tones of salted caramel and hazelnut. It wouldn’t be the same without Maldon!
It’s no secret that we are BIG fans of your chocolate bars! Can you tell us why you use Maldon salt flakes within a few of your bars?
Maldon is the only salt for us! Growing up my Mum and I loved watching Nigella’s cooking shows. Proudly sitting on Nigella’s countertop with its foiled lettering was a Maldon Salt box. We paused the TV, eager to see what the brand was and found it in a local deli! So we have Nigella to thank for our great love of Maldon.
There are so many delicious chocolates that you have created! Come on, you must have a favourite flavour?
My favourite has to be the salted chocolate! It’s so moreish as it is the perfect balance of sweet and salty. It works incredibly well as a hot chocolate too, as the caramel tones really shine through the milk. I couldn’t live without it!
We see that sustainability and origins of your ingredients plays a big part in your company. Are you able to share some more light into this?
Sustainability is so important to us – from the farmers and beans that we work with, to the packaging we use, the resources in the factory and our lifestyle too! We believe it is a businesses responsibility to make sure they are creating as little waste as possible and be conscious of the products they are making and their impact to the planet.
Being a single origin chocolate maker means we are highlighting the beauty and differences of each origin. We work with small co-operatives of organic farms who are nourishing the land and its natural eco-system instead of depleting it.
Name 3 things you can’t live without in the kitchen.
Soy sauce
Spatulas
A really good non-stick pan. (And of course, Maldon).
Hungry for some chocolate?! Head over to Bare Bones Chocolate’s online store to purchase your very own sweet treat now!
Recipes to make for Valentine’s Day
Do you need some inspiration in what sweet treats to bake for your loved ones this Valentine’s Day? We’ve got you covered! We’ve shared three sweet-based recipes in which marriage the harmonious pairing of chocolate and Maldon Salt to impress your friends and family.
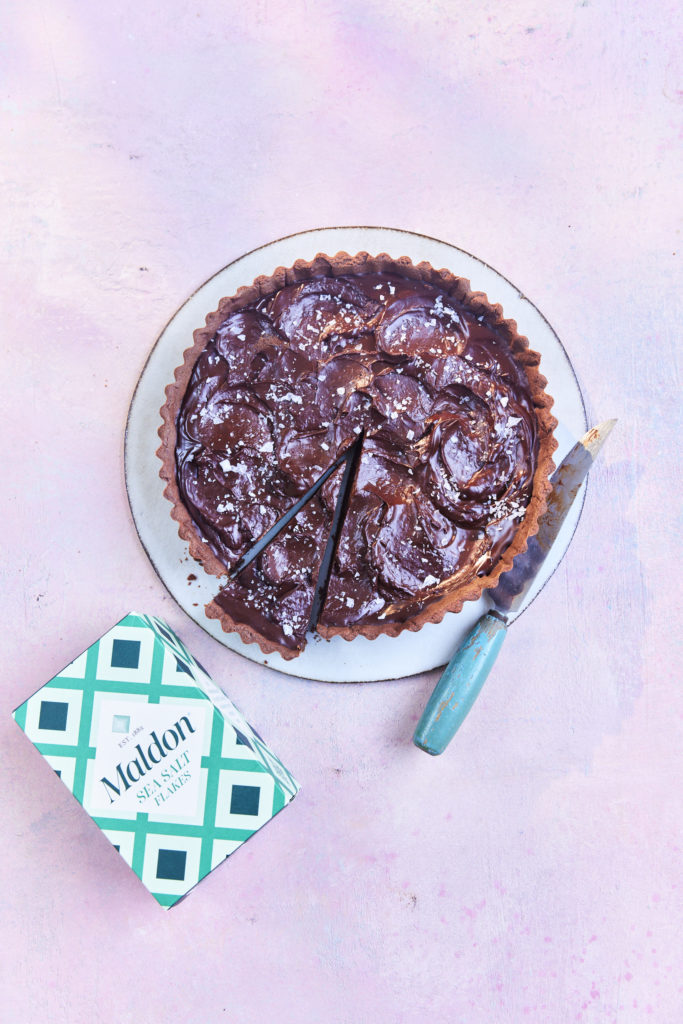
Dark Chocolate Torte with Maldon Salt
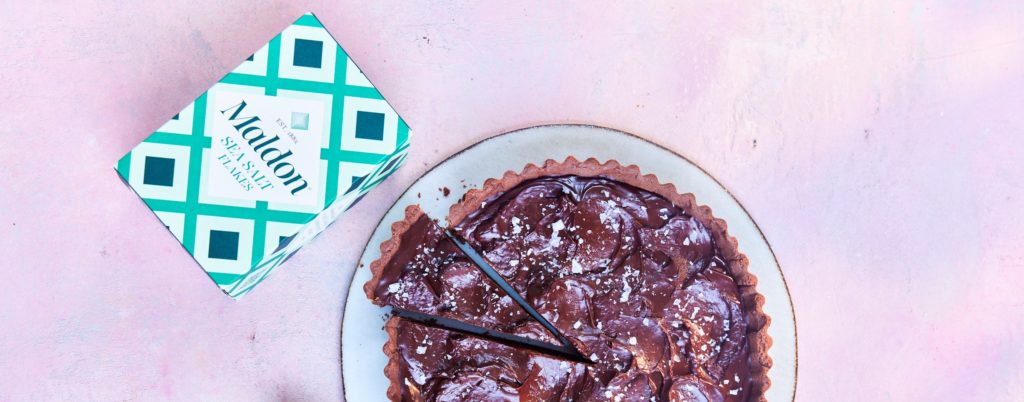
Talk about a show-stopping dessert! This recipe is made with a dark chocolate short pastry, filled with a creamy, rich ganache. Maldon Salt is added on the top of the torte to reduce the bitter notes of the rich, dark chocolate and illuminate the sweeter accents.
Remember to add a pinch of Maldon to the pastry as well – it not only adds a subtle flavour element, but salt actually helps in strengthening the dough, creating a stable pastry crust for the creamy ganache to be poured into.
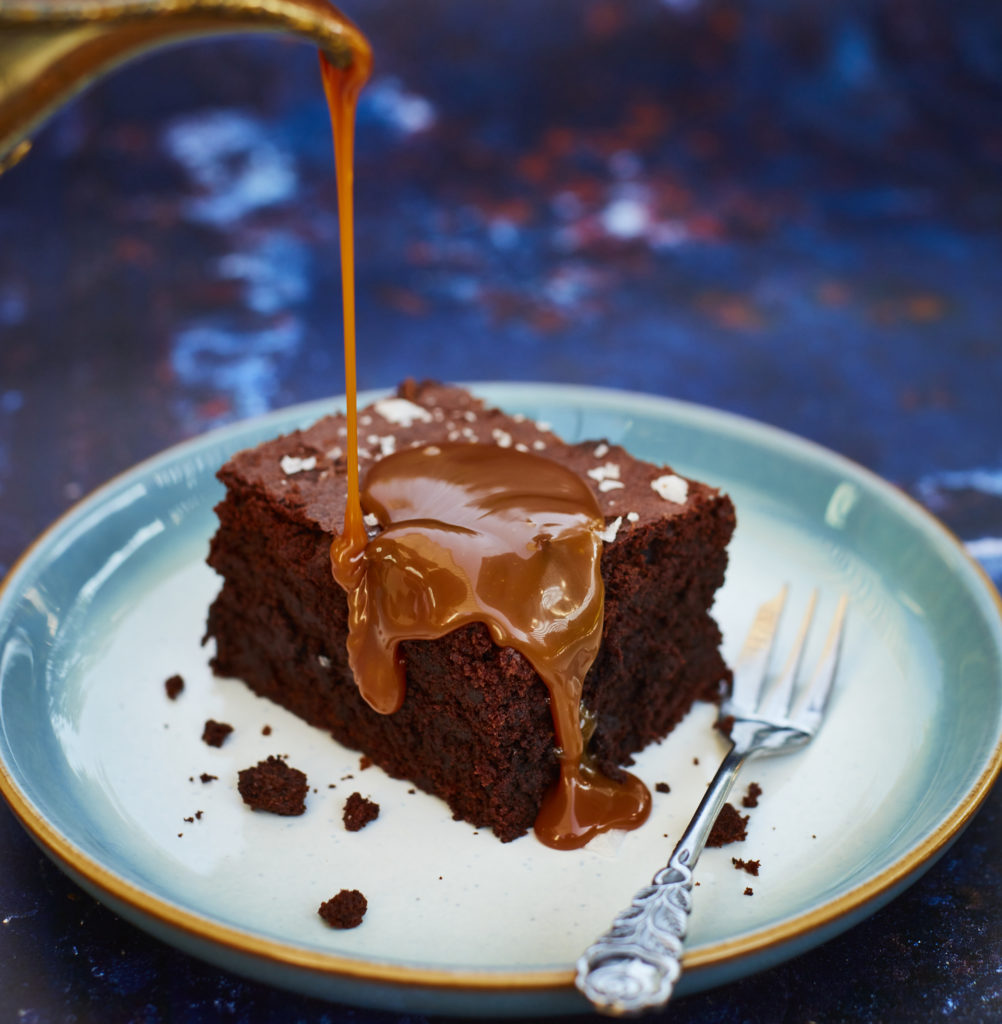
Chocolate Cake
This decadent recipe is filled with a bundle of delicious, chocolate flavours; including dark, milk and white! Make sure to sprinkle a generous pinch of Maldon Salt on the batter before baking to elevate the sweetness of the chocolate and counteract the bitterness from the cocoa powder.
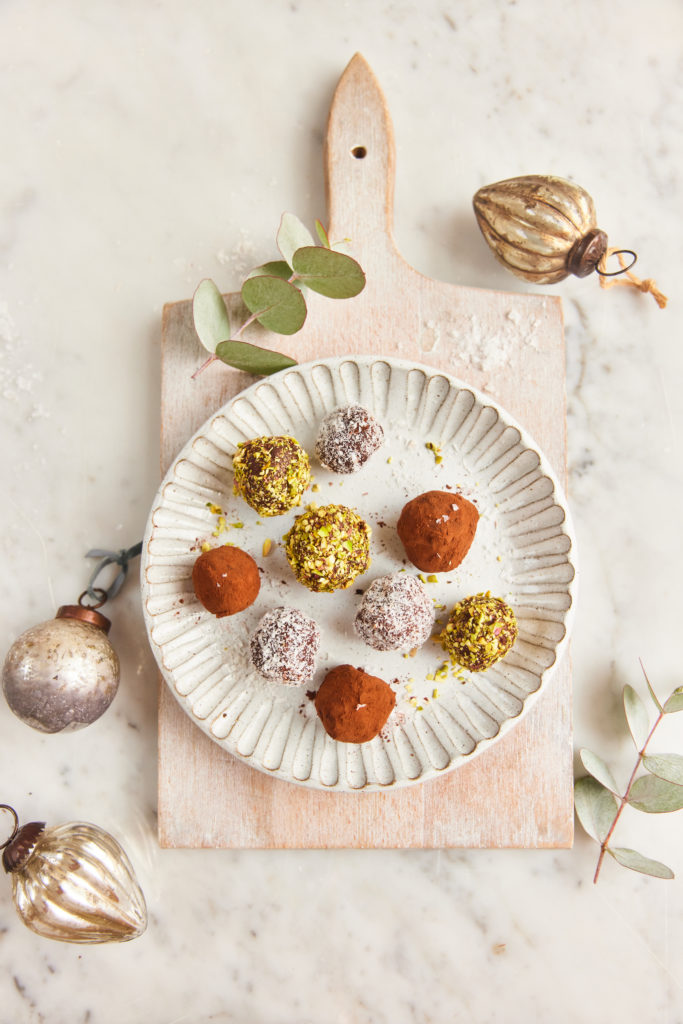
Chocolate & Amaretto Truffles
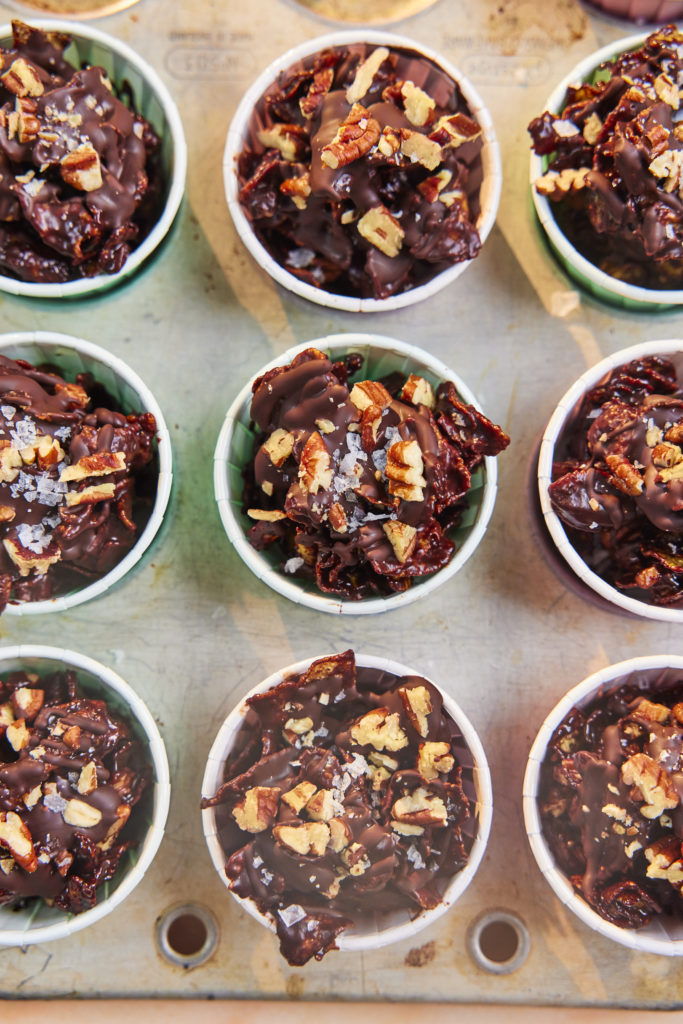
This truffle recipe is so easy to make and packs a punch full of flavour! Dark chocolate is paired with amaretto to give a warming, nutty flavour to the truffle balls. A generous sprinkling of Maldon Salt is definitely required for this recipe to bring out the sweetness from the dark chocolate, whilst also adding a gentle crunch from the pyramid-shaped flakes to give texture…delicious!
Happily Ever After…
To conclude, within this article we were able to share the historic love story between chocolate and salt, dating back to 1000 BC! We found out that science backs up this flavour combination through the use of sensors and the benefits that Maldon Salt brings when added. We had the delightful chance in catching up with Bare Bones Chocolate, who were kind enough to share their own thoughts on the sweet-and-salty pairing and how they use Maldon Salt within some of their chocolate bars! Ending things on a ‘sweet’ note, we hoped you enjoyed some of our favourite recipes to make for your loved ones this Valentine’s Day…
Make sure you have your Maldon Salt ready for these sweet treats! If you are running out, please feel free to browse on our Where to Buy Page to find your nearest store to stock up.
Lastly, we LOVE seeing your creations – please tag us on Instagram using the #maldonsalt so we can share your culinary masterpieces on our socials.
Store-bought granola’s can be quite expensive these days – Why don’t you save your pennies and make your own!
This recipe is packed full of nutrients from the blends of toasted nuts and seeds. Swap your honey with agave syrup for this recipe to be completely vegan-friendly as well.
Preheat the oven to 180C.
Line a large baking tray with baking paper.
In a large bowl mix together the oats, nuts and seeds with the cinnamon and Maldon Salt. In a small pan melt together the coconut oil and agave syrup gently. Then pour this over the oats and mix well, making sure everything is evenly coated.
Spread it across the baking tray and place into the oven. Bake for 10 – 15 minutes until lightly toasted and golden brown.
Remove from the oven and allow to cool slightly before stirring through the coconut flakes.
Add on top of your breakfast porridge, yogurt or even on a salad to add a new level of texture with the delicious crunch of the nuts and seeds!
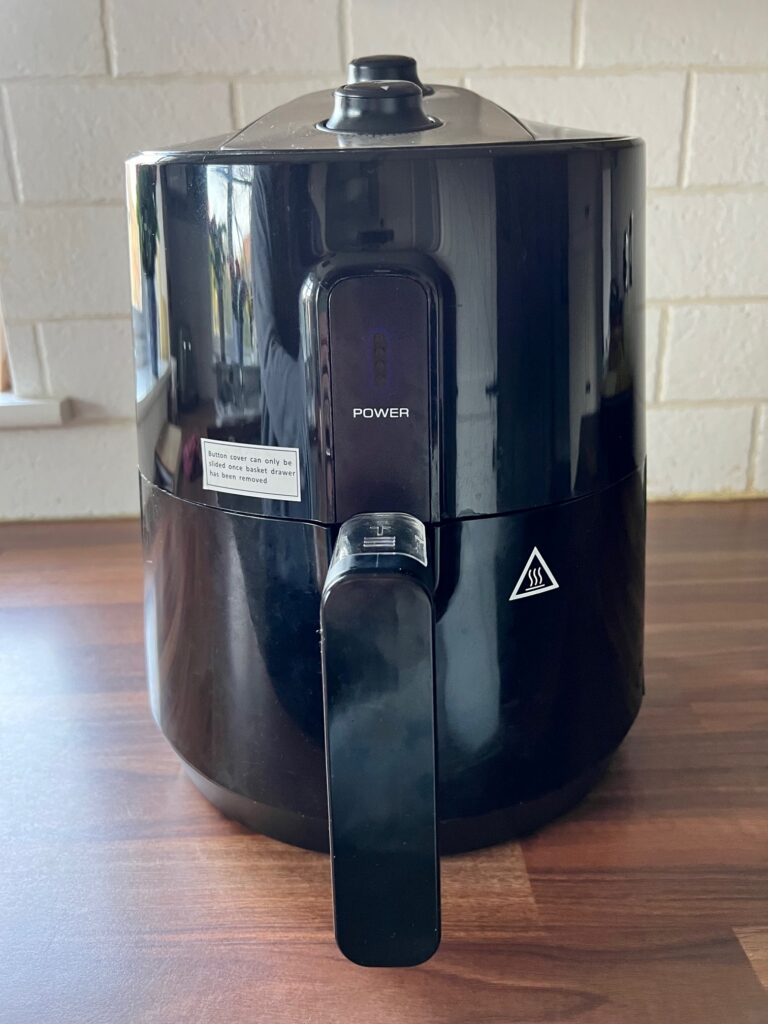
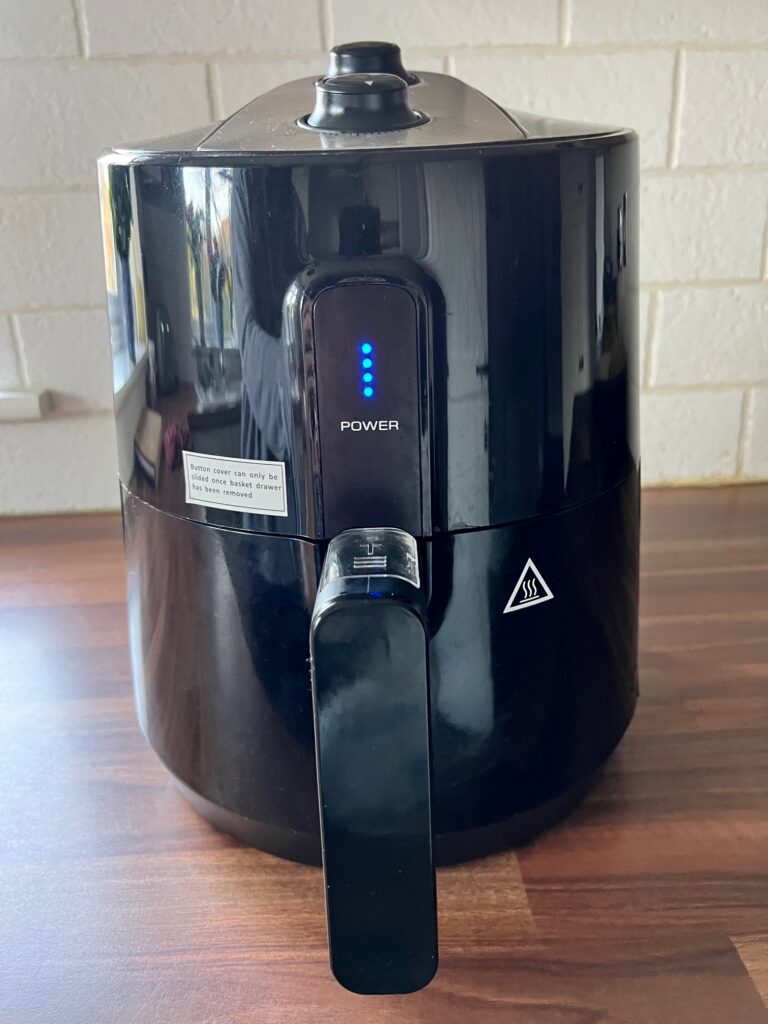
Is An Air Fryer Worth It? We Think So!
Air fryer cooking has gone viral in recent months due to claims such as Russell Hobbs’ Assistant Marketing Manager Caitlin Wood advising how the popular kitchen appliance is more energy efficient than an oven; a much healthier, guilt-free way to enjoy your food and also being quick and easy to use. Not forgetting – there is also less cleaning up to do in your Kitchen, as well as some even proclaiming the food tastes better!
How worth it is an air fryer?
This article will explore all of these claims that are currently dancing around in our kitchens, justifying just how brilliant this modern-day appliance really is to you and your families.
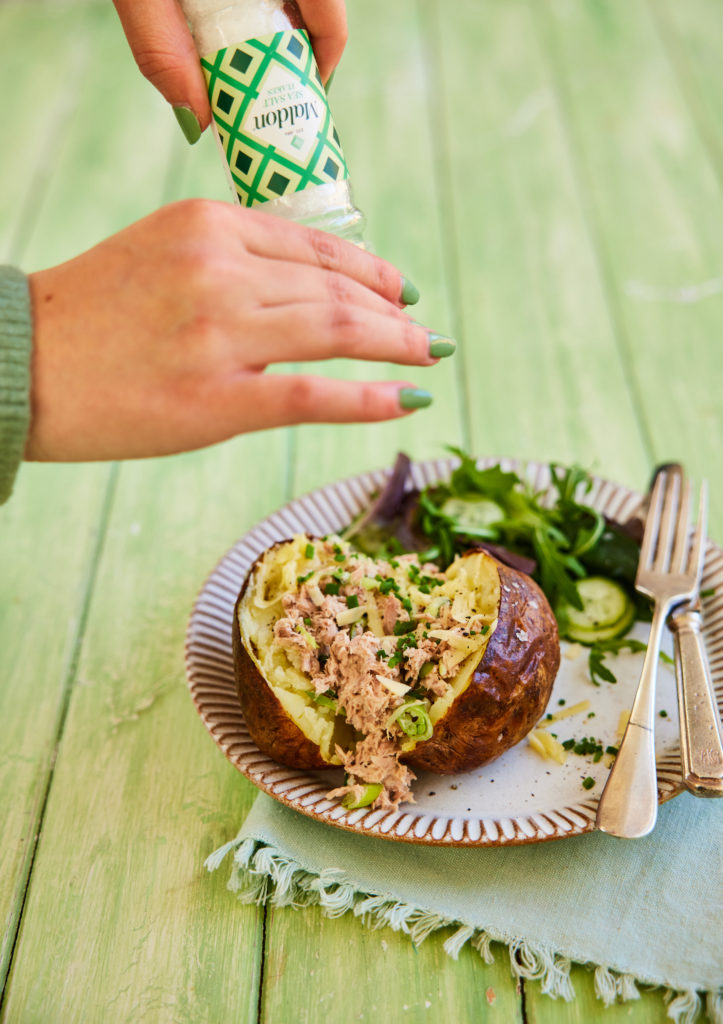
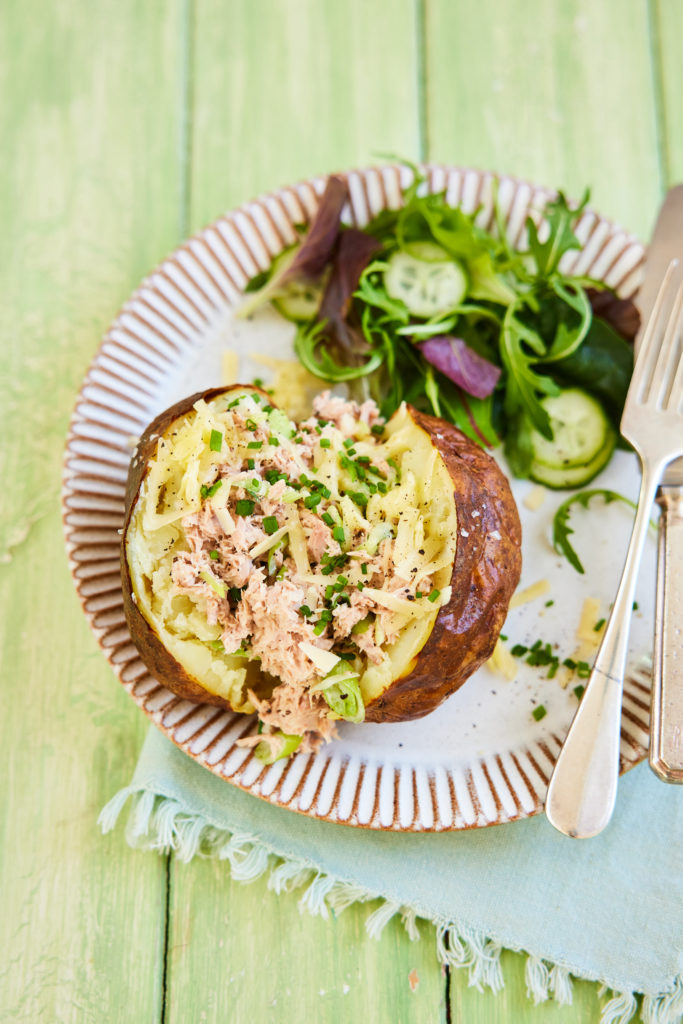
Nearing to the end of the article, we even share what the best foods to cook in your air fryer would be, including our own deliciousJacket Potato recipe, baked to perfection with a sprinkle of Maldon Salt.
Let’s put our reading glasses on and begin with understanding the just how efficient in energy an air fryer can be.
How Much Energy Does An Air Fryer Use?
An air fryer (1500W) on average use between 1.4 – 1.7kWh if you using it for 1-hour. This works by the air fryer using convection heat, whereby hot air is circulated around the compliance to cook the food – very similar to how a fan oven would work! The heating process creates a reaction to the food inside known as the Maillard Reaction, causing the exterior of the food to gently crisp up, resulting in delicious, crunchy-texture foods!
Does It Use Less Electricity Than An Oven?
In comparison, a single electric oven would use on average 2.0-2.2kWh if using for 1-hour. A double electric oven would use even more electricity, averaging 4kWH-8.5kWh!
You’re probably thinking if the air fryer uses less electricity than your oven, it must be cheaper to run? The answer is yes! The Money Edit advised how an oven costs on average 21p to use, whereas a standard air fryer of 800W would be 13.6p. However, be mindful of the wattage of your air fryer, as a higher wattage equates to more electricity being used. In turn, this may result in a higher amount of electricity being used compared to your oven..
How Energy Efficient Are Air Fryers?
Researchers at Hometree have stated that air fryers are more energy efficient than most ovens simply because they cook food much faster. As mentioned earlier, an air fryer of 1500W typically would use around 1.4-1.7kWh an hour, so using the appliance for just 10 minutes would cost only 9p. Compared to a single oven of 2.2kwh being used for the same time, costing up to 12p.
(Source: Electricity Cost Counter. Electricity costs are calculated using the UK: Energy Price Guarantee (October 2022) electricity rate of £0.34 per kWh).
You only need to use the air fryer for a short amount of time due to how fast it can cook your food. An oven would take longer due to the larger volume it holds, meaning the longer it would for heat to circulate around the appliance. In comparison, the air dryer is much smaller in volume and can heat your food in a matter of minutes!
And this leads us onto the many benefits of air frying your food. We’ll explore the health profits of air frying compared to oil, as well as the body science of consuming air-fried foods.
Benefits Of Air Frying
As you place your food onto the air fryer’s basket and press the activation button, the circulating hot air will start to cook your foods, creating a glorious, crispy brown coating and a delectably soft inside. With the food cooking, any greasy drops or leftover juices are caught at the bottom of the air fryer’s container, away from the food.
This sounds like the perfect, cooking set-up, right? It’s because it IS!
Very little oil is used in the cooking process of an air fryer, replacing fried foods cooked in a deep-fat fryer/oiled pan which contain higher amounts of trans fat.
Within this section we will be looking at if air fryers are healthier, the quickness and easiness to use and the taste!
Are Air Fryers Healthier?
There is a clear winner when an air fryer is compared to deep frying your food…ding ding ding! It’s the air fryer! Air frying your food significantly reduces the amount of oil being absorbed when cooking, cutting calories by 70%-80%. As a result, air frying is healthier than oil frying as you are removing the calories and fat content in which would be remarkably higher when deep frying as you as you are using less oil.
When compared to an oven, the air fryer also poises on top with having many advantages. Air fryers are equipped with a tray underneath the basket where you would place your foods. This also reduces the amount of fat being absorbed into the foods as it is going into the tray and not amongst the foods you are cooking.
Quick And Easy To Use
Did you know air fryers take very little time to pre-heat? It’s all down to the smaller scale size of the kitchen appliance in comparison to a fan oven, where more heat is required to warm up the larger volume of space. Therefore, you can have your dinner’s ready in a matter of minutes as the pre-heating time shortens, meaning the cooking time is ramped up from the rapid air circulation.
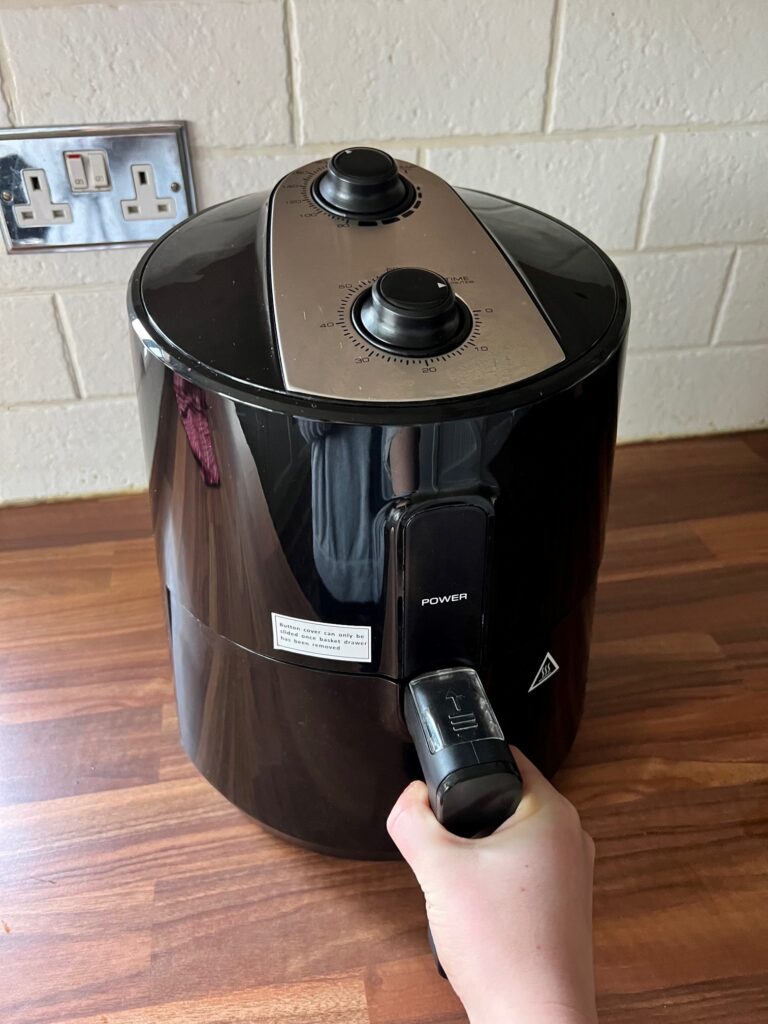
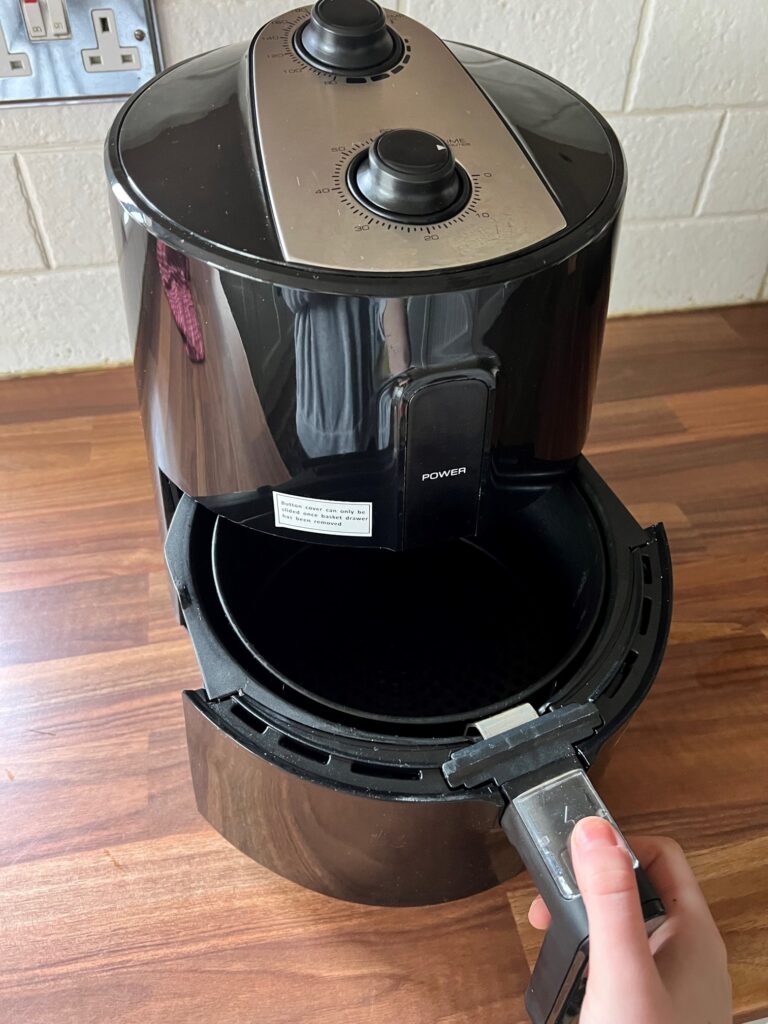
Some may question how easy the air fryer is to use– but fear not! Hear is a short guide in how to use a standard, basket-type air fryer:
Place your air fryer on a heat-resistant surface. It is recommended to keep it 8 inches away from the wall.
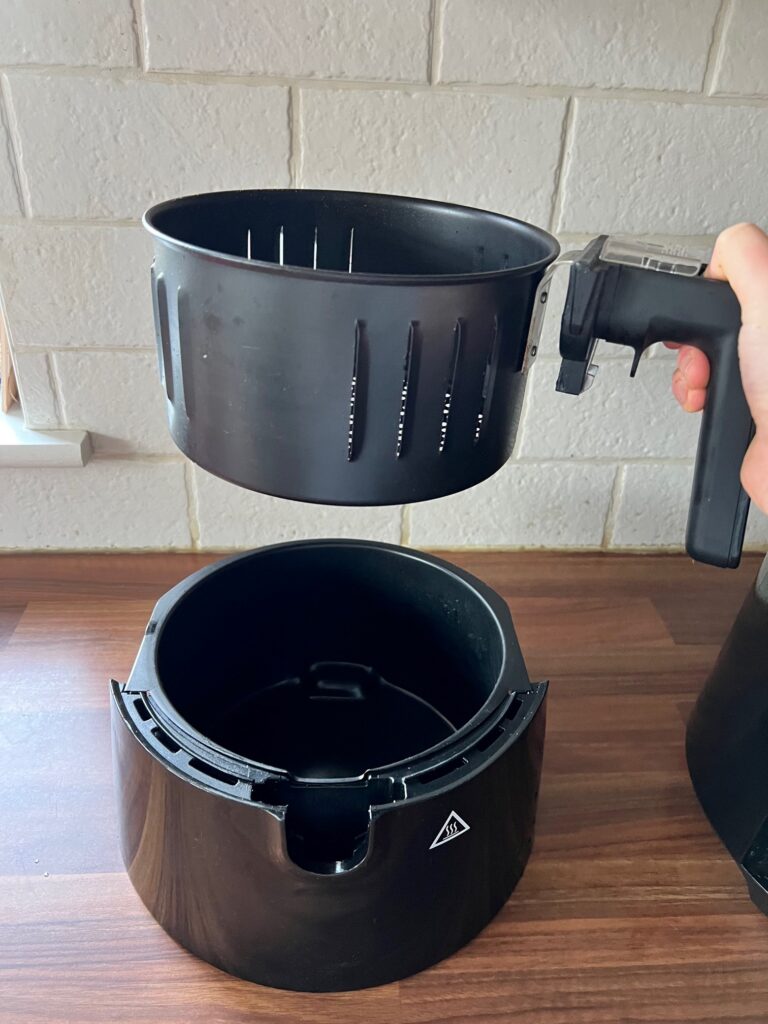
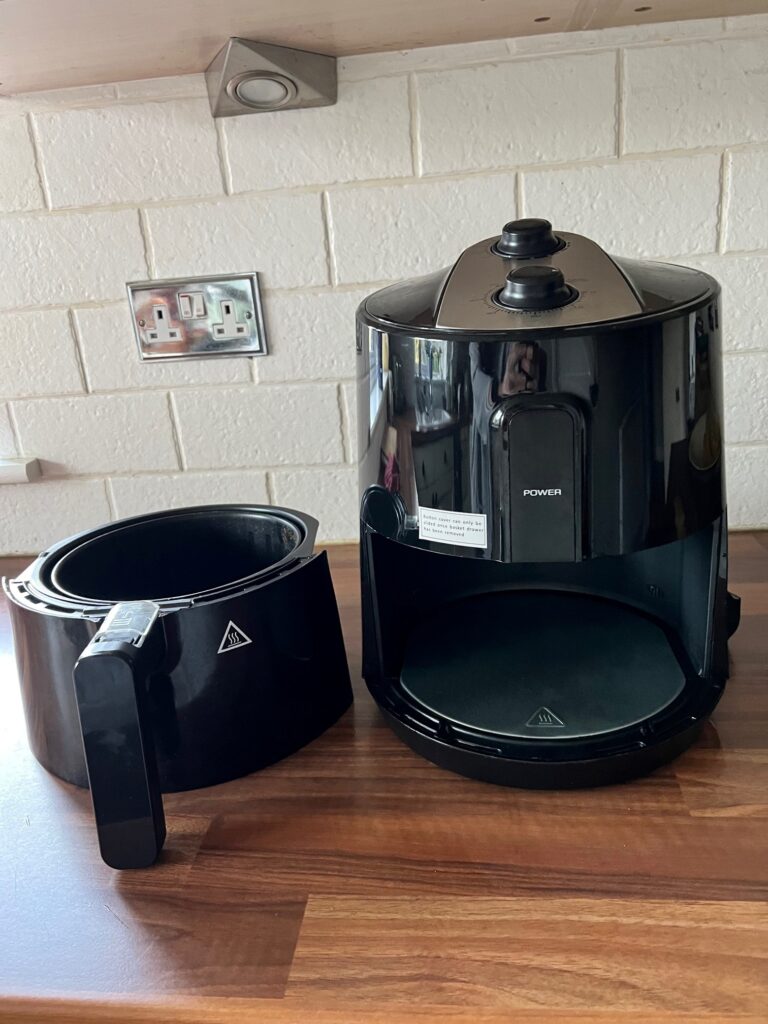
Remove the components, in which normally includes a detachable basket and a tray in the bottom of the basket. Wash and dry these.
It is advised by many manufacturers that you should run the air fryer empty for 10 minutes when you are first using it. This is to reduce the off-gas.
After this, you are ready to start cooking up a storm with your air fryer! You will find a manual with your air fryer in which will advise the correct temperature and timings for different types of foods you are wanting to cook.
Is your belly rumbling with all this food talk?Further in the article we will get to discuss why air fries food tastes great and what types of foods you can cook with your air fryer.
Less Cleaning Up
How many times have there been pots and pans all over the counter whist you’re creating a culinary masterpiece? With the air fryer you simply have the appliance itself to clean up, as it comes with a basket for the food to be air-fried in as well as a tray to hold any excess oil/juices…no pots or pans required!
Once your food is cooked, simply detach the basket from the appliance and place the food onto your plate – hey presto! Your dinner is served. This is a match-made-in-heaven if you are always on the go, have a busy family life or if you’ve simply just had enough of washing up your pans.
Air Fried Food Tastes Great
Does air fried food taste better? The machine’s rapid air circulation allows good to become wonderfully crispy and soft in the inside, basically turning foods into having an extra-crispy texture. If you were to deep-fry your food, you may end up with a greasy, wet substance in which the air fryer doesn’t allow due to its internal tray catching any leftover oils/juices.
Additionally, as you are using less oil in an air fryer, you will find vegetables are less greasy and more flavoursome as they gentle bake in the warm heat, perfect to be dished up as a side for your dinner.
We’ve also noticed how beautifully tender in flesh chicken is when cooked in an air fryer. Due to the circulating heat, it causes the skin of the chicken to crisp out, allowing the centre of the protein to become deliciously succulent.
What Can You Cook In An Air Fryer?
Once you have secured an air fryer, you probably want to know what you can cook with it?
There is an abundance of foods you can cook in the air fryer, from cult-classics such as French fries to extravagant mains including roast chicken! We have made it easier for in writing a few food items in which you can cook in an air fryer:
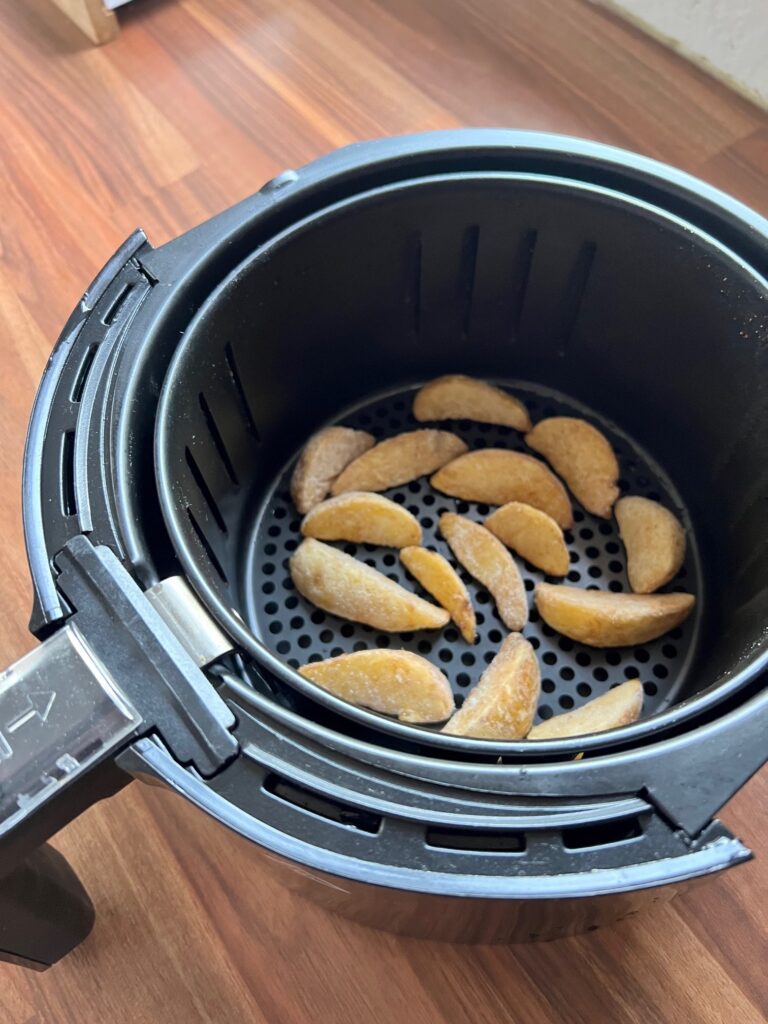
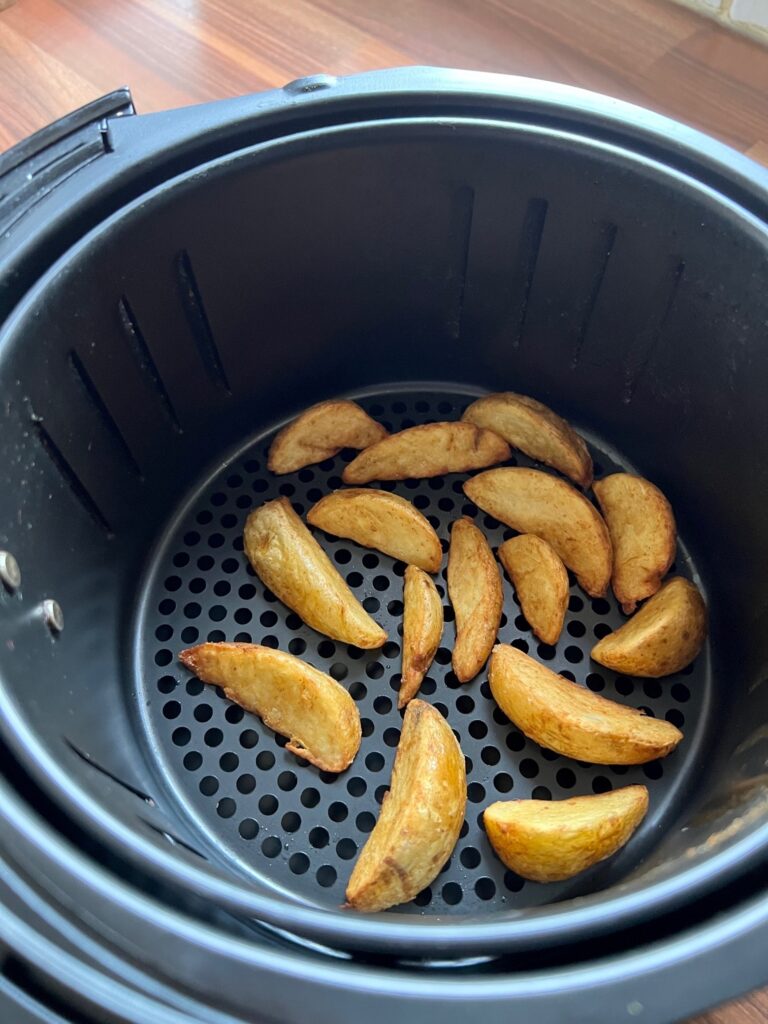
Chips (such as potato, sweet potato, turnip, parsnip etc).
Vegetables
Meats (such as chicken, fish, meat patties/burgers)
Tofu
Dessert (yes, you can make sweet treats including cookies!).
Re-heated leftovers
Frozen foods
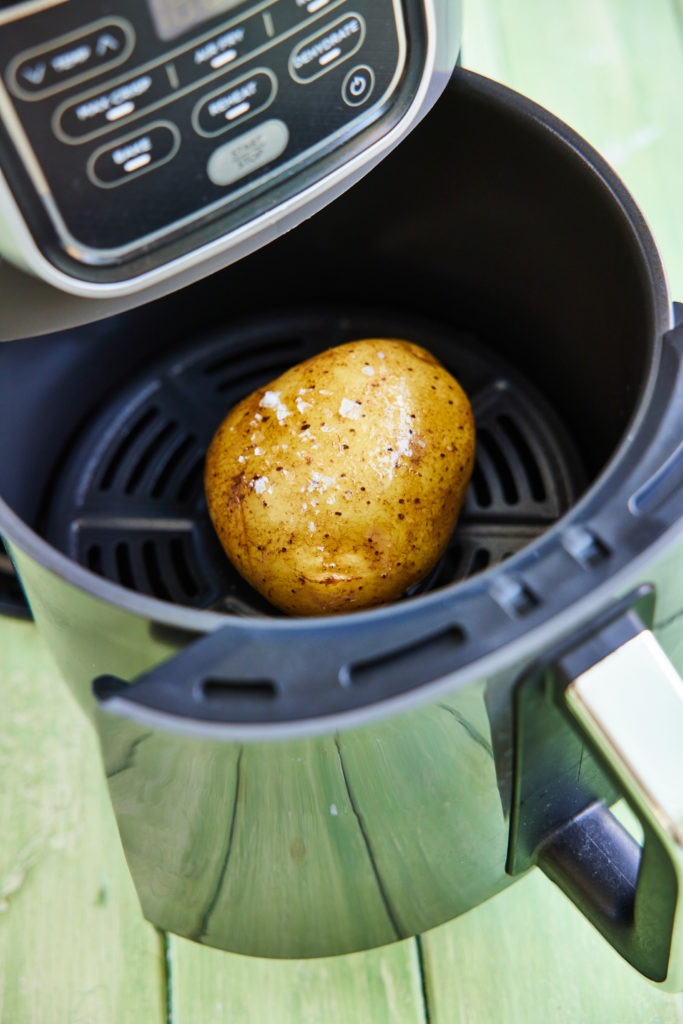
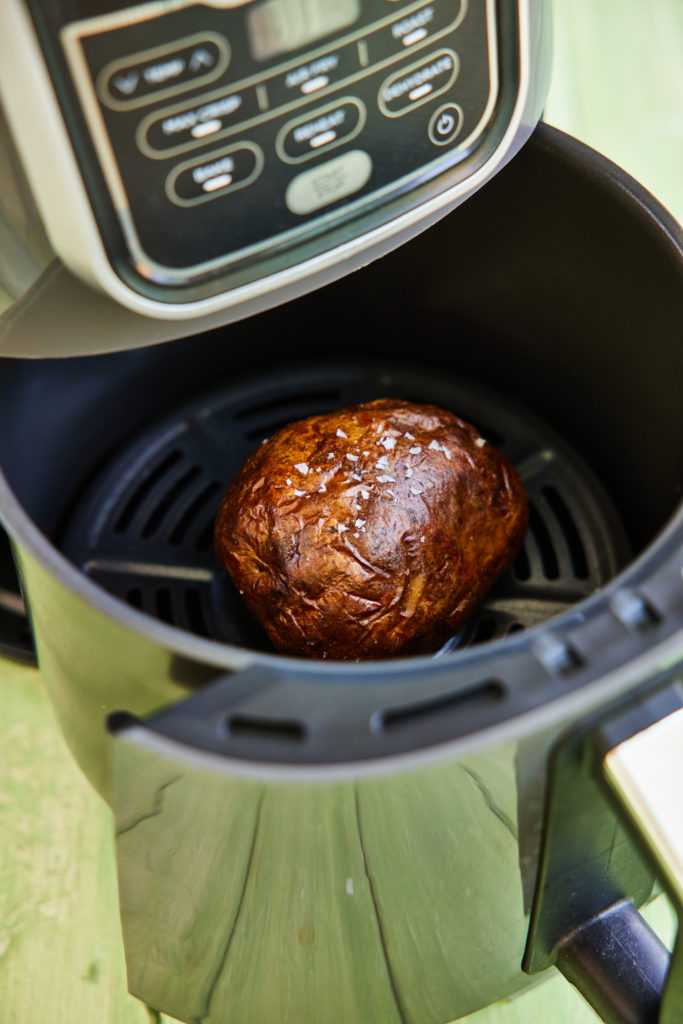
All this talk about food has definitely made us hungry! We used our own air fryer and created a whole recipe using the handy kitchen appliance – our delicious Air Fryer Jacket Potatoes!
Air Fried Jacket Potatoes
Baked with a perfectly crisp outer skin and a deliciously fluffy inside – you will become obsessed with these jacket potatoes that are baked in an air fryer! Remember to coat the jacket potato in a light coating of oil and Maldon Salt to create not only a beautiful flavour and texture to the potato, but to draw our the moisture from the use of the salt.
Air fryers are the pinnacle of convivence. Not only are they energy efficient and cheaper to run in comparison to an oven or deep fryer, they make your life just that little bit simpler, with multiple functions to speed up your dish in being cooked in a matter of minutes! Not forgetting the health benefits that come with cooking with an air fryer, less oil being used mean less fat that ends up on your plate.
So take it from us…an air fryer is completely worth it!
Make sure you have your Maldon Salt ready for these dishes! If you are running out, please feel free to browse on our Where to Buy Page to find your nearest store in which stocks our beloved Maldon Salt ahead of the festive season…especially gloriously baked jacket potatoes.
Lastly, we LOVE seeing your creations – please tag us on Instagram using the #maldonsalt so we can share your culinary masterpieces on our socials.
We’ve teamed up with our good friend’s Bold Bean & Co in creating a perfectly spiced bean dish, accompanied with sweet, slow roasted carrots and crispy kale to add texture.
Bold Bean & Co’s Organic White Beans (haricot beans) are perfect to use for this dish as their bean’s are slow-cooked which allows them to hold their shape, creating the perfect, buttery and smooth flavour.
Amongst a bundle of spices such as chilli, cumin and garam masala, we add carrots to bring a gentle sweetness to the dish, with also a generous pinch of Maldon Salt to enhance the sweet notes and counteract the bitterness.
Preheat the oven to 180C.
Start by roasting the carrots. Peel the carrots and cut them into 2-inch pieces, then toss in some olive oil and 1 tsp of cumin seeds. Season with Maldon Salt and pepper and place in the oven to roast for 15 minutes.
While the carrots are cooking, start the spiced beans.
Melt the coconut oil in a large sauté pan. Add the diced onion and cook gently until softened. Then add the garlic, chilli, and ginger and cook for another minute. Then add the cumin seeds, turmeric, black mustard seeds, garam masala and ground coriander and cook for another minute. Follow this with the chopped tomatoes. Cook these down gently until they collapse and soften.
Once the tomatoes are soft, add the Bold Beans & Co White Beans – including their juices – and the coconut milk to the pan, and mix. Then gently simmer this for 10 minutes until lovely and thickened. Season well with Maldon Salt and cracked black pepper.
Once the carrots are cooked remove from the oven and tip out of the baking tray. In the same baking tray then add the kale leaves.
Drizzle in olive oil and a good pinch of Maldon Salt and scrunch together with your hands so they are well coated. Place this back in the oven for 5 – 10 minutes until crispy but still green.
Remove from the oven.
To serve, spoon the beans into bowls and top with the cumin roasted carrots, crispy kale, and some coriander. Serve alongside some natural yoghurt and mango chutney.