Cooking fish in a salt crust is a wonderful way of ensuring your fish stays deliciously moist and doesn’t overcook.
The salt crust creates a layer which insulates the food to stop moisture escaping – this means all the delicious juices stay inside and it ensures the food cooks more evenly.
Of course, the salt also adds seasoning, you might worry that it seems like a lot of salt, however most of the crust is removed after cooking and only the correct amount of salt will season through to the actual food.
Serve this salt baked sea bass with simple steamed new potatoes and greens, plus plenty of lemon to squeeze over the fish – perfect!
Prepare the fish by filling the cavity with the thyme, rosemary lemon slices and garlic cloves.
Select a baking tray that is large enough for the fish and cover with baking paper.
Next, prepare the salt crust. In a large bowl whisk together the egg whites until soft peaks form, then fold through the salt – the texture should be similar to wet sand.
Place a third of the mixture on the baking tray (in the shape of the fish) and place the seabass on top.
Then use the remaining salt mixture to enclose the fish in the crust. Make sure the seabass is completely covered and use your hands to pack the crust in.
Bake in the oven for 30 – 35 minutes, or until the crust is crisp and lightly golden.
Use the back of a knife to crack the crust and remove it all from the fish – it should come away in chunks.
Then simply peel and fillet the fish to serve.
How to create:
Place the rosemary in a bowl and cover with 6 tbsp of the olive oil.
Add the flour, fast action yeast, Maldon salt and remaining olive oil into a bowl, add 175 ml water and mix it until sticky.
Knead the sticky dough on a lightly oiled surface for around 10 minutes until it turns smooth.
Cover and leave for an hour until it has risen to double its size.
Prepare a baking tray with parchment paper, knead out the dough to whichever shape you like and leave to rise for a further 30 minutes.
Heat the oven to 200c, make holes using your finger and spread over the rosemary and olive oil mixture.
Add an extra pinch of Maldon salt and cook for 20 minutes.
Being a vegetarian during the winter season’s can be hard when you are constantly being surrounded by meat ‘heavy’ dishes. Here we’ve created the classic British wellington with a twist! You’ve heard of a mushroom wellington, but have you filled with the wholesome butternut squash as well? This wellington holds an abundance of delicious flavours whilst also bringing the vibrant, bold colour of the squash to really ‘wow’ your guests. All wrapped up in a buttery, flaky puff pastry this is a recipe that not only delivers in flavour, but is easy to create!
Wondering what you can add as a side to this dish? As a wellington is a quite a heavy dish in general, we recommend ‘lighter’ vegetables, including our delicious Honey Roasted Parsnips.
Now, there’s always room for pudding! Why not try our simple yet decadent Chocolate Cake, sprinkled with a pinch of Maldon Salt to enhance the sweetness of the dessert. Missing a pack? Head over to our Where to Buy page to find out where you can purchase our salt.
Preheat oven to 200°C (180°C fan) mark 6 and line a baking sheet with baking parchment. Peel the squash neck and slice evenly in half lengthways. Lay cut-side down on prepared sheet and brush with 1tbsp oil. Season and roast for 11⁄4-11⁄2hr, until tender. Set aside to cool.
Meanwhile, make mushroom layer. Heat remaining 2tbsp olive oil in a large frying pan over medium heat and cook shallots for 5min, until softened. Turn up heat to high and add mushrooms. Cook, stirring occasionally, for 12-15min, until any liquid released by mushrooms has evaporated and they are golden brown. Add garlic, thyme a pinch of Maldon Salt and miso and cook for a further 2min. Remove from the heat.
In a food processor or using a stick blender, blend cashews and stock until smooth. Stir this into mushroom mixture, check seasoning and set aside to cool.
To assemble, line baking sheet with fresh baking parchment. Lightly flour a work surface and roll out 1⁄3 of the pastry to a 30.5 x 15cm (12 x 6in) rectangle. Spread over mushroom mixture, leaving a 1cm (1⁄2in) border around the edge. Lay on roasted butternut halves, making sure they join up neatly in the middle.
Roll out remaining pastry as before until large enough to cover the assembled filling. Lay over the filling, trim edges and crimp to seal. Chill for 30min.
Reheat oven to 200°C (180°C fan) mark 6. Brush Wellington with soya milk and cook for 50min–1hr, until golden brown and crisp. Leave to rest for 10min before transferring to a board or plate. Serve in slices.
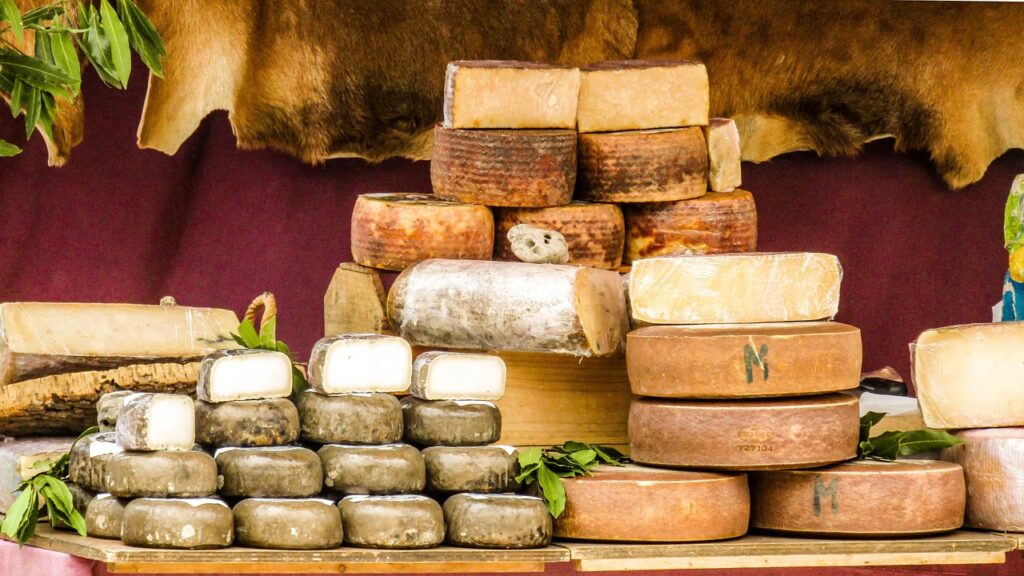
Celebrate the festive season with the ultimate Christmas cheese board, ideal for sharing with friends and family at this time of year. Treat your loved ones to a large cheese board brimming with artisan cheese, creamy delights, cold meats. Let the Christmas cheese selection take centre stage, and delight every cheese lover in your life with the perfect Christmas sharing platter!
What do you put on a Christmas cheese board?
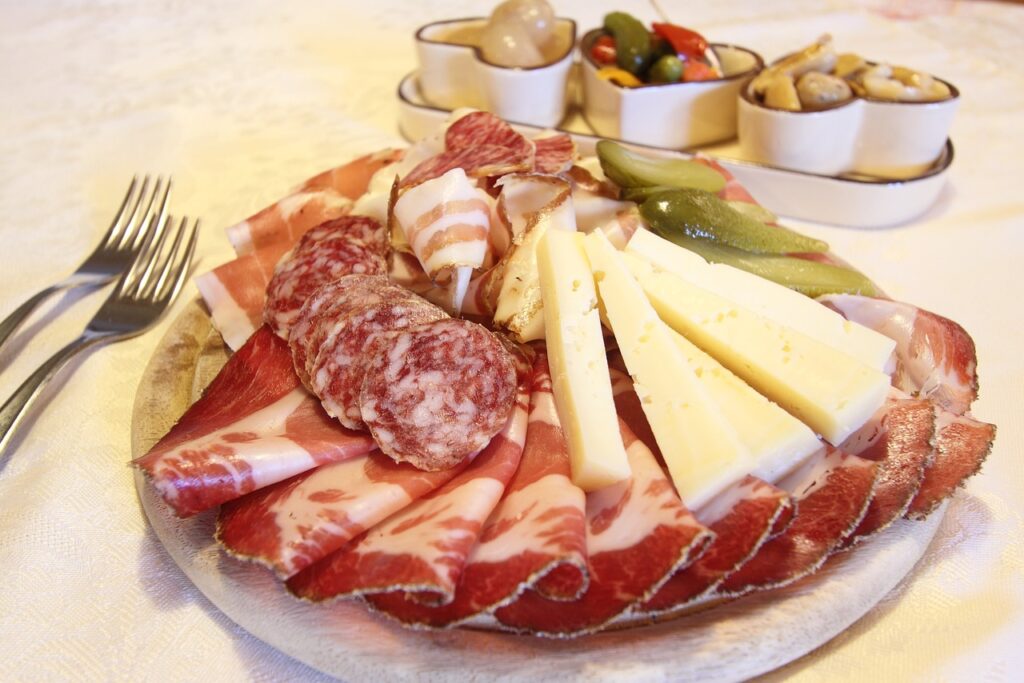
Go all out for the perfect Christmas cheese board this year with an impressive range of creamy holiday cheeses, dried fruits and nuts, a selection of meats, pickles and chutneys.
Paxton & Whitfield, London cheesemongers since 1797, advice that a balance of cheese is required for the perfect grazing board. Three to four cheeses is usually enough when creating a cheese board. You should go for a selection of both soft, semi-soft, semi-firm and firm.
Soft Cheeses:
Brie, Camembert , feta, ricotta, Chevre and gorgonzola.
Semi-Soft Cheeses:
Fontina, muenster and Gouda.
Semi-firm Cheeses:
Manchego, Gruyere and Comte
Firm Cheeses:
Aged cheddar, white cheddar and Parmigiano-Reggiano.
As a rule of thumb, you should allow 80-100g of cheese per person for your cheese board.
Once you have chosen your selection of cheeses, you can then look at which cold meats you would like to include for your festive board.
What meats and cheeses go together?
Cheddar cheese with chorizo
Swiss cheese and prosciutto
Chevre and pepperoni
Chorizo and Manchego
Parmesan and prosciutto
Gouda and Salami
Pepper Jack Cheese with capicola
What fruit and nuts go well on a cheeseboard?
When choosing the fruits for your festive cheeseboard, we recommend always using seasonal fruits to brighten up the board. You can use citruses like orange and clementines, apples and pomegranates. All bring a delightfully sweet flavour to the board to provide the perfect balance.
If you are wanting to include dried fruits to your board, try adding dried apricots, dried pineapple rings, dates and raisins. Dried fruits are all naturally very sweet to begin with, but the fruit flavour is elevated further due to the addition of refined sugar and oil coating the fruit.
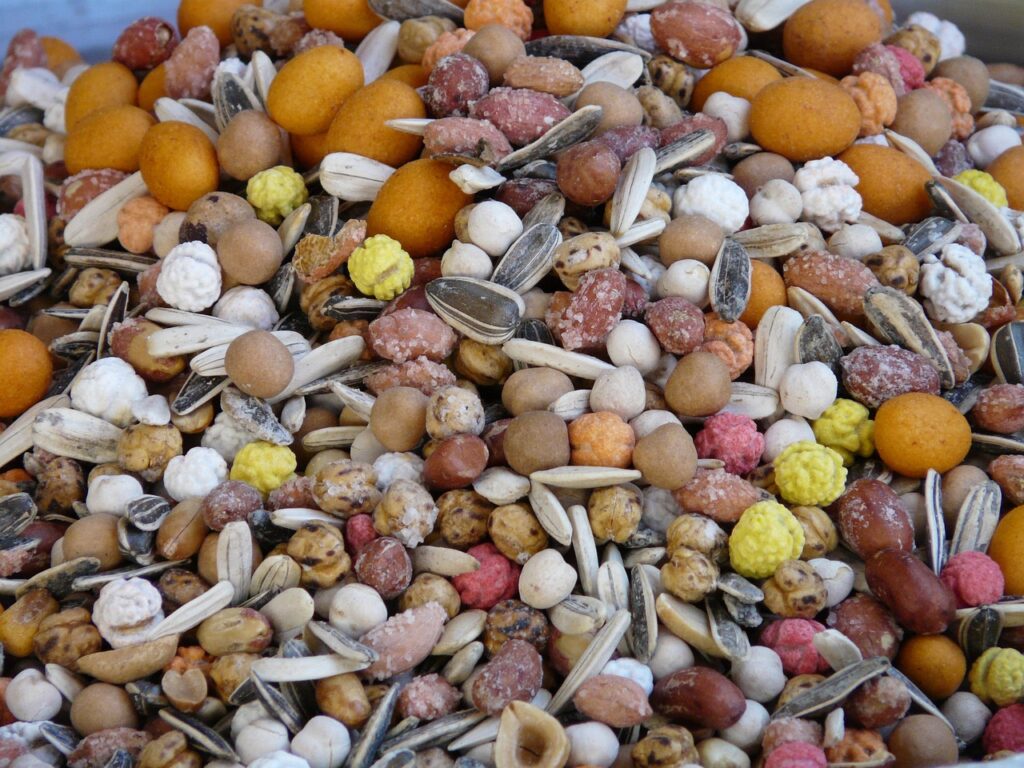
The final pairing of nuts goes hand in hand with the cheese. Recommended nuts for a cheeseboard include: walnuts, pecans, almonds, cashews and pistachios (ideally de-shelled to avoid making a mess with your guests!).
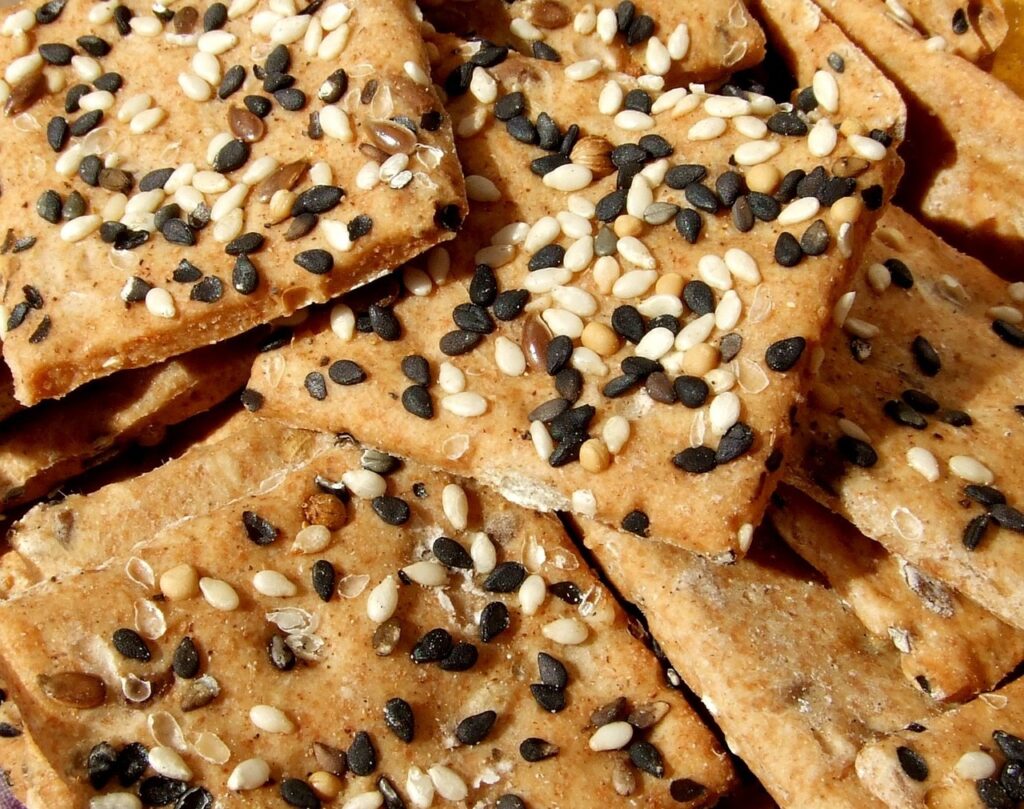
Best cheeseboard crackers
Morrisons offers a delicious Cracker Selection Box, where six varieties have been included to perfectly compliment your favourite, festive cheeses:
Beetroot & Seed Cracker – A the perfect partner for a soft cheese like Brie.
Cracked Pepper Water Cracker – Ideal for a crumbly Cheddar Cheese
Rosemary Cracker – Suited best for Stilton
Sea Salt & Chive Cracker – Perfect for a creamy, mature Cheddar
Stone Ground Wheat Cracker – Paired for Wensleydale and cranberries
Sweet Wheat Cracker – Iconic with a white Stilton
How to make a Christmas cheese board:
Get your wooden board ready. A standard size is between 8-20 inches in length. You could opt for a star shaped, tree shaped, or a simple, classic cheese board.
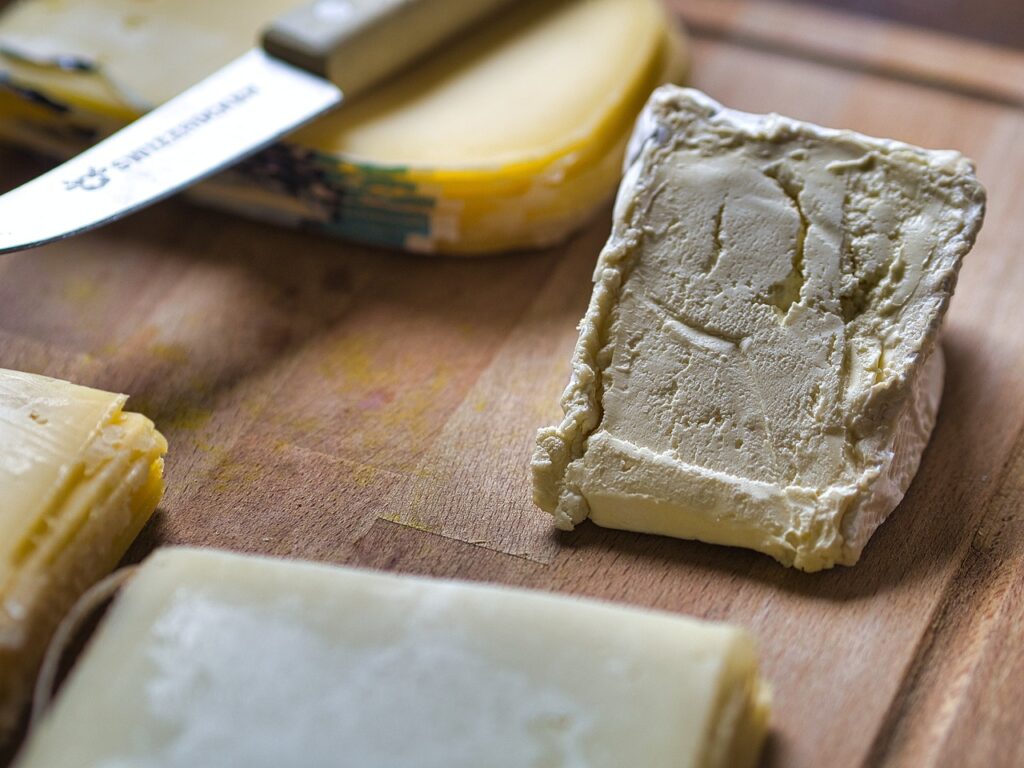
Place your selection of cheeses first on the board. Soft cheeses, like brief, can be served as it is. For hard cheeses, like cheddar and parmesan, we recommend cutting them into slices or cubes. This makes it easier for your guests to grab a piece without having to cut the hard cheese themselves – which can be time-consuming and messy! Provide a cheese knife or spreader with each cheese. Add a pinch of Maldon Salt over the cheeses to elevate the natural sweetness and nuttiness.
Add your sliced/rolled meats, separating them with your pots of chutneys and dips. You can provide a spoon or butter knife with these if you wish.
Next the crackers! Fan out your crackers or crostini along the edges of the cheeseboard to make them easy to grab for your guests.
With the remaining spaces on the board, you want to place the mixture of fruits, olives and nuts.
Once completed, let the cheeseboard rest for at least an hour to allow the cheeses and meats to adjust to room temperature.
Your Christmas cheese board is now ready to be relished – enjoy!
Why salt is important for cheese?
According to Cheese Science, salt is essential for major functions in cheese:
Regulates microbial growth. When salt is added to cheese, it can control the growth of microbes. This process can allow more salt-tolerant microbes to grow.
Altering texture. Salt draws out the moisture content of cheese, which is why you are left with different ratings of firmness from how much salt is added to the cheese: soft, semi-soft, semi-firm and firm.
Enhancing flavour. Salt not only gives a salty taste to cheese, but it can help enhance other flavours present, or to counteract the bitterness.
Celebrate Christmas with this festive fruit vodka cocktail. Using the flavours of grapefruit and blood orange, this drink has a delicious citrus twist which your guests will love and keeping going back for more!
We also add a salt rim to the cocktail using Maldon Sea Salt flakes! The reason we use a salt rim is to help counteract the slightly bitter notes from the grapefruit and blood orange, whilst elevating the natural sweetness of the red currants. The salt rim also gives texture to the cocktail, enhancing your experience as you take a sip. Head over to our Where to Buy page to find your nearest store to grab a pack now and have a go!
Ingredients for the Perfect Christmas Cocktail:
1 or 2 lime wedges
Maldon Sea Salt flakes
3 parts of grapefruit juice
3 parts of blood orange juice
1 part of vodka
Frozen red currants
Sprigs of rosemary for garnish
How to Make Your Christmas Cocktail
Run the lime wedge around your cocktail glasses and dip into the Maldon Salt.
Combine all the parts in a cocktail shaker with ice.
Shake well and strain into your prepared glasses. Garnish with the frozen berries and a sprig of rosemary.
Tips for Garnishing and Serving Your Christmas Cocktail
There is an art in knowing what type of garnishes to use for your cocktails and how to serve them. Doing these two things well will add a wonderful festive touch to your drinks, and impress your dinner guests!
Use Seasonal Ingredients
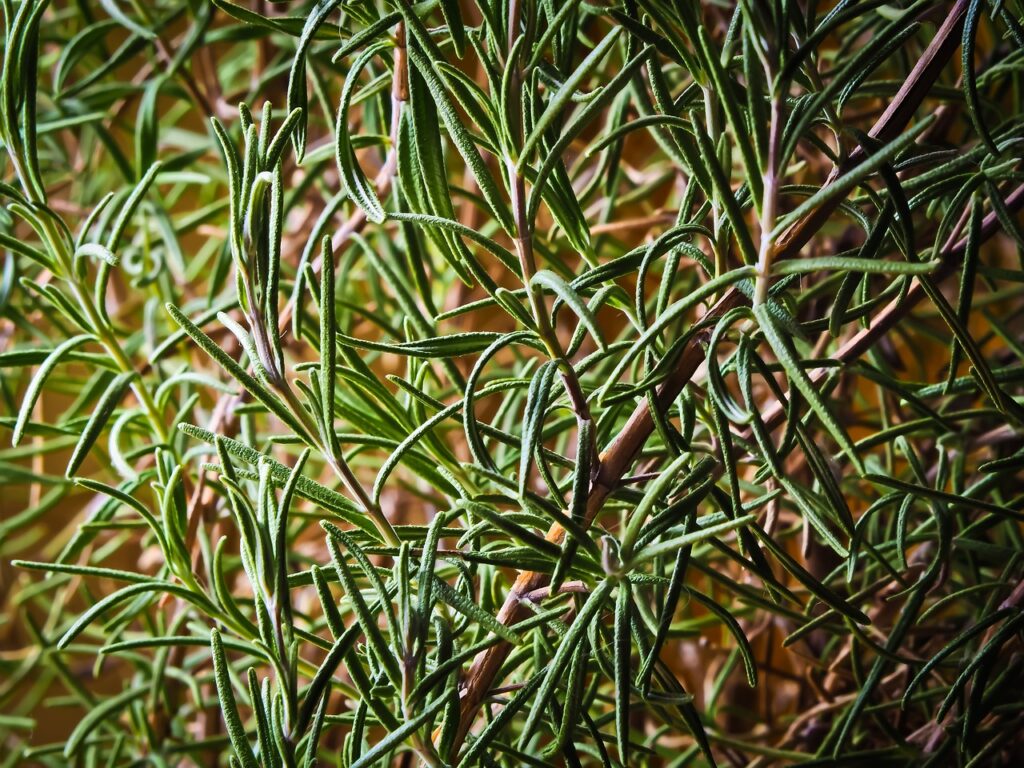
We recommend incorporating fresh herbs like rosemary or thyme into your cocktail, as these flavours mimic the aromas of Christmas. They also resemble miniature Christmas trees, adding a playful twist to the drink! Include the sweetness of cranberries to add a pop of festive red to your cocktail. You can also add a slice of orange or lemon to bring a gentle, citrusy warmth to the drink.
2. Ice with a Twist
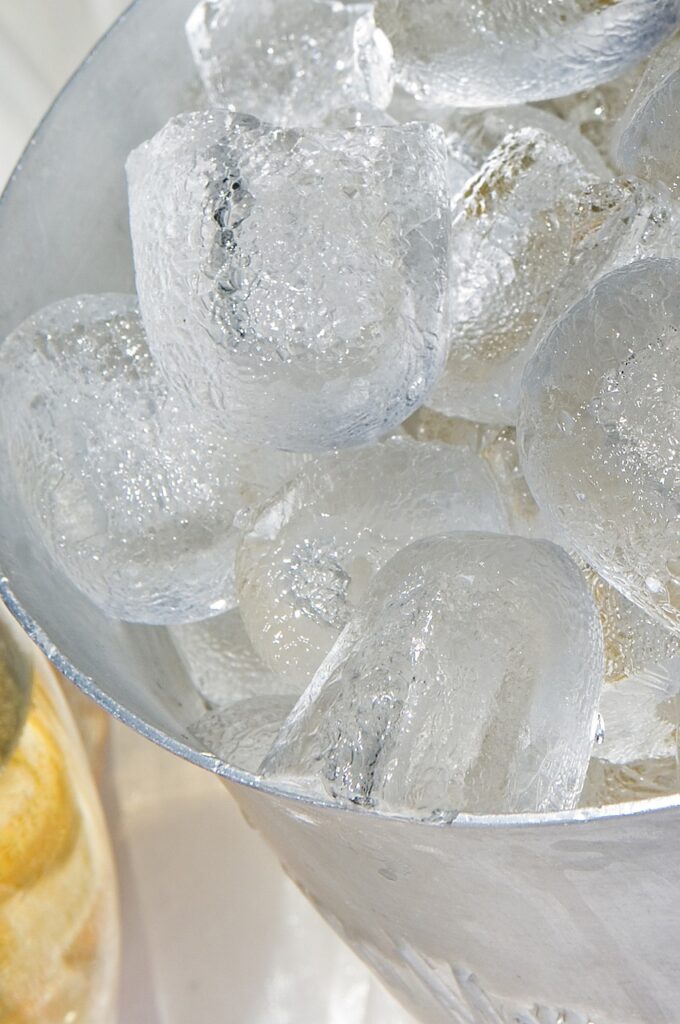
Instead of using classic ice cubes, why not try freezing cranberries, mint leaves or rosemary sprigs in the ice cubes for a decorative and functional garnish? You can also use larger ice moulds shaped like snowflakes, stars or Christmas trees to add that ‘wow’ factor!
3. Festive Glassware
Choose glasses with seasonal designs, or opt for a clear glass to showcase the colourful layers of cocktail and garnishes. You can also tie a small ribbon around the steam of the glass for extra charm. On the topic of tying ribbons around the stem of the glass, why not add a personal touch to your drink, by adding name tags to glasses using gift tags tied with twine? This will give a nice, personal feel to your cocktail, making it extra special to them.
4. Creative Stirrers and Picks
Swap your classic cocktail picks with a festive topper! Use skewer marshmallows, sugared cranberries or citrus peels to give a delightful Christmas look and feel. You could even use candy canes as stirrers and add a delicious peppermint kick to the drink.
These touches will ensure your Christmas cocktails look as amazing as they taste!
Why Maldon Salt is Perfect for Cocktails?
Maldon Salt is an excellent choice for cocktails due to it’s unique characteristics that elevate both flavour and presentation.
Flaky Texture
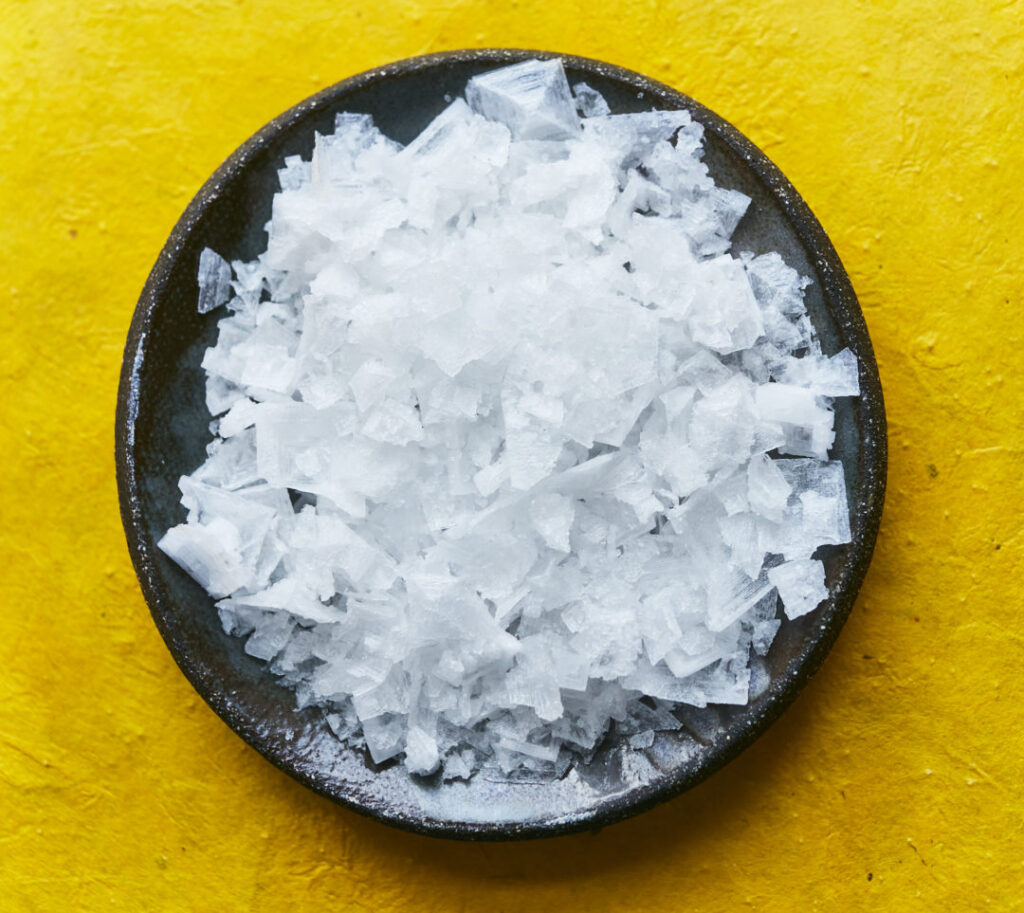
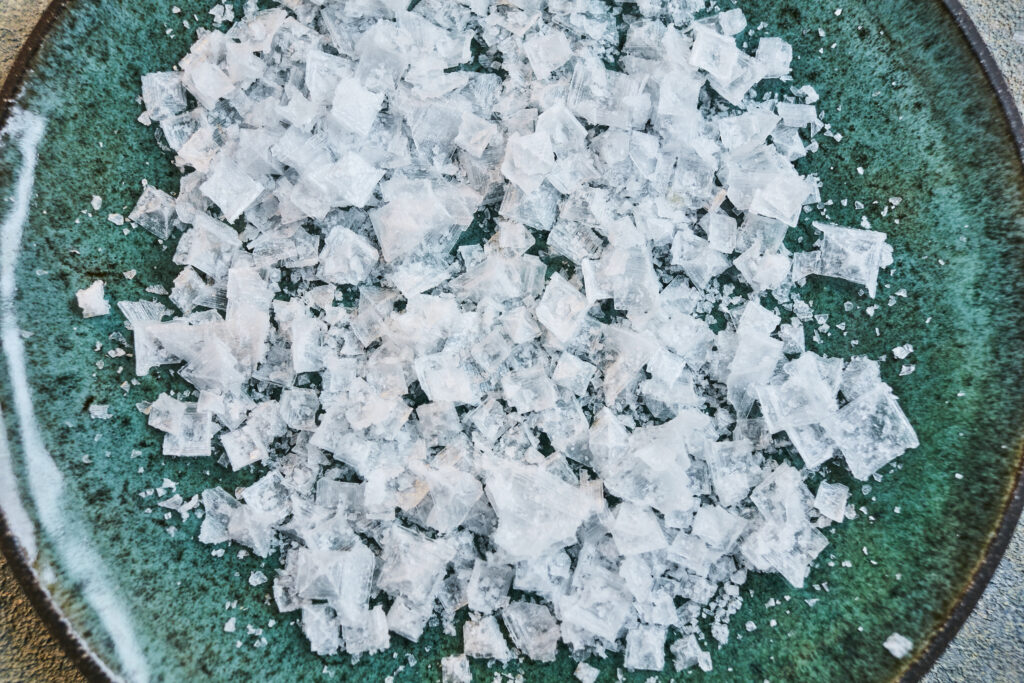
Maldon Sea Salt has unique pyramid-shaped flakes that offers a saltiness with sweet precision, a fresh intensity and clean taste. It’s easy to handle and perfect for creating a visually appealing salted rim that gently dissolves as you sip. Unlike fine table salt, Maldon Salt offers a mild crunch without overwhelming the drink’s flavour profile.
2. Pure, Clean Taste
Maldon Salt has no additives. It has a clean, natural taste that compliments the ingredients in your cocktail. It’s flavour enhances the drink without the harshness of processed salts, making it ideal for delicate flavours.
3. Flavour Enhancer
4Maldon Salt amplifies the complexity of sweet and sour cocktail, creating a more dynamic flavour profile. It also boosts aromas and adds depth to cocktail, balancing the bitterness and enhancing aromas in sophisticated drinks like margaritas, Palomas, or smoky mezcal cocktails.
Pro Tip:
For best results, lightly wet the rim of your glass with citrus juice or water, before dipping into Maldon Salt for a even and clean application.
Whether you’re crafting a classic margarita or experimenting with a savoury cocktail, Maldon Salt brings an understated luxury that’s perfect for elevating your creations.
Make your Brussels sprouts burst with flavour this winter by adding a generous helping of smoky bacon rashers to the dish. Not only will it give the sprouts a zing of smokiness, but it will make your guests go in for seconds!
Don’t forget to add a generous pinch of Maldon Salt to the Brussels Sprouts. Salt adds the flavour to the bacon rashers whilst preventing the fat from developing acidity. You can find where to buy our Maldon Salt range by clicking here!
Transform your ordinary carrots with a beautiful lemon and honey glaze. When roasted, carrots give a delicious, sweet and earthy taste. When paired with lemon, it gives a sudden brightness, with a generous smothering of honey to enhance the sweetness of the vegetable.
This recipe pairs perfectly well with our Slow Cooked Lamb Shoulder and Rolled Porchetta recipe. Add a generous pinch of Maldon Salt to enhance the flavour and draw out the bitterness.
Preheat the oven to 200C / 220 F / Gas Mark 6.
Peel and chop the tops and tails of the carrots. Make sure to remove any stems.
Place carrots on a baking tray lined with parchment paper. Add the olive oil and a generous pinch of Maldon Salt and pepper.
Cook the carrots for 20 minutes, turning them halfway for an even roast.
While the carrot are roasting, in a small bowl mix the lemon juice and honey.
Once the carrots are roasted, take the carrots out of the oven and drizzle over the honey and lemon glaze.
Add the sprigs of thyme to the carrots. Toss lightly and return to the oven for a further 10 minutes.
Can you use store bought lemon juice?
You can…However it is preferred to use fresh lemon juice. This is because bottled lemon juice usually contains additives and preservatives like sodium metabisulphite in which gives a much more intense, artificial taste when seasoning your vegetables. As a result, we recommend fresh lemon juice because not only is it completely natural and fresher in taste, in contains significantly more vitamin C.
Fresh thyme or dried thyme?
In dried form, thyme actually holds much more flavor than fresh. Therefore, when using dried thyme make sure to use it in less volumes than you would with fresh due to the intensity of taste and aroma.
What carrots are best for roasting?
We recommend using the classic Red Core Chantenay carrots. This is because they are very versatile in the way they are cooked, and become sweeter in storage.
Vegetarian Meat Free Sausage Rolls
Deliciously wrapped in golden puff pastry, these vegetarian sausage rolls are perfect to make for a picnic amongst friends and family. If you make them into smaller sizes, you can share these out to your guests as canapes.
This recipe will show you just how quick and easy sausage rolls are to make in the comfort of your own home – with a prep time of only 10 minutes! Once you make a batch of these, you definitely realise the better quality in taste in comparison to your normal supermarket ones.
Why choose vegetarian sausage rolls?
Not only is the flavour just as good (or even better!), but meat-free sausage rolls actually contain significantly lower rates in saturated fat than of your standard, meat option. As a result, from choosing to go meat-free with this recipe, you are gaining the benefits of consuming a lower calorie snack whilst still reaping the awards a delicious flavour profile!
Preheat the oven to 180C / Gas Mark 4 / 160 fan °C / 356°F
Cook the vegetarian sausages according to the package instructions and allow to cool fully before continuing.
Unroll the sheet of pastry on a floured surface and line up the sausages on the sheet, 2 in a row.
Carefully cut the pastry around the sausages with a knife and use the pastry to roll and enclose each one. Make sure to seal the edges with a fork.
Brush a little beaten egg on each one to help seal the pastry together.
Then place the sausage rolls onto a lined baking sheet and brush with the remaining beaten egg. This will achieve a gorgeous, golden glaze for when the sausage rolls are baked.
Sprinkle over the black sesame seeds and a pinch of Maldon Salt.
Bake in the oven for 20 – 25 minutes until the pastry is golden brown and puffed up.
Serve whilst still warm.
How do you make these completely vegan-friendly?
You can easily turn this recipe vegan by firstly ensuring the pastry you use is the correct pastry/dough. Jus-Rol Puff Pastry is Vegan-friendly and is great to ue for this dish!
For the protein, choose a meat-free option that does’t contain egg whites. This will cause the sausage to be completely vegan-friendly.
Lastly, if you are struggling to find an alternative to egg-washing your sausage rolls, try aquafaba! This is the liquid from the can you would find in chickpeas or white beas. The thick, gelatinous liquid mixed with a little corn syrup can be brushed onto you pastries, leaving a gentle, golden glaze when they are baked from the oven.
Can you freeze these?
Generally speaking, you can store your leftover vegan sausage rolls in an airtight container for up to six days in a freezer.
When you want to re-heat these, make sure to cover them in tin foil and cook them in the oven for 8 minutes under 180c (160c fan), removing the tin foil for the final 2 minutes for an even cook.
How to create:
Break the chocolate into pieces and place in a glass bowl over hot water until it has melted.
Once the chocolate is completely melted add the almonds and Maldon Salt and mix well, pour the contents into a silicon mould and allow to cool.
After 4 hours or so of setting it should be ready to eat!
How to create:
Cut 185g unsalted butter into small cubes and tip into a bowl. Break 185g dark chocolate into small pieces and drop into the bowl.
Fill a small saucepan about a quarter full with hot water, then sit the bowl on top so it rests on the rim of the pan, not touching the water. Put over a low heat until the butter and chocolate have melted, stirring occasionally to mix them.
Remove the bowl from the pan. Leave the melted mixture to cool to room temperature.
While you wait for the chocolate to cool, position a shelf in the middle of your oven and turn the oven on to 180C/160C fan/gas 4.
Using a shallow 20cm square tin, cut out a square of non-stick baking parchment to line the base. Tip 85g plain flour and 40g cocoa powder into a sieve held over a medium bowl. Tap and shake the sieve so they run through together and you get rid of any lumps.
Chop 50g white chocolate and 50g milk chocolate into chunks on a board.
Break 3 large eggs into a large bowl and tip in 275g golden caster sugar. With an electric mixer on maximum speed, whisk the eggs and sugar. They will look thick and creamy, like a milk shake. This can take 3-8 minutes, depending on how powerful your mixer is. You’ll know it’s ready when the mixture becomes really pale and about double its original volume. Another check is to turn off the mixer, lift out the beaters and wiggle them from side to side. If the mixture that runs off the beaters leaves a trail on the surface of the mixture in the bowl for a second or two, you’re there.
Pour the cooled chocolate mixture over the eggy mousse, then gently fold together with a rubber spatula. Plunge the spatula in at one side, take it underneath and bring it up the opposite side and in again at the middle. Continue going under and over in a figure of eight, moving the bowl round after each folding so you can get at it from all sides, until the two mixtures are one and the colour is a mottled dark brown. The idea is to marry them without knocking out the air, so be as gentle and slow as you like.
Hold the sieve over the bowl of eggy chocolate mixture and resift the cocoa and flour mixture, shaking the sieve from side to side, to cover the top evenly.
Gently fold in this powder using the same figure of eight action as before. The mixture will look dry and dusty at first, and a bit unpromising, but keep going very gently and patiently. Stop just before you feel you should, as you don’t want to overdo this mixing.
Finally, stir in the white and milk chocolate chunks until they’re dotted throughout.
Pour the mixture into the prepared tin, scraping every bit out of the bowl with the spatula. Gently ease the mixture into the corners of the tin and paddle the spatula from side to side across the top to level it. Sprinkle with Maldon Salt.
Put in the oven and set your timer for 25 mins. When the buzzer goes, open the oven, pull the shelf out a bit and gently shake the tin. If the cake wobbles in the middle, it’s not quite done, so slide it back in and bake for another 5 minutes until the top has a shiny, papery crust and the sides are just beginning to come away from the tin. Take out of the oven.
Leave the whole thing in the tin until completely cold, then lift out the cake with the foil. Cut into quarters, then cut each quarter into four squares.