






- Dissolve the honey in the lemon and orange juice. Add a pinch of Maldon Sea Salt flakes. Then add to a shaker with the remaining ingredients apart from the ginger beer, then add some ice and shake well for 30 seconds.
- Stain this into a glass filled with ice and top with ginger beer.
- Garnish with the fresh ginger and orange and serve.
Category: Uncategorized
- Grease and line 3x 20cm round springform baking tins with baking paper and then set aside. Preheat the oven to 180c.
- In the bowl of a stand mixer add the softened butter and caster sugar and then beat together for 5 minutes until soft, pale and fluffy. Then add the eggs, one at a time, beating each one in until all of them have been incorporated. Next add the ground almonds, plain flour, baking powder and spices and mix until incorporated (but ensure not to overmix).
- Remove the bowl from the stand mixer and add the grated carrot, parsnip and chopped walnuts. Fold these through the mixture. Then divide the cake batter equally between the 3 lined baking tins and smooth over the top.
- Place into the preheated oven and bake for 30 minutes until well risen and golden on top. You can check the cakes are cooked through by inserting a skewer or cocktail stick into the centre and making sure it comes out clean.
- Remove the baked cakes from the oven and place onto a wire rack to cool completely.
- While the cakes are cooling make the caramel. Place the granulated sugar into a pan and place onto a low heat. Gently melt the sugar, ensuring not to stir it but you can swirl it around the pan to encourage it. You want the sugar granules to melt completely and then turn to a deep golden caramel colour. At this moment, immediately take the pan off the heat and add the butter, stirring it through until it comes together. Then add the double cream and allow this to bubble before stirring through again until you have a smooth caramel. Then add the Maldon Sea Salt before setting aside to allow the caramel to cool, it will thicken as it cools also.
- Now make the icing.
- Add the softened butter to the bowl of your stand mixer and beat until its very soft and whipped. Then, with the motor running, add the icing sugar bit by bit until it is all incorporated.
- Then remove the bowl from the stand mixer and add the cream cheese and vanilla, mix this in gently with a wooden spoon or spatula until just incorporated but make sure not to overmix. Place this into the fridge while you get your cakes ready to ice.
- Take each cooled sponge and remove it from its tin. Then use a serrated knife to trim off the tops if they have domed when baking to ensure that each layer is even.
- Spread a little icing onto the bottom of your cake plate or stand and then put the first sponge onto this. Spread some more icing on top and then add your second sponge, pressing down lightly. Then repeat with the third. Now ice the top and sides of your cake. It is easiest to do this with a palate knife and then smooth around the edges with a cake scraping tool.
- Once you are happy with icing of the cake you can either pop it in the fridge until you are ready to serve or serve right away. To do the salted caramel drips simply add the cooled caramel into a small squeezy bottle and squeeze some drips and differing lengths around the cake – alternatively you can use a teaspoon if you don’t have a squeezy bottle.
- Finally garnish the top with some finely chopped walnuts and serve.
Recipe created by Lujain’s Kitchen
A rich, fudgy brownie cookie with a hint of espresso and a perfect finish of Maldon Sea Salt. The flaky sea salt enhances the chocolate, making every bite even more indulgent.
A little sweet, a little salty, just right for Valentine’s Day.
Here’s how to make the chocolate espresso brownie cookie
1. Preheat the oven to 175°C and line a large baking sheet with parchment paper. Set aside.
2. Place dark chocolate chips and unsalted butter into a heat-proof bowl. Melt in the microwave by heating in 15-second intervals (stirring between) or by using a double boiler. (Make sure you don’t overheat the chocolate, or it can seize up and become chunky). Heat and stir until the chocolate is fully melted and the mixture is smooth. Set aside to cool.
3. In a separate bowl, vigorously whisk together granulated sugar, egg, instant espresso, and a sprinkle of Maldon Sea Salt. Whisk for 5 minutes to incorporate air into the mixture till light in colour.
4. Pour the slightly cooled chocolate/butter mixture into the egg mixture. Whisk together until combined.
5. Sift all-purpose flour, cornstarch, and baking soda into the chocolate egg mixture. Mix until the batter is smooth and the dry ingredients are fully incorporated.
6. Let the dough cool for a couple of minutes, or until it runs off your whisk in thick ribbons when lifted. Then add in the chocolate chips.
8. Use a cookie scoop to make 6 uniformly sized cookie dough balls on the prepared baking sheet. These cookies spread as they bake, so place them at least 3 inches apart.
9. Bake for 12-13 minutes and rotate the pans halfway through to make sure the cookies bake evenly. Garnish with a sprinkle of Maldon Sea Salt.
10. Let the cookies cool on the pan for 10 minutes, then move them to a wire rack to finish cooling.
Celebrate Easter with a vibrant Spring Vegetable Quiche, bursting with fresh, seasonal flavors. A buttery, flaky crust holds a creamy, savory filling packed with tender asparagus, sweet peas, baby spinach, and colorful bell peppers. Light, wholesome, and perfect for brunch, this quiche is a delightful centrepiece that captures the essence of spring in every bite. Serve warm or chilled for an easy, elegant Easter dish.
Here is how to make a vegetable quiche
- Start by making the pastry. Place the flour and Maldon Sea Salt into a large bowl and mix together. Then add the cold, cubed butter and use your fingers to rub the butter into the flour until it resembles fine breadcrumbs and there are no large lumps of butter left. Alternatively, you can do this by pulsing it a few times in a food processor. Then add the cold water (start with 3 tbsp and see if you need more) and mix together until it starts to clump and there are no floury or dry patches. Tip onto the work surface and gently knead until it comes together as a smooth pastry.
- Then lightly flour the work surface and roll the pastry out with a rolling pin until it is £1 in thickness. Carefully lift it and line a 23cm fluted tart tin, pressing gently into the sides, but leaving some pastry to overhang. Use a cutlery fork to prick some holes onto the base and then place the lined tin into the fridge to chill for 30 minutes.
- Preheat the oven to 180c.
- After 30 minutes, take the pastry case out of the fridge and put onto a flat baking sheet. Scrunch up some baking paper and put this onto the pastry then fill with baking beans. Blind bake the pastry for 15 mins, then remove the baking beans and paper and return for another 5 – 7 mins, until the pastry is very lightly golden and feels chalky to the touch.
- Remove from oven and set aside to allow to cool slightly. Then take a sharp serrated knife and carefully trim off the excess pastry overhangs so it has a nice, neat edge.
- Heat a frying pan on a medium heat and add the knob of butter and 1 tbsp of olive oil. Then add the sliced leek and sauté gently until soft and starting to caramelize. Place a pan of water on to boil, and then add the asparagus and frozen peas – you just want to blanch them quickly for 2 minutes, then remove from the pan and place into a bowl with iced water to stop them cooking any further.
- In a jug, whisk together the eggs, cream, milk and chives and season well with Maldon Sea Salt and cracked black pepper.
- Spoon the veg into the pastry case and crumble over the goat’s cheese. Then pour over the egg mixture and bake in the oven for 30 mins until the filling is set and the top is golden.
- Remove from the oven and allow to cool slightly then serve with a green salad.
Steak with frites and garlic butter is the epitome of timeless dining, made famous by the legendary Le Relais de l’Entrecôte in Paris. A favourite for date nights, especially on Valentine’s Day, or any celebratory meal for two, this dish combines simple ingredients with impeccable flavour. Juicy, tender steak paired with crisp, golden fries (or chips), and a decadent garlic butter creates a meal that’s as it is elegant. This recipe ensures restaurant-quality results, perfect for recreating the romance and charm of a French bistro at home.
For the steak, we use thick-cut sirloin from Hawksmoor, celebrated for it’s robust flavour and beautifully marbled texture. Seasoned simply with Maldon Sea Salt flakes, freshly cracked pepper, and sprigs of thyme, the steak is seared to perfection, ensuring a rich, caramelised crust. The frites, made from skin-on Maris Piper potatoes, are fried until crisp and golden, retaining their natural flavour and texture. To complete the dish, we whip up a silky garlic butter infused with fresh parsley, adding an aromatic richness that elevates every bite. Together, these components create a culinary masterpiece that feels both luxurious and comforting.
How to make steak frites with garlic butter

Step 1
Start by preparing your chips. Cut your potatoes into skinny chip pieces – you can peel them or keep the skin on, but we kept the skin on for more flavour. Then place them in a large bowl and cover with cold water – toss them around then leave them in the water for 1 hour. This will help remove the starch from the potatoes which means they will be crispier when fried.
Step 2
After 30 minutes take the steak out the fridge to allow it to come to room temperature.
Step 3
Now you can prepare the garlic butter. In a bowl beat the softened butter until smooth with a spoon, then add the chopped parsley, crushed garlic cloves and plenty of Maldon Sea Salt and cracked black pepper. Then place two sheets of clingfilm onto your worktop and spoon the butter into the middle. Use the clingfilm to shape the butter into a thick sausage shape and roll it tightly, twisting each end to keep it secure. Then place the butter into the fridge.
Step 4
After 1 hour, remove the chips from the water and dry them very well on some kitchen paper. Preheat the oven to 180c.
Step 5
Pour in the veg oil into a large high-sided pan so it comes up 2 third of the way up the sides. Then place it on the heat and heat until it reaches 140c. Then add the chips to the oil and fry for about 5 to 6 minutes until they are cooked through but only lightly golden in colour – you may need to do this in batches. Remove them from the oil with a slotted spoon when ready and place on a tray lined with kitchen paper.
Step 6
While the chips are frying, we can get started on the steak. Season the steaks liberally with Maldon Sea Salt and cracked black pepper on both sides. Take a large frying pan, heat to a medium high temperature. Start by adding the steak on the side with the biggest part of fat and rendering this down – you may need to hold it in place with some tongs. You want the fat to go lovely deep golden and crisp. Then you can place the steak on one of the flesh sides and cook for 1 – 2 minutes on each side. When you are cooking the final side, add a knob of butter along with the bunch of thyme. Use a spoon to baste the steak with the butter and thyme.
Step 7
Once the steaks have a good level of colour and caramelization on each side, place the pan into the preheated oven for 6 minutes. Ensure you have an oven safe pan before you do this, if not simply transfer to a baking tray along with the pan juices. After the 6 minutes, remove the steaks from the oven and place onto a plate and pour over any cooking juices. Let this rest while you finish the chips.
Step 8
Turn the temperature up on the veg oil, so it reaches 180c. Then fry the chips again for approximately 2-3 minutes until very crisp and golden. Remove from the oil with a slotted spoon onto the tray again with kitchen paper to soak up any excess oil. Then add the chips to a large bowl while still hot and toss well with Maldon Sea Salt and cracked black pepper.
Step 9
In a small bowl, whisk together the Dijon mustard, olive oil and lemon juice to make a dressing. Drizzle and toss this over the butterhead lettuce along with the finely chopped chives.
Step 10
Now you can serve! Serve each rested steak on a plate or serving board. Take the garlic butter from the fridge and unwrap it, then cut some discs to put onto the steak, allowing it to melt. Add the chips to a bowl and serve with the mustardy green salad. Feel free to serve with any additional sauces you like, such as bearnaise or peppercorn. Perfect for a special Valentine’s Day dinner.
What is steak frites?

Steak frites is a dish consisting of a steak paired with fried potatoes, also known as ‘frites’. It’s commonly served in Belgium and French brasseries.
Tim Menger (Head Chef of Entrecôte in Melbourne’s Prahran) says steak frites is a dish that’s ’emblematic’ of France’s approach to food, going on to say it ‘encompasses a lot of what French bistro cooking is’. On the other hand, many claim that the steak frites is Belgium’s national dish due to the invention of the ‘frite’ in the 17th century – and let’s face it – without frites, there no such thing as steak frites!
Both have their differences, with Belgium serving Belgian fries with their steak, which is traditionally pre-cooked and cooled, then refried in oil again when ordered, creating the ultimate crispy, golden chip with a soft, fluffy interior. Belgian fries tend to be thicker in size, needing to be at least 10mm on each side. Whereas, France cut them between 6mm-9mm, creating a ‘skinnier’ chip.
France also adds a delicious Bearnaise sauce to their steak, covering the cut of meat to add refinement and flavour. This sauce is made of butter, egg yolk, white wine vinegar and herbs and is sometimes referred to as the ‘child’ of hollandaise sauce. This is because a bearnaise sauce uses shallot, black pepper and tarragon, whereas hollandaise uses white pepper and a pinch of cayenne. This creamy richness
What kind of steak is steak frites?

The bistro/brasserie staple of steak frites was traditionally made from the rump cut, however nowadays many chefs make steak frites from a variety of parts of the cow, including hanger (also known as onglet), rib-eye, porterhouse or flank. We used sirloin for our steak frites recipe. This is because sirloin is a tender cut of beef that’s affordable and easy to find at the grocery store. It’s also suitable for quick, high-heat cooking in the pan when searing.
What’s the best way to cook a perfect steak?

Cooking the perfect steak begins with choosing the right cut and understanding the best appliance to cook it on. Popular cuts like ribeye, sirloin, fillet and rump all offer distinct texture and flavours.
- Ribeye is known for its marbled fat and rich taste
- Fillet is tender and lean.
- Sirloin balances flavour and tenderness
- Rump provides a bolder, meatier bite.
Regardless of the cut, achieving a beautifully seared crust while maintaining a juicy interior requires the right equipment. Cast iron skillets are ideal for their ability to retain high, even heat whilst heavy-bottomed frying pan or a grill will also yield excellent results. For maximum flavour, make sure the steak is at room temperature before cooking and the pan is smoking hot to achieve a proper sear!
The stages of cooking a steak
Understanding the ‘doneness’ levels of steak is essential to tailoring it to your preference. Here’s a guide to each stage:
- Blue: The steak is seared on the outside while the inside remains almost entirely raw by being cooked at a very high temperature for a short period of time. It feels very soft to the touch and is cooked to about 46–49°C (115–120°F) for a maximum time of 1-2 minutes on each side.
- Rare: Warm on the outside with a cool red centre. Rare steak is tender and juicy. It reaches an internal temperature of 49–52°C (120–125°F). Cooked for 2-3 minutes per side over medium-high heat.
- Medium Rare: The sweet spot for many steak lovers. Medium rare is warm with a red-to-pink centre. The texture is juicy but slightly firmer, cooked to 54–57°C (130–135°F) for 3-4 minutes per side.
- Medium: This steak is firm and pink in the centre, with less moisture than medium rare. It’s cooked to 60–63°C (140–145°F) for 4-6 minutes per side.
- Medium Well: A slight hint of pink remains, but the steak is mostly cooked through and noticeably firmer. It reaches 65–69°C (150–155°F) for around 11-16 minutes in total.
- Well Done: The steak is cooked through completely, with no pink, and is firm to the touch. It’s cooked to 71°C (160°F) or higher for 18 minutes, depending on the thickness of the meat.
To check doneness, use an instant-read thermometer for precision or press the steak gently. The softer it feels, the rarer it is. Always allow the steak to rest for a few minutes after cooking to let the juices redistribute, ensuring every bite is as succulent as possible.
What’s the difference between fries and frites

‘Fries’ are long, thin pieces of fried potato, cut julienne or batonnet style and deep-dried in oil. It’s country of origin is from Belgium and France. It is believed that American soldiers stationed in Belgium were first introduced to French fries during World War I. Because the language of the Belgium army was French, soldiers nicknamed the fried potatoes as ‘French fries’.
‘Frites’ is the French word for French fries. It is a shortened version of the French phrase ‘pommes frites’ which means fried potatoes.
This style of fried potato is very popular amongst fast food chains that serve French fries, including McDonald’s, Five Guys and Arby’s.
Serving suggestions and variations

Steak frites is a classic French bistro dish, but there are plenty of ways to elevate and customise it. Here are a few serving suggestions and variations you could following.
Serving suggestions:
- Finish with Maldon Salt. A generous pinch of flaky Maldon Sea Salt over the steak just before serving will enhance the flavours with a delicate crunch. It also works well on the fries for extra seasoning!
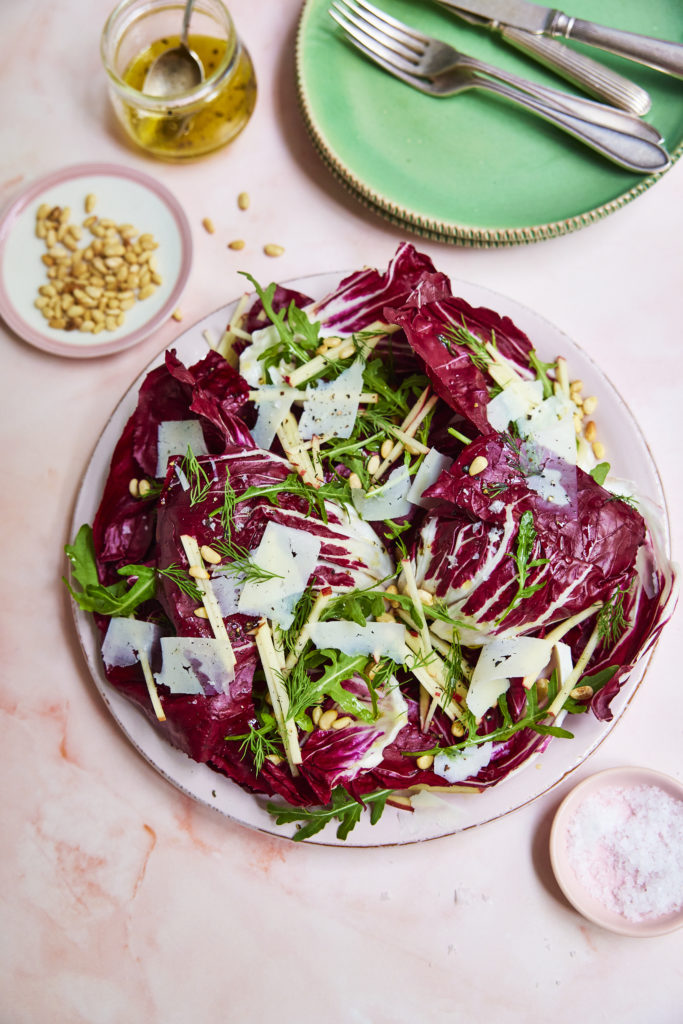
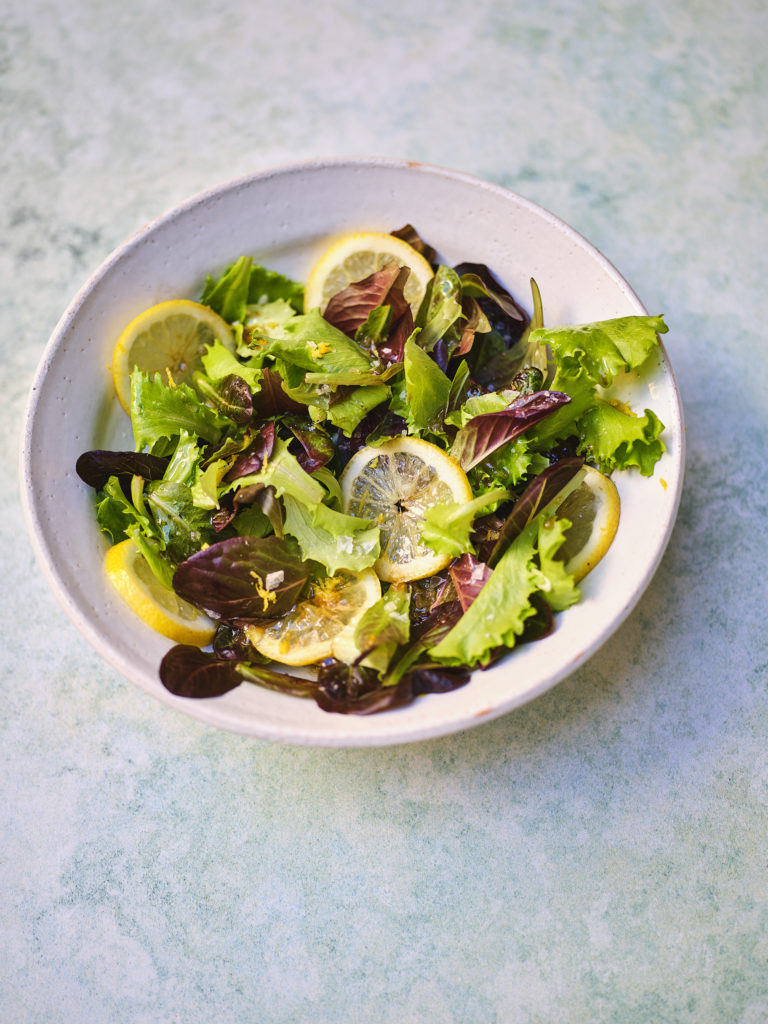
- Pair with a side salad. A simple arugula salad with a lemon vinaigrette or a crunchy radicchio salad balances the richness of the dish.
- Dipping sauces for fries. Serve with a classic homemade tomato sauce, aioli, Dijon mustard or Sriracha mayonnaise for extra indulgence.
- Wine pairing. A bold red wine like a Cabernet Sauvignon or a Syrah compliments the richness of the juicy steak and butter.
Variations:
- Truffle garlic butter. Mix in a small amount of truffle oil or finely shaved truffle into the garlic butter for an earthy depth of flavour.
- Herb & Citrus twist. Add chopped fresh herbs, such as parsley, thyme or tarragon, and squeeze lemon juice into the garlic butter for a fresh take.
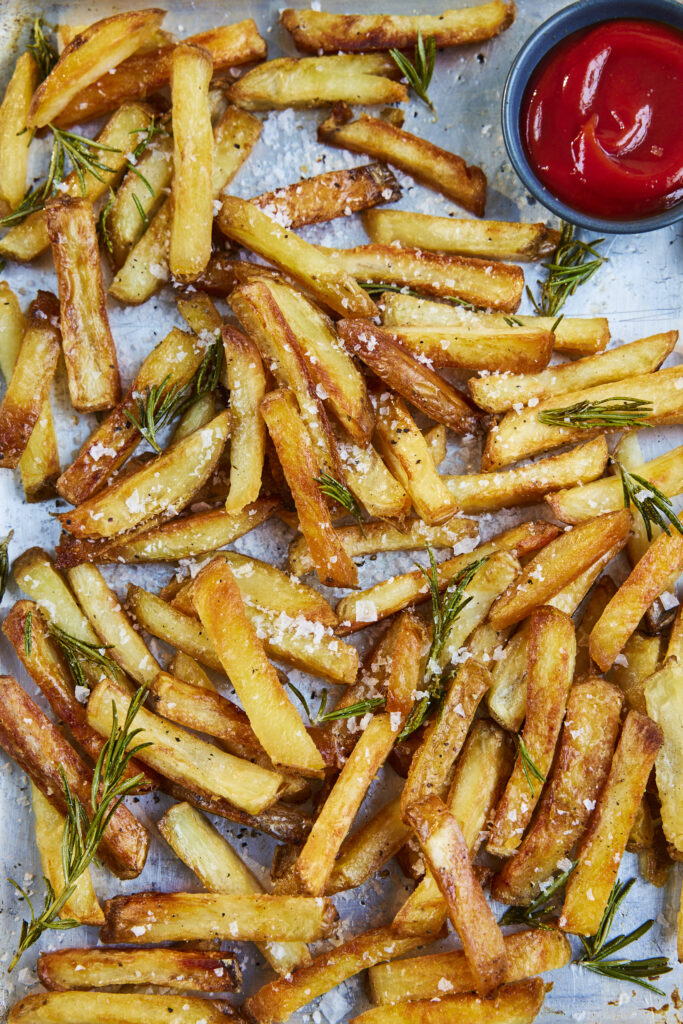
- Different fries. Swap traditional frites for sweet potato fries, Parmesan truffle fries, or homemade ‘chunky’ chips for variation.
Recipe created by Nav Gill
Dan Dan Noodles are a beloved Sichuan classic, famous for their bold, spicy and savoury flavours. This dish combines tender noodles with a rich, aromatic sauce, creating a comforting bowl that excites the taste buds. While traditionally complex, this recipe simplifies the process without sacrificing flavour. It features a luscious sauce made with sesame paste (or tahini), soy sauce, Chinese black vinegar (or white rice vinegar), sugar, sesame oil, chilli oil, ground Sichuan pepper and a pinch of Maldon Chilli Sea Salt. The pork topping is made with ground pork blended with fragrant peanut oil, minced ginger, and the vibrant heat of Maldon Chilli Sea Salt. The result is a perfect balance of spice, saltiness, and umami that coats every strand of noodle.
For the noodles, thin wheat noodles are ideal for absorbing the sauce, creating a silky and satisfying texture. A handful of choy sum (or bak choy) adds a pop of colour and a hint of freshness, complementing the rich flavours. Garnish with sliced spring onions, crushed peanuts for a nutty crunch, and an extra pinch of Maldon Chilli Sea Salt for a burst of spice to finish. This quick and easy recipe ensures you can enjoy a bowl of spicy Dan Dan noodles at home, perfect for busy weeknights or a satisfying treat anytime.
Prepare the sauce:
- In a bowl, whisk together sesame paste, soy sauce, dark soy sauce, black vinegar, sugar, sesame oil, chili oil, and ground Sichuan pepper. Adjust seasoning if necessary.
- Set aside.
Cook the pork:
- Heat peanut oil in a wok or pan over medium heat. Add minced ginger and stir-fry until fragrant.
- Add the ground pork and cook until browned, breaking it into small pieces.
- Stir in the sui mi ya cai, Shaoxing wine, soy sauce, and Maldon Chilli Sea Salt. Cook for another 2–3 minutes until well combined and aromatic.
- Set aside.
Cook the noodles and blanch the choy sum:
- Bring a pot of water to boil.
- Cook noodles according to package instructions. Blanch the choy sum for about 30 seconds until vibrant and tender.
Assemble the bowls:
- Add the sauce to the bottom of the bowl. Add the cooked noodles and toss to coat them in the sauce thoroughly.
- Top with the cooked pork mixture and blanched choy sum.
- Sprinkle with crushed peanuts, spring onions, and a light dusting of Maldon Chilli Sea Salt for an extra kick. Add more chili oil if desired.
Serve immediately

- Mix everything together in the bowl before eating for the best flavour and enjoy!

Melissa Hemsley’s latest cookbook, ‘Real Healthy‘ is a game-changer for anyone seeking practical, delicious, and wholesome recipes that fit seamlessly into a busy lifestyle. Packed with life-friendly meals designed to reduce reliance on ultra-processed foods (UPFs), this cookbook aims to empower readers to make healthier choices every day. With a foreword by renowned nutritionist Rhiannon Lambert, Real Healthy doesn’t just stop at offering recipes – it provides a clear, approachable guide to understanding and avoiding UPFs, all while celebrating the joy of cooking! From vibrant veg-packed dishes to quick and satisfying snacks, Melissa’s recipes promise to make healthy eating both accessible and enjoyable.
At a time where over half the average UK diets comes from UPFs, Real Healthy takes a stand by offering solutions for every mealtime challenge. Whether it’s a One-Pot Lazy Lasagne for busy weeknights, Cherry Bakewell Granola to brighten up breakfasts, or a Take-To-Work White Chicken Chilli for office lunches, Melissa’s creations are as practical as they are flavourful. With dedicated chapters on batch cooking, traybakes, and 30-minute meals, this book makes it easy to cook nourishing food that fits around a hectic schedule. Melissa also provides expert advice on avoiding hidden UPFs, helping readers take small, meaningful steps towards a healthier, more sustainable way of eating.
White Chicken Chilli Recipe

A tomato-less chilli, hence the name ‘white chilli’. Melissa uses yellow peppers to keep the chilli ‘white’ but use whatever colour you can find. She likes to serve the toppings separately and let everyone help themselves. In terms of the beans, use whatever white beans you like, such as cannellini or butter beans. Melissa find’s sweetcorn is always worth keeping in the freezer, but if you’ve got tinned sweetcorn, then drain, rinse and add it right at the end.
Feeds: 4 people
Takes: 1 hour, 10 minutes
Ingredients:
- 4 bone-in, skin-on chicken thighs
- 2 tbsp olive oil, plus extra if needed
- 2 onions, finely chopped
- 2 yellow peppers, diced
- 4 garlic cloves, finely sliced
- 2 tsp ground cumin
- 1 tsp dried oregano
- ¼ tsp cayenne pepper or chilli flakes, to taste
- 1.2 litres vegetable or chicken stock
- 2 x 400g tins of white beans, drained and rinsed
- 200g frozen sweetcorn
- Juice of 1 lime, plus a little zest if you like
- Maldon Sea Salt
- Black pepper
- OPTIONAL TOPPINGS:
- Soured cream or yoghurt
- Fresh coriander and/or spring onions, sliced
- Sliced avocado
- Sliced radishes or cucumber
- Lime wedges
- Jarred jalapeño slices
Method:
- Season the chicken thighs on both sides with salt. Heat the olive oil in a large pot and, once warm, add the chicken thighs, skin-side down. Cook for 10–12 minutes over a medium-high heat until very well browned, then turn and cook on the other side for 2–3minutes. Lift out of the pot and set aside on a large plate.
- The chicken should have given out plenty of fat but if not, add a splash of olive oil to the pot and, once warm, add the onions, peppers and a pinch of Maldon Sea Salt and pepper. Fry for about 12 minutes over a medium heat until very soft, stirring every so often. Add the garlic, fry for a minute, then add the cumin, oregano and cayenne or chilli flakes and fry for 2 minutes, stirring regularly.
- Return the chicken thighs to the pot and pour in the stock. Simmer for 25 minutes, then add the beans and continue to cook for another 10 minutes.
- Remove the chicken thighs once cooked through and take the meat off the bones and shred. Set aside, discarding the chicken skin if you wish. Use a potato masher or the back of your wooden spoon to crush roughly a third of the beans (this will help thicken the chilli).
- Add the frozen sweetcorn, then cook for 5 minutes or so until tender. Remove from the heat, add the chicken, lime juice, plus a little zest if you like, and taste for seasoning. Ladle into bowls and finish with the toppings you like.
Where To Buy ‘Real Healthy’?

You can find where to purchase Melissa’s NEW cookbook here and start being creative with food and flavours in the comfort of your kitchen.
Make sure you have your Maldon Salt ready for these recipes! If you are running out, please feel free to browse on our Where to Buy Page to find your nearest store in which stocks our beloved Maldon Salt.
Lastly, we LOVE seeing your creations – please tag us on Instagram using the #maldonsalt so we can share your own take on Melissa’s recipes!
Transform your weeknight dinners with air fryer spicy Peking duck, seasoned to perfection with Maldon Chilli Sea Salt. This quick and easy dish brings the irresistible flavours of a takeaway favourite right to your kitchen. Crispy skin, tender duck and a bold chilli kick make it a satisfying and hassle-free option for busy evenings. Why settle for a delivery when you can enjoy this flavourful ‘fakeaway’ in no time?
Perfect for celebrating Lunar New Year or elevating any weeknight, this spicy Peking duck pairs beautifully with steamed pancakes, fresh cucumber and spring onions. The Maldon Chilli Sea Salt adds a fiery twist, enhancing the classic flavours while keeping preparation simple and convenient. Serve it up and impress your family or guests with this effortless, restaurant-style feast.
What is Lunar New Year?
The Lunar New Year, also known as the Chinese New Year, is a 15-day festival which begins on the first day of the first lunar month in the calendar, ending with the ‘Lantern Festival’ on the 15th day. It’s full of celebration, centred around removing the bad and the old, and welcoming the new and the good. It’s a time where many worship ancestors, exorcise evil sprits and pray for good harvest. The date of the Lunar New Year changes every year. In 2024, this will occur on the 29th January. Across many countries, including China, South Korea, North Korea, Singapore and Cambodia, each year is associated with an animal from the zodiac. For 2025, this will be the Year of the Snake. The Snake represents wisdom, transformation and renewal.
Why do you eat duck during Lunar New Year
According to Reader’s Digest, duck is one of the most popular dishes at Lunar New Year dinner. This is because duck symbolises loyalty and is a great choice for good fortune because of it’s ‘reddish hue’ – the luckiest colour in Chinese culture.
Here is how to make Air Fryer Spicy Peking Duck
- To a large pan, add the Shaoxing wine, soy sauce, soft brown sugar, spices, Maldon Chilli Sea Salt, spring onions, ginger, lemongrass, hoisin and chicken stock. Bring it up to a simmer and then add the duck legs and breast. Continue to simmer gently for 1 hour 30 minutes.
- After this time, remove the duck from the pan and pat dry using kitchen paper. Preheat the air fryer to 200c. Then place the duck into the basket and cook for 10 – 15 mins so skin goes really crispy and caramelized.
- While the duck is crisping up, mix together the rice vinegar, Maldon Sea Salt and caster sugar together in a small bowl and then add the julienned carrot. Toss it through and set aside to lightly pickle.
- When the duck is cooked, remove it from the air fryer. Slice the duck breast and shred the duck leg meat, then place it onto a serving platter. Warm through the Chinese pancakes and then serve alongside the crispy duck, hoisin sauce and the julienned spring onions, cucumber and pickled carrots. Let everyone tuck in and make their own pancakes up!
Bright, fresh and busting with vibrant flavours, this Garlicky Green Medley is a simple yet elegant side dish that pairs beautifully with roast meats or fish. A crisp combination of green beans, sugar snap peas and broad beans is tossed with crunchy blanched hazelnuts and fragrant fresh meat, creating a delightful contrast of textures and flavours. The magic touch? A generous pinch of Maldon Garlic Sea Salt flakes, enhancing every bite with a subtle garlicky depth that ties the dish together. Light, flavourful and effortlessly impressive, this medley is a must-try for any occasion.
Why this Green Medley works

The Garlicky Green Medley works well as a dish because it strikes the perfect balance of flavours, textures and freshness. Here’s why:
- Vibrant Greens & Crisp Texture – The combination of green beans, sugar snap peas and broad beans offer a satisfying crunch and a burst of natural sweetness, making the dish both refreshing and hearty!
- Nutty Depth – Blanched hazelnuts introduce a toasty richness that compliments the greens, adding both texture and a subtle buttery flavour.
- Umami & Garlick Kick – Maldon Garlic Sea Salt flakes bring a delicate garlicky warmth that enhances the natural flavours of the vegetables without overpowering them, creating a well-rounded, savoury depth.
Altogether, this dish is a perfect mix of crunch, freshness and subtle seasoning, making it a standout side for any occasion!
How to make this Garlicky Greens Medley
- Place a large pan of water on to boil. When it is simmering, add the green beans and sugar snap peas. Let them blanch for just 2 minutes then remove with a slotted spoon or tongs onto a large plate with some kitchen paper. Then add the frozen peas and broad beans to the pan of water and do the same, after 2 minutes drain them into a sieve.
- Place a large frying pan onto a medium heat and add the olive oil, once warm add the sliced garlic and let them gently fry for 1 minute. Then add the beans and sugar snap peas to the pan. Sauté them so they start to pop and char in places. If the garlic looks like its catching, then simply add a splash of water. Finally add the peas and broad beans to the pan, and sauté just until they warm back through.
- Tip all the veg onto a large serving platter and season well with Maldon Garlic Sea Salt and some cracked black pepper. Then garnish with orange zest, chopped toasted hazelnuts and some mint leaves before serving.
Variations of a Garlicky Green Medley:


- Citrus Zing – Add a squeeze of fresh lemon for a bright, tangy lift that pairs beautifully with the garlic and greens.
- Cheesy Indulgence – Crumble a few cubes of feta, parmesan shavings, or goat cheese over the medley for a creamy, salty contrast.
- Spicy Kick – toss in a pinch of Maldon Chilli Sea Salt flakes for a subtle heat that compliments the garlic flavour perfectly.
- Extra Crunch – swap the blanched hazelnuts for toasted almonds, walnuts or pine nuts for a different nutty dimension.
- Earthy Twist – Stir in sautéed mushrooms or roasted artichokes for a deeper, more umami-rich version.
Serving suggestions for a Garlicky Green Medley:
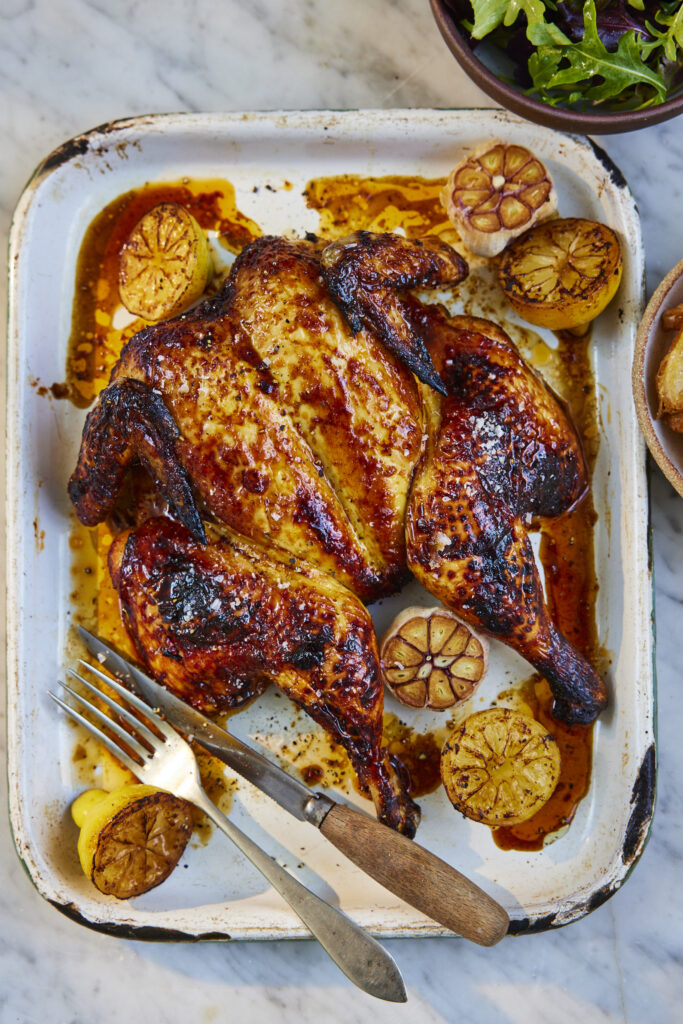
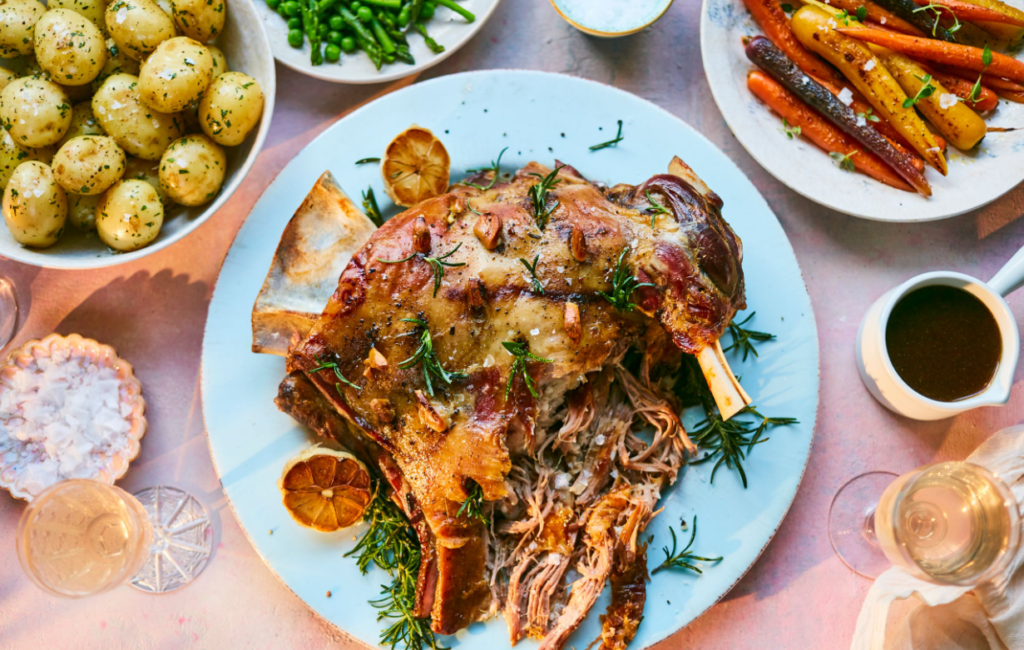
- With Roasted Meats – A perfect side for roast lamb, chicken, beef or pork, balancing the richness with fresh, crisp flavours.
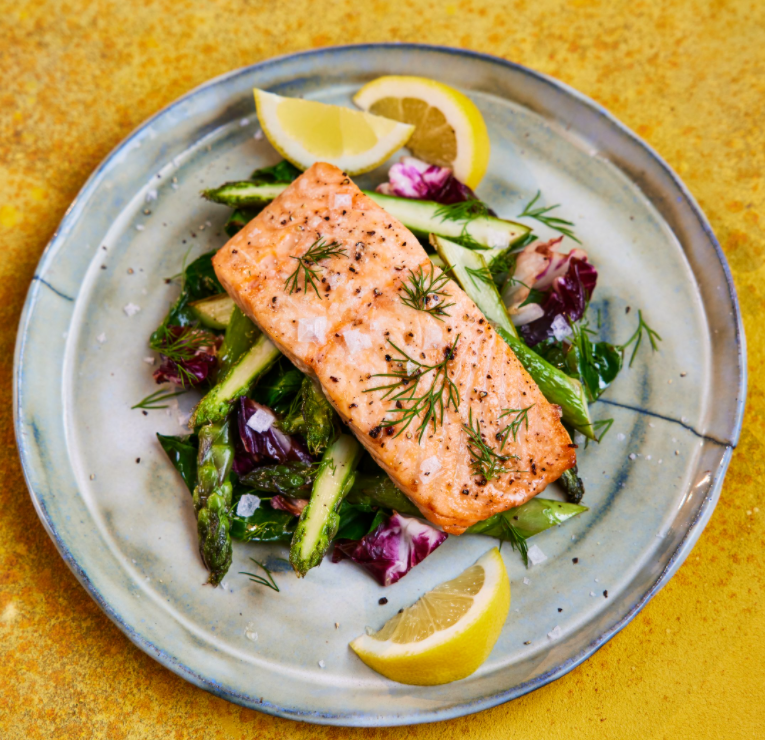
- Alongside Fish – Compliments grilled salmon, sea bass, or cod, enhancing the dish with it’s garlicky and herbaceous notes.
- Tossed in a Salad – Serve at room temperature with quinoa, couscous, or farro for a more substantial dish, turning it from a side to a main!
- As a Pasta Addition – Mix gently with cooked pasta, olive oil, and parmesan for a light yet flavourful-packed meal.
- With Poached Eggs – Top the medley with a runny poached egg for a simple but delicious brunch/lunch option.
For a quick and delicious side dish, these caramelised air fryer carrots are a game-changer. Lightly crisp on the outside, tender on the inside, and packed with natural sweetness, they’re elevated by the signature crunch of Maldon Sea Salt flakes. This effortless recipe takes 15 minutes at 200°C, making it the perfect addition to weeknight meals or special occasions.
Pair these sweet and savoury carrots with roast meats for a classic combination, or toss them into warm salads for a burst of flavour and texture. The air fryer ensures perfectly caramelised edges with minimal effort, letting the natural flavours shine with just a hint of seasoning. Simple, quick, and incredibly satisfying!
How to air-fry carrots perfectly
- Make sure the carrots are scrubbed clean and preheat the air fryer to 200c. There is a no need to peel the carrots or remove the tops.
- Place the carrots into the basket and drizzle with the olive oil and honey, then place into the air fryer for 15 minutes until they are tender and starting to caramelize on the outside.
- Remove from the air fryer and transfer onto a serving platter. Season with Maldon Sea Salt and cracked black pepper to taste and then scatter over a few thyme leaves before serving.
Recipes to make with carrots
Here are a few delicious carrot recipes to try out during the week. Each recipe brings out the natural sweetness of carrots, beautifully balance by the clean, crisp finish of Maldon Sea Salt flakes.
Lemon & Honey Roasted Carrots
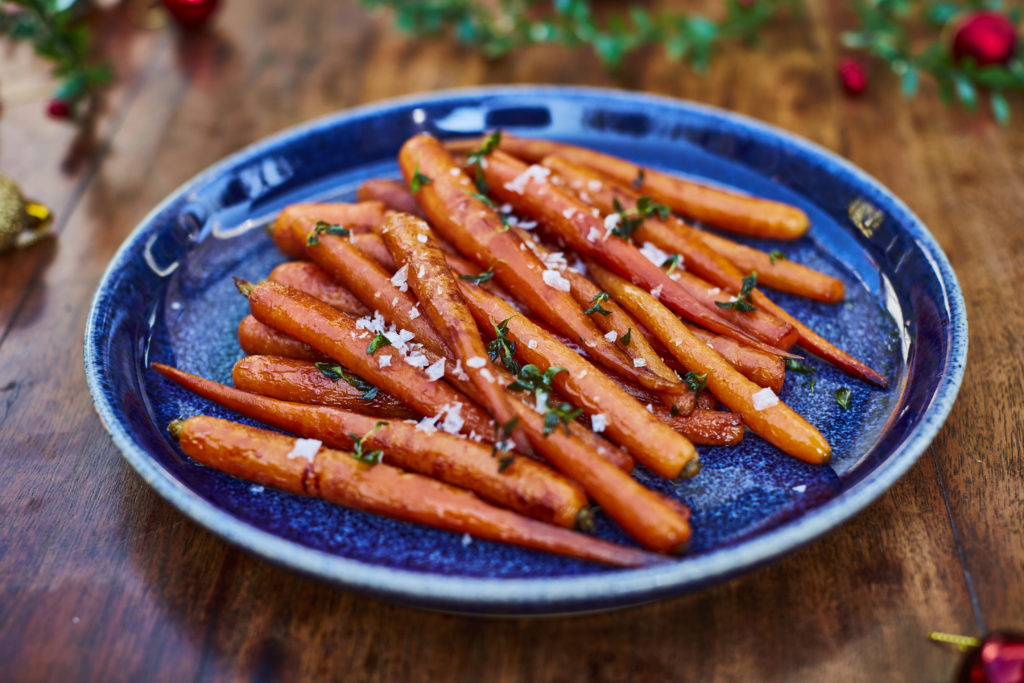
Transform your ordinary carrots with a beautiful lemon and honey glaze. When roasted, carrots give a delicious, sweet and earthy taste. When paired with lemon, it adds a tasty citrusy kick, whilst a generous smothering of honey enhances the natural sweetness of the carrots.
Spiced Roasted Carrots and Hazelnuts with Silky Butter Bean Mash

This recipe was created by Rukmini Iyer, a celebrated author and culinary innovator, known as the queen of fuss-free flavour. The dish focuses on roasting carrots with coriander seeds under foil whilst making a rich, silky butter bean mash to pair with the carrots and soak up any leftover juices.
Chickpea Salad with Baby Carrots

This versatile chickpea salad is perfect as a min dish, a side, or even for meal prep. Combining the creaminess of chickpeas with the vibrant pomegranate seeds, butternut squash and crunchy baby carrots, this dish is a flavour-packed powerhouse! A generous pinch of Maldon Garlic Sea Salt flakes elevates the flavours, making it the perfect plant-based option for any day of the week.