If you’re after a quick, crowd-pleasing side or the perfect party snack, these air fryer mini baked potatoes are your new go-to. Made with mall new potatoes, tossed in olive oil and cooked until golden and crispy in the air fryer, they delivery big flavour in bite-sized form. Fork-tender on the inside with irresistibly crispy skins on the outer, each potato is then split and stuffed with cool sour cream, finely chopped chives and crispy bacon piece. A final pinch of Maldon Smoked Sea Salt adds a rich, bold finish that takes these humble spuds to the next level.
How to Make Air Fryer Mini Baked Potatoes with Sour Cream, Chives & Crispy Bacon
Using the air fryer means no fuss and no long oven times – just line the basket with parchments paper, cook the potatoes in a single layer, and in minutes you’ll have perfectly crispy air fryer potatoes ready to serve.
This quick potato recipe is ideal for parties, BBQs, or even a fun side dish for weeknight dinners. They’re also a smart way to use up leftover potatoes – simply reheat and top before serving. Whether you’re entertaining a crowd or treating yourself – these mini loaded baked potatoes are guaranteed to disappear fast!
Prepare and Cook the Potatoes
Preheat the air fryer to 200C. Line the air fryer basket with parchment paper for easy clean-up.
Toss the new potatoes with 2 tbsp olive oil and a pinch of Maldon Smoked Sea Salt. Add the potatoes to the air fryer basket and cook for 15-20 minutes until the potatoes are crisp and fork-tender.
Cook the Bacon
Set the potatoes aside to cool slightly as you add the lardons to the air fryer basket, this time lined with parchment paper. Cook for 5-7 minutes until crisp. Transfer to a plate lined with kitchen paper to soak up any excess oil.
Assemble and Serve
Cut slits on the tops of the potatoes. Dollop each potato with a little sour cream. Scatter over the lardons and chives. Finish with Maldon Smoked Sea Salt and lots of freshly ground black pepper.
Tips
What’s the best potato for this recipe?
The best potato for air fryer mini baked potatoes is a waxy, small variety, such as baby new potatoes, Charlotte potatoes and baby Yukon Golds. This is because these types of potatoes hold their shape well, have a creamy texture inside and create a beautifully crispy skin in the air fryer. Make sure to look for potatoes that are evenly sized for consistent cooking, and avoid starchy varieties like russets that can dry out and crumble when cooked small.
Can this be made vegetarian or vegan?
Yes, this air fryer mini baked potatoes recipes can be easily adapted for a vegetarian or vegan. For the vegetarian version, instead of using bacon, try swapping to a vegetarian bacon alternative. such as Richmond Meat Free Bacon Rashers or THIS Isn’t Bacon Plant Based Rashers. To make this suitable for a vegan, swap sour cream with a plant-based alternative, such as Greenvie Vegan Sour Cream or cashew-based cream.
Can you make air fryer mini baked potatoes ahead of time?
Yes, you can make this recipe ahead of time.
Cook the potatoes in advance. Air fry the mini potatoes until fork-tender and crispy. Store in an airtight container in the fridge for up to 2 days.
Prep the toppings. Chop the chives, cook the bacon (or vegan alternative) and mix the sour cream ahead of time. Keep topping stored separately in the fridge.
Reheat before serving. Reheat the mini potatoes in the air fryer at 180/200C for 5-8 minutes, until hot and re-crisped. Slice, stuff and season just before serving for best texture and taste.
These methods make this recipe ideal for party prep or hosting a dinner party, so you can enjoy the moment without rushing around in the kitchen.
Serving Suggestions
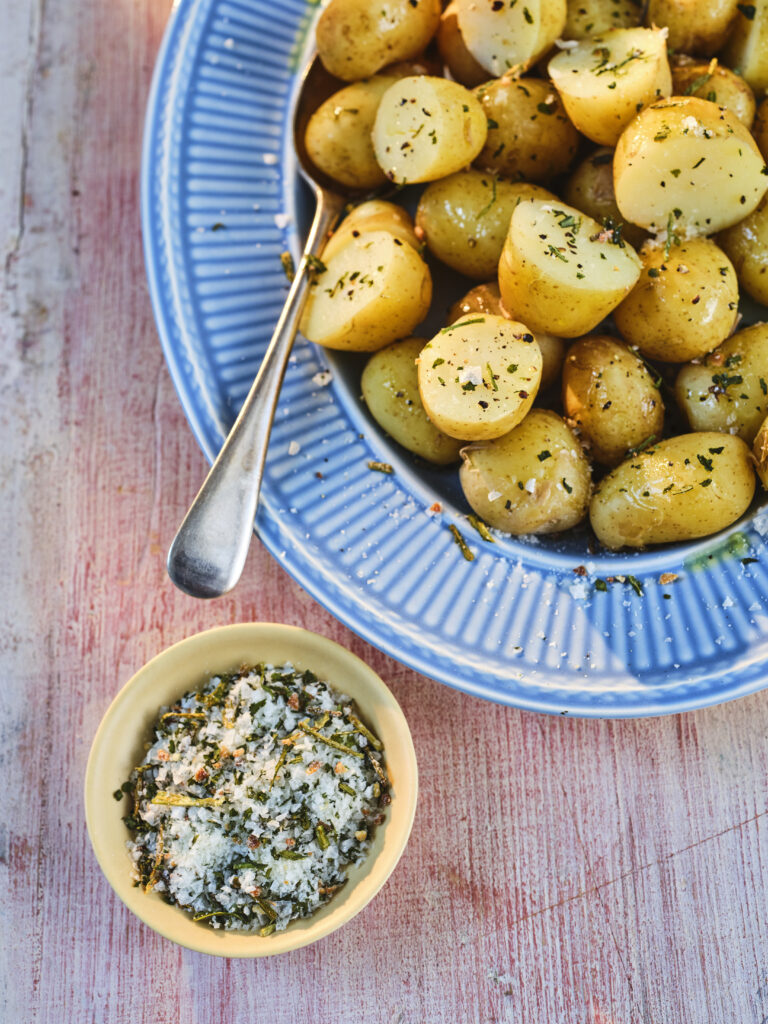
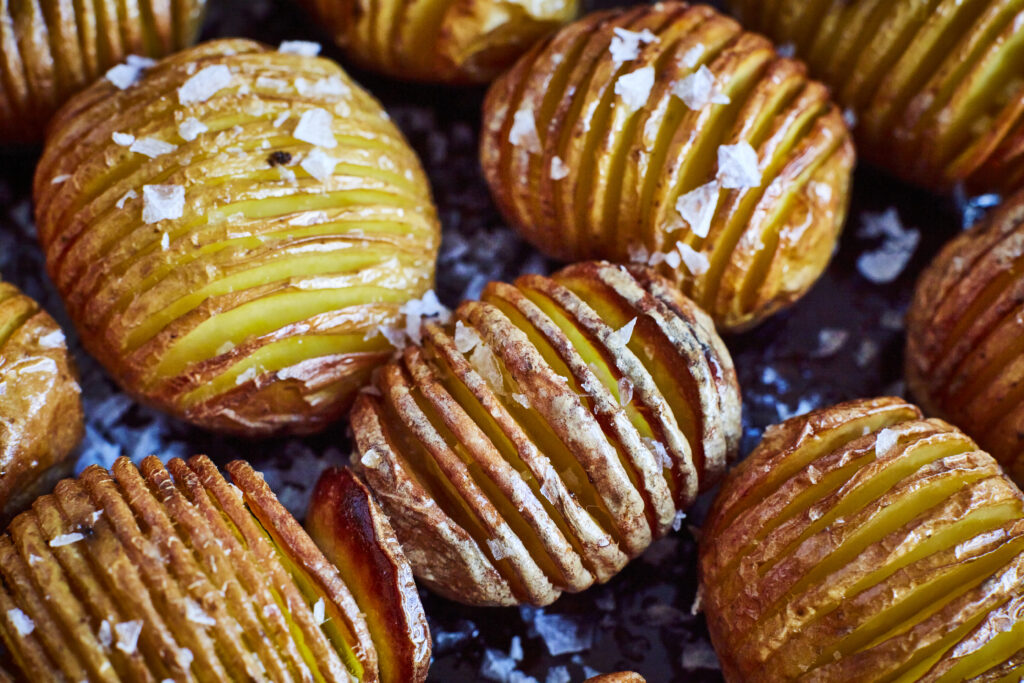
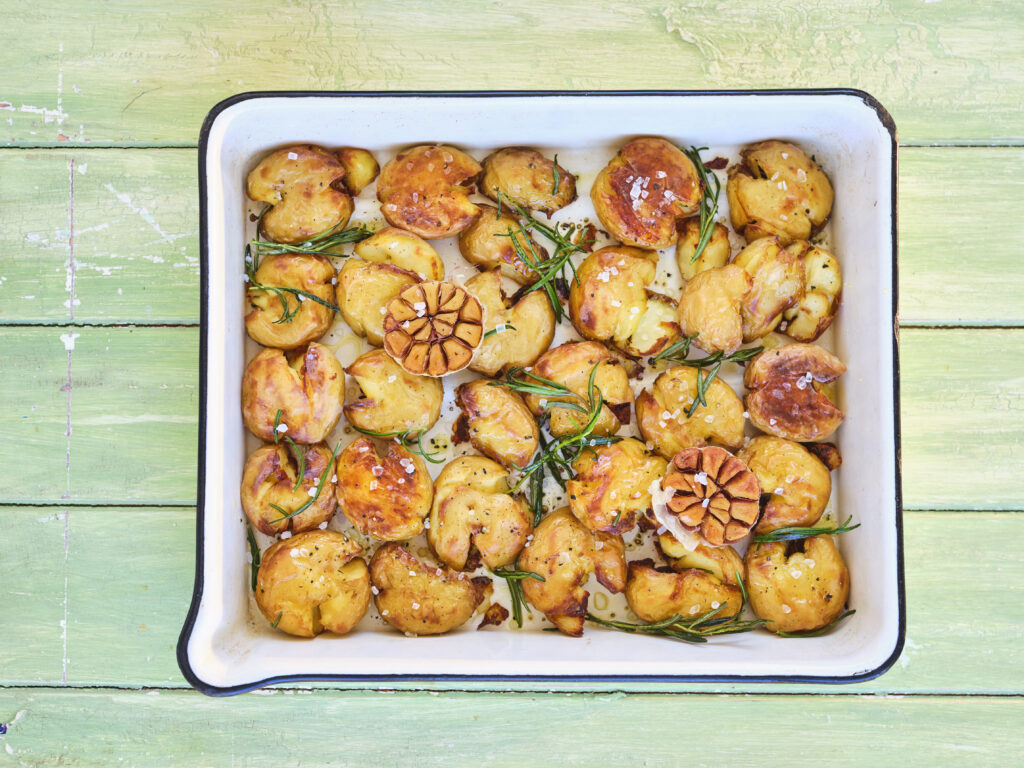
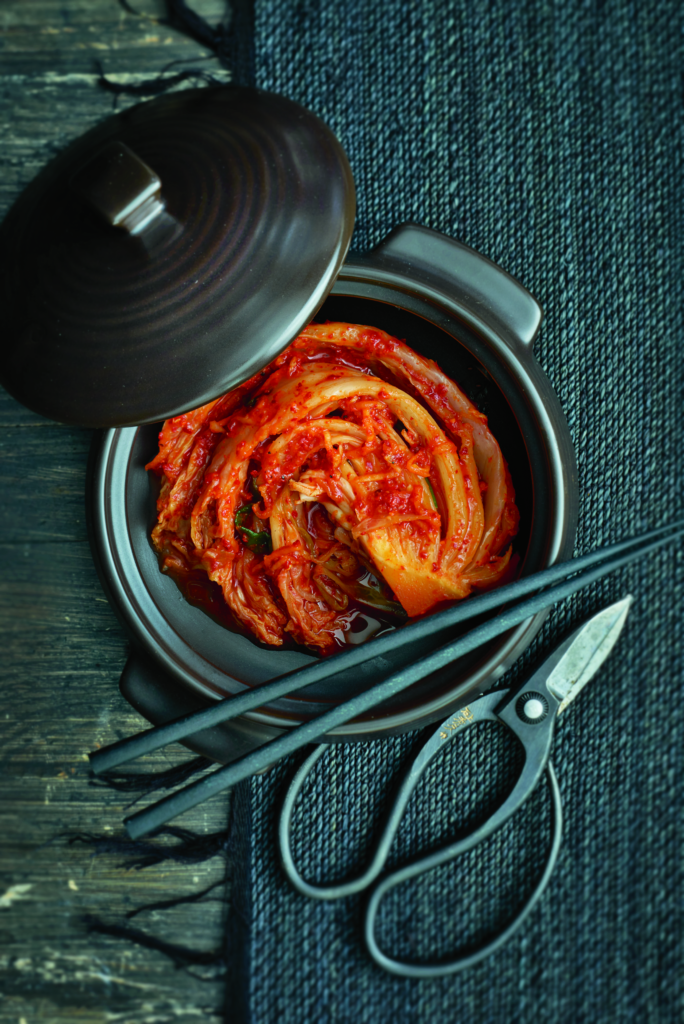
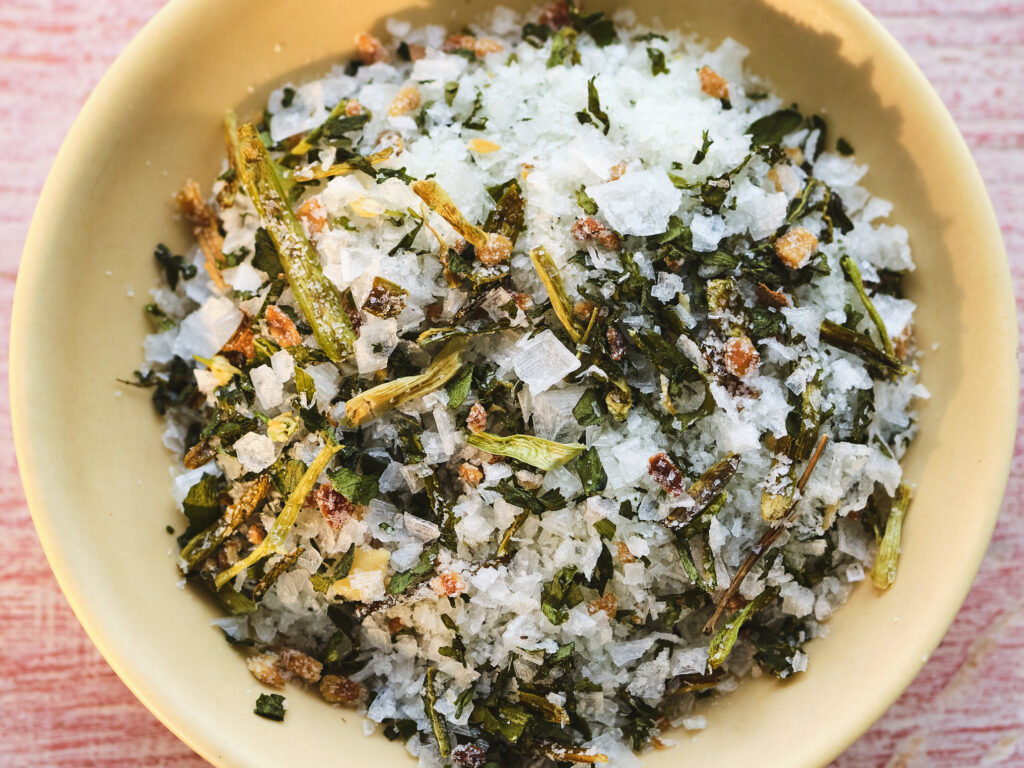
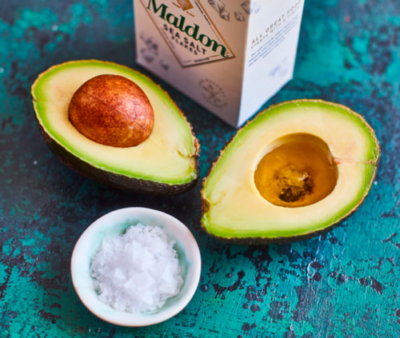
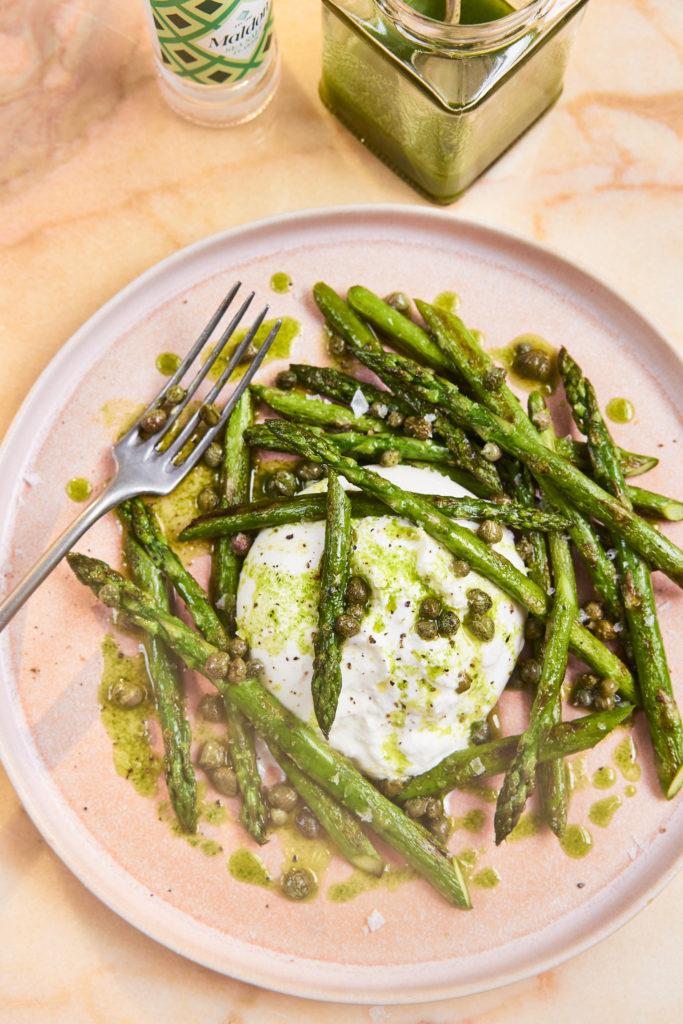
KimchiMaldon Garlic Sea SaltAvocado
Here are some delicious and versatile serving suggestions for mini baked potatoes – perfect as party bites, sides, or even a fun main course!
Let the mini baked potatoes cool completely. Store in an airtight container lined with paper towel to absorb moisture. Store in the fridge for up to 3-4 days. When reheating, pop into the air fryer at 180/200C for 5-8 minutes.
How to store mini baked potatoes in the freezer
Place the mini baked potatoes on a tray lined with parchment and freeze until solid (roughly 1-2 hours). Transfer to a freezer-safe bag or container and store for up to 3 months. When reheating, pop into the air fryer at 180/200C for 12-15 minutes. To speed things up, thaw in the fridge overnight to speed up the reheating time.
If you try this recipe, let us know in the comments! For more easy air fryer recipes, browse our full collection.
How to Make Air Fryer Fish and Chips
There’s nothing quite like a classic British dinner of fish and chips – especially when it’s made healthier and faster in the air fryer! This easy air fryer recipe transforms flaky cod or hake fillets into irresistibly crispy air fryer fish, coated in panko breadcrumbs for that satisfying crunch. Paired with golden, homemade chips cooked to perfection in the air fryer basket, this is the ultimate quick fish dinner that doesn’t compromise on flavour or texture. Best of all, there’s no messy deep-frying required – just simply, delicious comfort food ready in under an hour!
The secret to elevating fish and chips lies in the seasoning. Each fillet and chip should be seasoned with Maldon Sea Salt flakes right after cooking. The delicate, pyramid-shaped flakes enhance the natural flavours of the fish and potatoes, adding a subtle crunch and clean salinity that ordinary table salt just can’t match. For best result, try arrange everything in a single layer in the air fryer to ensure even crisping. Serve immediately with a side of homemade mushy peas and a generous dollop of tangy tartar sauce for a truly authentic meal.
Prepare and Cook the Chips
Preheat the air fryer to 180C.
Peel the potatoes and cut the potatoes into thin batons. Toss with oil to coat and season with Maldon Sea Salt. Spread out evenly in the air fryer basket, ensuring not to overcrowd. Bake for 25-30 minutes until golden and crisp.
Bread and Air Fryer the Fish
For the fish, pat the fillets dry and season with Maldon Sea Salt. Put the flour in one shallow bowl, the beaten egg in another, and the panko breadcrumbs in another.
Coat the first fillet in flour, tap off any excess, then turn in the egg, let any excess drip off, and finally coat in the breadcrumbs. Use your hands to press the breadcrumbs onto the fillet to ensure even coverage. Repeat with the second fillet.
Drizzle the breaded fillets with a little oil then bake in the air fryer for 15 minutes until crisp on the outside and cooked through.
Make the Mushy Peas
For the mushy peas, briefly cook the peas in salted boiling water until tender. Drain, the return to the pan with the butter. Use a potato masher to crush the peas thoroughly. Season to taste with Maldon Sea Salt.
Prepare the Tartar Sauce
For the tartar sauce, simply mix all the ingredients in a bowl and season with plenty of black pepper.
Serve and Enjoy
As soon as the fish comes out of the air fryer, sprinkle with Maldon Sea Salt.
Serve the fish and chips with the mushy peas and tartar sauce.
What is the best fish for air fryer fish and chips?
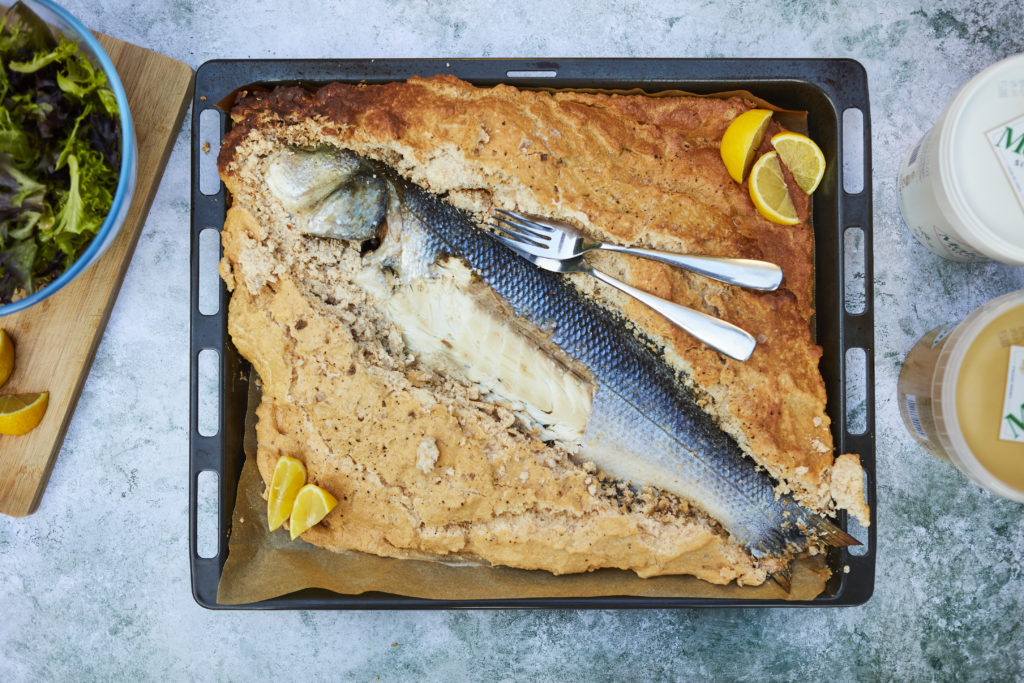
Salt-baked Sea BassSalmon
The best fish for air fryer fish and chips is white, flaky, mild-flavoured fish that holds up well during cooking. Cod is the traditional favourite for British-style fish and chips because it’s tender, flaky and mild, which makes it perfect for a crispy coating when air frying! Alternatively, you can use Haddock, Hake or Pollock, which are all soft and have a flaky texture. The worst fish to use when making fish and chips is salmon or mackerel. This is because they have a high fat content which can lead to a greasy, unpleasant texture when fried.
Can you make air fryer fish and chips ahead of time?
You can make air fryer fish and chips ahead of time, but it’s not ideal if you want to preserve that signature crispiness. Crispy air fryer fish and golden chips are best served immediately after cooking, when the coating is at it’s crunchiest and the fish is perfectly flaky and moist inside. If you reheat air fryer fish and chips, the panko coating an soften and you could dry out the flaky cod or hake fillets.
If you want to prep ahead, you can bread the fish and cut the chips in advance, then store them in the fridge separately until ready to cook.
How do you reheat air fryer fish and chips?
To reheat air fryer fish and chips, preheat your air fryer to 160-175°C, place the fish and chips in a single layer in the basket, and cook for around 7-8 minutes, flipping halfway through.
Is air fryer fish and chips healthier than traditional fish and chips?
Traditional battered fish and chips with mushy peas
Yes, air fryer fish and chips are generally ‘healthier’ than traditional deep-fried versions. This is because there is less oil, which means fewer calories. Traditional fish and chips are deep-fried in oil, which significantly increases the fat and calorie content. Air Frying requires little to no oil, reducing overall fat whilst delivering a crispy air fryer fish and golden chips. Air frying is a smarter choice for a quick fish dinner that feels indulgent but fits into a balanced diet.
Can I use frozen fish fillets when making fish and chips?
Yes, you can use frozen fish fillets when making fish and chips in the air fryer. Make sure to thaw the fillets completely before breading. This helps the panko breadcrumbs stick better and ensures the fish cooks evenly. To speed up the process, you could use pre-breaded frozen fish. This can be air-fried straight from frozen – just check that they’re cooked through and finish with a generous pinch of Maldon Sea Salt flakes before serving.
How long to cook baked potatoes in air fryer?
If you’re swapping chips for baked potatoes in your air fryer fish and chips meal, you need to preheat your air fryer to 200°C and cook directly in the air fryer basket for 35-45 minutes, turning once halfway through for even crisping. Make sure you scrub and dry the potatoes before cooking (a Russet or Maris Piper potato would be best), pricking them a few times with a fork. Rub a little oil onto the baked potato and season with Maldon Sea Salt flakes.
Serving Suggestions
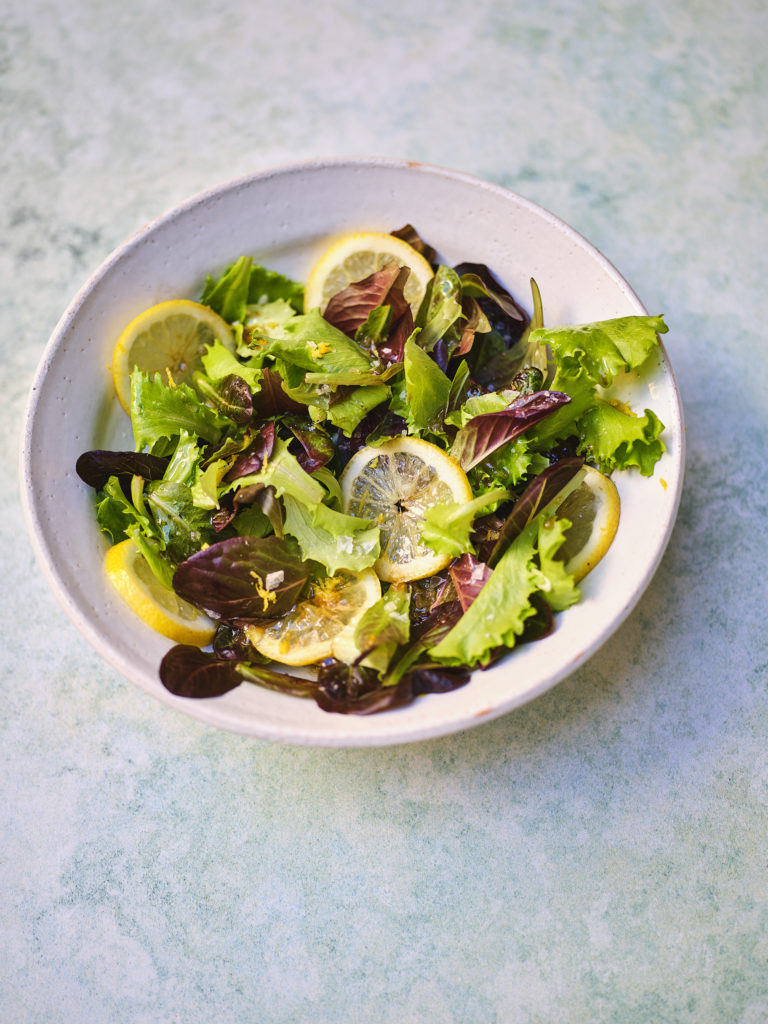
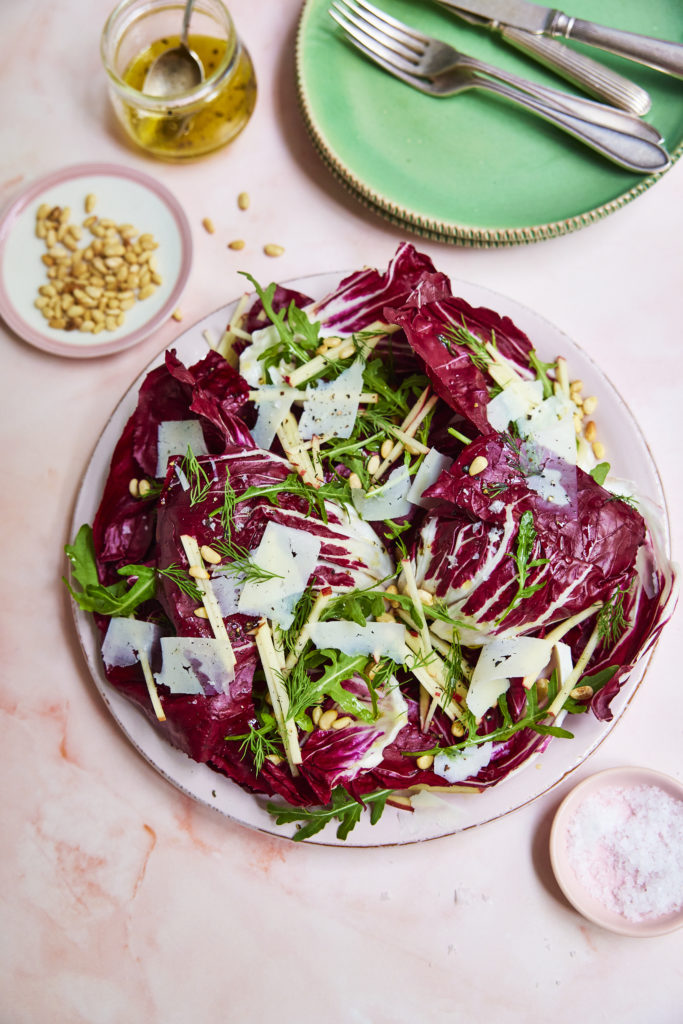
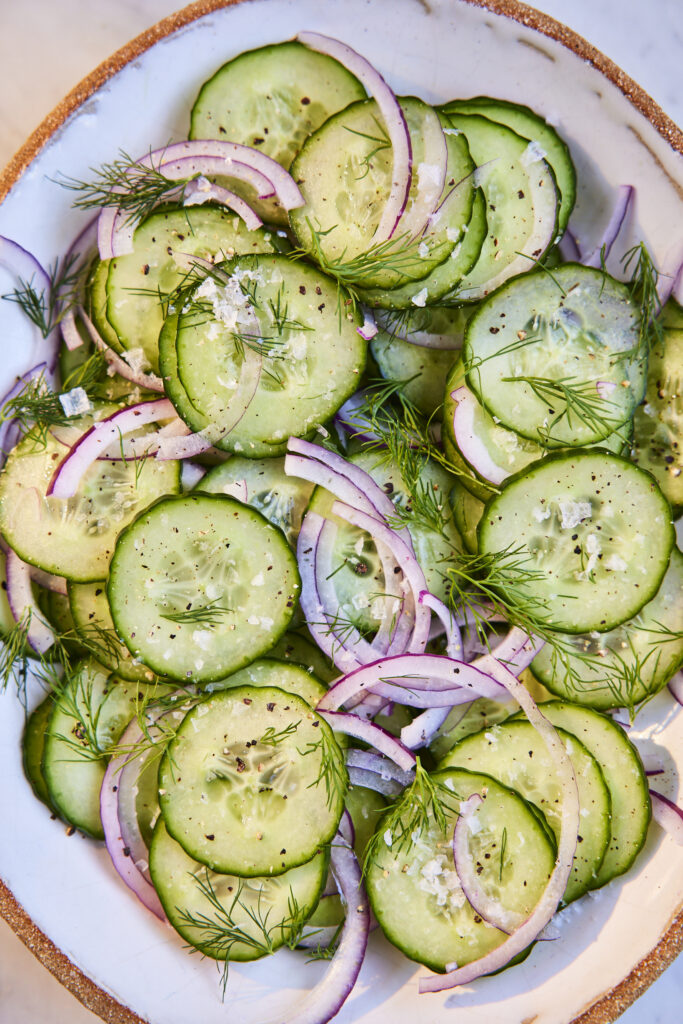
Crispy green leaf salad with lemonRadicchio salad with pine nutsCucumber Salad
Here are some delicious and well-balance pairings for air fryer fish and chips that help elevate the dish while keeping it true to it’s classic British dinner roots.
Homemade mushy peas – A must-have for fish and chips! Creamy, lightly seasoned with Maldon Sea Salt flakes and black pepper, and a perfect contrast to the crunch of crispy air fryer fish.
Tangy tartar sauce – The zing from capers, pickles and lemon cuts through the richness of the fish and adds moisture.
Lemon wedges – It may seem simple, but a fresh squeeze of a lemon brings brightness and enhances the flavour of the flaky code or hake fillets.
Pickled onions or gherkins – A sharp, vinegary bite balance the meal nicely. In London and among those in the fish and chips trade, a gherkin is also known as a ‘wally’. This originated in the late 19th century, believed to be a corruption of the word ‘olive’ and then later stuck for pickles and gherkins.
Green salad – Tossed with a light vinaigrette to add freshness and balance the heartiness of the fish and golden chips. Try pairing a radicchio salad with the air fryer fish and chips; the radicchio has a satisfying crunch that pairs beautifully with the soft, flaky fish.
Slaw – A crisp cabbage slaw with a vinegar-based dressing offers texture and tang to the air fryer fish and chips. We added jalapenos to our slaw to give a delicious spicy kick!
These serving suggestions turn a quick fish dinner into a well-rounded meal while letting the panko-breaded, crispy air fryer fish and chips shine.
Storing air fryer fish and chips
Storing and reheating air fryer fish and chips properly can help preserve the crispiness and flavour – though nothing beats enjoying them served immediately.
Storage Tips
Cool completely first – Let the crispy air fryer fish and golden chips cool to room temperature before storing to avoid steam build-up, which causes sogginess!
Store separately – Place the fish and chips in separate airtight containers, preferably lined with a paper towel to absorb moisture.
Refrigerate – Keep in the fridge for up to 2 days. Avoid freezing – especially if the fish was previously frozen before cooking.
Tried this air fryer fish and chips recipe? Let us know in the comments below! For more easy air fryer recipes, visit our full collection.
3 Doughs, 60 Recipes by Lacey Ostermann (Hardie Grant, £24), Photography by Steven Joyce.
Baking sensation Lacey Ostermann has taken the world by storm with her simple yet ingenious approach to homemade bread.
What started as a passion project in her London home quickly grew into a thriving micro-bakery, selling out as fast as she could bake! Her beautifully crafted loaves and creative recipes soon reached a global audience through social media, where her step-by-step videos and irresistible carb-filled content have inspired millions. Now, in 3 Dough, 60 Recipes, Lacey brings her expertise to home bakers everywhere, proving that professional-quality bread can be easy, fun and endlessly versatile!
At the heart of this book are three foundational doughs – Sandwich bread, focaccia and pizza – each serving as a springboard for a variety of mouth-watering creations. With 20 recipes per dough, bakers can effortlessly transition from a classic load to English muffins, from fluffy focaccia to decadent French toast, or from a simple pizza base to crispy stuffed crusts. Every recipe is designed for success, complete with step-by-step instructions, stunning photography, and QR codes linking to Lacey’s signature video tutorials. Whether you’re a seasoned baker or a complete beginner, 3 Dough, 60 Recipes will transform the way you bake, one delicious loaf at a time.
In Conversation With Lacey Ostermann…
Lacey, we are LOVING 3 Doughs, 60 Recipes. As the title suggests, your book focuses on just three doughs – bread, focaccia and pizza. What made you choose these as the foundation for your recipes?
Thank you so much. I’m a huge fan of Maldon Salt and go through it by the bucketful, so it’s an honour that you’ve chosen to feature my book!
Yes – 3 Doughs, 60 Recipes is based upon three doughs – sandwich bread, focaccia and pizza. I knew I wanted to write a book about bread that demonstrates how versatile doughs can be and I chose these specific doughs for a few reasons…
All three of the doughs are easy for beginners to master. They don’t require any specialist equipment and can be made using instant yeast.
I know from tracking my video performance on Instagram and TikTok pages that these are enormously popular breads that people want to learn how to make (and eat).
They’re also versatile doughs, each with their own hydration level (how much water is in the dough) which means you can use each of them to achieve different things.
The stickiest one is the focaccia dough, but you can shape it and bake it differently to turn into a crusty loaf of artisan bread or into soft sandwich rolls.
The sandwich bread dough is drier which means it’s easier to shape so it’s great for things like bagels, cinnamon caramel monkey bread, pretzels, English muffins and burger buns.
The pizza dough falls somewhere between the two; it’s nice and stretchy without being too dry or too wet – this is perfect for turning into flatbreads, fougasse, ciabatta or breadsticks. Between those three doughs, you really can do quite a lot.
The breads made from these doughs all pair well with delicious toppings, dips and sauces that will elevate the reader’s enjoyment of bread. Things like pizza sauce, dipping oils, pestos, chimichurri, homemade butter, tzatziki etc…these are all bonus recipes included in the book that belong on top of pizzas, dimpled into focaccia or slathered onto toast/sandwiches made from homemade sandwich bread!
From focaccia French toast to pizza dough doughnuts, your recipes are incredibly creative! What’s one unexpected recipe in the book that you’re especially excited for people to try?
Oooh it’s so hard to pick just one! One of my favourites is for the Giant Soft Pretzels which are made using the sandwich bread dough from the book. Warm, doughy, buttery, salty soft pretzels are such a treat, especially when they’re fresh out of the oven – my kids request them often, in fact I just made another batch today!. There is a recipe for Soft Pretzel Bites too, and an option to coat them in cinnamon sugar…they are delicious.
Many home bakers struggle with confidence when working with dough. What’s your biggest tip for overcoming that fear?
This is something I hear time and time again from people commenting on my videos on social media. They’re intimidated by bread making. They’ve never worked with yeast before. They think focaccia requires a sourdough starter that you need to keep alive. They think they need a special proofing drawer or a stand mixer and other fancy equipment. They feel like they might mess up the kneading process. Unfortunately people just overthink it to the point that they don’t try it.
So my biggest tip is to stop overthinking it and just go for it. Find a recipe that seems doable for your level of experience, use a scale to measure the ingredients (this is important for breadmaking), buy the correct ingredients, follow the recipe and see what happens…you may just surprise yourself with the results you can achieve! If you can find a recipe that has a video tutorial to go along with it (on social media, YouTube etc), you will absolutely benefit from that extra visual guidance.
Your book includes QR codes linking to video tutorials – a game-changer for visual learners. How do you think social media has shaped the way people learn to bake today?
Social media has been a brilliant tool for home bakers, in fact it’s how I learned how to make bread during lockdown in 2020. When I started sharing bread tutorials on Instagram a couple of years later, I knew I wanted to produce videos that I would have found helpful when I was first learning how to make bread. A recipe is great, but with bread making it really helps to actually see what the dough texture should look like, how to do a stretch and fold or what the dough should look like when it’s fully proofed. I think people are more likely to try something new or something they perceive to be challenging if they have extra visual guidance to help fill them with confidence as they attempt it.
You’ve built an incredible online community of bread lovers. What’s been the most rewarding interaction that you’ve had with a follower(s).
I have so many positive exchanges with my online community and it never gets old when I receive a joyful message from someone who has just made bread successfully for the first time. I have these encounters all the time and they’re very rewarding!
It’s so nice to actually meet followers in person though. My publisher held an event at Waterstones Piccadilly to celebrate my book’s launch day and some followers came down to get their books signed and sample some focaccia. One follower didn’t know I was going to be at the bookstore that day. She was visiting London from abroad, was browsing in the bookstore and stumbled upon me there. She was so shocked and thrilled, told me how much she loves my pizza dough recipe and bought a book for me to sign. She was just so excited to meet the bread lady she follows and I was excited to meet her too…it was just a really nice encounter on an already special day.
What does a normal day in the life look like for you, Lacey?
My days vary so much day-to-day, but that’s one of the things I love about my job!
Some days are very heavily based in the kitchen with lots of recipe testing and filming videos for my socials or for work with brands. Other days are more admin based with writing up recipes, calls with my management/publishing teams or working on pulling everything together for my website. I edit content daily and engage with followers on socials throughout the day, but I think I need to start scheduling when I do this as it can be hard to properly switch off from it all. Then there are the special days I get to go into London for work events/PR invites etc – those are the most fun!
I have two kids, Alex (9) and Sophie (6), so my working day typically starts after I’ve dropped them off at school, though I might start dough for filming first thing in the morning. At some point in the day I’ll fit in a nice long walk in the East Sussex countryside with our working cocker spaniel, Penny too!
Now that 3 Dough, 60 Recipes is out in the world, what’s next for you? Any future project or collabs in the works?
It’s so great to see my cookbook out in the world! I have a US book tour coming up in early April so I’ll be heading stateside for that soon and can’t wait to meet some North American followers at the author events/demos I’ll be doing.
My current project is building my own website to make my online recipes easier to access for everyone. It’s a huge undertaking, especially trying to do it whilst launching a book, so it’s taking me a while! I also have an ambassador role I’m stepping into that I’m very excited about but I can’t quite announce which company it’s with yet.
I’ve started my popular ‘Will It Focaccia?!’ series back up again after a little hiatus, so there will be some wild focaccia flavours on my page again soon…
There have been whispers about book number two so the ideas for that are already being discussed with my agent. It will be nice to have a little break to recover from book one craziness before diving into the next one though!
Loaded Baked Potato Focaccia Recipe
3 Doughs, 60 Recipes by Lacey Ostermann (Hardie Grant, £24), Photography by Steven Joyce.
Potatoes on bread? YES. This one is dedicated to the carb-lovers. Here, a slab of focaccia is jam-packed with all the delicious things that make loaded baked potatoes so good. Potatoes. Cheese. Bacon. Chives. Need we say more?
If you want to know how to make the focaccia dough, you will find instructions on page 22, where you can learn how to make a same-day focaccia. Please note that focaccia dough is wet and sticky. Make sure to dip your hands in water when performing the ‘stretch and folds’ to help prevent the dough from sticking to your fingers. Oil your hands when transferring the dough into the tray and when dimpling it.
Serving size: 1 slab of focaccia (12 servings)
Ingredients:
1 batch Same-day Focaccia dough
1 medium-sized baking potato
8 rashers smoked streaky bacon
15–30 ml (1–2 tablespoons) extra virgin olive oil, for drizzling
175 g (6 oz/1¾ cup) Cheddar, grated
4 spring onions (scallions), finely diced
8 chives, finely chopped, to garnish
Maldon Sea Salt, for sprinkling
Method:
Prepare the Same-day Focaccia dough up to step 10 in the book (page 22). While it is proofing in the tray, start prepping the toppings.
Thinly slice the potato using a sharp knife or mandoline. Place the potato slices into a bowl filled with cold water and let them sit for at least 15 minutes.
Cook the bacon in a frying pan over a medium heat, but don’t make it quite as crispy as you normally like it, as it will continue cooking in the oven later. Chop it into small bite-sized pieces.
Preheat the oven to 220°C (430°F) and move the oven rack to the lowest position.
Once the focaccia dough has fully proofed, remove the potatoes from the water and pat them dry with kitchen paper. Coat the potatoes with a thin layer of extra virgin olive oil.
Drizzle the focaccia with the olive oil, then evenly scatter two thirds of the cheese over the top of the dough, along with half the bacon and half the spring onions. Using your fingers, dimple these toppings into the dough.
Arrange the potato slices in a single layer over the top, then sprinkle with flaky Maldon Sea Salt.
Bake the focaccia for 15 minutes, then remove from the oven and sprinkle with the remaining cheese, bacon and spring onions. Return to the oven and bake for another 10–12 minutes until the potatoes and cheese are beginning to crisp up.
Sprinkle the chives over the top. Allow the focaccia to cool in the tray for a couple of minutes, then transfer to a cooling rack and wait at least 15 minutes before serving.
Where To Buy ‘3 Doughs, 60 Recipes’
3 Doughs, 60 Recipes by Lacey Ostermann (Hardie Grant, £24), Photography by Steven Joyce.
You can find where to purchase Lacey’s NEW cookbook here and start being creative with food and flavours in the comfort of your kitchen.
Make sure you have your Maldon Salt ready for these recipes! If you are running out, please feel free to browse on our Where to Buy Page to find your nearest store in which stocks our beloved Maldon Salt.
Lastly, we LOVE seeing your creations – please tag us on Instagram using the #maldonsalt so we can share your own take on Lacey’s recipes!
Keshia Sakarah’s Caribe is more than just a cookbook – it’s an immersive journey through the rich culinary and social history of the Caribbean. Covering the diverse flavours of nations from Jamaica and Haiti to the Dutch West Indies and the French Caribbean, this book paints a vivid picture of the region’s food culture, shaped by centuries of migration, trade and resilience. With deep research, collaborations with historians and first-hand exploration, Sakarah brings to life the traditions, influences and legacies behind the region’s most cherished dishes.
From the celebratory Haitian Soup Joumou, a symbol of independence, to the slow-cooked warmth of Guyanese pepperpot, Caribe showcases the dishes that define Caribbean identity. Through stunning photography, insightful essays, and meticulously crafted recipes spanning breakfast to dinner, Keshia not only honours the people who created these meals but also invites readers to experience the soul of the Caribbean from their kitchens/ Whether you’re familiar with the cuisine or discovering it for the first time, Caribe is an essential guide to the flavours, history and heart of this vibrant region.
Indo-Martiniquans and Indo-Guadeloupeans make up approximately 10 per cent of the population on the island, mostly descended from the indentured labourers that arrived during the 1800s. A recipe introduced to the island by this community is colombo. It is said to have derived from the Tamil word kulambu, which references curry. The recipe has a unique addition of roasted, uncooked rice added to the whole spices before being ground, making the sauce thicker and richer. On Keshia travels, she tried colombo from a small, casual eating place in Guadeloupe. It was lightly spiced, and the sauce was thick with a strong citrusy flavour from the added lime juice. Sometimes courgette and aubergine are added to the sauce; the one Keshia had was made without. Definitely unique.
Serves: 4 people
Ingredients:
1 kg (2 lb 4 oz) chicken thighs and drumsticks
juice of 2 limes
a few sprigs of thyme
3–4 garlic cloves, crushed
1 Scotch bonnet, split in half (or left whole if you prefer less heat)
2 teaspoons Maldon Sea Salt, or to taste
2–3 tablespoons rapeseed (canola) or olive oil
100 ml (3½ fl oz/scant ½ cup) water
1 onion, finely chopped
400 ml (14 fl oz/generous 1½ cups) coconut milk
1 aubergine (eggplant), courgette (zucchini) or 1 chayote (chou chou/christophene), diced into medium chunks diced (optional)
Colombo Spice Mix:
g (1 oz/scant ¼ cup) white rice, any variety
15 g (½ oz) cumin seeds
15 g (½ oz) coriander seeds
½ tablespoon black mustard seeds
½ tablespoon black peppercorns
½ tablespoon fenugreek seeds
1 teaspoon fennel seeds
½ teaspoon whole cloves
½ teaspoon allspice (pimento) berries
30 g (1 oz) ground turmeric
Serve:
White rice
Method:
First, make the spice mix. Heat a dry frying pan over a medium heat, then add all the ingredients except the turmeric. Toast in the pan for no more than a minute to ensure they don’t burn. The pan will smoke a little and you will be able to smell the spices toasting. Remove from the heat and transfer to a spice grinder or pestle and mortar along with the turmeric, then grind to a fine powder.
Next, put the chicken into a bowl along with the lime juice, thyme, garlic, Scotch bonnet, Maldon Sea Salt and 3 tablespoons of the spice mix. Mix well to ensure everything is coated, then cover and set aside in the refrigerator to marinate for a few hours, or overnight.
When you’re ready to cook, remove the marinated meat from the refrigerator and set aside for 30 minutes to allow to come to room temperature.
Heat the oil in a saucepan over a medium-high heat, then add 3 tablespoons of the colombo spice mix and cook in the oil for a few minutes. Pour in the water, add the onions then simmer for 3–4 minutes before adding the chicken. Mix the chicken into the spices, then reduce the heat slightly and cook for a few minutes, allowing the meat to release its juices. Next, add the coconut milk, increase the heat slightly and bring to a low boil. Once bubbling, add the aubergine, courgette or chayote (if using), reduce to a simmer, cover and cook for 40–50 minutes, or until the meat is tender. Serve with white rice.
You can find where to purchase Keshia’s NEW cookbook here and start being creative with food and flavours in the comfort of your kitchen.
Make sure you have your Maldon Salt ready for these recipes! If you are running out, please feel free to browse on our Where to Buy Page to find your nearest store in which stocks our beloved Maldon Salt.
Lastly, we LOVE seeing your creations – please tag us on Instagram using the #maldonsalt so we can share your own take on Keshia’s recipes!
Welcome the fresh flavours of spring with this vibrant lemon and herb chicken with Maldon Garlic Sea Salt – a dish that sings with brightness and depth. Tender, juicy chicken thighs are infused with lemon juice, olive oil, thyme, parsley, pepper and a generous pinch of garlic sea salt to create a beautifully aromatic base. Paired with baby potatoes, crisp asparagus, and the rich umami of sundried tomatoes.
What sets this dish apart is the balance of flavours – zesty blood oranges add a touch of sweetness, while briny green olives provide a subtle contrast to the rich, golden-browned chicken. Maldon Garlic Sea Salt enhances every bite, bringing out the natural succulence of the ingredients. Roasting everything together allows the juices to mingle, creating a light yet flavourful sauce that perfectly coats the vegetables. It’s a simple, elegant meal that embodies the essence of springtime dining.
Here is how to make lemon and herb chicken
In a large bowl, mix the lemon juice, zest, olive oil, thyme, parsley, black pepper, and 1½ tsp of Maldon Garlic Salt.
Add the chicken thighs, turning to coat them fully in the marinade. Cover and refrigerate for at least 30 minutes (or up to 4 hours).
Preheat the oven to 200°C (180°C fan). Place the marinated chicken thighs and baby potatoes on a baking tray. Drizzle with a little extra olive oil and sprinkle with ½ tsp Maldon Garlic Salt.
Roast for 35–40 minutes, basting the chicken with its juices halfway through, until the skin is golden and crisp, and the potatoes are tender.
While the chicken roasts, heat a skillet over medium heat. Melt the butter, add the asparagus, and sauté for 3–4 minutes until tender but still bright green. Season lightly with Maldon Garlic Salt to taste.
Remove the chicken and potatoes from the oven, giving them a final sprinkle of Maldon Garlic Salt and some fresh blood orange segments, sundried tomatoes and olives for added flavour and texture.
Serve hot with the sautéed asparagus, and if you’re feeling fancy, mix together a squeeze of blood orange juice with some olive oil, garlic salt and pepper, for a lovely zingy drizzle to spoon over the chicken.
There are few things as deeply comforting as a well-made doughnut. Golden, light, and just the right side of sweet, they carry with them the scent of warm kitchens and childhood indulgences. These doughnuts, a true homage to Essex and its finest ingredients, bring together two of the county’s most beloved names: Maldon Salt and Tiptree Jam.
The jam-filled variety—Tiptree Raspberry Seedless Conserve, of course—is a nod to those glossy, sugar-dusted bakery counter treats. The ‘holeless’ doughnut, drenched in a rich Maldon Smoked Salt caramel, takes things to a new level—sweet, buttery, with just enough savoury edge to make you go back for another bite.
These are doughnuts that demand to be eaten with fingers, warm from the fryer, still soft at their core.
How to make homemade smoked salt caramel
Heat sugar and water in a pan over medium heat until dissolved. Stop stirring and let it bubble until deep amber.
Remove from heat, stir in butter, then slowly add cream.
Stir in Maldon Smoked Sea Salt flakes
Cool slightly, then jar. Store in the fridge.
Warm the milk gently until just warm to the touch. Stir in the yeast and let it sit for a few minutes.
How to make homemade doughnuts
In a large mixing bowl, combine the flour, sugar, salt, nutmeg, and mace. Rub in the butter and vegetable shortening until the mixture resembles fine crumbs.
Make a well in the centre and pour in the eggs, vanilla, and yeast-milk mixture. Stir to bring it together into a soft, slightly sticky dough.
Knead on a lightly floured surface for about 8–10 minutes until smooth and elastic.
Place the dough in a greased bowl, cover, and leave to rise in a warm place until doubled in size (about 1–1.5 hours).
Knock back the dough and roll out to about 2cm thick. Cut into rounds for filled doughnuts or rings if preferred. Place on a lined tray and let rise again for 30–40 minutes.
Heat oil in a deep pan to 170°C. Fry the doughnuts in batches, turning until golden brown on both sides. Drain on kitchen paper and coat in sugar while still warm.
How to fill doughnuts
For the jam-filled doughnuts, use a piping bag to fill with Tiptree seedless raspberry jam.
For the caramel doughnuts, drizzle with Maldon Smoked Salt caramel just before serving.
Eat while still warm, preferably with fingers sticky from caramel or jam, the way all good doughnuts should be.
There’s nothing quite like a plate of perfectly cooked lemon sole and golden, crispy chips to celebrate the flavours of Essex. Sourced straight from the county’s shores, lemon sole is a delicate, buttery fish that deserves to be treated with the best seasoning. That’s why we’re using Maldon Garlic Sea Salt, enhancing it’s natural sweetness with a subtle garlicky depth. We wrapped our lemon sole in a copy of theEssex Chronical for that final, ‘Essex’ touch.
And what’s a fish supper without chips? Thick-cut, triple-cooked chips, also dusted with the same flavourful sea salt, brings the perfect balance of crunch and fluff. This dish is a true homage to Essex – a simple yet indulgent nod to it’s rich coastal heritage.
Here is how to make lemon sole and chips
Recipe created by Annie-Mae Herring – https://www.instagram.com/theculinarybee/
Prepare the chips – Peel the potatoes and cut them into thick batons. Rinse under cold water, then simmer in salted water for 8–10 minutes until just tender. Drain and let them steam dry.
First fry – Heat oil to 140°C. Fry the chips in batches for 5 minutes, just until they form a light crust. Drain on a rack and cool completely (this can be done ahead).
Roast the fish – Preheat the oven to 200°C. Lay the lemon sole on a lined tray, drizzle with olive oil, and season with Maldon Garlic Sea Salt and Original Sea Salt. Scatter over chopped herbs and arrange lemon slices on top. Roast for 12–15 minutes, until the flesh is just opaque and flakes easily.
Make the tartare sauce – Mix mayo, mustard, gherkins, capers, and tarragon. Squeeze in a little lemon juice and stir. It should be thick, ‘spoonable’, and packed with flavour.
Final fry – Heat oil to 180°C. Fry the chips again for 5–6 minutes, until deep golden and crispy. Drain on paper towels and toss with more Maldon Garlic Sea Salt while hot.
Serve – Pile everything onto a sheet of Essex newspaper. Fish, chips, a generous dollop of tartare. A cold cider or bitter on the side. Best eaten outdoors, fingers greasy, with a bit of salt still clinging to your lips.
There’s something about slow-cooked pork…its deep, smoky sweetness, the way it falls apart under the lightest touch. This one, kissed by Essex oak and cider, is worth the wait.
Annie-Mae Herring’s smoked Essex pork shoulder with a cider BBQ sauce is a true homage to Essex, celebrating it’s rich flavours and local ingredients. Seasoned with Maldon Chilli Sea Salt for a touch of heat and slow-smoked to perfection, this tender pork is finished with a tangy, cider-infused BBQ sauce made from the finest Essex cider. Perfect for gatherings, it’s best piled into soft buns for the ultimate BBQ feast!
Here is how to make smoked Essex pork shoulder
Photography by https://www.instagram.com/theculinarybee/
Rub the pork—massage in the Maldon Chilli Sea Salt, sugar, spices, a splash of oil. Let it sit while the barbecue comes to life.
Set for indirect cooking, low and slow, around 120°C. A tray of water beneath keeps things gentle.
Smoke for 6–8 hours, topping up the wood as needed. Mop with a little cider now and then.
Make the sauce—simmer everything until rich and glossy. Taste. Adjust.
When the pork pulls apart with ease, rest, shred, mix with sauce. Pile into buns, let it drip onto fingers, eat outside with the smell of wood smoke still clinging to your clothes. Essex on a plate.
Indulge in a delicious twist on a brunch classic with these Savoury Eggs Benedict Pancakes with Crispy Bacon, made from scratch. Fluffy, parmesan-infused pancakes replace traditional English muffins, creating the perfect base for layers of crispy streaky bacon, perfectly poached eggs, and a rich, velvety hollandaise sauce. With a hint of chives and a touch of cayenne for added flavour, this dish is a showstopper for any breakfast or brunch occasion. Whether you’re treating yourself to a leisurely weekend meal or impressing guests, this easy-to-make from-scratch pancake recipe delivers a satisfying balance of savoury, creamy, and crispy textures in every bite.
Here’s how to make the savoury eggs benedict pancakes with crispy bacon
Step 1
Start by making the pancake batter. In a large bowl, mix together the self-raising flour and Maldon Sea Salt. In a small jug, combine the milk and beaten egg. Create a well in the centre of the flour, then gradually add the milk mixture, whisking thoroughly after each addition to prevent lumps.
Step 2
Once all the milk and egg have been incorporated and you have a smooth batter, add the grated parmesan and finely chopped chives. Whisk again, then set aside.
Step 3
Preheat the oven to 180°C.
Step 4
Next, prepare the hollandaise sauce. Choose a small glass bowl that fits comfortably over a saucepan without touching the water. Fill the pan with approximately 1 inch of water and bring it to a gentle simmer. In the glass bowl, combine the egg yolks, vinegar, and one cube of butter. Place the bowl over the pan and whisk continuously until the egg yolks thicken slightly.
Step 5
Add the remaining butter, one cube at a time, whisking constantly to ensure each piece is fully incorporated before adding the next. Once all the butter has been added, the sauce should be thick and creamy. Squeeze in the lemon juice, season with Maldon Sea Salt and cracked black pepper, then taste and adjust as needed. Turn off the heat, but leave the bowl over the pan to keep the sauce warm. Whisk occasionally to prevent splitting while you prepare the rest of the dish.
Step 6
Place the streaky bacon on a tray and cook in the preheated oven for roughly 15 minutes, or until it reaches your desired level of crispiness.
Step 7
While the bacon is cooking, heat a medium non-stick frying pan over a medium-low heat. Melt a little butter in the pan, then spoon in some batter to form pancakes approximately 12cm in diameter. Cook for 2 minutes on one side, then flip and cook for another 2 minutes until golden and fluffy. Transfer the pancakes to a plate and repeat with the remaining batter.
Step 8
As you cook the pancakes, bring a pan of water to the boil. Reduce the heat to a gentle simmer, then poach two eggs. Adding a splash of white wine vinegar and swirling the water before dropping in the eggs helps create a neater shape.
Step 9
To serve, stack 3 or 4 pancakes on each plate, then top with crispy streaky bacon and a perfectly poached egg. Finish with a generous spoonful of hollandaise sauce, a pinch of cayenne pepper, and some finely chopped chives. Serve immediately.
How to perfectly poach eggs
Poaching the perfect egg with Maldon Sea Salt is all about precision and technique. Here’s how to achieve it:
Fill saucepan with 2-3 cups of water. Bring to a gentle simmer (not a rolling boil). Small bubbles should rise, but not break aggressively.
Crack each egg into a small bowl first. This prevents shell pieces and makes for an easier transfer.
Stir the water with a spoon to create a vortex/swirling of water. This helps wrap the egg whites around the yolk for a neater shape.
Gently slide the egg into the water. Let it cook for 3-4 minutes for a runny yolk, or 5-6 minutes for a firmer one.
Use a slotted spoon to lift the egg out. Place it on a paper towel to absorb excess water.
Sprinkle Maldon Sea Salt flakes generously over the egg. The delicate crunch and clean taste will elevate the dish. You can also add cracked black pepper and a drizzle of olive oil.
You can try adding your perfectly poached eggs on avocado toast, a salad, or paired with dishes like smoked haddock, sea bass or kedgeree.
Serving suggestions and variations for Eggs Benedict Pancakes with Crispy Bacon
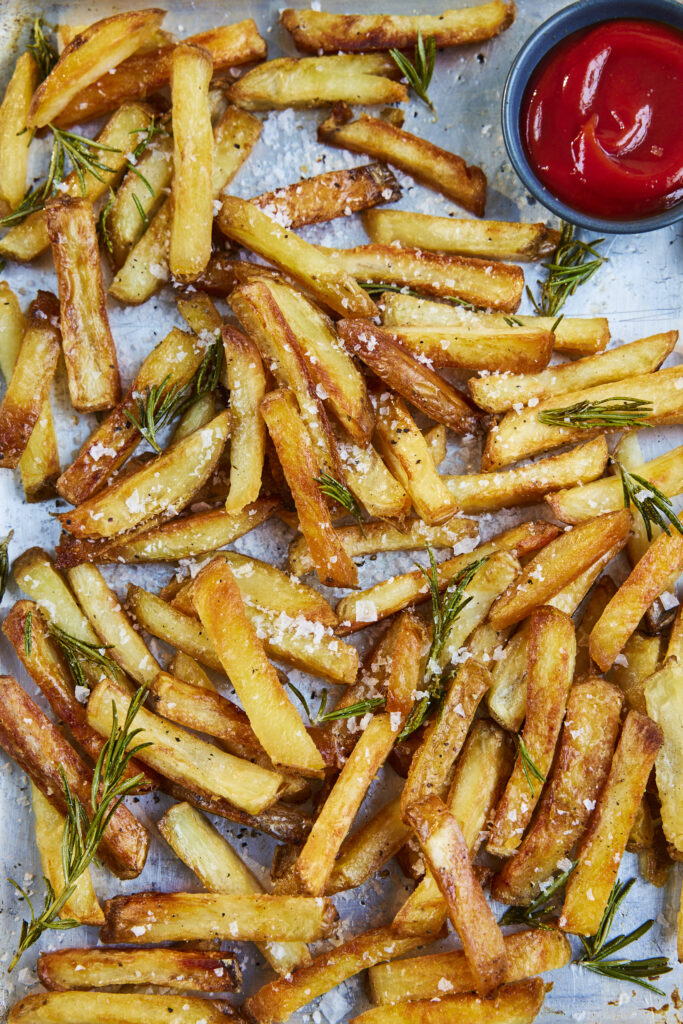
Homemade ‘chunky’ chipsRadicchio salad with pine nuts
Eggs Benedict Pancakes with Crispy Bacon is already an indulgent and delicious dish, buy you can take it to the next level with these following serving suggestions and variations:
Serving suggestions:
Garnishes – Add a touch of freshly cracked black pepper or Maldon Chilli Sea Salt flakes for heat. You can also add chopped chives, parsley or microgreens for freshness.
Drizzles & Sauces – Swap up the classic Hollandaise sauce with a drizzle of maple syrup for that sweet-savoury contrast with the crispy bacon. Additionally, a spoonsful of truffle-infused hollandaise adds a gourmet touch to the dish.
Sides Dishes – Add a few has browns or homemade chips for extra crunch. If you’re wanting to balance the richness, pair the dish with a fresh salad with a lemon vinaigrette. You could also add a handful of grilled asparagus or sautéed spinach for a veggie boost.
Variations:
Smoked Salmon Twist – Swap the bacon for smoked salmon for a more refined, lighter dish. You can also add capers and red onion for extra depth.
Southern-Style Benedict – Use buttermilk pancakes and top with crispy fried chicken instead of bacon. You can drizzle with hot honey for a bold flavour.
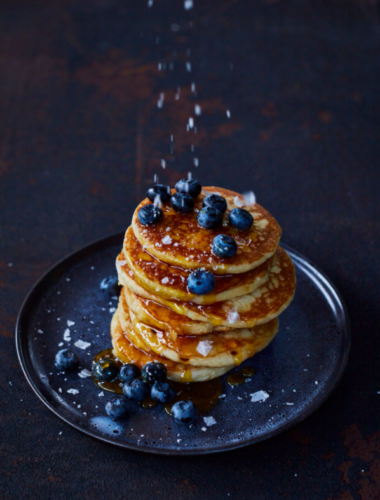
Yes, you can make pancakes with plain flour! While many recipes, such as our pancake stack with caramelised apples, requires self-raising flour for fluffier pancakes, plain flour works just as well – you just need to add a raising agent like baking powder to help them rise.
Our iconic blueberry pancakes recipe uses plain flour instead of self-raising flour, and they are delicious!
Method:
In a bowl, whisk together plain flour, baking powder, sugar and salt.
In a separate bowl, whisk the egg, milk and melted butter.
Gradually pour the wet ingredients into the dry, whisking until smooth.
Heat a non-stick pan over medium heat, lightly greased with butter. Pour in small amounts of batter, flip and cook when bubbles form on the surface.
Stack your pancakes with syrup, fresh fruit, or even crispy bacon.
Can you use bread flour for pancakes?
Yes, you can use bread flour for pancakes, but it will change the texture.
What happens when you use bread flour?
Bread flour has a higher protein content (more gluten), which makes pancakes slightly chewier rather than light and fluffy.
If you prefer denser, hearty pancakes, bread flour works well, especially for American-style pancakes.
To keep pancakes soft, you can mix bread flour with plain flour or a bit of corn flour for balance.
How to use bread flour in pancakes
Add a bit more liquid (milk or water) to loosen the batter.
Let the batter rest for 10-15 minutes to relax the gluten, making the pancakes softer.
Use baking powder to help with the fluffiness.
Can you make pancakes without flour?
Believe it or not, you can actually make pancakes without flour! Here are a few flourless pancake options.
Banana Pancakes
1 ripe banana
2 eggs
Optional: cinnamon, vanilla or baking powder for fluffiness
Instructions:
Mash the banana with a fork and mix with the eggs.
Cook on a greased pan over medium heat for about 2 minutes per side.
Oatmeal Pancakes
1 cup of rolled oats, blended into oat flour
1 egg
1/2 cup milk, or nut-milk alternative
1/2 tsp baking powder
1/2 tsp vanilla
Optional: sweetener, cinnamon.
Instructions
Blend oats into flour, then mix with other ingredients.
Cook on a greased pan over medium heat for about 2 minutes per side.
Can you make pancakes without milk?
Yes, you can make pancakes without milk by using water or a milk substitute.
Instead of milk, you can use:
Water – leaves a neutral taste and slightly less rich pancakes.
Almond milk – makes light and slightly nutty pancakes .
Oat milk – makes creamy and slightly sweet pancakes.
Coconut milk – makes rich and flavourful pancakes.
Soy milk – adds protein and richness to your pancakes.
Can you make pancakes with corn flour?
Yes, you can make pancakes with corn flour. They turn out light and slightly sweet. Corn flour pancakes can also gluten free and dairy free.
Ingredients:
1 cup corn flour
1 tsp baking powder
1 tbsp sugar (optional)
1/4 tsp sea salt
1 egg
3/4 cup milk (or water for dairy-free)
1 tbsp melted butter or oil
Instructions:
In a bowl, whisk together all the dry ingredients; corn flour, baking powder, sugar and sea salt.
Stir in the egg, milk, melted butter. Mix until smooth.
Heat a greased pan over medium heat. Pour small amounts of batter.
When bubbles form, gently flip and cook until golden. Make sure to flip carefully, corn flour pancakes can be delicate.
Can you make pancakes with coconut flour?
Yes, you can make pancakes with coconut flour, but since it absorbs a lot of liquid, you’ll need more eggs and moisture than regular flour. Coconut flour pancakes are fluffy, slightly sweet and low in carbs.
Ingredients:
1/4 cup coconut flour
2 eggs
1/4 cup milk
1/2 tsp baking powder
1 tbsp melted butter, or oil
A pinch of sea salt
Instructions:
Mix the dry ingredients into a bowl.
Stir in eggs, milk and melted butter. Let it sit for a minute so that coconut flour absorbs the moisture.
Heat a greased pan over medium-low heat. Pour small amounts of batter in.
Flip carefully once bubbles start to form. Cook until golden brown.
Can you make pancakes with gluten free flour?
Yes, you can make pancakes using gluten free flour. Simply add the total amount of flour called for in the recipe, and use that amount of the gluten free flour instead. We like to use Freee Gluten Free Plain White Flour when making gluten free, American-style pancakes.
How long can you keep pancake batter?
How long you can keep pancake batter depends on the ingredients and storage method.
We do not recommend keeping pancake better stored at room temperature for longer than 1-2 hours after it’s been made. This is because batter contains eggs and dairy, which can grow bacteria and cause illness.
You can store in the refrigerator for up to 2 days in a airtight container. If the batter contains baking soda or baking powder, pancakes may be less fluffy overtime.
Can you freeze pancake batter?
Yes, you can freeze pancake batter for later us. Pour the batter into freezer-safe bags or airtight containers. Store in the freezer for up to 1-2 months, laying the bag flat to save space.
When you want to use the frozen pancake batter, make sure to thaw the mixture overnight in the fridge, or placing the sealed bag/container in warm water for quicker defrosting. Stir before using to re-incorporate any separated ingredients. Cook as usual on a greased pan.
Credit: Seriously Good Pasta by Pip Spence (Quadrille, £14), Photography by Faith Mason.
Philippa (Pip) Spence’s ‘Seriously Good Pasta’ is the ultimate celebration of everyone’s favourite comfort food. Whether you’re rolling out homemade sheets of silky tagliatelle or reaching for a packet of your go-to dried spaghetti, this cookbook ensures every pasta dish is as delicious as it is achievable. Packed with expert tips, fool proof techniques, and a mouth-watering selection of recipes, it’s a must-have for pasta lovers of all skill levels.
From quick midweek meals to indulgent weekends feasts, Seriously Good Pasta offers something for every occasions. The book is thoughtfully structured, beginning with easy-to-follow instructions for making fresh pasta from scratch before moving on to an extensive collection of 70+ delicious recipes. Meat lovers can dive into hearty dishes like Crispy Sausage Orecchiette, while seafood enthusiasts will savour the elegant Crab and Saffron Linguine. Vegetarians aren’t left behind either, with options like Wild Garlic Spaghetti and comforting pasta bakes. With her years of experience as a food stylist and recipe developer – including eight years with the Jamie Oliver Food Team – Spence brings both expertise and passion to every page.
In Conversation With Philippa Spence…
Hey Pip! We’re BIG fans of Seriously Good Pasta. What inspired you create this cookbook?
Hi! Thank you very much, I’m so glad you’re enjoying the recipes over at Maldon. The publisher asked me to write a book on pasta following on from a previous pastry book. Pasta is a joy to cook and eat so of course I said yes!
Many home cooks can find making fresh pasta intimidating. What’s your top tip for beginners looking to try it for the first time?
Yes, I agree pasta making can seem intimidating at first but like with any new skill, it’s all in the practice. You don’t need fancy gadgets or elaborate ingredients to start with. The dough is made from tipo 00 flour (it can be found in most supermarkets) and fresh eggs. Rule of thumb is 100g pasta flour and 1 egg per person. Like with all new skills, I’d suggest having your first try at pasta making when you have time, maybe at the weekend. Make batches and dry the pasta when you’ve had a few goes so you’ll have homemade pasta ready to go in the week. Fantastic chefs I have worked with over the years like Jamie Oliver and Gennaro Contaldo always point out that it’s really important to add plenty of salt to the cooking water to bring out the flavour of the pasta.
How has your experience as a food stylist and writer influenced your approach to creating pasta recipes?
I’ve spent a lot of time cooking and styling other people’s recipes so I like to think I generally know what a good plate of food looks like and how important textures and flavours are. I’ve been lucky enough to cook food from all around the world so those influences definitely impact how I write and develop recipes.
With such a wide variety of recipes in the book, is there one dish that holds a particular special meaning for you?
I love a lot of recipes in this book and cook a few for my family. My most special would be the slow cooked onion and anchovy pasta. It’s a favourite of my husband’s family and one of the first dishes he cooked for me. The salty anchovies and sweet onions are such a winning combo.
What does a normal day in the life look like for you Pip?
I’m currently on maternity leave with a 6-month old and a 4-year old so a lot of our day is revolving around eating. I’m’ trying to come up with lots of recipes that I can feed the whole family with to save precious time and money! A normal work day would involve driving to location and setting up for a book or advertising shoot. I often prop and food style as well as cook the food needed to shoot. It’s a busy and fun packed day!
Name three things in the kitchen you can’t live without.
Speed peeler (the y-shaped one), my slow cooker and a sharp knife.
After Seriously Good Pasta, what’s next for you? Are there any exciting projects or ideas you’re working on?!
Yes there are a few things in the pipeline for when I return to work but currently I can’t say what they are unfortunately. At the moment I’m keeping 2 small people happy and fed which is a project in itself!
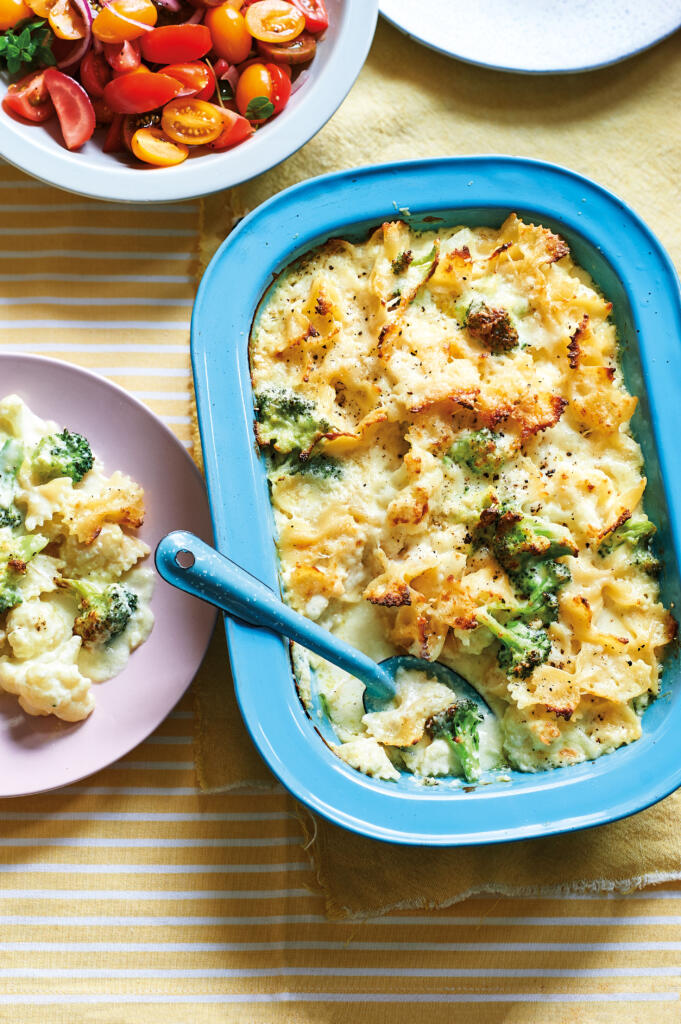
Cauliflower and Broccoli Cheesy Bake Recipe
Credit: Seriously Good Pasta by Pip Spence (Quadrille, £14), Photography by Faith Mason.
Rich, madly cheesy and the perfect bake on a cold day! Serve on it’s own with lots of black pepper, and maybe a salad, or as a side with roast chicken.
Serves: 6, as a side dish
Takes: 1 hour
Ingredients:
olive oil, for greasing
900ml (32fl oz/3 ¾ cups) milk
50g (1 ¾ oz/3 ½ tbsp) unsalted butter
3 tbsp plain (all-purpose) flour
2 tsp English mustard
100g (3 ½ oz) mature Cheddar, grated
50g (1 ¾ oz) Stilton, grated
50g (1 ¾ oz) pecorino romano, finely grated
200g (7oz) dried farfalle
300g (10oz) mixture of cauliflower and broccoli florets, cut into small pieces
Maldon Sea Salt
black pepper
Method:
Preheat the oven to 220ºC/425ºF/gas 7. Oil a 30 x 20cm (12 x 8in) baking dish.
Put the milk in a saucepan, place on a low heat, bring to a simmer, then take off the heat.
Melt the butter in a medium saucepan on a low heat, then stir in the flour and mustard for a minute until bubbling. A ladleful at a time, add the warm milk to the pan, stirring for about 5–10 minutes, until the sauce coats the back of a spoon. Stir in most of each of the cheeses, season to taste and take off the heat.
Cook the farfalle in a large pan of boiling, salted water for half the cooking time stated on the packet, adding the cauliflower and broccoli for the final 3 minutes, then drain.
Tip the pasta and vegetables into the sauce, stir together and spoon into the oiled baking dish.
Scatter with the remaining cheeses and a grind of pepper, then bake for 20 minutes until golden and bubbling.
Where To Buy ‘Seriously Good Pasta’?
You can find where to purchase the NEW cookbook here and start being creative with food and flavours in the comfort of your kitchen.
Make sure you have your Maldon Salt ready for these recipes! If you are running out, please feel free to browse on our Where to Buy Page to find your nearest store in which stocks our beloved Maldon Salt.
Lastly, we LOVE seeing your creations – please tag us on Instagram using the #maldonsalt so we can share your own take on Pip’s recipes!